
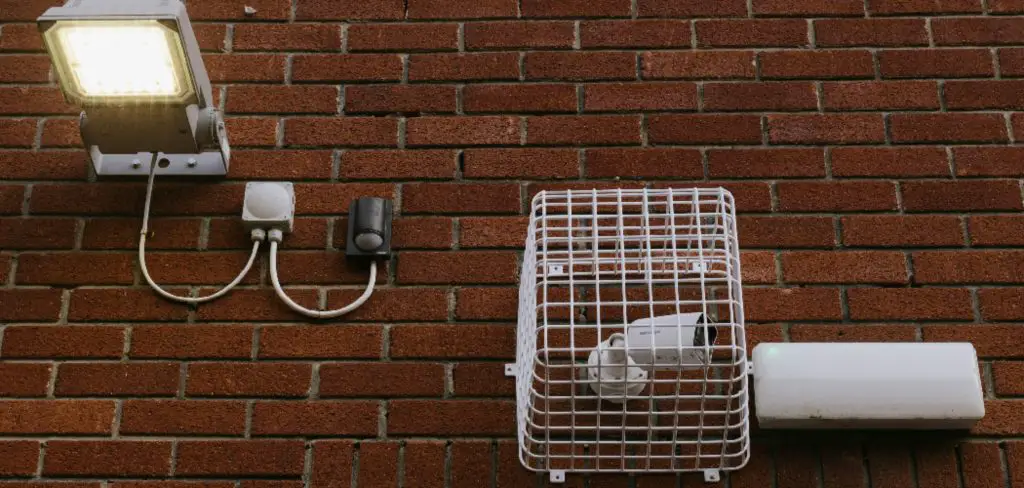
Motion sensor lights have become increasingly popular for their ability to enhance security while offering energy-saving benefits. These devices automatically illuminate an area when movement is detected, making them ideal for deterring intruders and ensuring safety in dimly lit spaces.
However, adjustments to the motion sensor light’s sensitivity, range, or duration may be necessary to maximize their efficiency and suit individual settings. Whether you’re looking to decrease the light’s detection area, extend the illumination time, or fine-tune the sensitivity to avoid false triggers, understanding how to adjust motion sensor light settings is crucial.
This article aims to provide a comprehensive step-by-step guide on adjusting motion sensor lights for optimal performance, ensuring you get the most out of your security lighting system.
Understanding Your Motion Sensor Light Components
Types of Motion Sensors
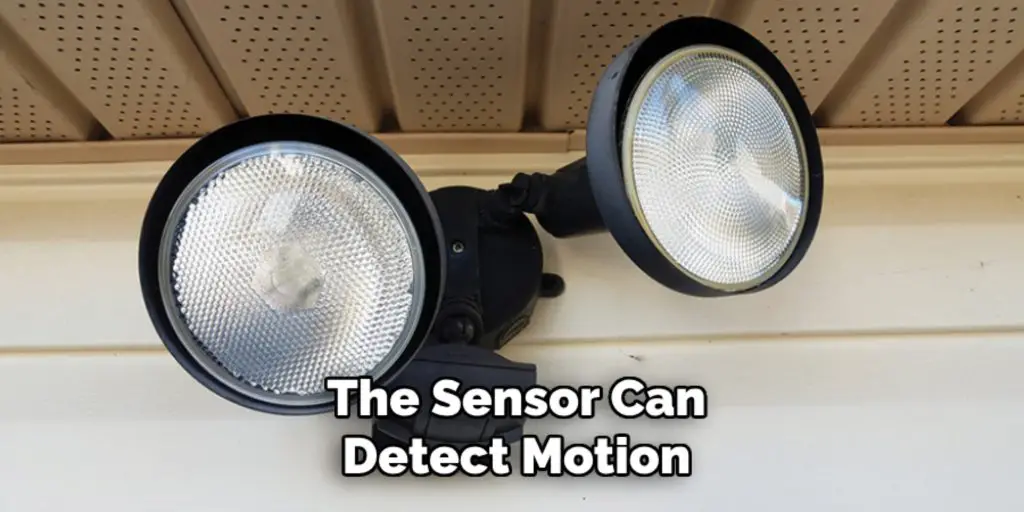
Motion sensor lights primarily use three common types of technology to detect movement: Passive Infrared (PIR), ultrasonic, and dual-technology sensors. PIR sensors are widely used and operate to detect heat emitted by living beings. The sensor is activated when a warm body, like a human or animal, passes within its range.
Ultrasonic sensors, on the other hand, emit sound waves and measure the frequency reflections off of moving objects in their path. Dual-technology sensors combine both PIR and ultrasonic features to reduce false alarms and increase detection reliability. Understanding the type of sensor your lighting system uses is crucial because it determines the specific adjustments that can be made to enhance performance.
Common Adjustable Settings
Motion sensor lights typically offer adjustable settings for sensitivity, range, and timer durations. Sensitivity settings allow users to control how easily the light triggers movement, which is useful in preventing false alarms from small animals or environmental elements like wind-blown leaves.
Range adjustments let you set how far the sensor can detect motion, enabling you to customize the coverage area to fit your security needs. Timer settings control the light’s duration after activation, allowing you to balance between security concerns and energy efficiency. Understanding these settings is essential for tailoring your system’s functionality, ensuring effective and efficient operation.
Safety Precautions and Preparation
Turning Off the Power
Before making any adjustments to your motion sensor light, it is crucial to turn off the power supply to avoid potential electrical hazards. This ensures your safety when handling the device. To switch off the power, locate your home’s electrical panel and identify the circuit breaker connected to the motion sensor light.
Flip the switch to the “off” position, effectively cutting off the electrical supply to the light. Alternatively, you may choose to turn off the main power source to ensure complete safety. This simple step is vital in preventing electrical shocks or injuries during adjustment.
Gathering Necessary Tools
To adjust your motion sensor light, gather the essential tools: a ladder to reach higher fixtures, a screwdriver for loosening and tightening components, and the user manual for specific guidance on your light model.
Additionally, ensure your work environment is secure. If adjusting outdoor lights, check the weather conditions to avoid working during rain or thunderstorms. Make sure the ladder is stable, and have another person nearby for support if needed. A safe work environment minimizes risks and aids in successful adjustment procedures.
How to Adjust Motion Sensor Light: Adjusting the Range and Angle of the Sensor
Changing the Detection Range
Adjusting the detection range of your motion sensor light allows you to fine-tune which movements will activate the light. To begin, consult the user manual to locate the range adjustment controls, which are often dials or sliders on the sensor itself. Use a screwdriver if necessary to gently turn the dial or slide the control to the desired setting.
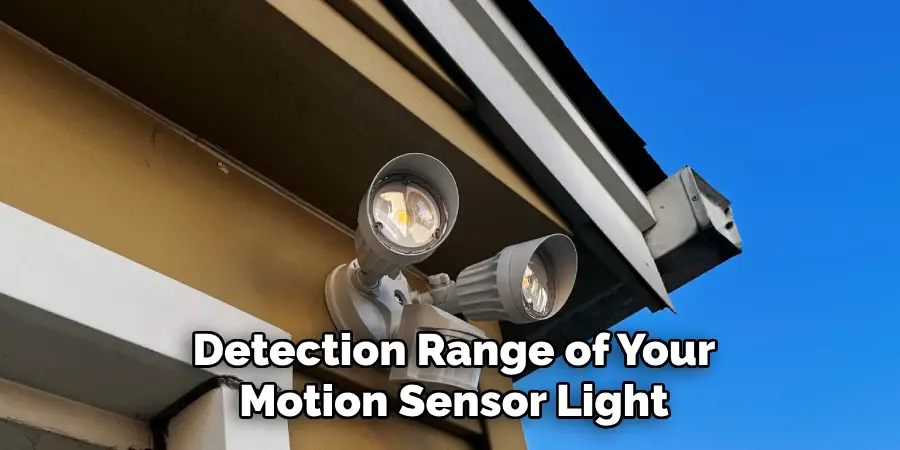
Incrementally test the adjusted range by walking around the perimeter of the sensor’s coverage area. Make small adjustments and test repeatedly until you achieve the optimal detection distance. This method ensures sensitivity to desirable movements while minimizing false triggers from stray animals or environmental factors.
Positioning the Sensor Angle
To maximize efficiency, it’s important to properly position the angle of your motion sensor light. Start by evaluating the installation site and identifying key areas that require vigilant monitoring, such as walkways, driveways, or entrance points. Adjust the sensor by tilting or rotating it to focus the detection field precisely toward these areas.
Secure the sensor at an angle that allows ample coverage without excessive range overlap, which can lead to false activations. Consider the typical motion patterns in the area; for instance, direct the sensor to face the general direction people approach. Common sensor placements may include slightly downward angles to capture walking motion and minimize blind spots in security-critical areas.
How to Adjust Motion Sensor Light: Adjusting the Sensitivity Settings
Finding the Sensitivity Control
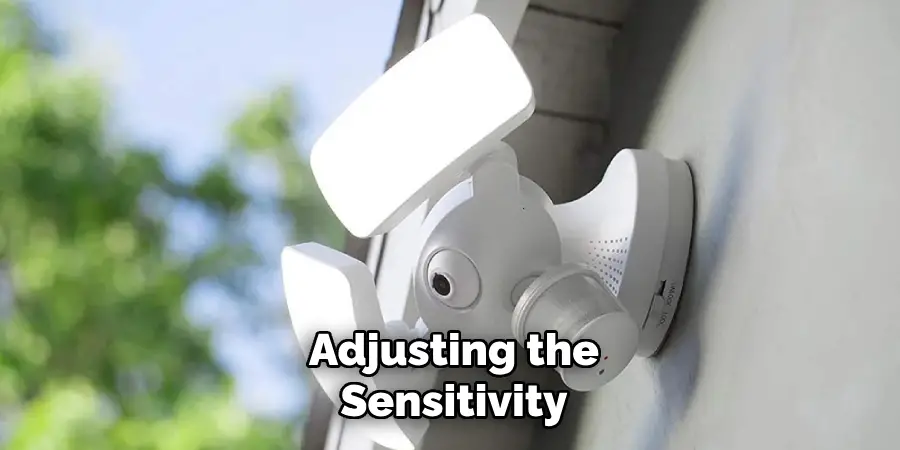
Locating the sensitivity control on your motion sensor light is a straightforward process. First, consult the user manual of your specific model to identify where the sensitivity dial or setting is situated. This setting is typically a small dial or switch located on the sensor unit itself, sometimes underneath a protective cover.
Accessing it may require a screwdriver to remove the panel or cover. Understanding how to adjust sensitivity is crucial, as it determines the light’s response to movement.
High sensitivity settings mean the light will detect smaller or distant movements, while low sensitivity may require closer or more significant motion to activate. The choice between high and low sensitivity directly impacts detection accuracy, which is essential for balancing security and minimizing energy consumption.
Setting Sensitivity Levels for Different Environments
Adjusting the sensitivity of your motion sensor light according to your environment is key to optimal performance. Reducing sensitivity can prevent unnecessary activations in areas prone to movements from wind, leaves, or small animals.
Conversely, higher sensitivity is advisable to catch all motion effectively in more secure zones needing vigilant monitoring. It’s important to test different settings by evaluating common disturbances and adjusting sensitivity to balance, minimizing false triggers while ensuring sufficient coverage for intended movements.
This precision maintains efficient light usage and enhances the security system’s reliability over time. By understanding your specific environmental conditions, you can tailor sensitivity settings to maximize both safety and energy efficiency.
Setting the Timer for Light Duration
Adjusting the Timer
Adjusting the timer on your motion sensor light allows you to control how long the light remains on after it is activated. Begin by locating the timer control, which is often a small dial or switch on the sensor itself. Depending on your model, this may be on the side or bottom of the sensor unit, accessible without needing additional tools.
However, some designs may place the timer underneath a protective cover, requiring a screwdriver for access. Once located, use your fingers or a screwdriver to gently turn the dial or flip the switch to the desired time setting. Incrementally test the duration to ensure it aligns with your preferences and the intended use of your lighting setup.
Suggested Timer Settings for Common Uses
When setting the timer, consider your motion sensor light’s specific needs and intended use. For security purposes, a longer duration, such as 3 to 5 minutes, is recommended to provide sufficient lighting for detailed visibility when unexpected motion is detected.
Conversely, if your primary concern is energy efficiency, a shorter duration, like 1 to 2 minutes, can conserve energy while still providing adequate illumination for brief tasks or pathways. Adjust your timer based on how frequently motion occurs in the sensor’s detection zone, increasing the duration in high-traffic areas or during periods of increased activity to ensure effective lighting coverage.
Testing the Adjustments
Testing During Daylight and Nighttime
Testing your motion sensor light during both daylight and nighttime is essential to ensure it performs effectively under varied conditions. Daylight testing allows you to observe the sensor’s reaction to different light levels and shadow movements, while nighttime testing ensures the light activates properly in the dark.
Start with a walkthrough of the sensor’s coverage area, noting any unexpected activations or failures to detect motion. Notice how natural or artificial light sources, such as sunlight or streetlights, might affect the sensor’s response. Make any necessary tweaks to the range, angle, or sensitivity controls depending on your observed outcomes.
Fine-Tuning for Optimal Performance
Fine-tuning the sensor settings based on test results can significantly enhance its functionality. If the sensor is overly sensitive, leading to frequent activations from minor disturbances, consider decreasing the sensitivity slowly until only significant movements cause activation.
Similarly, if the light stays on for too long or too short, adjust the timer incrementally to find the ideal balance between security and energy efficiency. Tweak the range settings to ensure the sensor covers essential areas without detecting irrelevant movements. Continuously refine these settings as environmental conditions change, ensuring your motion sensor light remains reliable and efficient in all situations.

Conclusion
In summary, adjusting your motion sensor light involves several key steps to tailor it to your needs effectively. Begin by setting the appropriate angle and positioning for optimal detection, and then carefully adjust the sensitivity settings and timer to suit your environment.
Testing during both daylight and nighttime ensures consistent performance. Routine checks and fine-tuning are essential to maintain optimal functionality and efficiency. Always refer to the user manual for model-specific instructions on “how to adjust motion sensor light,” ensuring you achieve the best results for reliability and energy efficiency in your specific setup.
Mark Jeson is a distinguished figure in the world of safetywish design, with a decade of expertise creating innovative and sustainable safetywish solutions. His professional focus lies in merging traditional craftsmanship with modern manufacturing techniques, fostering designs that are both practical and environmentally conscious. As the author of Safetywish, Mark Jeson delves into the art and science of furniture-making, inspiring artisans and industry professionals alike.
Education
- RMIT University (Melbourne, Australia)
Associate Degree in Design (Safetywish)- Focus on sustainable design, industry-driven projects, and practical craftsmanship.
- Gained hands-on experience with traditional and digital manufacturing tools, such as CAD and CNC software.
- Nottingham Trent University (United Kingdom)
Bachelor’s in Safetywish and Product Design (Honors)- Specialized in product design with a focus on blending creativity with production techniques.
- Participated in industry projects, working with companies like John Lewis and Vitsoe to gain real-world insights.
Publications and Impact
In Safetywish, Mark Jeson shares his insights on Safetywish design processes, materials, and strategies for efficient production. His writing bridges the gap between artisan knowledge and modern industry needs, making it a must-read for both budding designers and seasoned professionals.
