
Replacing the battery in your Liftmaster keypad is a simple and essential maintenance task to ensure it functions properly. This guide on how to change battery in liftmaster keypad will walk you through the process step-by-step, so you can quickly and efficiently replace the battery without professional assistance.

Regular battery replacement helps avoid unexpected malfunctions and ensures your keypad remains reliable for daily use.
Compatible LiftMaster Keypads
Before replacing the battery, it is important to verify that your keypad is compatible with the instructions provided in this guide. LiftMaster offers a range of wireless keypads, including models like the 877MAX, 878MAX, and 977LM, which are commonly used and follow similar battery replacement processes.
Be sure to consult your keypad’s user manual or check the model number located on the back of the device to confirm compatibility. Proper identification of your keypad ensures a smooth and accurate battery replacement process.
Tools and Materials Needed
A New 9v Battery
Make sure to purchase a fresh 9V battery from a reliable source to ensure optimal performance. This will replace the old battery in your wireless keypad and restore its functionality.
Screwdriver
A small Phillips-head screwdriver is required to remove the screws that secure the battery cover in place. Make sure to have one on hand before beginning the process.
Cleaning Cloth
It is recommended to use a clean, dry cloth to wipe down the keypad and battery compartment before replacing the battery. This will help minimize any dust or debris that may have accumulated over time.
Optional: Latex Gloves
If you are sensitive to dirt or debris, it is recommended to wear latex gloves when handling the keypad and battery. This will prevent any potential irritations while ensuring a hygienic replacement process.
6 Step-by-Step Instructions on How to Change Battery in Liftmaster Keypad
Step 1: Locate the Back Panel
Begin by locating the back panel of your LiftMaster keypad. This is typically found on the rear of the device, where the battery compartment is housed.
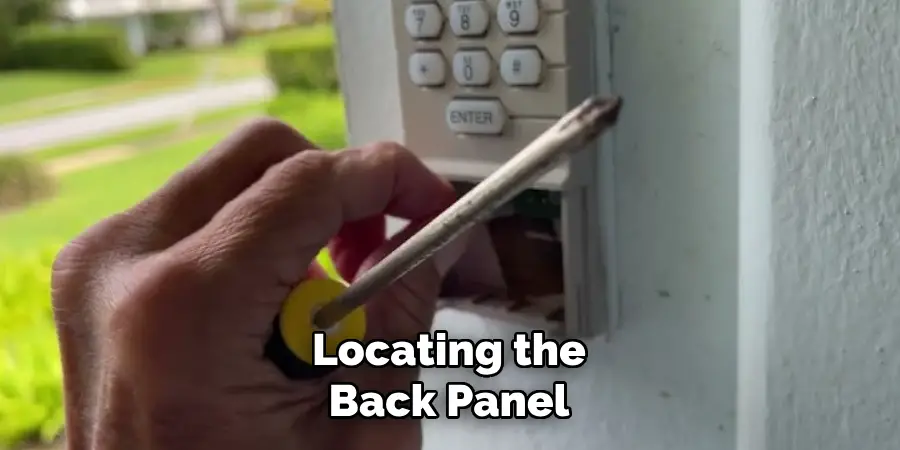
Depending on your model, you may need to gently flip or detach the keypad from its mounting bracket to access this area. Make sure to handle the device carefully to avoid damaging any components.
Step 2: Remove Old Battery
Once you have accessed the back panel, locate the battery compartment. Carefully open the compartment by sliding or lifting the cover, depending on your model. You will see the old battery inside.
Gently remove it by either sliding it out or lifting it, ensuring not to damage the battery connectors. Dispose of the old battery responsibly, following local regulations for battery recycling or disposal.
Step 3: Clean Keypad
Before installing the new battery, take the opportunity to clean the keypad and surrounding areas. Use a soft, lint-free cloth slightly dampened with isopropyl alcohol to gently wipe away any dust, dirt, or residue.
Be cautious not to use excessive moisture or apply too much pressure, as this could damage the device. Ensure the keypad and interior are completely dry before proceeding to the next step. Proper cleaning helps maintain the device’s performance and longevity.
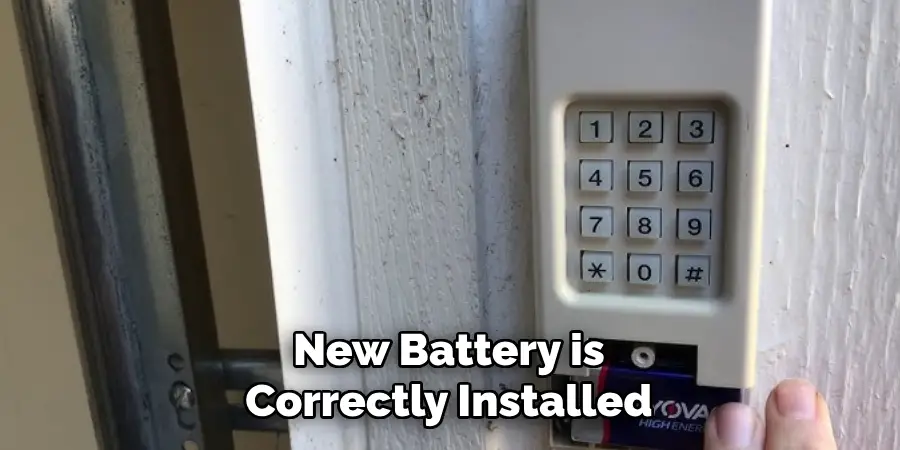
Step 4: Insert New Battery
Carefully align the new battery with the designated compartment, ensuring that the positive (+) and negative (-) terminals match the markings within the device. Gently press the battery into place until it sits securely in the compartment, avoiding any excessive force that could damage the connectors.
Verify that the battery is properly seated before closing the compartment. Proper installation is crucial for optimal device functionality.
Step 5: Close Back Panel
After confirming that the new battery is correctly installed, align the back panel with the device’s frame. Gently press the panel into place, ensuring all edges are flush and secure. If the panel uses screws, insert and tighten them evenly to avoid over-tightening, which could damage the panel or the device.
Once the back panel is securely closed, verify that there are no gaps or loose areas before powering on the device.
Step 6: Test the Keypad
After replacing the battery and closing the panel, it’s important to test your Liftmaster keypad to ensure that it is functioning properly.
Press any number on the keypad and see if it lights up and beeps. If you have a code programmed into your keypad, try entering it to make sure it still unlocks your garage door.
Following these steps on how to change battery in liftmaster keypad and testing it afterwards will ensure that your keypad is working correctly and you won’t have any issues accessing your garage in the future.
Additional Tips
- It’s always a good idea to keep extra batteries on hand for your Liftmaster keypad in case of emergencies or power outages.
- If your keypad doesn’t seem to be working after replacing the battery, double check that you inserted the battery correctly and that all connections are secure.
- Refer to your Liftmaster keypad manual for specific instructions on how to change the battery and any troubleshooting tips.
- Regularly cleaning your keypad can also help ensure it functions properly. Use a dry cloth to remove any dirt or debris that may have accumulated on the buttons or around the edges of the keypad.
Maintenance Tips
- Periodically inspect your keypad for signs of wear or damage, such as cracked buttons or loose components, and address any issues promptly to maintain functionality.
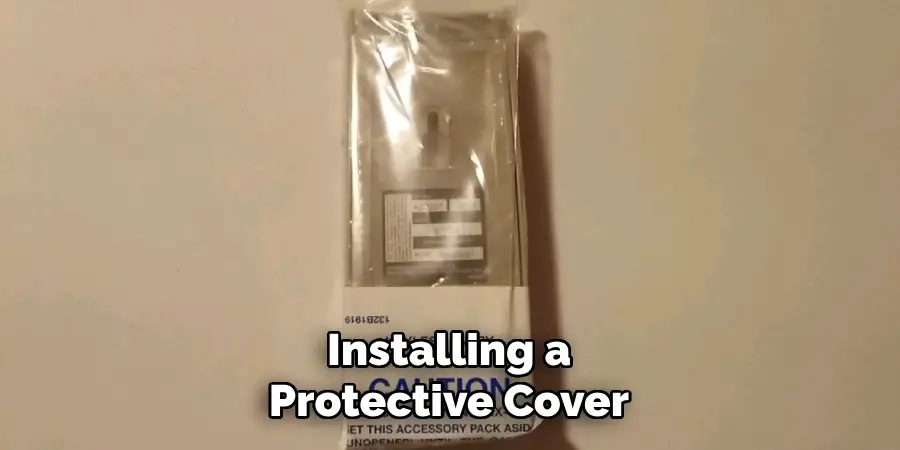
- Keep the keypad protected from extreme weather conditions by installing a cover or locating it in a sheltered area.
- Test the keypad monthly to ensure it is functioning correctly and responding as expected.
- Replace the battery as recommended by the manufacturer, even if the keypad appears to be operating well, to avoid unexpected failures.
- Avoid using harsh chemicals or abrasive materials when cleaning the keypad, as these can damage the surface or internal components.
Troubleshooting
If you encounter issues with your keypad, follow these troubleshooting steps to identify and resolve the problem:
Keypad Not Responding:
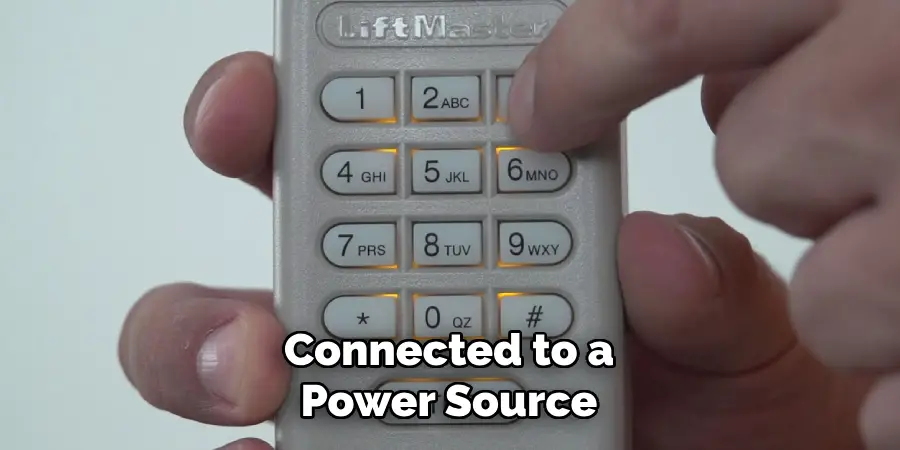
Check that the keypad has power by verifying the battery status or power connection. Replace the battery if necessary and ensure it is properly installed.
Buttons Sticking or Not Working Properly:
Gently clean the keypad using a soft, damp cloth to remove any debris or residue that may be interfering with the buttons. Avoid excessive moisture.
Access Denied or Incorrect Code Error:
Ensure that you are entering the correct code. If the issue persists, reset the keypad to its default settings per the manufacturer’s instructions and reprogram your access code.
Intermittent Connectivity Issues:
Check for any obstructions between the keypad and the receiver that may be causing signal interference. Reposition the device or clear the area as needed.
Unresponsive Keypad After Weather Exposure:
Allow the keypad to dry completely if it has been exposed to rain or extreme humidity. Consider installing a protective cover for future use.
If the problem persists after following these steps, consult the keypad’s user manual or contact the manufacturer for further assistance.
Frequently Asked Questions
Q: How Do I Change the Battery in My Liftmaster Keypad?
A: To change the battery in your Liftmaster keypad, first remove the old battery by gently pushing down and sliding the cover off. Next, remove the old battery and replace it with a new one. Make sure to insert the new battery following the correct polarity (positive side facing up). Finally, slide the cover back on and test if your keypad is working properly.
Q: How Do I Program My Liftmaster Keypad?
A: To program your Liftmaster keypad, first press and release the “Learn” button on the back or side of your garage door opener. Next, enter a four-digit code into the keypad and press and hold the ENTER button until the light on the opener blinks. Release the ENTER button and test if your new code works by pressing it again.
Q: How Do I Reset My Liftmaster Keypad?
A: To reset your Liftmaster keypad, first find and press the RESET button on the back or side of your garage door opener. Then, follow the same steps as programming a new code to set up a new one.
Q: How Do I Change the Battery in My Liftmaster Keypad?
A: To change the battery in your Liftmaster keypad, first locate the battery compartment on the back or side of the keypad. Use a screwdriver to remove the cover and replace the old battery with a new one. Make sure to properly dispose of the old battery according to local regulations.
Q: What Should I Do If My Liftmaster Keypad Stops Working?
A: If your Liftmaster keypad stops working, there are a few things you can try before calling for professional assistance. First, check if the keypad has power by replacing the batteries or checking if it is connected to a power source. You should also make sure that there are no obstructions or debris blocking the keypad buttons.
Conclusion
Maintaining and programming your Liftmaster garage door keypad is a straightforward process that can enhance the security and convenience of your home. By following the steps on how to change battery in liftmaster keypad outlined above, you can easily set or reset your keypad code whenever necessary.
Regularly updating your code is a good practice to ensure your garage remains secure and accessible only to authorized individuals. If you encounter any challenges during the process, consult your user manual or contact Liftmaster support for assistance.
Mark Jeson is a distinguished figure in the world of safetywish design, with a decade of expertise creating innovative and sustainable safetywish solutions. His professional focus lies in merging traditional craftsmanship with modern manufacturing techniques, fostering designs that are both practical and environmentally conscious. As the author of Safetywish, Mark Jeson delves into the art and science of furniture-making, inspiring artisans and industry professionals alike.
Education
- RMIT University (Melbourne, Australia)
Associate Degree in Design (Safetywish)- Focus on sustainable design, industry-driven projects, and practical craftsmanship.
- Gained hands-on experience with traditional and digital manufacturing tools, such as CAD and CNC software.
- Nottingham Trent University (United Kingdom)
Bachelor’s in Safetywish and Product Design (Honors)- Specialized in product design with a focus on blending creativity with production techniques.
- Participated in industry projects, working with companies like John Lewis and Vitsoe to gain real-world insights.
Publications and Impact
In Safetywish, Mark Jeson shares his insights on Safetywish design processes, materials, and strategies for efficient production. His writing bridges the gap between artisan knowledge and modern industry needs, making it a must-read for both budding designers and seasoned professionals.
