
When your Lincoln key fob battery starts to run low, it can lead to reduced range or intermittent functionality. Changing the battery is a simple process that can save you time and prevent inconvenience. This guide will walk you through the steps of how to change battery in lincoln key fob quickly and easily.
Importance of a Functioning Key Fob
A functioning key fob is essential for the convenience and security of your vehicle. It allows you to lock and unlock doors, open the trunk, and even start the engine remotely in some models. This eliminates the need to fumble with traditional keys, especially in bad weather or when your hands are full.
Additionally, a reliable key fob ensures your car remains secure by enabling advanced security features, such as anti-theft systems. Keeping your key fob in working order helps avoid frustrations and ensures you can access and operate your vehicle without interruptions.
Tools and Materials You’ll Need
To ensure your key fob remains functional or to perform basic maintenance, you’ll need a few essential tools and materials. These include:
- Replacement Battery – Check your key fob model to determine the correct battery type, commonly a CR2032 or a similar coin cell battery.
- Small Screwdriver – A precision flathead screwdriver is often required to open the key fob casing carefully.
- Clean Cloth or Microfiber Towel – Use this to wipe away dirt or debris from the key fob components.
- Electronics Cleaner (Optional) – Ideal for cleaning sensitive internal parts without causing damage.
By gathering these items beforehand, you can efficiently address any key fob issues and keep it operating smoothly.
10 Methods How to Change Battery in Lincoln Key Fob
1. Identify Your Lincoln Key Fob Type and Battery Model
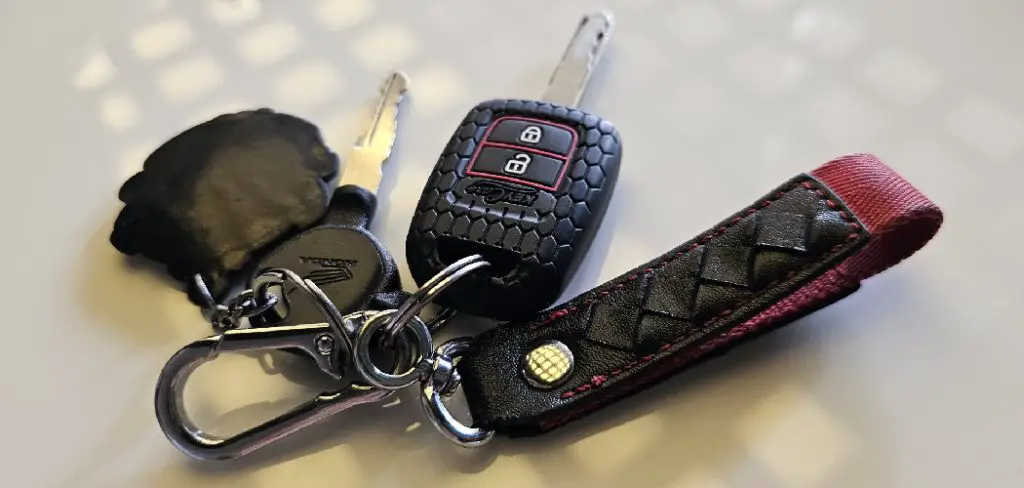
The first step in replacing your Lincoln key fob battery is correctly identifying which fob style you have. Lincoln uses a few common fob styles: a standard flip key, a rectangular proximity fob (used for push-button start), and a newer sleek touch-sensitive fob.

Most Lincoln fobs use either a CR2032 or CR2450 battery, though older models may differ. Your owner’s manual will often list the exact battery type, or you can open the fob to check the current battery’s label. Using the correct battery is essential to avoid short lifespan or incompatibility issues.
2. Gather the Right Tools and Work on a Clean Surface
Before you begin, gather a flat-head screwdriver, a plastic pry tool (optional), a soft cloth, and the replacement battery. Work on a clean, well-lit table to avoid losing any components. Some newer Lincoln key fobs have no visible screws and instead snap open along a seam, so gentle prying is often all that’s required.
Place a microfiber towel underneath your workspace to prevent scratching the fob or your table. Keep pets and small children away from the area—key fob batteries are small and can be a choking hazard.
3. Release the Mechanical Key to Access the Fob Housing
On many Lincoln fobs, especially the push-button start types, there’s a manual key hidden inside the casing. Look for a small sliding button or latch along the side or back of the fob. Press it to release the metal key. Removing this key often reveals a small notch or seam where you can insert your screwdriver or pry tool to open the fob. This step is not only crucial for opening the casing but also good practice in case your electronic fob ever fails and you need to access the car manually.
4. Use the Pry Tool to Gently Open the Fob Shell
With the key removed, locate the seam between the front and back halves of the fob. Insert your flat-head screwdriver or plastic pry tool into the gap, and twist gently to separate the housing.
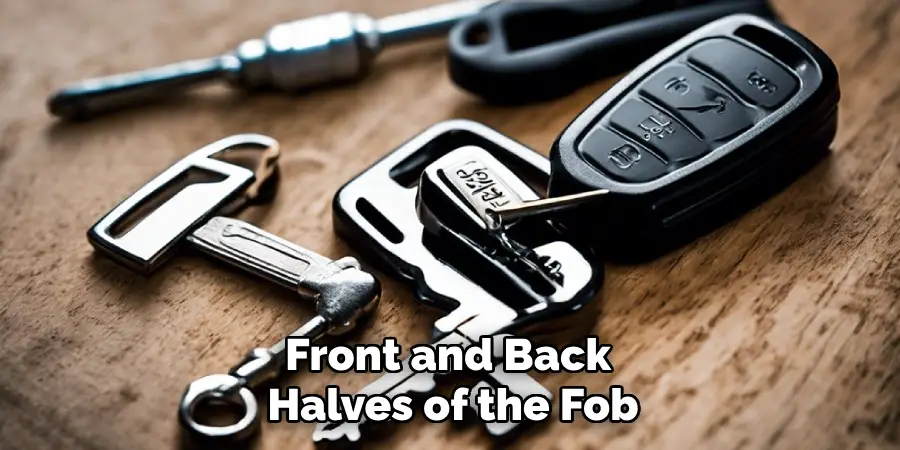
Avoid excessive force—modern Lincoln key fobs are precisely engineered, and too much pressure may crack the casing or damage internal components. Once the two halves start to come apart, work your way around the edge until the entire shell separates, exposing the battery compartment inside.
5. Remove the Old Battery Carefully Without Touching Contacts
Now that the fob is open, you’ll see the round coin-cell battery nestled in its holder. Using a plastic or non-metallic tool—or the edge of the screwdriver—gently lift the battery out. Do not touch the battery terminals or surrounding circuit board with your fingers, as skin oils can interfere with conductivity.
If the battery feels stuck, tilt or rock it slightly instead of prying straight up. Take note of the battery’s orientation—the positive (+) side almost always faces up in Lincoln fobs.
6. Insert the New Battery in the Correct Orientation
Take your new battery—most likely a CR2032 or CR2450—and insert it into the holder in the same orientation as the one you removed. Double-check the positive (+) side is facing up and ensure it snaps securely into place. If the battery sits loosely or wiggles, the contacts may not engage properly, which can lead to intermittent function. Press down gently until you feel a snug fit, but do not press with excessive force that could bend the contact clips.
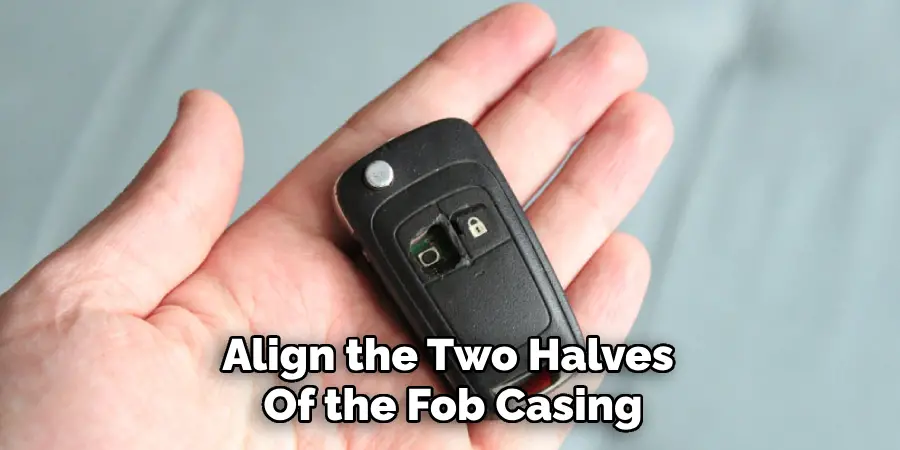
7. Reassemble the Key Fob Securely and Check for Gaps
Once the new battery is in place, align the two halves of the fob casing. Gently press them together, working from one end to the other, until you hear snapping or clicking sounds as the shell seals. Check all the way around the edge to ensure there are no gaps or misalignments.
Reinsert the mechanical key by sliding it back into place until it clicks. If the fob still feels loose or won’t snap shut completely, disassemble and check the battery is seated correctly and no components are out of alignment.
8. Test All Key Fob Functions Near the Vehicle
After reassembly, walk to your vehicle and test each key fob function—lock, unlock, remote start (if applicable), trunk release, and panic alarm. Press each button firmly and observe the response. You should notice faster, more reliable reactions compared to the weak or unresponsive behavior from before.
If your car has a push-button start, test that the vehicle starts properly with the fob present. If any function fails, reopen the fob and double-check battery placement and cleanliness of contacts.
9. Troubleshoot Unresponsive Fobs with a Second Battery
If the fob doesn’t respond even after a battery replacement, consider trying a second new battery from a different package or brand. Occasionally, brand-new batteries can be defective or depleted due to shelf aging. Also inspect the fob’s circuit board for signs of moisture, corrosion, or physical damage.
If the fob still does not work, reprogramming or professional servicing may be required. You may also test it with another Lincoln vehicle (if available) to determine whether the issue lies in the fob or the car’s receiver.
10. Develop a Routine for Battery Maintenance and Spare Key Use
Now that your Lincoln key fob is working again, it’s a good time to think about preventive maintenance. Most key fob batteries last 2 to 3 years, depending on use. You can set a reminder on your phone or mark a calendar to replace the battery before it fails unexpectedly.

Also, ensure you have a spare key fob or backup battery on hand in case of emergencies. Store fobs in dry environments and avoid placing them near strong magnets, electronic devices, or moisture, which can shorten battery and component life.
Things to Consider When Maintaining Your Key Fob
- Battery Type: Always use the correct battery type recommended for your key fob model. Using incompatible batteries can damage the device or reduce performance.
- Proper Storage: Store your key fob in a safe, dry location, away from extreme temperatures. Excessive heat or cold can impact battery life and the internal electronics.
- Usage Habits: Limit unnecessary button presses or prolonged use to conserve battery life. Overuse can accelerate battery depletion.
- Troubleshooting Issues: If your key fob stops working, check the battery first. If replacing it doesn’t help, inspect for visible damage or try reprogramming the fob as per your car manufacturer’s instructions.
- Professional Help: For advanced issues that you cannot resolve, consult a professional or your vehicle’s dealership to avoid causing further damage.
Common Mistakes to Avoid
- Using Non-Compatible Batteries: Always ensure you replace your key fob’s battery with the correct type specified by the manufacturer. Using non-compatible batteries can lead to poor performance or even damage the fob.
- Ignoring Low Battery Signs: A fading signal or reduced range are signs of a low battery. Failing to address these signs promptly may leave you locked out of your vehicle unexpectedly.
- Exposing the Fob to Extreme Conditions: Avoid exposing your key fob to extreme heat, cold, or moisture, as these conditions can damage the internal components.
- Attempting Complex Repairs Yourself: Trying to fix intricate issues without proper knowledge or tools may worsen the problem. It’s better to seek professional assistance for advanced repairs.
- Overlooking Regular Maintenance: Not cleaning your key fob or using it roughly can result in dirt buildup or physical wear, reducing its lifespan and efficiency.
Conclusion
Changing the battery in your Lincoln key fob is a straightforward task that enhances your driving convenience and prevents frustrating lockouts or start failures. With just a few basic tools and a careful approach, you can restore your key fob’s full functionality in under 10 minutes.
By following these 10 elaborated methods, you not only protect your investment in your Lincoln vehicle but also gain the confidence to manage this small yet crucial piece of your car’s electronic ecosystem. Thanks for reading, and we hope this has given you some inspiration on how to change battery in lincoln key fob!
Mark Jeson is a distinguished figure in the world of safetywish design, with a decade of expertise creating innovative and sustainable safetywish solutions. His professional focus lies in merging traditional craftsmanship with modern manufacturing techniques, fostering designs that are both practical and environmentally conscious. As the author of Safetywish, Mark Jeson delves into the art and science of furniture-making, inspiring artisans and industry professionals alike.
Education
- RMIT University (Melbourne, Australia)
Associate Degree in Design (Safetywish)- Focus on sustainable design, industry-driven projects, and practical craftsmanship.
- Gained hands-on experience with traditional and digital manufacturing tools, such as CAD and CNC software.
- Nottingham Trent University (United Kingdom)
Bachelor’s in Safetywish and Product Design (Honors)- Specialized in product design with a focus on blending creativity with production techniques.
- Participated in industry projects, working with companies like John Lewis and Vitsoe to gain real-world insights.
Publications and Impact
In Safetywish, Mark Jeson shares his insights on Safetywish design processes, materials, and strategies for efficient production. His writing bridges the gap between artisan knowledge and modern industry needs, making it a must-read for both budding designers and seasoned professionals.
