
The Ring Keypad is an essential component of your Ring Alarm system, providing a convenient way to arm and disarm your security devices. To ensure it operates effectively, keeping the keypad charged is crucial. This guide will walk you through the steps of how to charge ring keypad, ensuring it remains functional and ready to protect your home.
Does the Ring Keypad Need Charging?
Yes, the Ring Keypad requires periodic charging to function properly. It is equipped with a rechargeable battery, allowing it to operate without needing to be constantly plugged into a power source.
When the battery level becomes low, you’ll receive a notification through the Ring app, prompting you to recharge it. Maintaining a regular charging schedule ensures uninterrupted performance and extends the battery’s lifespan. Always use the provided charging cable for optimal results.
How to Know When Your Ring Keypad Needs Charging
The Ring Keypad is designed to notify you when it requires charging. You will receive an alert through the Ring app indicating that the battery level is low.
Additionally, the keypad itself may display a low battery light or indicator, depending on the model. Regularly checking the battery status in the Ring app ensures you won’t miss these notifications. To avoid disruptions, it’s a good idea to set reminders or periodically check the battery level if you tend to use the keypad frequently.
10 Methods How to Charge Ring Keypad
1. Identify the Generation of Your Ring Keypad
The first and most important step is to determine which generation of Ring Keypad you are working with. The 2nd Generation Ring Keypad is the only version that includes an internal rechargeable battery.
It has a compact, rounded design and improved battery life compared to the older model. In contrast, the 1st Generation Keypad uses three AA alkaline batteries and cannot be recharged. If you attempt to “charge” a 1st Gen unit, it will not respond as it lacks that capability. Confirming your model helps avoid confusion and ensures you follow the correct charging process.
2. Use the Provided Micro-USB Charging Cable
For the 2nd Gen keypad, charging is accomplished using the micro-USB cable included with your device. The charging port is located on the back of the keypad, usually near the base. Gently plug the smaller end of the cable into this port, and connect the other end to a standard USB power adapter.

Ring recommends using a 5V/1A or 5V/2A adapter for optimal charging speed. Avoid using fast-charging adapters with higher output, as they could potentially shorten battery life or damage internal components over time.
3. Plug the Keypad into a Wall Outlet
Once the micro-USB cable is connected, plug the USB adapter into a reliable wall outlet. Charging from a direct power source is usually faster and more stable than charging through a computer USB port.
When the keypad begins charging, its status lights will activate—typically pulsing or blinking to indicate that the battery is refilling. You can confirm the charging status either by observing the lights or by checking the Ring app, where the battery percentage is displayed under the keypad’s device page.
4. Monitor Charging Progress Using the Ring App
While the keypad is charging, it’s helpful to track battery progress through the Ring mobile app. Open the app, go to the Devices tab, and tap on the name of your keypad. From there, you can view the current battery percentage, charging status, and signal strength.
The app will typically say “Charging” alongside a battery icon. This feedback is especially useful if you’re unsure whether the connection is working or if the cable is faulty. If you don’t see any update after 10–15 minutes, check all cable connections.
5. Allow Enough Time for a Full Charge
A full charge cycle for the Ring 2nd Gen Keypad typically takes 5 to 10 hours, depending on how depleted the battery is and the power rating of your adapter. It’s important to allow the battery to fully charge before disconnecting the cable to ensure the longest possible use time between charges.
Partial charges are fine for emergencies, but a complete charge cycle helps the lithium-ion battery perform optimally and last longer over time. Most users find a full charge lasts several weeks or more under normal use.
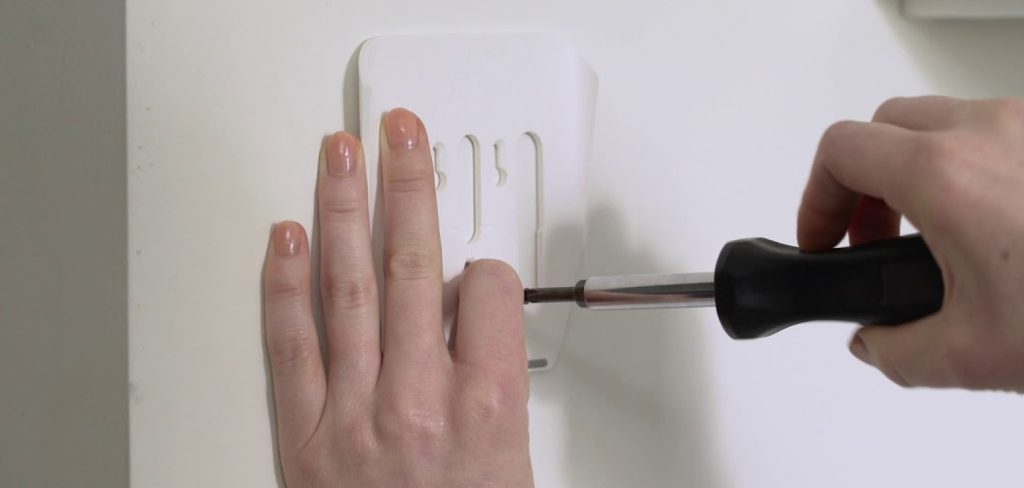
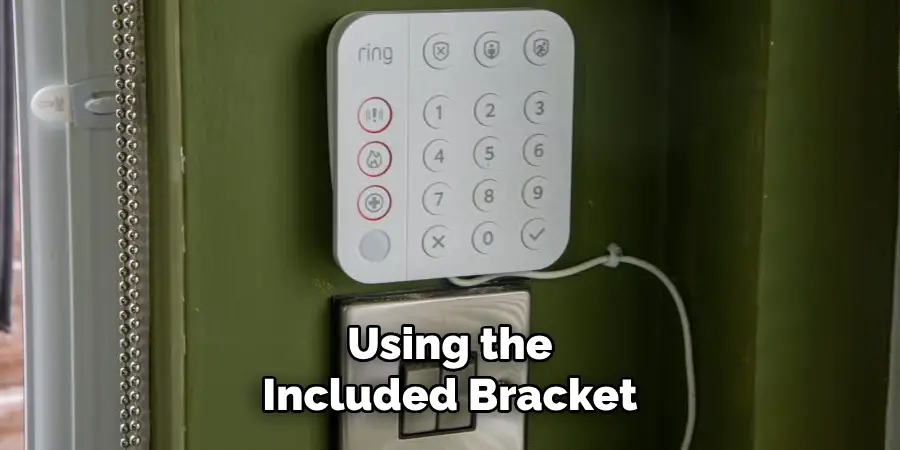
6. Mount and Charge Simultaneously if Desired
One of the most convenient features of the Ring Keypad is the ability to charge while mounted on the wall. If you’ve wall-mounted your keypad using the included bracket, there’s usually enough space to route the charging cable through the bottom or side and connect it while the keypad remains in place.
This allows continuous charging and prevents downtime. Many users leave the keypad plugged in permanently so it operates like a hardwired device while still maintaining battery backup in the event of a power outage.
7. Use a Portable Power Bank for On-the-Go Charging
If you don’t have easy access to a wall outlet, or you’re placing the keypad in a temporary location (like a vacation home), you can charge it using a portable power bank. Simply connect the keypad to the power bank using the micro-USB cable, just as you would with an adapter.
This method provides flexibility for setups where power sources are limited or during travel. However, ensure your power bank provides at least 5V/1A output for safe charging. This solution is particularly useful for renters who avoid drilling or mounting near outlets.
8. Avoid Overcharging the Keypad
While Ring Keypads are designed with overcharge protection, it’s still a good practice to unplug the charger once the battery reaches 100%. Leaving it connected for extended periods—such as weeks at a time—won’t necessarily harm the device due to built-in safety mechanisms, but it may contribute to reduced battery performance over the long term.
If you plan to leave the keypad plugged in permanently, it’s wise to check the Ring app periodically to ensure the battery health remains optimal and the device isn’t overheating or reporting unusual activity.
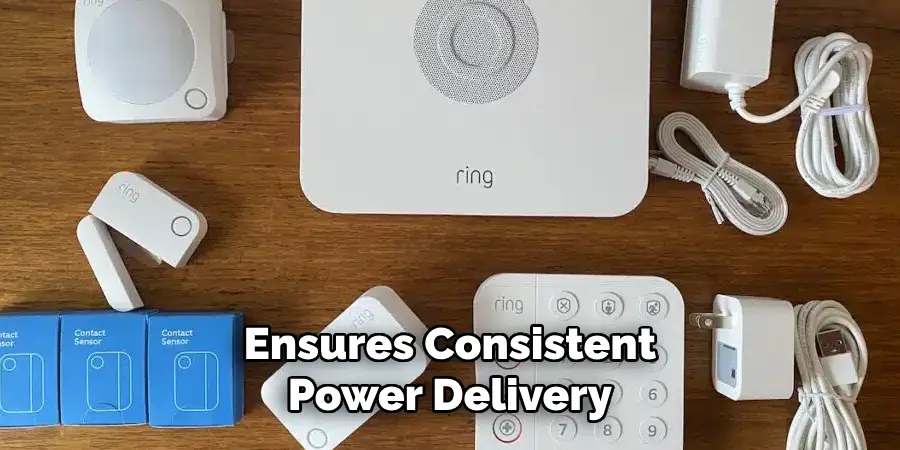
9. Clean the Charging Port Regularly
Dust, lint, or debris inside the micro-USB port can prevent the charging cable from making a good connection. If you notice inconsistent charging or no charge at all, try cleaning the port using a dry, soft-bristled toothbrush or a toothpick. Never use liquid cleaners or insert metal objects.
Cleaning the port occasionally ensures consistent power delivery and prolongs the life of both the keypad and the charger. This is especially important if the keypad is placed near an entryway or in a dusty environment.
10. Enable Charging Notifications in the Ring App
To stay informed and avoid unexpected downtime, enable battery and charging notifications in the Ring app. Go to the keypad’s device settings and turn on alerts for “Low Battery” and “Charging Complete.”
These alerts will notify you when it’s time to charge the keypad or when it has finished charging. This proactive approach ensures you’re always aware of the device’s power status and can prevent disruptions to your home’s security system due to a depleted keypad battery.
Maintenance and Upkeep
Proper maintenance of your Ring Keypad is essential to ensure its longevity and reliability. Regularly inspect the device for any signs of wear or damage, such as loose buttons or cracks in the casing, and address issues promptly to prevent further complications. Keep the keypad clean by gently wiping it with a soft, slightly damp cloth to remove dust and debris.
Avoid using harsh chemicals, as they may damage the device. Additionally, ensure that the firmware for the keypad is kept up to date through the Ring app, as updates often include security enhancements and performance improvements. By taking these steps, you’ll help maintain the functionality and dependability of your security system.
Troubleshooting Common Issues
Even with regular maintenance, you may encounter occasional issues with your Ring keypad. Here are some common problems and their potential solutions:
- Keypad Not Responding
- Solution: Ensure the keypad is properly charged or connected to a power source. Check for loose cables if it’s wired. Restart the device by turning it off and back on. If the issue persists, try resetting the keypad to its factory settings using the instructions in the manual.
- Connectivity Problems
- Solution: Verify that the keypad is within range of your Ring Base Station. Ensure your Wi-Fi network is working correctly and that there is no interference caused by other devices. Reconnect the keypad to the Ring system through the app if needed.
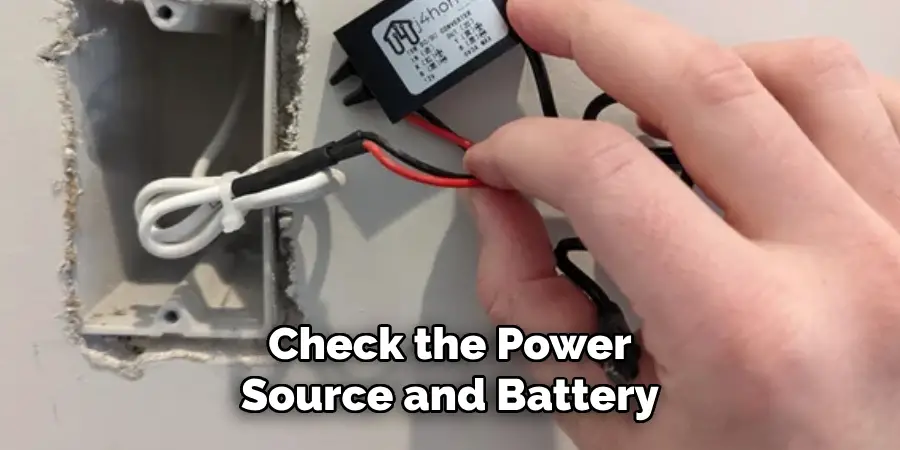
- Dim or Non-Functioning Lights
- Solution: If the lights on your keypad are dim or not functioning, check the power source and battery levels. For wireless keypads, replacing the batteries may resolve the issue. Confirm that firmware updates have been applied, as these can address lighting-related bugs.
- Delayed or Missed Commands
- Solution: This could be caused by network lag or interference. Move the keypad closer to the base station to ensure a strong connection. If the problem continues, restart both the keypad and the base station, and ensure the app is up to date.
By following these troubleshooting tips, you can quickly resolve most issues and ensure your keypad continues to function seamlessly as part of your security system.
Conclusion
Charging your Ring Keypad is a straightforward process, but understanding the best methods helps ensure efficiency, safety, and longevity.
By identifying the correct model, using the proper cables and chargers, tracking progress via the app, and keeping the device clean and cool, you can maintain uninterrupted operation and extend battery life. Thanks for reading, and we hope this has given you some inspiration on how to charge ring keypad!
Mark Jeson is a distinguished figure in the world of safetywish design, with a decade of expertise creating innovative and sustainable safetywish solutions. His professional focus lies in merging traditional craftsmanship with modern manufacturing techniques, fostering designs that are both practical and environmentally conscious. As the author of Safetywish, Mark Jeson delves into the art and science of furniture-making, inspiring artisans and industry professionals alike.
Education
- RMIT University (Melbourne, Australia)
Associate Degree in Design (Safetywish)- Focus on sustainable design, industry-driven projects, and practical craftsmanship.
- Gained hands-on experience with traditional and digital manufacturing tools, such as CAD and CNC software.
- Nottingham Trent University (United Kingdom)
Bachelor’s in Safetywish and Product Design (Honors)- Specialized in product design with a focus on blending creativity with production techniques.
- Participated in industry projects, working with companies like John Lewis and Vitsoe to gain real-world insights.
Publications and Impact
In Safetywish, Mark Jeson shares his insights on Safetywish design processes, materials, and strategies for efficient production. His writing bridges the gap between artisan knowledge and modern industry needs, making it a must-read for both budding designers and seasoned professionals.
