
Regular maintenance of your Roomba’s dust bin sensor is crucial for optimal performance and longevity. Over time, dust, debris, and other particles can accumulate on the sensor, potentially hampering its efficiency. By keeping the sensor clean, you ensure that your Roomba can accurately detect dust levels and clean your home more effectively. In this guide, we’ll explore a step-by-step process of how to clean roomba dust bin sensor, ensuring your Roomba operates at its best.
Why Dust Bin Sensors Matter
Dust bin sensors play a pivotal role in the functionality of your Roomba. These sensors aid the vacuum in determining when the dust bin is full, prompting it to return to its docking station for emptying. Without reliable sensors, your Roomba may continue to operate with reduced efficiency, as it cannot accurately differentiate between clean and dirty areas.
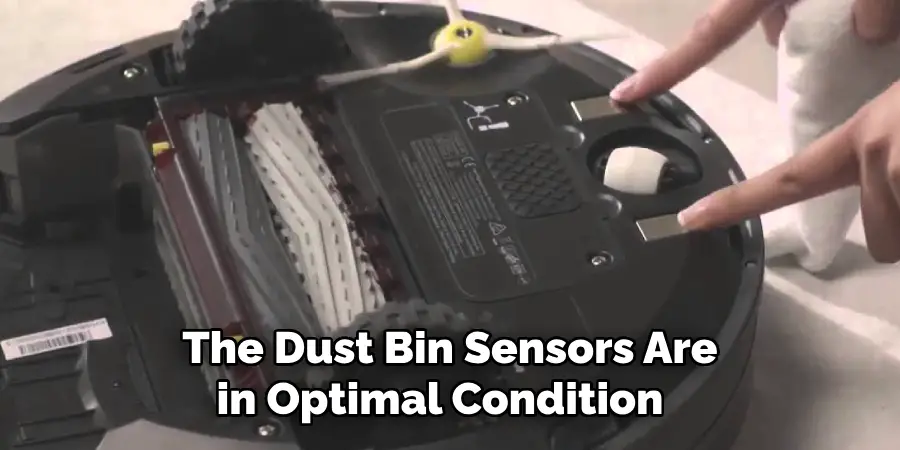
This not only compromises the quality of cleaning but may also lead to overworking the device, reducing its lifespan. By ensuring the dust bin sensors are in optimal condition, you enable your Roomba to perform its duties with precision, maintaining a tidy living environment with minimal intervention.
Importance of Regular Cleaning for Optimal Performance
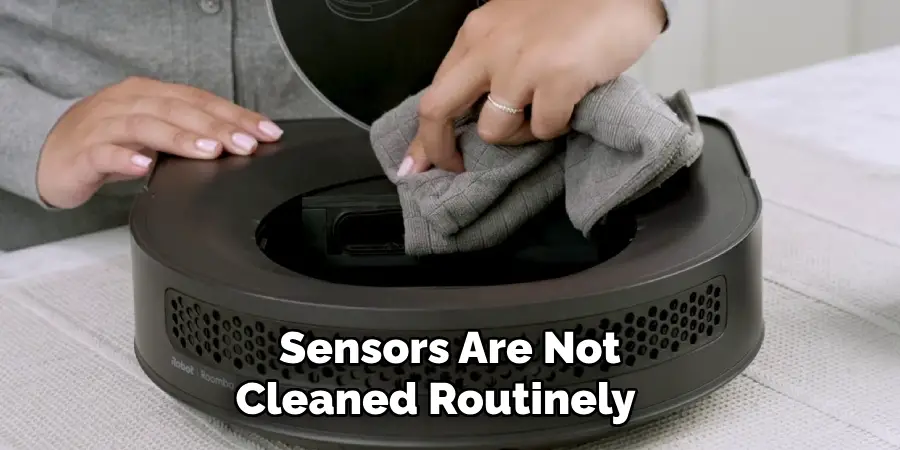
Regular cleaning of your Roomba dust bin sensor is essential for maintaining its efficiency and extending its lifespan. When sensors are not cleaned routinely, dirt and grime can obstruct them, leading to inaccurate dust level readings and inefficient cleaning cycles. This not only reduces the Roomba’s performance but can also cause the device to expend more energy than necessary, potentially leading to increased wear and tear.
Consistent maintenance ensures that your Roomba operates smoothly and effectively, achieving optimal suction power and delivering a thorough clean each time. Implementing regular cleaning into your routine helps prevent costly repairs or replacements, thereby maximizing your investment in this intelligent cleaning technology.
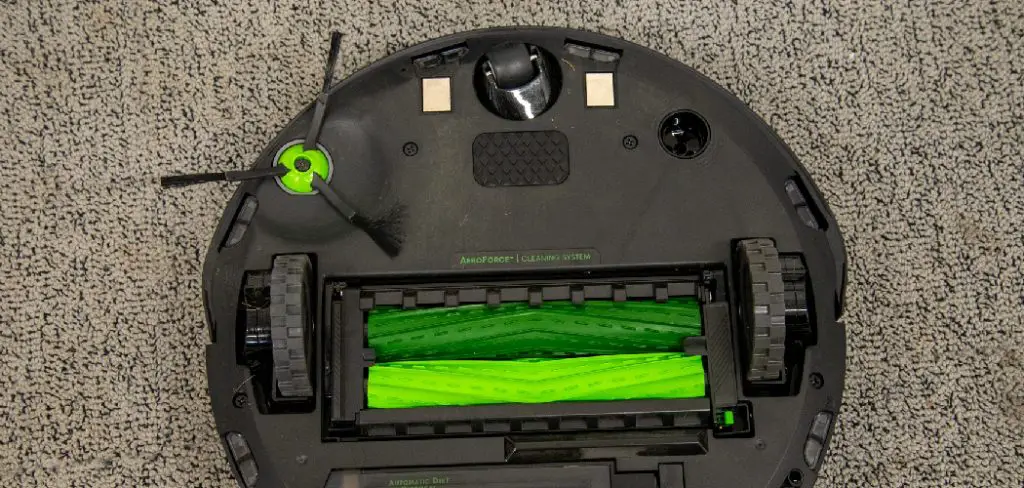
Understanding Roomba Dust Bin Sensors
Roomba dust bin sensors are a critical component of robotic vacuum technology, designed to enhance the cleaning efficiency by detecting when the dust bin needs to be emptied. These sensors utilize an advanced optical system to identify the buildup of debris within the bin, facilitating timely alerts that inform the user when maintenance is required.
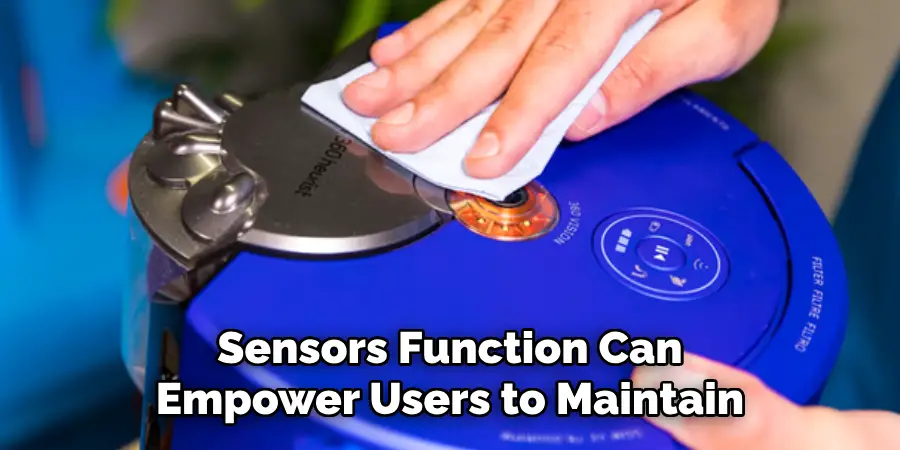
The precision of these sensors ensures that your Roomba does not lose suction or efficiency due to an overloaded bin. Furthermore, these sensors contribute to the energy-efficient operation of the Roomba by allowing the device to optimize its cleaning cycles and avoid unnecessary power usage. Understanding how these sensors function can empower users to maintain their Roomba effectively, ensuring peak performance and extending the life of the device.
10 Easy Methods For How to Clean Roomba Dust Bin Sensor
Vacuuming without lifting a finger—sounds like a dream, right? Enter Roomba, the trusty robot vacuum that’s saved countless homeowners from the drudgery of cleaning floors manually. But even your dutiful Roomba needs some TLC, especially when its dust bin sensor gets a little…befuddled.
If you’ve noticed your Roomba acting a tad confused—perhaps it’s been missing spots or refusing to start—it might be time to give its dust bin sensor a good clean. Not sure where to start? Fear not! We’ve rounded up 10 simple yet effective methods to rid your Roomba’s sensor of dust bunnies and restore order to your cleaning routine.
1. Gather Your Cleaning Tools
Before you begin, make sure you have the right tools on hand. A soft microfiber cloth, a can of compressed air, and some gentle cleaning solution should do the trick. If you’re feeling fancy, you can even use a tiny brush or cotton swabs to get into those hard-to-reach spots. Trust us, your Roomba will thank you for the spa day.
2. Turn Off Your Roomba
Safety first, folks! Before you start poking around your Roomba’s insides, make sure it’s powered down. Flip it upside down and remove the dust bin. You wouldn’t want your Roomba to come alive mid-cleaning session, would you?
3. Lightly Dust Off the Sensor
Using your trusty microfiber cloth, gently dust off the sensor. This simple step can often solve minor sensor issues. Think of it as a friendly wake-up call for your Roomba, reminding it to get back to work.
4. Use Compressed Air
For those stubborn particles that refuse to budge, a can of compressed air is your best friend. Aim the nozzle at the sensor and give it a few short bursts. Be careful not to hold the can too close, or you might end up blasting your Roomba into the next room.
5. Try a Gentle Cleaning Solution
If simple dusting doesn’t cut it, dampen your cloth or cotton swab with a small amount of gentle cleaning solution. Lightly wipe the sensor, being cautious not to soak any electronic components. Your Roomba isn’t a fish, after all.
6. Check for Obstructions
Sometimes, pesky obstructions like hair or debris can get caught around the sensor area. Use a small brush or tweezers to carefully remove any visible blockages. It’s like a Roomba makeover—hair extensions not included.
7. Inspect the Dust Bin
A clean sensor is only effective if the dust bin itself is free of grime. Wash the dust bin with warm, soapy water and ensure it’s completely dry before reinserting it. Your Roomba deserves a sparkling clean dust bin, after all.
8. Reset Your Roomba
If you’ve cleaned everything and your Roomba is still misbehaving, try resetting it. Sometimes a simple reboot is all it takes to get things back on track. Just hold down the “CLEAN” button until you hear a beep, and voila! Fresh start.
9. Update Roomba’s Software
Believe it or not, your Roomba has software updates, just like your phone. Check the iRobot app for any available updates and keep your Roomba’s brain in tip-top shape. Who knew vacuums could be so tech-savvy?
10. Call in the Pros
Still having trouble? It might be time to call in the experts. Contact iRobot customer support for guidance, or consider taking your Roomba to an authorized service center. Sometimes even robots need a little professional help.
Maintenance and Upkeep Keeping Your Roomba in Prime Condition
Your Roomba has been a trusty sidekick in your battle against dust and dirt. To ensure it remains at the top of its cleaning game, a little regular maintenance is all it asks for—much like a pet, minus the feeding part. Think of it as pampering your Roomba to unleash its full dirt-busting potential, without any hair-raising experiences. Let’s explore the simple yet effective upkeep rituals that’ll keep your mechanical buddy whirring happily around your home.
Regular Sensor Checks
We can’t stress this enough: clean sensors make happy Roombas! Make it a routine to give your Roomba’s sensors a quick check and cleaning every couple of weeks. This way, you’re stopping any sneaky sensor issues before they lead to a cleaning catastrophe—or more realistically, a tiny mess in the corner of your living room.
Brush and Roller Care
Like that time you found a stray sock in the laundry, your Roomba’s brushes and rollers can unknowingly collect debris. Give them a regular once-over to keep tangles at bay. Remove hair and grime with a small brush or by hand, and check if they’re free-spinning. This not only helps maintain cleaning performance but also keeps your Roomba from adopting a new hairstyle made entirely of lint.
Battery Management
Your Roomba runs on its mighty battery. To extend its life, store your Roomba in a cool, dry place and keep it plugged in when not in use. Allow it to complete a full cycle of charging and discharging once in a while, much like how you pamper yourself with a full day’s rest—the Roomba equivalent of a staycation.
Firmware Updates
Stay ahead of the curve: regularly check for firmware updates through the iRobot app. These updates not only improve your Roomba’s cleaning prowess but also give it new features and enhancements. It’s like Christmas morning for your robotic cleaner!
Professional Tune-ups
Feeling extra cautious? Schedule a professional service visit or contact iRobot customer support for tune-up advice. Much like us humans, every Roomba appreciates a little expert attention now and then.
Conclusion
Taking care of your Roomba is the key to maintaining its top-notch cleaning performance. By following these simple tips and infusing a bit of humor into your maintenance routine, not only will you prolong your robotic helper’s lifespan, but you’ll also ensure it continues to impress you with spotless floors.
Remember, a well-pampered Roomba is a happy Roomba, ready to tackle any dust bunny that dares to cross its path. Thanks for reading our blog post on how to clean roomba dust bin sensor! We hope you found it helpful and informative.
Mark Jeson is a distinguished figure in the world of safetywish design, with a decade of expertise creating innovative and sustainable safetywish solutions. His professional focus lies in merging traditional craftsmanship with modern manufacturing techniques, fostering designs that are both practical and environmentally conscious. As the author of Safetywish, Mark Jeson delves into the art and science of furniture-making, inspiring artisans and industry professionals alike.
Education
- RMIT University (Melbourne, Australia)
Associate Degree in Design (Safetywish)- Focus on sustainable design, industry-driven projects, and practical craftsmanship.
- Gained hands-on experience with traditional and digital manufacturing tools, such as CAD and CNC software.
- Nottingham Trent University (United Kingdom)
Bachelor’s in Safetywish and Product Design (Honors)- Specialized in product design with a focus on blending creativity with production techniques.
- Participated in industry projects, working with companies like John Lewis and Vitsoe to gain real-world insights.
Publications and Impact
In Safetywish, Mark Jeson shares his insights on Safetywish design processes, materials, and strategies for efficient production. His writing bridges the gap between artisan knowledge and modern industry needs, making it a must-read for both budding designers and seasoned professionals.
