
Are you tired of struggling to open doors with your skeleton keys? Do you find yourself constantly fumbling or getting stuck while trying to use them? If so, it may be time to give your skeleton keys a good cleaning. Not only will this make them easier to use, but it can also help preserve their longevity and functionality.
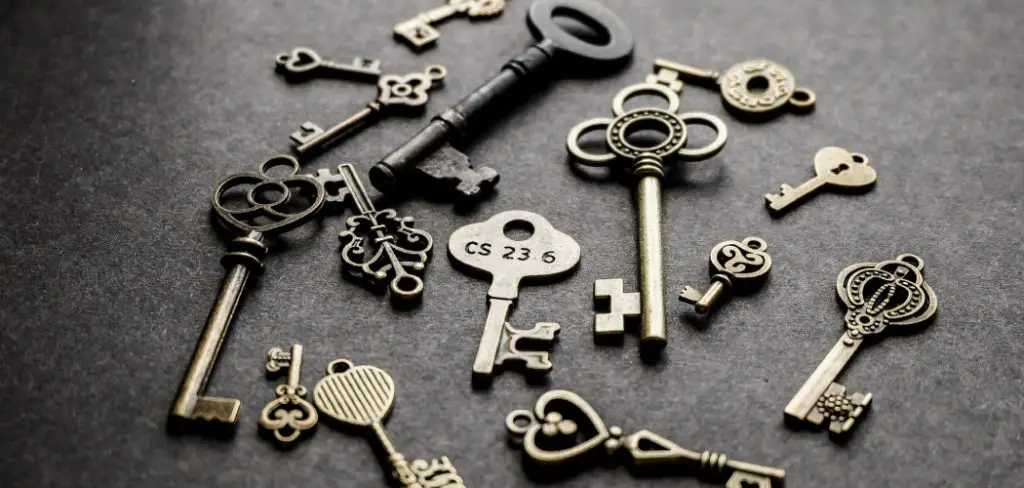
How to clean skeleton keys is an essential step in maintaining their functionality and preserving their historical charm. Over time, these antique keys can accumulate dirt, rust, and grime, which may impact their appearance and usability. Whether you’re a collector, a locksmith, or someone who simply appreciates the vintage appeal of skeleton keys, knowing how to clean them properly ensures their longevity without causing damage.
With the right tools and techniques, you can restore these unique pieces to their former glory.
What are the Benefits of Cleaning Antique Keys?
Here are some reasons why it’s important to clean your antique keys regularly:
- Preserves Historical Value: Antique keys carry a rich history and hold sentimental value for many people. By cleaning them, you are preserving their historical significance and preventing further degradation.
- Improves Functionality: Over time, dirt and grime can build up in the crevices of an antique key, making it difficult to use. Regular cleaning removes these obstructions, ensuring smooth functionality.
- Prevents Rust and Corrosion: If left uncleaned, rust can form on metal keys, leading to corrosion and potential damage. By regularly cleaning your antique keys, you can prevent rust from forming and keep them in good condition.
- Maintains Aesthetics: Antique keys often have intricate designs and engravings that can become dull or tarnished over time. By cleaning them, you can restore their original beauty and maintain the authenticity of the key.
- Enhances Display Value: Whether you have a collection of antique keys on display or use them as decorative pieces in your home, regular cleaning can enhance their visual appeal.
What Will You Need?
Before you begin cleaning your antique keys, gather the necessary materials. You will need:
- Warm water
- Mild dish soap or metal cleaner
- Soft-bristled toothbrush or cotton swabs
- Soft cloth or microfiber towel
Once you have all the required materials, follow these steps to clean your antique keys.
10 Easy Steps on How to Clean Skeleton Keys
Step 1. Assess the Condition of the Keys
Before you proceed with cleaning, closely inspect the condition of the skeleton keys. Look for signs of rust, dirt, or tarnish that may require special attention. If the keys have any intricate designs, pay extra attention to the grooves and crevices where dirt often accumulates. Take note of the material the keys are made of—common materials include brass, steel, or iron.
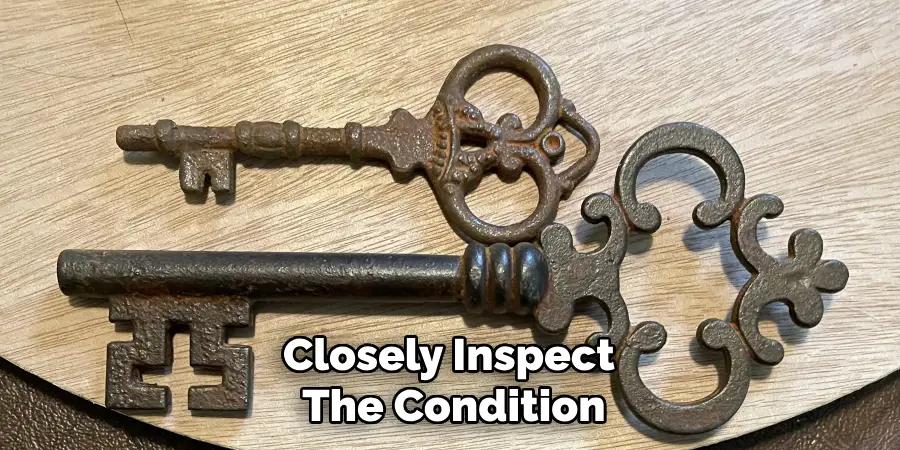
Each may require slightly different care methods, so it’s important to identify the material beforehand. If the keys are excessively fragile or significantly corroded, you may want to consult a professional to avoid causing any unintentional damage. This initial assessment ensures that you’re prepared to address any specific needs the keys might have during the cleaning process.
Step 2. Prepare a Cleaning Solution
To prepare a cleaning solution, begin by choosing a mild detergent or a household cleaning agent, such as dish soap, that is gentle enough not to damage the keys. Mix a small amount of the detergent with warm water in a bowl or container. Aim for a soapy, but not overly concentrated, solution. Avoid using harsh chemicals like bleach or ammonia, as these can corrode metal surfaces or strip protective coatings. If you prefer a natural alternative, a mixture of equal parts white vinegar and water can also be effective. Once your solution is ready, place it within easy reach, along with any clothes or soft brushes you plan to use for scrubbing.
Step 3. Soak the Keys
Place the keys gently into the prepared cleaning solution, ensuring they are fully submerged. Allow them to soak for approximately 10 to 15 minutes to loosen any dirt, grease, or grime that may have accumulated over time. This step helps to soften stubborn residues, making them easier to remove in subsequent cleaning steps. Avoid soaking for too long, particularly if the keys are made of delicate metals, to prevent any potential damage. While the keys soak, you can prepare your cleaning tools for the next stage.
Step 4. Scrub Gently
Using a soft-bristled brush or an old toothbrush, gently scrub each key to remove any remaining debris and residue. Pay close attention to any crevices or intricate designs, as dirt can often accumulate in these areas. If necessary, dip the brush into the cleaning solution to aid in breaking down tougher grime.
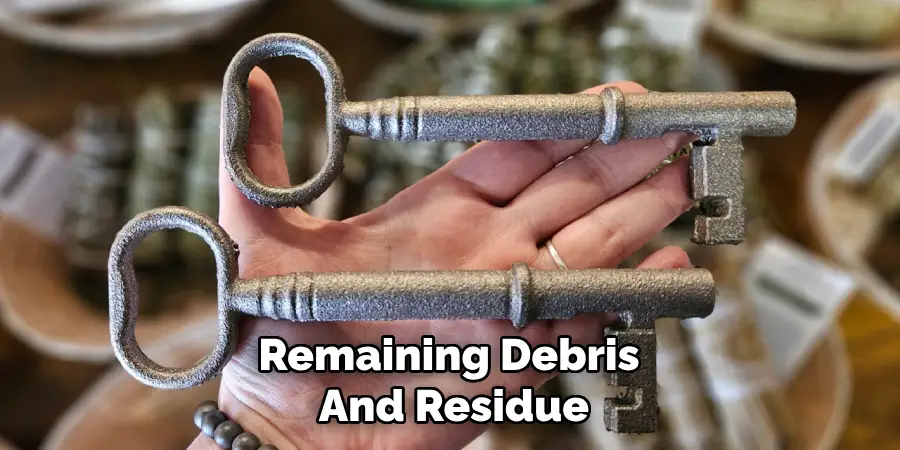
Avoid using excessive force to prevent scratching or damaging the surface. Once each key has been thoroughly cleaned, rinse it under lukewarm water to wash away any soapy residue. Place the cleaned keys on a dry towel and carefully pat them dry, ensuring no moisture is left behind.
Step 5. Rinse Thoroughly
After cleaning the keys, it’s essential to rinse them thoroughly to remove any remaining cleaning solution. Hold each key under a gentle stream of lukewarm water, ensuring all soap or residue is fully washed away. Take your time to inspect each key, making sure no traces of cleaner remain, as leftover residue could affect performance or appearance. Be cautious not to submerge any part with electronic components. Once rinsed, proceed to dry the keys completely to avoid any water damage.
Step 6. Dry the Keys
After rinsing the keys, it is crucial to dry them thoroughly to prevent moisture from causing damage. Use a clean, dry microfiber cloth to gently pat each key dry, ensuring no water is left on the surface. If possible, place the keys on a towel in a well-ventilated area and allow them to air dry completely for a few hours. Avoid using any heat sources, such as hair dryers, as excessive heat could warp or damage the keys. Patience during this step is key to ensuring the longevity and proper functionality of your keyboard.
Step 7. Remove Rust
If you notice any rust on metal components of your keyboard, it is important to address it carefully to avoid further damage. Begin by using a soft brush or a piece of fine steel wool to gently scrub the rusted area. Be cautious not to apply too much pressure, as this could scratch or damage the surface. For more stubborn rust, you may use a small amount of rust remover, ensuring it is appropriate for the material.
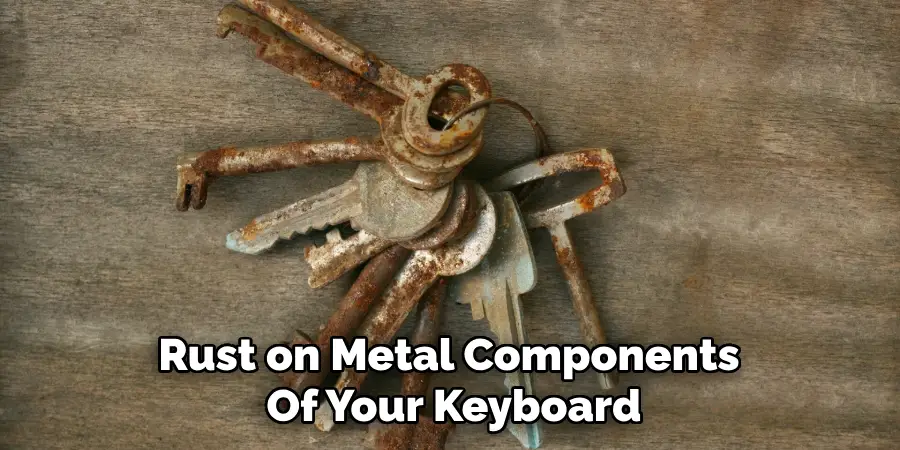
Apply the rust remover with a cotton swab or cloth and follow the manufacturer’s instructions for use. Once the rust is removed, thoroughly clean the area with a damp cloth to remove any residue. Allow the components to dry completely before reassembling the keyboard to ensure optimal performance.
Step 8. Polish the Keys
To polish the keys, begin by using a microfiber cloth and a small amount of plastic-safe polish or cleaner. Gently rub each key in a circular motion to remove smudges, fingerprints, and any remaining grime. Be sure to avoid excessive moisture, as it can seep into the keys and cause damage. Once all keys are polished, wipe them down with a clean, dry microfiber cloth to remove any residue. This step not only enhances the keyboard’s appearance but also ensures a smoother surface for typing.
Step 9. Inspect and Reassemble
Carefully inspect each key and the keyboard base to ensure that everything is clean and free from debris. Check for any signs of damage, such as cracks or worn-out pieces, and address them before reassembly. Once satisfied with the condition of all components, start reattaching the keys to their respective spots, following the layout of your keyboard. Press each key firmly but gently until you hear a click, indicating it is securely in place. After reassembling, give the entire keyboard a final wipe with a dry microfiber cloth to remove any dust or fingerprints. Your keyboard should now be clean, fully reassembled, and ready for use!
Step 10. Store Properly
To ensure the longevity and proper functioning of your keyboard, it’s essential to store it correctly when not in use. Keep it in a clean, dry area, away from direct sunlight, extreme temperatures, or humidity, as these factors can damage the components over time. If you need to transport your keyboard, consider using a protective case or cover to prevent dust, dirt, or accidental impacts. Proper storage will help maintain your keyboard’s performance and extend its lifespan significantly.

By following these simple cleaning and storage tips, you can ensure that your keyboard stays in top condition for years to come.
5 Things You Should Avoid
- Using Harsh Chemicals
Avoid using strong cleaning agents like bleach, ammonia, or acidic solutions, as these can corrode the metal and damage the intricate details of the skeleton key.
- Submerging the Key in Water
Do not soak the skeleton key in water for prolonged periods. Excess moisture can lead to rust or tarnish, especially on older or less treated metals.
- Scrubbing with Abrasive Materials
Steer clear of abrasive brushes or steel wool, which can scratch the surface and harm the delicate engravings or finish of the key.
- Using Excessive Force
Avoid applying too much pressure when cleaning, as skeleton keys can be fragile and prone to bending or breaking if handled roughly.
- Neglecting Proper Drying
After cleaning, ensure the key is thoroughly dried to prevent moisture-related issues like rust or discoloration. Leaving it damp can quickly lead to damage over time.
Conclusion
Cleaning skeleton keys requires a delicate and attentive approach to preserve their historical value and functionality.
By using gentle cleaning methods, avoiding abrasive tools, and ensuring proper drying, you can maintain the integrity of the key while preventing unnecessary damage. Regular care and mindful handling will ensure these timeless artifacts remain in excellent condition for years to come.
Hopefully, the article on how to clean skeleton keys has provided you with helpful tips and techniques to safely maintain your collection.
Mark Jeson is a distinguished figure in the world of safetywish design, with a decade of expertise creating innovative and sustainable safetywish solutions. His professional focus lies in merging traditional craftsmanship with modern manufacturing techniques, fostering designs that are both practical and environmentally conscious. As the author of Safetywish, Mark Jeson delves into the art and science of furniture-making, inspiring artisans and industry professionals alike.
Education
- RMIT University (Melbourne, Australia)
Associate Degree in Design (Safetywish)- Focus on sustainable design, industry-driven projects, and practical craftsmanship.
- Gained hands-on experience with traditional and digital manufacturing tools, such as CAD and CNC software.
- Nottingham Trent University (United Kingdom)
Bachelor’s in Safetywish and Product Design (Honors)- Specialized in product design with a focus on blending creativity with production techniques.
- Participated in industry projects, working with companies like John Lewis and Vitsoe to gain real-world insights.
Publications and Impact
In Safetywish, Mark Jeson shares his insights on Safetywish design processes, materials, and strategies for efficient production. His writing bridges the gap between artisan knowledge and modern industry needs, making it a must-read for both budding designers and seasoned professionals.
