
Connecting your Halo Lock to WiFi is a straightforward process that enhances your smart lock’s functionality by allowing remote access, monitoring, and management from anywhere.
In this guide on how to connect halo lock to wifi, we will walk you through the step-by-step process to ensure that your Halo Lock is set up correctly and securely connected to your home network. With a reliable WiFi connection, you can take full advantage of the smart features your lock offers, providing peace of mind and convenience at your fingertips.
Needed Materials
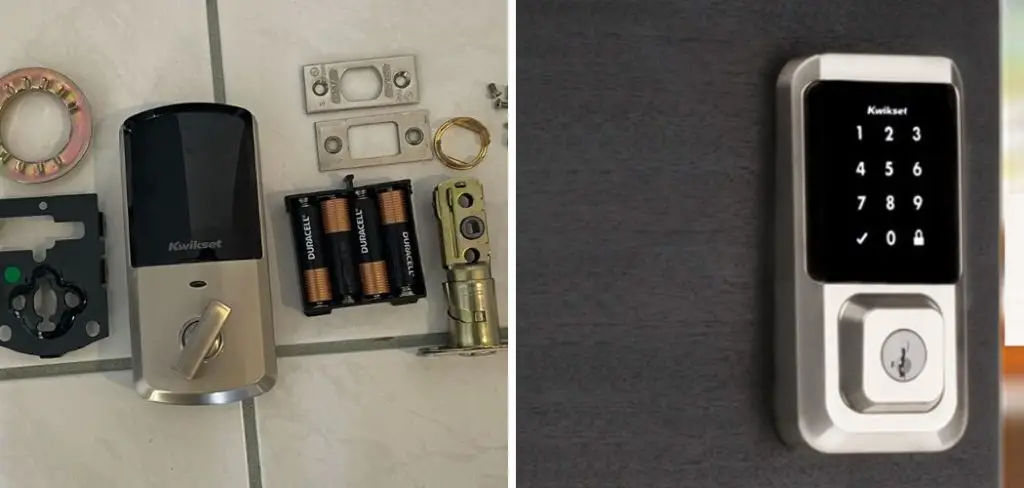
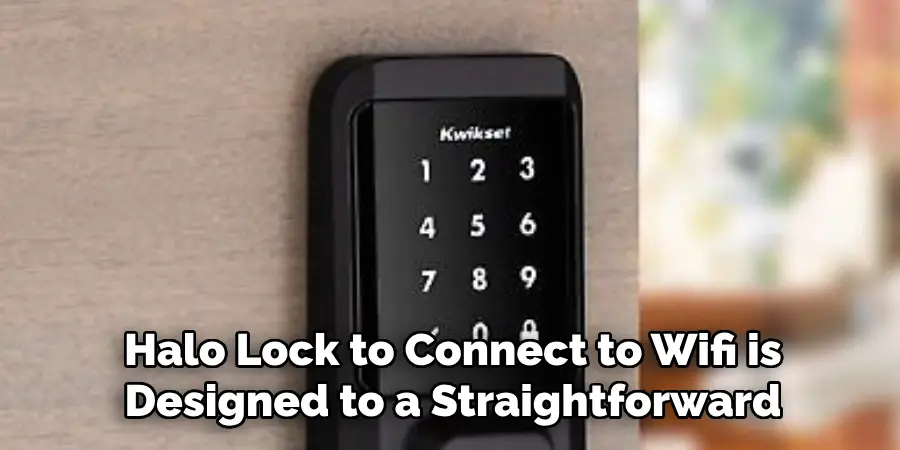
Halo Lock:
Before starting the WiFi connection process, ensure that you have completed the Halo Lock installation and setup. You will also need to have your lock’s master code handy for this process.
Smartphone or Tablet:
You will need a smartphone or tablet with the Kwikset App installed to connect your Halo Lock to WiFi. The app is available for free on both iOS and Android devices.
Strong WiFi Network:
Make sure that you have a strong WiFi network with reliable internet access. A weak signal or unstable connection can cause issues during the setup process. Test your network strength before proceeding.
10 Step-by-step Methods on How to Connect Halo Lock to Wifi
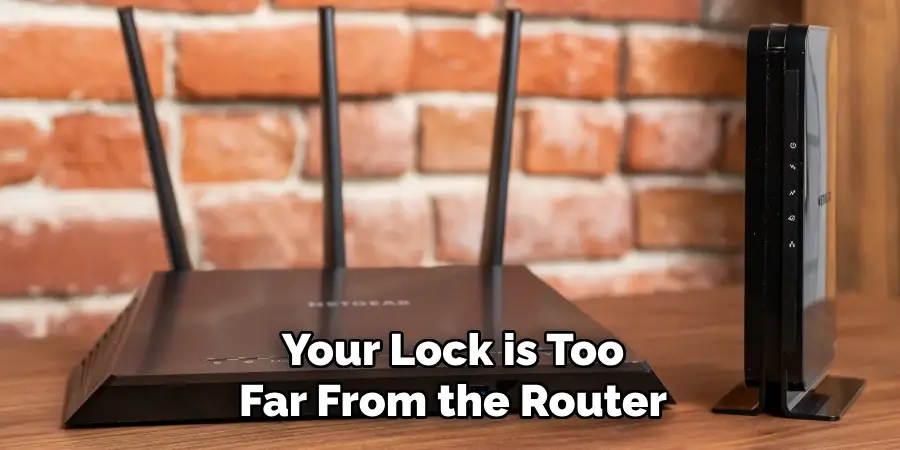
Method 1: Make sure your Halo Lock is within the range of your Wi-Fi network.
- The lock should be within 40 feet of the router for a successful connection.
- If your lock is too far from the router, you may need to use a WiFi range extender.
- Ensure that the lock is not obstructed by thick walls or large metal objects, which can interfere with the WiFi signal.
- Check that your router is set to broadcast on both the 2.4GHz and 5GHz frequencies, as the Halo Lock only connects to a 2.4GHz network.
Method 2: Enable Wifi on Your Smartphone or Tablet.
- Open the settings on your device and enable the WiFi function if it’s not already turned on.
- Make sure your device is connected to your home WiFi network before proceeding.
- Disable mobile data to avoid any connection issues.
Method 3: Create a Kwikset Account and Log in to the App.
- Open the Kwikset App on your device.
- If you don’t have an account, create one by clicking “Sign Up.”
- If you already have an account, log in with your username and password.
Method 4: Select “Add Lock” From the Menu.
- In the Kwikset App, tap on the menu button (three horizontal lines) located at the top left corner of the screen.
- From the menu options, select “Add Lock”.
- Choose “Halo” from the list of available locks.
Method 5: Prepare Your Lock for a Wi-Fi connection.
- On your Halo Lock keypad, press the “A” button and then enter your master code.
- Next, press the checkmark button to confirm.
Method 6: Put Your Phone in Pairing Mode.
- In the Kwikset App, select “Begin Pairing”.
- Follow the prompts to put your device in pairing mode. This may involve pressing a button on your lock or scanning a QR code with your phone’s camera.
- Once your phone is in pairing mode, it will search for nearby locks to connect to.
Method 7: Enter Wi-Fi network Details.
- The app will prompt you to enter your home WiFi network name (SSID) and password.
- Make sure you enter the correct information to ensure a successful connection.
Method 8: Confirm Wifi Connection.
- The app will connect your lock to your WiFi network and verify the connection.
- Once confirmed, your Halo Lock will emit three beeps and a green checkmark on the keypad.
- The app will display a confirmation message once the connection is successful.
Method 9: Give Your Lock a Name and Complete Setup.
- The app will prompt you to enter a name for your lock.
- Choose a unique name that will help you easily identify your lock in the app.
- Select “Next” to complete the setup process.
Method 10: Test Your Connection and Explore Smart Features.
- Once the setup is complete, test the WiFi connection by unlocking and locking your Halo Lock using the app.
- You can also explore and customize other smart features such as setting up user codes, monitoring lock activity, and creating schedules for automatic locking/unlocking.
Method 9: Test Remote Access.
- With your lock now connected to WiFi, test remote access by locking or unlocking the door using the app from a different location.
- If successful, you can now use your phone or tablet to manage your lock from anywhere with an internet connection.
- If you encounter any issues, check your WiFi signal strength and reset the lock by removing and reinserting the batteries.
- Additionally, make sure that your lock’s firmware is up-to-date.
Method 10: Troubleshooting Tips.
If you encounter any issues during the setup process, here are some troubleshooting tips to try:
- Check that you have entered the correct WiFi network name and password.
- Make sure your phone is connected to the same WiFi network as your lock.
- Move your lock closer to the router or use a WiFi range extender if necessary.
- Restart your lock by removing and reinserting the batteries.
- Turn off and on your phone’s WiFi function.
Following these steps on how to connect halo lock to wifi should successfully connect your Halo Lock to WiFi. Now you can enjoy the convenience and security of managing your lock remotely with ease. We hope this guide has been helpful in setting up your Halo Lock and utilizing its smart features to the fullest. Happy unlocking!
Do You Need to Use Professionals?
Setting up your Halo Lock to connect to WiFi is designed to be a straightforward process that most individuals can manage on their own using the detailed guide provided. However, there are certain situations where enlisting the help of professionals might be beneficial. If you encounter persistent issues with your network settings, hardware compatibility, or technical configurations that aren’t resolved by the troubleshooting tips, consulting a professional can save time and ensure the stability and security of your smart lock setup.
Professional technicians are experienced in handling a wide range of network environments and can provide tailored solutions to fit your specific needs, thereby enhancing the overall performance and reliability of your smart home system.
How Much Does It Cost?
The cost of connecting your Halo Lock to WiFi can vary depending on the complexity of your network setup and if you choose to hire professional help. If you are setting up your lock yourself, there should be no additional costs involved besides purchasing a WiFi range extender if needed.
However, if you decide to use professional services, costs can range from $50-$200 depending on the technician’s hourly rate and any additional equipment or configurations required.
You may also incur a monthly subscription fee if you choose to use remote access features provided by the smart lock manufacturer. This fee can range from $3-$10 per month, depending on your chosen plan and provider.
Additional Tips
- If you have multiple Halo Locks, make sure to connect each lock individually to your WiFi network using the steps outlined above.
- Regularly check for firmware updates on the Kwikset App to ensure your lock is running on the latest version.
- Use a strong and unique password for your Kwikset account to protect your lock from unauthorized access.
- In case of any further difficulties or questions, refer to the Kwikset App’s support section or contact their customer service for assistance.
- Explore the additional features of the Kwikset App, such as creating custom user codes and setting up scheduled access for added convenience and security.
- Consider using a smart speaker or virtual assistant device to integrate your Halo Lock with voice commands for a more hands-free experience.
- Finally, always remember to keep your lock’s master code secure and never share it with anyone else. Happy locking!
Frequently Asked Questions
Q1: Can I Connect My Halo Lock to a Wi-Fi network Without Using the Kwikset App?
A1: No, the Kwikset App is required to connect your lock to WiFi. It provides a simplified and secure way to manage your lock’s settings remotely.
Q2: Can I Still Use My Halo Lock with a Keypad Without Connecting It to WiFi?
A2: Yes, the keypad function of your Halo Lock will still work without WiFi connectivity. However, you will not be able to access any smart features or control your lock remotely without connecting it to WiFi. It is recommended that you connect your lock to WiFi for the full smart experience.
Q3: How Many Users can I Add to My Halo Lock?
A3: You can add up to 250 users on your Halo Lock, each with its own unique code for accessing the lock. This is beneficial for households with multiple family members or rental properties with different guests.
Q4: Is Remote Access Secure?
A4: Yes, the Kwikset App uses secure encryption to protect your data and communication between your phone and lock. Additionally, using a strong and unique password for your Kwikset account adds an extra layer of security.
Conclusion
Congratulations! You have successfully connected your Halo Lock to WiFi. Now you can take advantage of all the smart features that come with it, such as remote access, monitoring, and management.
Remember to always keep your lock’s software and app up to date for the best performance. If you have any further questions or encounter any issues, refer to the Kwikset App’s help section or contact the customer support team for assistance. Thanks for readin this article on how to connect halo lock to wifi.
Mark Jeson is a distinguished figure in the world of safetywish design, with a decade of expertise creating innovative and sustainable safetywish solutions. His professional focus lies in merging traditional craftsmanship with modern manufacturing techniques, fostering designs that are both practical and environmentally conscious. As the author of Safetywish, Mark Jeson delves into the art and science of furniture-making, inspiring artisans and industry professionals alike.
Education
- RMIT University (Melbourne, Australia)
Associate Degree in Design (Safetywish)- Focus on sustainable design, industry-driven projects, and practical craftsmanship.
- Gained hands-on experience with traditional and digital manufacturing tools, such as CAD and CNC software.
- Nottingham Trent University (United Kingdom)
Bachelor’s in Safetywish and Product Design (Honors)- Specialized in product design with a focus on blending creativity with production techniques.
- Participated in industry projects, working with companies like John Lewis and Vitsoe to gain real-world insights.
Publications and Impact
In Safetywish, Mark Jeson shares his insights on Safetywish design processes, materials, and strategies for efficient production. His writing bridges the gap between artisan knowledge and modern industry needs, making it a must-read for both budding designers and seasoned professionals.
