
Learning how to cover metal door frames can transform both the look and function of your space. Metal door frames are known for their durability and structural strength, making them a popular choice in commercial and residential buildings alike.
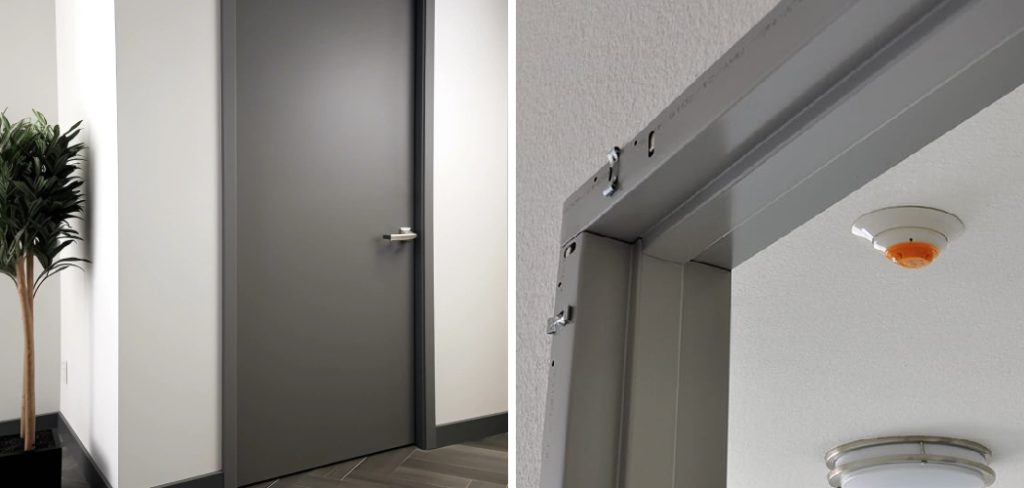
Despite these advantages, there are times when their cold, utilitarian appearance may clash with the aesthetics of an updated interior or when they show unsightly scratches, dents, or rust over the years. In other cases, covering a metal frame can offer additional benefits, like improved insulation, noise reduction, or a fresh layer of protection from further damage.
This process is commonly undertaken during room renovations, when blending industrial elements with a warmer, softer decor is desired, or when property owners need to conceal past repairs or imperfections. With the right approach and materials, learning how to cover a metal door frames is both straightforward and effective. Whether you’re a homeowner, landlord, or contractor, applying a high-quality cover to your door frames is a practical upgrade that enhances property value, energy efficiency, and overall appeal.
In this comprehensive guide, you’ll discover the complete method for how to cover metal door frames, including evaluating your frame, choosing suitable materials, precise measuring, step-by-step installation, troubleshooting, and ongoing maintenance. With clear instructions and expert tips, you can achieve professional-looking results while making your space more inviting and protected.
Tools and Materials Required
Successfully covering a metal door frame begins with thorough preparation. Having the right supplies on hand ensures a smooth workflow, fewer interruptions, and a professional finish.
Essential Materials for the Covering Process
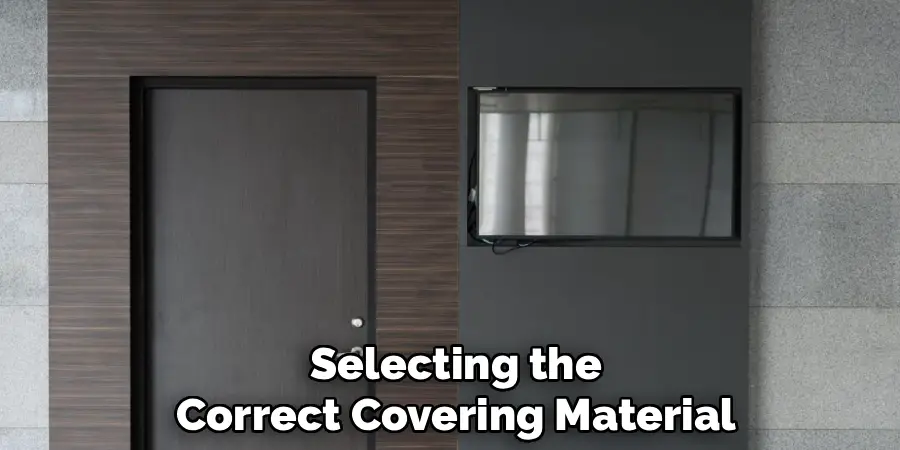
Selecting the correct covering material is the first crucial decision. Commonly, wood panels such as MDF or plywood are used for their ease of customization and smooth finish. Vinyl wraps are favored for their flexibility and moisture resistance, making them ideal for high-humidity areas.
Pre-fabricated moldings or trim kits are another popular choice, offering a quick, uniform appearance with minimal effort. For some projects, laminate sheeting or even thin, decorative metal covers can be considered, especially if you prefer a modern or industrial look.
Tools List for Installation
A core toolkit makes installation much simpler. You’ll need a reliable measuring tape for accurate dimensions, a level to ensure proper alignment, and a sharp utility knife or saw for cutting panels or moldings.
Quality adhesives are essential—options like strong construction glue or specialized panel adhesive work well for most materials. For some installations, wood screws or finishing nails may also be required. Don’t forget sandpaper or a file for smoothing edges, a pencil for marking measurements, and if needed, a caulking gun for sealant application.
Evaluating the Metal Frame and Surroundings
Proper preparation starts with a complete assessment of the door frame and its direct environment. This step is vital for ensuring lasting adhesion and a flawless finish.
Analyzing the Condition of the Frame
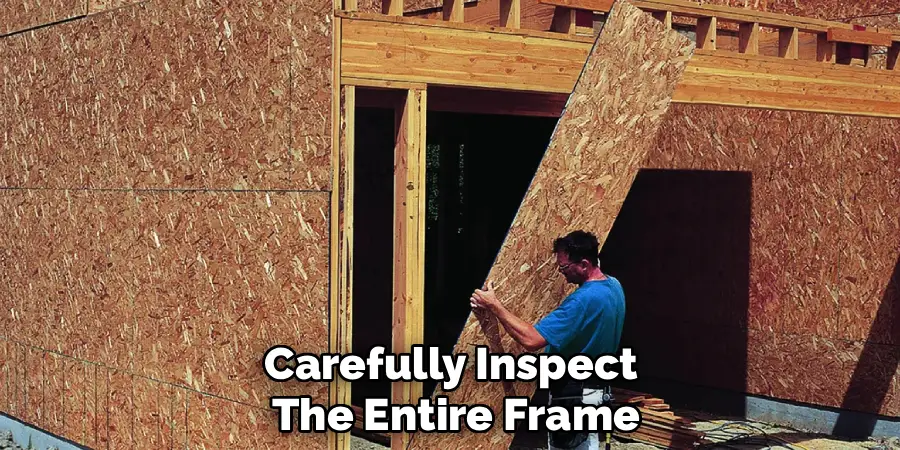
Carefully inspect the entire frame for existing problems. Look for surface rust, peeling paint, deep scratches, dents, or signs of structural instability. Light rust can be sanded off, but more severe corrosion may require the application of a rust converter or primer before proceeding.
Check for loose anchors or fasteners that might compromise the stability of both the frame and the eventual covering. Addressing and repairing these issues now will prevent future deterioration and ensure that your covering adheres properly.
Preparing the Area for Coverage
Begin by cleaning the door frame with a damp cloth to remove dust, oils, or loose debris. For stubborn dirt or residue, use a mild detergent and rinse thoroughly. Allow the metal to dry completely.
Next, lightly sand the surface with fine-grit sandpaper—this provides a better grip for adhesives or paints by creating a slightly rough texture. If gaps or pits are present, fill them with a metal-compatible filler and sand smooth once cured. Protect the surrounding wall and floor with painter’s tape and drop cloths to avoid accidental spills or damage as you work.
Choosing the Right Covering Material
Material selection has a major impact on the outcome, both in appearance and performance.
Comparing Material Options
- MDF or Wood Panels: Easy to cut and customizable with paints or stains. They add warmth and can easily hide imperfections but may not be ideal in damp areas.
- Vinyl Wraps: Moisture-resistant and available in various finishes, vinyl is a flexible option that’s easy to clean. However, it can be prone to peeling if not applied correctly.
- Laminate Sheets: Durable and available in numerous textures, laminates can mimic wood, stone, or other surfaces.
- Metal Sheeting or Trim Kits: Best for a sleek, modern look or high-traffic areas where impact resistance is important.
Assessing these options for their protection, maintenance needs, and longevity helps narrow down the best fit for your frame.
Considerations for Design and Functionality
Think about your long-term needs. If your space sees a lot of activity, choose a material that resists scuffs and dents. Consider the color, finish, and style so the covers blend seamlessly with existing decor.
Maintenance is another crucial point—some materials require only simple cleaning, while others may need periodic refinishing or special cleaners. Durability, cost, and ease of replacement also factor into your final choice. Always compare samples before purchasing in bulk to ensure satisfaction with both function and style.
Precise Measurements for a Perfect Fit
Precision is essential for a flawless installation. Accurate measuring minimizes waste and ensures that each piece fits correctly without unsightly gaps or overlaps.
Taking Initial Measurements
Use a quality measuring tape to determine the metal frame’s height, width, and depth at multiple points. Older frames may not be perfectly straight, so measure both ends of each section. Write down all measurements, including any protrusions like hinges or closers that must be accounted for during cutting.
Allowing for Margins and Adjustments
Leave a margin of approximately 1/16 to 1/8 inch on each side for expansion, contraction, or required adjustments during installation. It’s better to trim excess from a piece than to discover it’s too small once adhered. Remember to mark and plan for cutouts where hardware or fasteners will be installed so the final fit is tight and professional.
Cutting and Preparing the Cover Material
This phase of the project transforms your raw materials into custom-fitted pieces ready for installation.
Marking and Cutting the Material

Lay out your covering material on a stable surface. Using your recorded measurements, mark each panel or molding with a straight edge and pencil to ensure accurate lines. Double-check all dimensions before making any cuts—precision here saves time and reduces costly mistakes later.
For MDF, wood, or laminate, use a fine-tooth saw for clean, smooth edges. Vinyl wraps can be scored and trimmed with a sharp utility knife. Always follow the manufacturer’s guidelines for cutting any specialty covering.
Smoothing and Finishing Edges
After each cut, use sandpaper, a sanding block, or a file to soften the edges and remove any splinters, burrs, or sharpness. This not only makes the covering safer to handle but also improves the look of the final installation. Wipe down each piece to remove dust or debris from the sanding process.
How to Cover Metal Door Frames: Attaching the Cover
Applying the cover to your metal frame is a step that demands attention to detail and patience for best results.
Using Adhesives or Fasteners
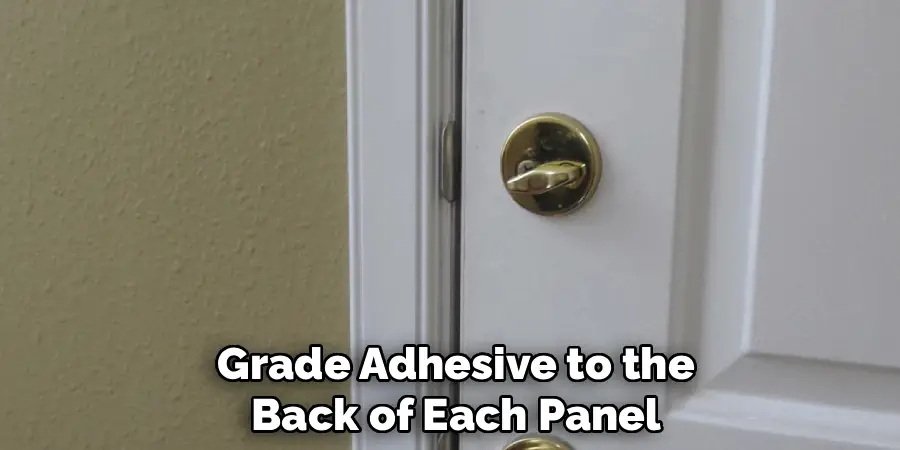
Apply a strong, construction-grade adhesive to the back of each panel, bead by bead, or following the adhesive manufacturer’s instructions. Feather the adhesive toward the edges to prevent excess from squeezing out. For heavier or thicker materials, or in cases of non-flat surfaces, screws or finishing nails may be used instead, provided you pre-drill pilot holes to prevent splitting.
Press the covering piece firmly against the prepped metal frame, starting from one end and working your way to the other. For vinyl wraps, use a squeegee to push out air bubbles and ensure tight adhesion.
Ensuring Proper Alignment
Work slowly, using a level or straight edge to verify each piece is perfectly aligned both vertically and horizontally. Small misalignments can become noticeable once the full frame is covered. Temporary spacers or shims, set in place as you work, can help maintain even spacing around all sides.
Securing Tight Corners and Edges
Corners present a frequent challenge. For inside or outside corners, consider pre-mitering the ends of wood or MDF trim at a 45-degree angle for a seamless joint. To help covers conform to rounded or irregular edges, gently warm vinyl wraps with a hair dryer, making them more pliable. Use extra adhesive at corners or lightly tack fastenings until the bond is secure.
Hold each piece in place for the adhesive’s recommended set time, or lightly clamp as needed. Double-check that panels are flush with the frame and that no gaps or bubbles remain.
Troubleshooting Common Issues
Not all installations go perfectly every time. Here’s how to handle the most common setbacks.
Preventing Material Shift During Application
If your panels or covers move while the adhesive sets, use painter’s tape or temporary bracing to hold everything still. Working on one section at a time and avoiding excessive adhesive can also reduce slippage. With vinyl, apply pressure evenly across the surface as you go.
Addressing Adhesive Bonding Failures
Problems like weak bonding or detached panels often stem from insufficient surface preparation or poor adhesive quality. If a section begins to lift, re-clean the area, reapply adhesive, and press the cover back into place. For persistent issues in high-moisture areas, switch to a stronger or waterproof adhesive, or use a combination of adhesive and mechanical fasteners for maximum holding power.
Finishing the Job
Bringing everything together with careful finishing touches will result in a polished, long-lasting installation.
Painting or Sealing the Cover
If using paintable materials, choose a high-quality primer prior to the topcoat for better color and adhesion. Apply smooth, even coats of paint or wood stain to match your décor and protect from daily wear. For extra protection against scuffs, moisture, or UV damage, consider a clear sealant or polyurethane topcoat.
Vinyl wraps and prefabricated trim often come finished but can be wiped down or polished after installation. For materials like laminate, use specialty cleaners or protectants per the manufacturer’s recommendations.
Inspecting for Imperfections
Before declaring the project complete, look over all surfaces for visible seams, gaps, uneven applications, or displaced panels. Use a fine-tipped brush to touch up paint, fill minor cracks with caulk or putty, and lightly sand any rough sections. Ensure hardware functions smoothly and clear away any adhesives or residue from glass, flooring, or finished wall areas.
Ongoing Maintenance for Covered Door Frames
Maintaining your newly covered metal door frames keeps them looking their best for years.
Cleaning and Maintenance Tips
Wipe surfaces regularly with a damp, soft cloth and mild cleaning solution. For painted or wood finishes, avoid abrasive cleaners that may scratch or dull the surface. Vinyl- or laminate-covered frames benefit from periodic dusting and spot cleaning with designated products.
Preventing Wear and Tear
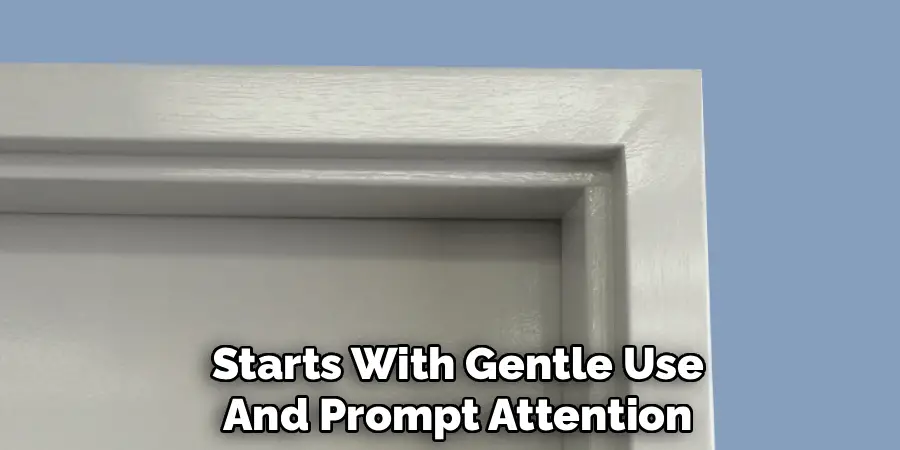
Preventing scratches starts with gentle use and prompt attention to nicks or chips. Place bumpers or guards where doors may strike furniture or walls. Immediately repair any peeling or damaged sections to keep moisture and dirt from seeping under the cover. Periodically check for signs of rust or loose hardware, addressing any issues early to avoid extensive repairs later.
Conclusion
In summary, knowing how to cover metal door frames is a valuable skill for anyone seeking to improve their home or commercial environment. This project offers not just cosmetic refinement but also contributes to insulation, security, and increased property value. Success lies in careful evaluation, choosing durable materials, meticulous measuring, and precise installation—each stage building toward a result that looks as good as it performs.
Remember, taking time for thorough surface preparation, careful material selection, and conscientious finishing will result in a transformation that stands up to daily use and changing design trends. Whether you want to refresh a tired entrance, protect against future damage, or simply coordinate your doors with updated decor, following this guide on how to cover metal door frames will help you achieve reliable, lasting results. Take pride in your handiwork and enjoy the renewed functionality and appeal of your newly finished door frames.
Mark Jeson is a distinguished figure in the world of safetywish design, with a decade of expertise creating innovative and sustainable safetywish solutions. His professional focus lies in merging traditional craftsmanship with modern manufacturing techniques, fostering designs that are both practical and environmentally conscious. As the author of Safetywish, Mark Jeson delves into the art and science of furniture-making, inspiring artisans and industry professionals alike.
Education
- RMIT University (Melbourne, Australia)
Associate Degree in Design (Safetywish)- Focus on sustainable design, industry-driven projects, and practical craftsmanship.
- Gained hands-on experience with traditional and digital manufacturing tools, such as CAD and CNC software.
- Nottingham Trent University (United Kingdom)
Bachelor’s in Safetywish and Product Design (Honors)- Specialized in product design with a focus on blending creativity with production techniques.
- Participated in industry projects, working with companies like John Lewis and Vitsoe to gain real-world insights.
Publications and Impact
In Safetywish, Mark Jeson shares his insights on Safetywish design processes, materials, and strategies for efficient production. His writing bridges the gap between artisan knowledge and modern industry needs, making it a must-read for both budding designers and seasoned professionals.
