
The Nest Thermostat is a smart device designed to make controlling the temperature of your home more efficient and convenient. However, when setting up or troubleshooting the device, you might need to locate the entry key, a unique code that allows you to connect the thermostat to the Nest app.
Knowing how to find the entry key is essential for ensuring a seamless setup process and taking full advantage of the thermostat’s features. This guide will walk you through the steps of how to find entry key on nest thermostat.
What Is the Nest Entry Key?
The Nest Entry Key is a unique, alphanumeric code generated by your Nest thermostat. This code is specifically designed to securely link your thermostat to the Nest app, ensuring only authorized users can control the device remotely. The entry key serves as an essential part of the setup process, enabling your thermostat to communicate with your smartphone or tablet via the app.
Without this key, connecting your thermostat to the app and utilizing its smart features—such as scheduling, energy management, and remote temperature control—would not be possible.
When You Need the Entry Key
You will need the entry key during the initial setup of your Nest thermostat or if you are reconnecting the device to a new network or account. For example, if you reset your thermostat to factory settings or switch to a different smartphone, the entry key is required to re-link the device to the Nest app.
Additionally, if you experience connectivity issues and need to reconnect your thermostat, the app may prompt you for the entry key. Keeping this process secure ensures that your Nest thermostat’s smart capabilities remain accessible only to authorized users. Always store your entry key in a safe place and follow the app’s guidance for a seamless setup experience.
10 Methods How to Find Entry Key on Nest Thermostat
1. Access the Main Menu by Pressing the Thermostat Ring
The first step to locating the Entry Key is navigating to the main menu of your Nest Thermostat. To do this, press down on the unit’s circular ring to activate the display. This action will bring up the main interface, where you’ll see settings such as Schedule, Energy, and Settings.

From here, turning the ring clockwise or counterclockwise will scroll through the available options. This intuitive design allows you to navigate the thermostat without needing a touchscreen.
2. Navigate to the ‘Settings’ Option
Once inside the main menu, use the rotating ring to scroll to Settings, which is typically represented by a gear icon. Press down on the ring to select it. The Settings menu houses a wide range of controls and diagnostic options for your Nest Thermostat. Accessing this area is critical, as it contains the Nest Account and network configuration options—where the Entry Key is stored.
3. Select the ‘Nest App’ Option
Inside the Settings menu, scroll to find the Nest App or Account section, depending on the version of your thermostat (like Nest Thermostat E or Nest Learning Thermostat). This section is where you link your Nest to your Google account and mobile app. Selecting this option initiates the process of generating or viewing the Entry Key that is used for pairing the device with your app.
4. Choose ‘Get Entry Key’ to Generate the Code
After selecting Nest App, choose the Get Entry Key option. Once selected, the thermostat will connect to Wi-Fi and attempt to retrieve a unique 7-character alphanumeric code. This Entry Key is used during the pairing process in the Nest app or Google Home app. Write down or remember this code, as you’ll need to enter it into your phone shortly.
5. Ensure the Thermostat Is Connected to Wi-Fi
If the Get Entry Key option is grayed out or returns an error, your thermostat may not be connected to a Wi-Fi network. To fix this, go to Settings > Network, and connect to your home Wi-Fi. Without an internet connection, the thermostat cannot retrieve the Entry Key, as it needs to communicate with Google’s servers. Reconnect, then return to the Nest App menu and retry the process.
6. Use the Google Home App (If Using a Newer Nest Thermostat)
If you have a newer Nest Thermostat (2020 version), the setup process uses the Google Home app rather than the older Nest app. In this case, you don’t need a visible Entry Key—the pairing is done via Bluetooth and QR code scanning.
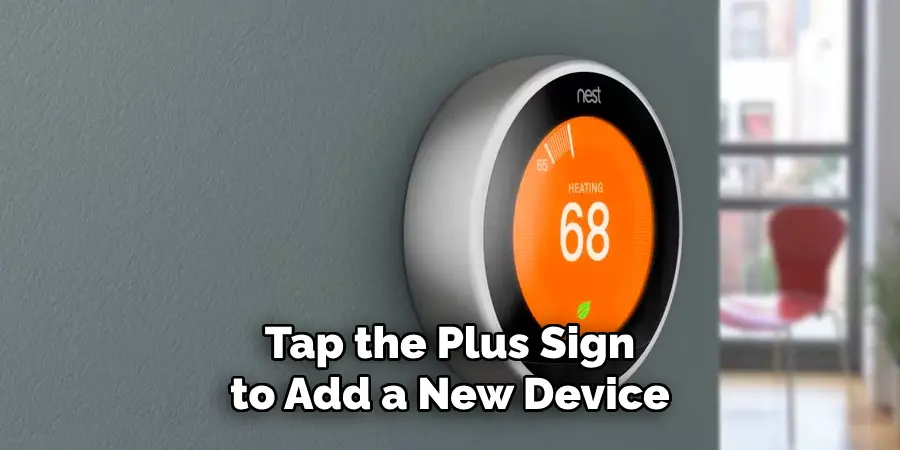
Open the Google Home app, tap the plus sign to add a new device, and follow the on-screen prompts. If prompted for an Entry Key, it will appear on your phone screen rather than the thermostat.
7. Check for Account Linking Issues
If you’re unable to access the Entry Key and your thermostat previously worked fine, the issue may be account-related. Go to Settings > Reset > Account Connection, and choose to reset the link to your Google or Nest account. Afterward, repeat the setup and get a fresh Entry Key. This process is particularly useful if you’ve purchased a used thermostat or are transferring ownership.
8. Restart the Thermostat to Refresh the System
Sometimes, temporary glitches in the thermostat’s software can prevent access to the Entry Key. Performing a soft reboot can help. Go to Settings > Reset > Restart. The thermostat will turn off briefly and then boot back up. After restarting, return to the Nest App menu and try accessing the Entry Key again. This is a simple but effective fix when encountering unexpected system behavior.
9. Perform a Factory Reset (as a Last Resort)
If all else fails—especially if the thermostat is still linked to a previous owner’s account—you may need to perform a factory reset. Navigate to Settings > Reset > All Settings. This action erases all schedules, preferences, and user accounts. After resetting, you’ll be prompted to begin the setup process from scratch, during which a new Entry Key will be generated.
Use this fresh key when adding the thermostat to your Nest or Google Home app.
10. Contact Google Support for Device-Specific Help
If you’ve tried all the above methods and still cannot access the Entry Key, it’s time to reach out to Google Nest customer support. They can walk you through a device-specific troubleshooting process or determine if there’s a hardware or firmware issue preventing the thermostat from generating a valid Entry Key. Make sure you have the thermostat’s serial number and proof of ownership available when you contact support.
Maintenance and Upkeep
Regular maintenance of your Google Nest Thermostat ensures optimal performance and extends its lifespan. Start by cleaning the thermostat’s exterior with a soft, dry cloth to remove any dust or debris. Avoid using water or harsh cleaning solutions, as these can damage the device. Periodically check the thermostat’s connection to Wi-Fi and your HVAC system to ensure everything is functioning correctly.
Additionally, updating the firmware when prompted will provide access to new features, bug fixes, and security enhancements. If you notice irregular behavior, such as inaccurate temperature readings, recalibrate the thermostat by following the instructions in the Google Home app. These simple upkeep practices will help maintain the efficiency and reliability of your thermostat for years to come.
Troubleshooting Common Issues
Even with proper maintenance, you may occasionally encounter issues with your Google Nest Thermostat. Here are some common problems and steps you can take to resolve them:
- Thermostat Not Connecting to Wi-Fi
- Ensure your router is functioning properly and within range of the thermostat.
- Restart both your thermostat and router.
- Check if your network credentials (SSID and password) are correct.
- System Not Heating or Cooling Properly
- Verify that the HVAC system is functioning and has power.
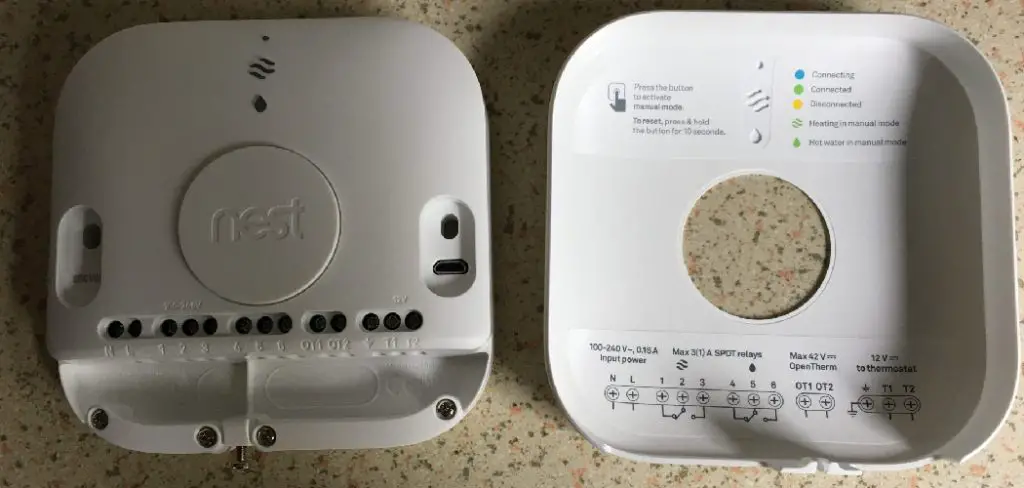
- Confirm that the thermostat wires are securely connected and properly inserted into the base.
- Double-check the thermostat’s system settings in the Google Home app to ensure they match your HVAC type.
- Unresponsive or Frozen Screen
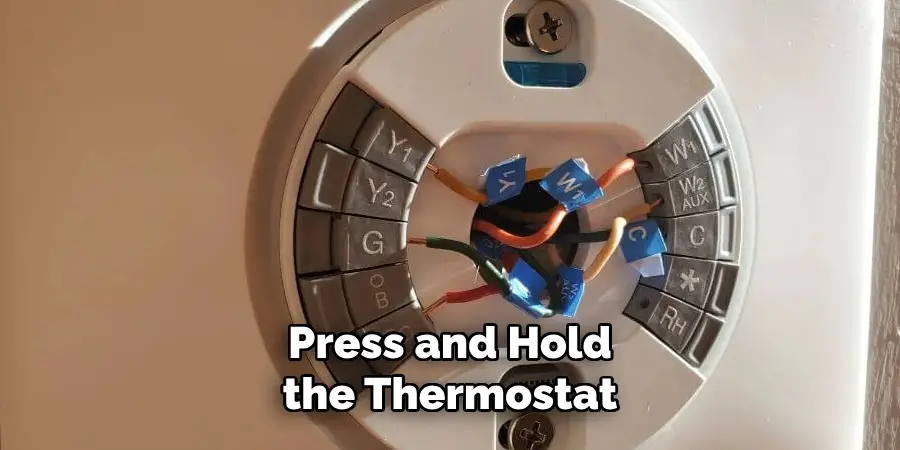
- Press and hold the thermostat dial for 10 seconds to force a restart.
- If the issue persists, ensure the thermostat is receiving power from either the HVAC system or the backup battery.
- Temperature Settings Not Adjusting
- Check for active schedules or “Eco Mode” settings that may override manual adjustments.
- If these settings are not the cause, recalibrate the temperature sensor in the app or by following the setup guide.
If these steps do not resolve your issue, consult the support section in the Google Home app or contact Google Nest customer support for further assistance.
Conclusion
The Entry Key is essential for securely connecting your Nest Thermostat to your smartphone and home automation system. Though it might seem hidden at first, it’s easily accessible through the device’s intuitive menu system once you know where to look.
By following these ten methods—starting with the main menu and progressing through network checks, app compatibility, and resets—you can reliably find and use the Entry Key every time you set up your Nest device. Thanks for reading, and we hope this has given you some inspiration on how to find entry key on nest thermostat!
Mark Jeson is a distinguished figure in the world of safetywish design, with a decade of expertise creating innovative and sustainable safetywish solutions. His professional focus lies in merging traditional craftsmanship with modern manufacturing techniques, fostering designs that are both practical and environmentally conscious. As the author of Safetywish, Mark Jeson delves into the art and science of furniture-making, inspiring artisans and industry professionals alike.
Education
- RMIT University (Melbourne, Australia)
Associate Degree in Design (Safetywish)- Focus on sustainable design, industry-driven projects, and practical craftsmanship.
- Gained hands-on experience with traditional and digital manufacturing tools, such as CAD and CNC software.
- Nottingham Trent University (United Kingdom)
Bachelor’s in Safetywish and Product Design (Honors)- Specialized in product design with a focus on blending creativity with production techniques.
- Participated in industry projects, working with companies like John Lewis and Vitsoe to gain real-world insights.
Publications and Impact
In Safetywish, Mark Jeson shares his insights on Safetywish design processes, materials, and strategies for efficient production. His writing bridges the gap between artisan knowledge and modern industry needs, making it a must-read for both budding designers and seasoned professionals.
