
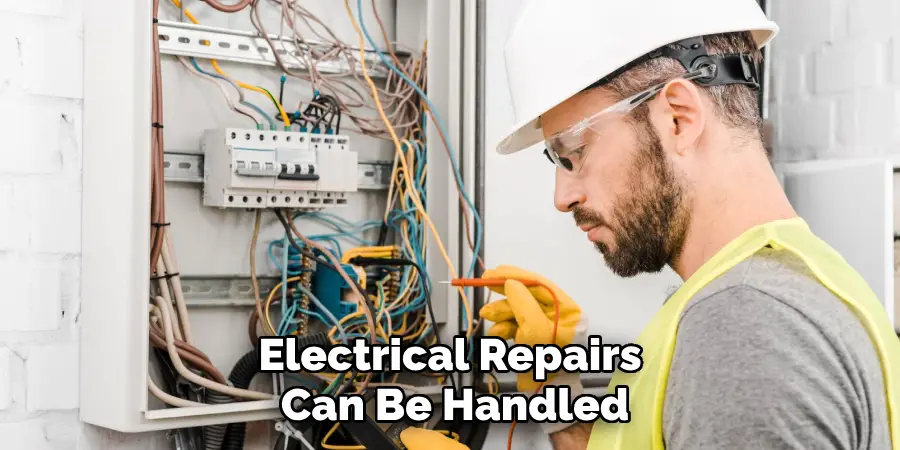
Electrical wiring is an essential component of any home or building, powering everything from lights to appliances. However, over time, wiring can degrade, or issues may arise due to improper installations, wear and tear, or accidents.
Knowing how to fix electrical wiring is not only a valuable skill but also a necessary one to ensure safety and prevent potential hazards, such as fires or electrical shocks. This guide will provide practical steps and tips for how to fix electrical wiring, while emphasizing the importance of safety precautions throughout the process.
Common Signs of Wiring Issues
Identifying wiring issues early is crucial to prevent more serious problems. Here are some common signs that may indicate electrical wiring issues in your home:
- Frequent Circuit Breaker Tripping – If your circuit breaker trips regularly, it may signal overloaded circuits or faulty wiring.
- Flickering or Dimming Lights – Lights that flicker or dim unexpectedly might be a sign of loose or damaged wiring connections.
- Burning Smells or Scorch Marks – A burning odor near outlets or scorch marks on switches and outlets can indicate overheating or short circuits.
- Discolored or Warm Outlets – Outlets that feel warm to the touch or show discoloration may signal faulty wiring or overloaded circuits.
- Buzzing or Crackling Sounds – Unusual sounds coming from outlets, switches, or walls may point to electrical arcing or loose wiring.
- Electric Shocks – Receiving mild electric shocks when touching appliances or outlets can suggest grounding issues or exposed wires.
- Frayed or Damaged Cables – Visible damage to cables or wires is a clear indication of wear and tear that requires attention.
If you notice any of these signs, it is important to address the issue promptly to ensure the safety of your electrical system.
Tools and Materials You’ll Need
When addressing electrical issues or performing basic electrical maintenance, having the right tools and materials is essential. Here is a list of commonly required items:
- Screwdrivers – A set of insulated screwdrivers for handling different types of screws safely.
- Voltage Tester – To check if electrical circuits are live before working on them.
- Wire Cutters and Strippers – For cutting and preparing wires accurately.
- Electrical Tape – To insulate exposed wires and connections.
- Pliers – For gripping, bending, or twisting wires securely.
- Multimeter – To measure voltage, current, and resistance in circuits.
- Circuit Breakers or Fuses – Replacement parts if any breakers or fuses are found to be faulty.
- Safety Gloves and Goggles – Protective gear to ensure safety while working with electricity.
- Electrical Box Covers – To properly secure and cover wiring connections.
- Cable Ties – For organizing and securing wires neatly.
Before starting any work, ensure that the power supply is turned off and follow all safety precautions. It is always recommended to consult a professional if you are unsure about handling electrical tasks.
10 Methods How to Fix Electrical Wiring
1. Identify the Problem Area Through Visual Inspection and Testing
The first and most vital step in fixing electrical wiring is to accurately identify the problem. Begin by turning off the circuit at the breaker box and using a non-contact voltage tester to ensure no power is flowing through the wires. Then, carefully inspect the area where the issue is occurring—such as a flickering light, a dead outlet, or tripped breaker.
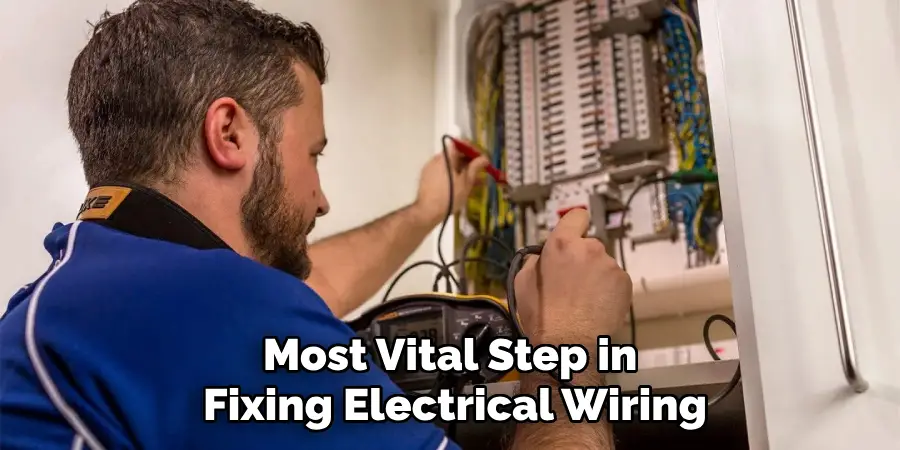
Look for common indicators like frayed wires, scorch marks, melted insulation, or a loose connection. If the issue isn’t visible, use a multimeter to test for continuity, voltage, or resistance in the circuit. Pinpointing the exact location and nature of the fault allows for targeted, effective repair and reduces the chance of further complications.
2. Replace Damaged Wire Segments Using Wire Strippers and Splices
When wire insulation is nicked, cracked, or melted—or if the copper conductor is corroded or broken—it’s essential to remove the damaged section entirely. First, cut out the bad segment using wire cutters. Then, strip back the insulation on both ends of the existing wire using a wire stripper, exposing about ¾ inch of clean copper.
Use a proper wire gauge to match the original conductor. Next, connect the wires using an appropriate wire splice method: either a twist-on wire connector (wire nut), a lever connector, or a soldered joint. Finally, insulate the joint using electrical tape or heat-shrink tubing to protect against shorts or exposure.
3. Tighten or Re-secure Loose Connections in Outlets or Switch Boxes
Loose connections are a leading cause of flickering lights, warm outlets, or intermittent power. To fix this, remove the wall plate and outlet or switch from the electrical box. Check each wire terminal: wires should be tightly secured under screw terminals or inserted firmly into push-in connectors.
If necessary, unscrew and re-attach the wires using the screw terminals for a more secure connection, as push-ins tend to loosen over time. Make sure to match the correct polarity—black (hot), white (neutral), and green or bare (ground). Tight connections restore consistent power and reduce fire hazards due to arcing.
4. Repair or Replace Faulty Light Switches and Wall Outlets
When a switch or outlet fails to function correctly, replacing it is often the best solution. After confirming the power is off, remove the faceplate and detach the faulty device from the box. Take note of where each wire was connected—photographing it helps. Replace the unit with a new one of the same amperage and voltage rating.
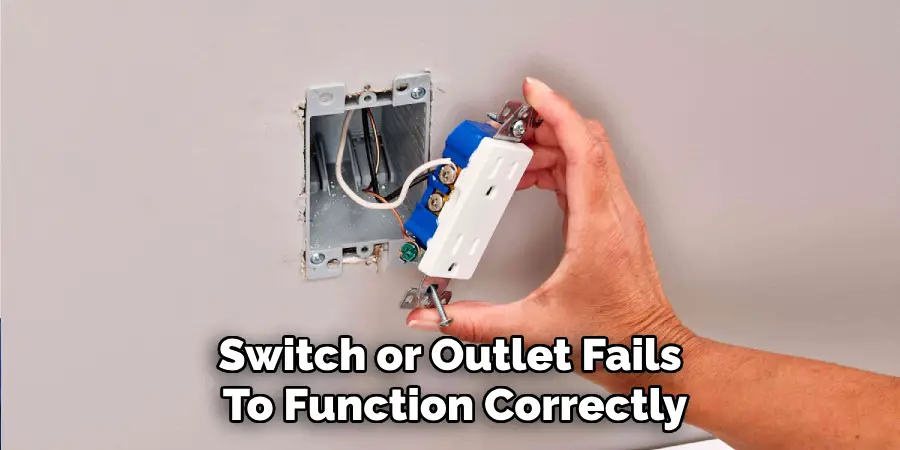
Attach wires to the correct terminals (typically, black or red wires go to brass screws, white to silver, and ground to green). Secure the device back into the box, attach the faceplate, and restore power. A new switch or outlet can eliminate inconsistencies and restore full functionality.
5. Repair Cut or Severed Wires Using Junction Boxes
If a wire has been accidentally severed inside a wall, floor, or ceiling, it must be repaired using a junction box. Cut back to undamaged portions of wire on each side of the break and route them into a code-compliant electrical junction box. Strip the wire ends, connect them using wire nuts or lever connectors, and ensure all connections are solid.
Then, cover the junction box with an accessible cover plate. According to electrical code, all splices must be housed inside approved enclosures that remain accessible for future inspections or repairs. This method ensures a safe and compliant repair of hidden wiring.
6. Replace or Upgrade Old or Aluminum Wiring with Copper
In older homes, especially those built in the 1960s and 70s, aluminum wiring can pose a fire risk due to its tendency to oxidize and loosen over time. If your inspection reveals aluminum wiring, consider replacing it with copper—particularly in high-load circuits such as kitchens or HVAC systems.
If full replacement isn’t feasible, use specially rated connectors (e.g., AlumiConn or COPALUM crimps) to safely join aluminum to copper wire. This upgrade improves conductivity, reduces overheating, and enhances long-term safety. Be sure to label the junction clearly and comply with local electrical codes.
7. Patch Small Wire Breaks with Solder and Heat Shrink Tubing
For minor wire breaks or frays in low-voltage or indoor applications, soldering is a precise and durable method of repair. After stripping the insulation on both wire ends, twist them together and apply solder using a soldering iron until the connection is solid and shiny.
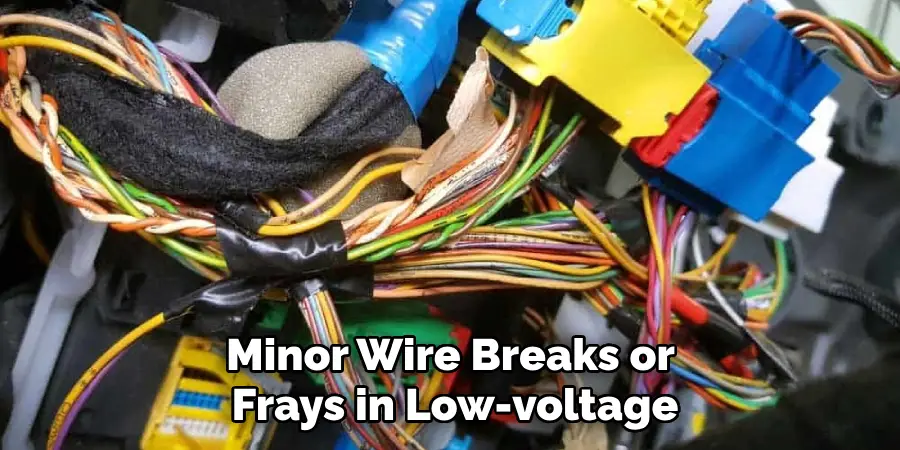
Slide heat shrink tubing over the joint before soldering, and once the solder has cooled, position the tubing over the splice and heat it with a heat gun. This creates a moisture-resistant and insulated seal. Though more time-consuming, soldering is especially useful in confined spaces or for more permanent, vibration-resistant connections.
8. Fix Grounding Issues to Prevent Shocks and Improve Safety
Improper or absent grounding can lead to electrical shocks and compromised device performance. Ground wires—typically green or bare copper—must be securely connected to metal outlet boxes, grounding screws, or grounding bars. If a ground wire is missing in older wiring, consider installing a ground fault circuit interrupter (GFCI) outlet as a legal and safe workaround.
You should also test outlets using a circuit tester to verify grounding. Ensuring a proper ground path protects against surges, reduces the risk of electrocution, and ensures compliance with modern safety standards.
9. Replace Burned or Overloaded Electrical Boxes
If you discover charring or burning around an outlet or switch box, this is a sign of overload or arcing. Turn off the power and remove the damaged box, then install a new one with a higher heat-resistance rating and proper wire capacity.
Consider upgrading to a larger box if it was overcrowded, as too many wires in a small space can trap heat. Use a box with built-in clamps to secure incoming wires, and ensure all connections are tight and safe. Upgrading the box eliminates fire hazards and allows for safer, more organized connections.
10. Call a Licensed Electrician for Complex or High-Risk Jobs
While many electrical repairs can be handled by knowledgeable DIYers, some situations—such as main panel issues, persistent breaker trips, or whole-house rewiring—require the skills of a licensed electrician. If you’re unsure about the complexity of the problem, or if the circuit involves high amperage or critical systems like HVAC, always defer to a professional.
Electricians not only ensure code compliance and system integrity, but they also bring tools and experience that prevent costly mistakes. Knowing when to step back protects both the home and its occupants from unnecessary risk.
Conclusion
Fixing electrical wiring is a task that demands precision, patience, and absolute attention to safety. From diagnosing the problem to making proper connections, every step must be executed correctly to restore power and prevent future hazards. Using the right tools, matching wire gauges, following color codes, and adhering to code regulations are all essential practices. Thanks for reading, and we hope this has given you some inspiration on how to fix electrical wiring!
Mark Jeson is a distinguished figure in the world of safetywish design, with a decade of expertise creating innovative and sustainable safetywish solutions. His professional focus lies in merging traditional craftsmanship with modern manufacturing techniques, fostering designs that are both practical and environmentally conscious. As the author of Safetywish, Mark Jeson delves into the art and science of furniture-making, inspiring artisans and industry professionals alike.
Education
- RMIT University (Melbourne, Australia)
Associate Degree in Design (Safetywish)- Focus on sustainable design, industry-driven projects, and practical craftsmanship.
- Gained hands-on experience with traditional and digital manufacturing tools, such as CAD and CNC software.
- Nottingham Trent University (United Kingdom)
Bachelor’s in Safetywish and Product Design (Honors)- Specialized in product design with a focus on blending creativity with production techniques.
- Participated in industry projects, working with companies like John Lewis and Vitsoe to gain real-world insights.
Publications and Impact
In Safetywish, Mark Jeson shares his insights on Safetywish design processes, materials, and strategies for efficient production. His writing bridges the gap between artisan knowledge and modern industry needs, making it a must-read for both budding designers and seasoned professionals.
