
A malfunctioning MAP (Manifold Absolute Pressure) sensor can significantly affect your vehicle’s performance, leading to issues like poor fuel economy, rough idling, or even engine misfires. But the good news is, with a little guidance, you can address many of these problems on your own. Whether you’re a beginner or a seasoned DIY car enthusiast, understanding how to fix map sensor can save you time, money, and stress. This guide will walk you through the process step-by-step, shed light on why this topic matters, and answer commonly asked questions to ensure your car is in its best shape again.
Before you begin, it’s important to gather the necessary tools and safety equipment. You’ll typically need a wrench or socket set, a multimeter for testing, and possibly a replacement MAP sensor if the current one is faulty. Start by locating the MAP sensor in your vehicle, which is usually found on the intake manifold or attached to the throttle body. Consult your car’s manual for the exact location. Once found, disconnect the negative battery terminal to ensure safety, then carefully unplug the sensor’s electrical connector. Use the wrench or socket to remove the sensor, taking care not to damage any surrounding components.
Why Fixing Your MAP Sensor Matters
Your vehicle’s MAP sensor is a critical component of the engine management system. It measures the pressure inside the intake manifold and sends this data to the Engine Control Unit (ECU). The ECU uses these readings to calculate the correct air-fuel mixture for combustion.
When your MAP sensor is faulty, the ECU receives inaccurate data, disrupting your engine’s efficiency. If left unchecked, this can escalate into bigger problems like excessive fuel consumption, sluggish performance, or even permanent engine damage. Addressing a bad or dirty MAP sensor isn’t just a quick fix—it’s essential upkeep for the longevity of your vehicle and optimal driving experience.
Understanding how to fix a MAP sensor can empower you to handle minor car issues confidently and avoid expensive repair bills. A functional MAP sensor ensures optimal engine performance, fuel economy, and emissions compliance. Now, let’s jump into the actionable steps to resolve this issue.
10 Step-by-Step Guide on How to Fix MAP Sensor
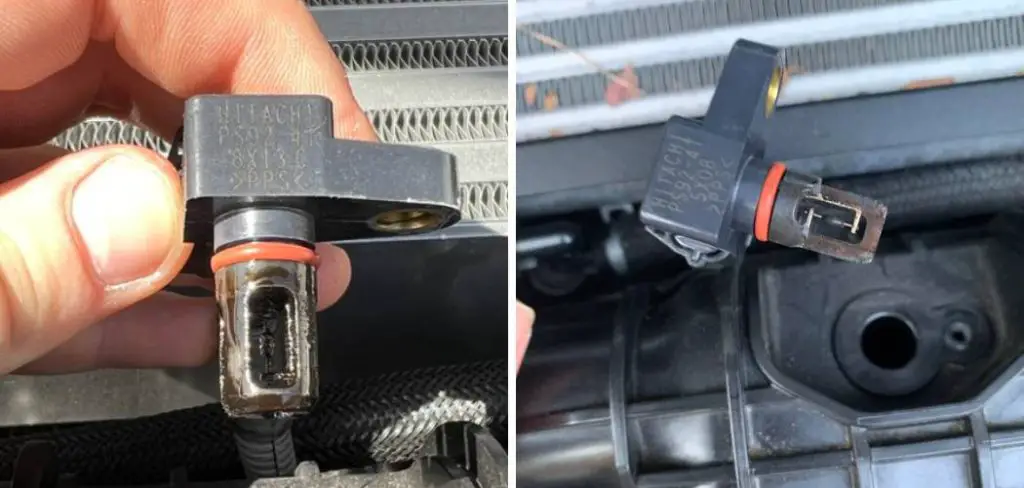
Step 1: Locate the MAP Sensor
The first step is to identify the MAP sensor’s exact location in your vehicle. Generally, it is mounted on the intake manifold or throttle body. Check your vehicle manual or an online diagram if you’re unsure. Finding the MAP sensor is crucial before you can move forward with diagnostics, repairs, or replacements.

Step 2: Inspect the Surrounding Area
Before removing the sensor, visually inspect the surrounding area for signs of damage or debris. A heavily soiled or corroded sensor might indicate the need for cleaning or complete replacement. The wires and connectors attached to the sensor should also be checked for wear or fraying that could cause faulty readings.
Step 3: Disconnect the Sensor
Carefully disconnect the MAP sensor from its electrical connection. Use your hands or soft tools to release the clips and wires securely attached to it. Be cautious not to force or damage any of the components during this step, as replacement wires or connectors could increase repair costs.
Step 4: Clean the MAP Sensor
Cleaning the MAP sensor is an essential step in restoring its functionality. Use a dedicated electronics or sensor cleaner spray—avoid using abrasive chemicals. Spray the cleaner directly onto the sensor and gently clean off the debris with a soft cloth or brush. Ensure the sensor is completely dry before repositioning it back into the manifold.
Step 5: Check the Sensor’s Voltage
To ensure the MAP sensor functions correctly, you’ll need to test it using a multimeter. Connect the multimeter’s probe to the sensor terminals and turn on the ignition without starting the vehicle. The readings should align with your manufacturer’s specifications, which are typically listed in the vehicle’s manual. This step ensures that the sensor is delivering accurate data to the ECU.
Step 6: Replace the MAP Sensor if Necessary
If cleaning or testing doesn’t resolve the issue, the sensor may need to be replaced. Purchase a compatible MAP sensor for your vehicle model—double-check part numbers to avoid mismatches. Remove the old sensor fully and install the new one by securing it into place and reconnecting the wires. Follow manufacturer instructions to avoid any procedural errors.
Step 7: Reset the ECU
After reinstalling or replacing the MAP sensor, reset the ECU to ensure the system starts fresh. Disconnect your vehicle’s battery for about 10-15 minutes to clear existing error codes. Once reconnected, the ECU will recalibrate based on the newly fixed or replaced MAP sensor. This step ensures that your vehicle operates efficiently with updated settings.

Step 8: Test Drive the Vehicle
Once everything is reassembled, take your car for a short test drive. Monitor its performance for any signs of improvement. Pay attention to throttle response, idling smoothness, and fuel efficiency. A properly functioning MAP sensor should eliminate prior symptoms and offer an improved driving experience.
Step 9: Monitor for Error Codes
Use an OBD-II scanner to check for error codes post-fix. If no codes appear, it indicates the MAP sensor is functioning properly. Any remaining codes may uncover additional related issues that need to be addressed.
Step 10: Schedule Regular Maintenance
To prevent future MAP sensor malfunctions, include regular inspections in your vehicle’s maintenance routine. Address small issues like excessive debris in the intake manifold quickly to ensure long-term reliability.
Symptoms of a Faulty MAP Sensor
Check Engine Light Activation
The check engine light may illuminate if the MAP sensor sends incorrect readings to the engine control unit (ECU).
Poor Fuel Economy
A faulty MAP sensor can disrupt the air-fuel mixture, leading to inefficient fuel consumption.
Engine Misfires
Incorrect pressure readings may cause the engine to misfire or run unevenly.
Loss of Power
A malfunctioning MAP sensor can result in reduced engine performance, particularly during acceleration.
Rough Idling
You might notice that the engine idles roughly or stalls due to improper air-fuel calibration.
Difficulty Starting the Engine
Starting the engine can become challenging if the MAP sensor fails to provide accurate intake manifold pressure data.
Black Smoke from the Exhaust
Incorrect sensor readings might cause excessive fuel to burn, leading to black smoke from the exhaust system.
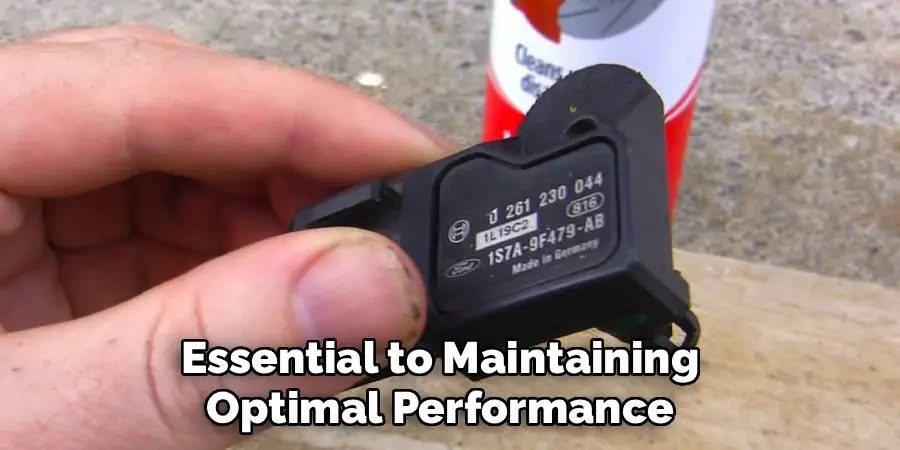
The Importance of Regular Vehicle Check-Ups
Regular vehicle check-ups are essential to maintaining optimal performance and preventing potential issues before they become costly repairs. By scheduling routine maintenance, mechanics can inspect critical components, such as the MAP sensor, ensuring they function properly. Early detection of problems not only improves your vehicle’s reliability but also enhances fuel efficiency, reduces emissions, and extends the overall lifespan of your car. Taking a proactive approach to vehicle care ensures peace of mind and keeps your car running smoothly.
Frequently Asked Questions About Fixing a MAP Sensor
1. What are the symptoms of a faulty MAP sensor?
Common symptoms include poor fuel economy, rough idling, engine stalling, or a sudden drop in engine power. Your dashboard may also display a check engine light. Diagnosing these symptoms early can prevent severe damage.
2. Can a dirty MAP sensor cause permanent damage to my engine?
While a dirty sensor won’t directly harm your engine, the incorrect air-fuel mixture it produces can cause issues like incomplete combustion or carbon build-up over time. Addressing the sensor promptly can save you from costly repairs down the road.
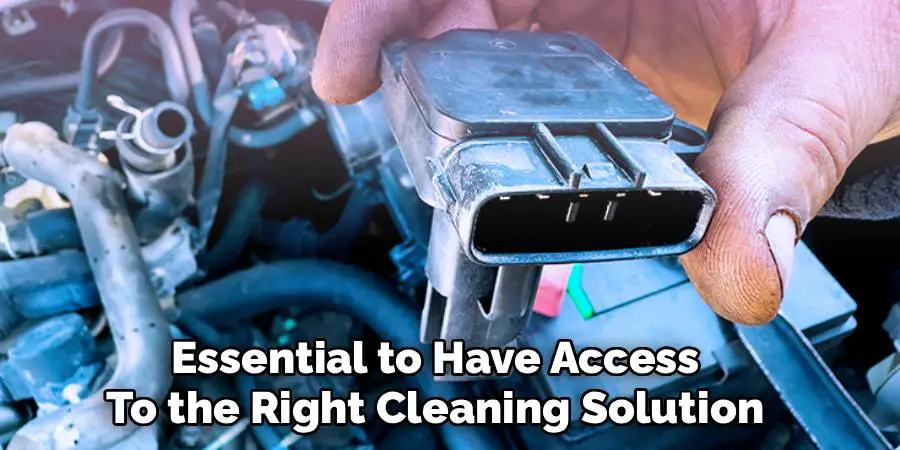
3. Do I need special tools to fix a MAP sensor?
Basic tools like screwdrivers, a multimeter, and an OBD-II scanner are usually sufficient. However, it’s essential to have access to the right cleaning solution or replacement parts compatible with your vehicle.
4. How often should I clean or replace my MAP sensor?
Cleaning the sensor every 30,000 to 50,000 miles is recommended, but replacement frequency depends on the specific car model and driving conditions. Always refer to your owner’s manual for manufacturer-specific guidance.
5. Can I drive with a malfunctioning MAP sensor?
Driving with a faulty MAP sensor is not advisable. It significantly affects engine performance and fuel consumption and can lead to more critical issues like catalytic converter damage. It’s best to address the problem as soon as possible.
Conclusion
Fixing a MAP sensor might seem daunting at first, but following the right steps can make all the difference. From identifying its location to testing and cleaning, taking a systematic approach ensures you get your car running as efficiently as before. If you’ve been experiencing symptoms of a faulty sensor, now is the time to take action.
Regular maintenance and timely repairs are crucial for preserving the longevity and performance of your vehicle. Ignoring small issues like a malfunctioning MAP sensor can escalate into larger, more expensive problems down the road. Staying proactive not only saves money but also ensures a safer and more reliable driving experience.
By understanding how to fix a MAP sensor, you not only save on repair costs but also extend the lifespan of your vehicle while maintaining its performance. Take these actionable steps today, and enjoy a smoother driving experience tomorrow!
Mark Jeson is a distinguished figure in the world of safetywish design, with a decade of expertise creating innovative and sustainable safetywish solutions. His professional focus lies in merging traditional craftsmanship with modern manufacturing techniques, fostering designs that are both practical and environmentally conscious. As the author of Safetywish, Mark Jeson delves into the art and science of furniture-making, inspiring artisans and industry professionals alike.
Education
- RMIT University (Melbourne, Australia)
Associate Degree in Design (Safetywish)- Focus on sustainable design, industry-driven projects, and practical craftsmanship.
- Gained hands-on experience with traditional and digital manufacturing tools, such as CAD and CNC software.
- Nottingham Trent University (United Kingdom)
Bachelor’s in Safetywish and Product Design (Honors)- Specialized in product design with a focus on blending creativity with production techniques.
- Participated in industry projects, working with companies like John Lewis and Vitsoe to gain real-world insights.
Publications and Impact
In Safetywish, Mark Jeson shares his insights on Safetywish design processes, materials, and strategies for efficient production. His writing bridges the gap between artisan knowledge and modern industry needs, making it a must-read for both budding designers and seasoned professionals.
