
A sliding door serves as both a practical entryway and a design feature, but its security hinges on a properly functioning lock. When the sliding door lock spring fails, you lose the reassuring “click” that keeps your home secure and your door reliably in place. A malfunctioning or broken lock spring can seriously undermine both convenience and safety, making it difficult to lock or unlock the door and leaving your property vulnerable.
Understanding how to fix sliding door lock spring is a valuable skill that not only restores seamless operation but can also extend your lock’s lifespan and help you avoid costly professional repairs. This article offers a comprehensive step-by-step guide for diagnosing, repairing, and maintaining your sliding door lock spring.
Whether you’re a confident DIYer or a first-timer, you’ll learn practical tips, what tools to use, and when to seek help—ensuring your door locks work smoothly for years to come.
Understanding the Sliding Door Lock Spring Mechanism
How the Lock Spring Works
The lock spring is a small but crucial part of a sliding door’s locking mechanism. Its function is to create and maintain tension, enabling the lock bolt or latch to move securely into place when you operate the handle or thumb turn.
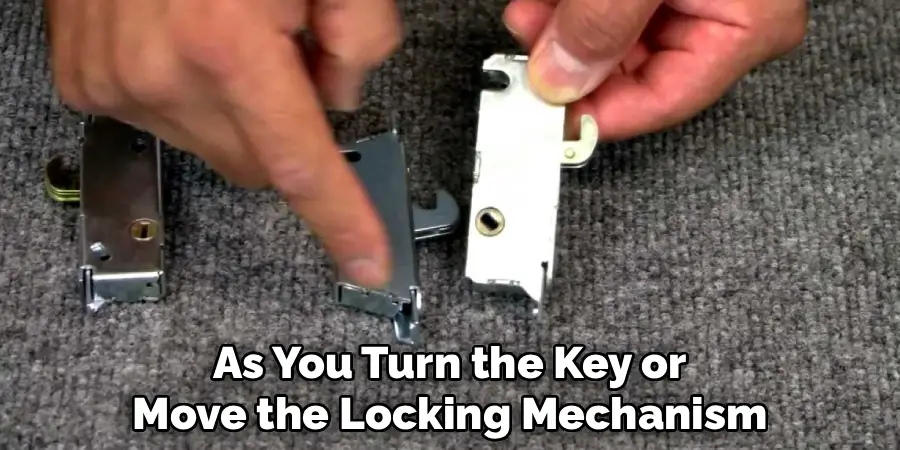
As you turn the key or move the locking mechanism, the spring either compresses or stretches, returning to its original shape and position to hold internal parts in their intended locations. Without a strong, functional spring, the lock may not engage properly—or at all—leading to compromised security and a frustrating user experience.
Common Issues with Lock Springs
Over time, lock springs naturally wear out. Common problems include the spring losing tension due to metal fatigue, becoming misaligned within the mechanism, or suffering actual physical damage such as bending, stretching, or even snapping.
The most telltale signs of a failing lock spring are difficulty locking or unlocking the door, an unresponsive or “loose” lock handle, and unusual noises like clicking, grinding, or no sound at all when trying to secure the door. Recognizing these symptoms early allows you to address minor issues before they escalate into bigger, costlier repairs.
Diagnosing the Problem with Your Sliding Door Lock
Identifying the Symptoms
Before diving into repairs, it’s important to confirm that the lock spring is indeed the cause of the malfunction. Begin by operating the sliding door’s lock multiple times, paying attention to any stiffness, looseness, or uneven resistance.
Does the key or handle feel different than before—perhaps offering less resistance, or “spinning” without engaging? Listen for odd noises or a lack of the usual locking “snap.” Next, visually inspect the lock; open the door and carefully look for obvious faults like a bent or protruding spring. If the lock doesn’t engage or the bolt doesn’t move smoothly, the spring may be at fault.
Tools to Help with the Diagnosis
A few simple tools can make the diagnosis process much easier. Use a flashlight to illuminate the lock’s internal mechanism, spotting hidden cracks or corrosion. A small screwdriver allows you to partially disassemble the lock cover or faceplate for a closer look.
Lubricant can help test if the mechanism is stiff due to dirt rather than a failing spring. Work in a well-lit area, and always be gentle; prying too forcefully can worsen the damage or push vital components out of alignment. If you’re unsure after inspection, continue with the repair guide—you may still be able to spot the problem after partial disassembly.

Tools and Materials Needed
Essential Tools for the Repair
Gathering the right tools and materials ahead of time will simplify the repair, reduce frustration, and help ensure a successful outcome. For most sliding door lock spring repairs, you’ll need:
- Flathead and Phillips screwdrivers
- Needle-nose pliers
- Replacement lock spring (specific to your lock model)
- Cleaning cloths
- Lubricating oil or spray
- A small flashlight
It’s helpful to have a small container handy for keeping screws and tiny lock parts organized during disassembly.
Choosing the Right Replacement Spring
Lock springs are not one-size-fits-all; they come in various lengths, thicknesses, and tension ratings. To select the right replacement, check your sliding door lock manual or bring the old spring to a hardware store for comparison. Some locks have identifying marks or numbers on internal components—note these and ask an expert if you’re unsure. Opt for high-quality springs made of corrosion-resistant steel to ensure durability and long-term performance.

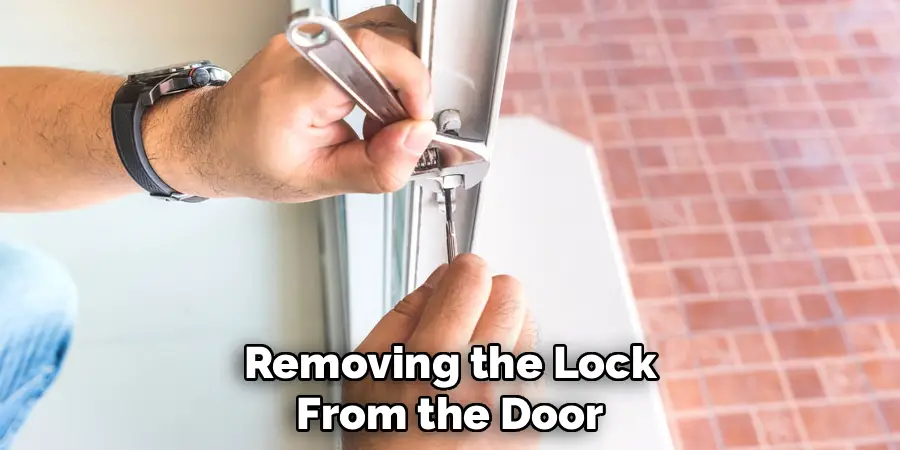
Removing the Lock from the Door
Step-By-Step Lock Removal
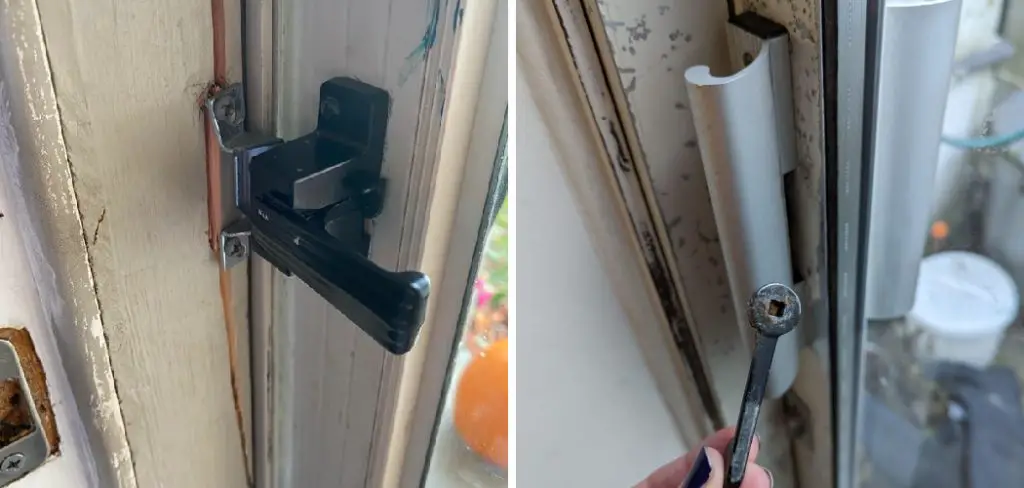
Start by unlocking the sliding door and making sure the work area is clean and free of obstructions. Use a screwdriver to remove any visible mounting screws from the lock’s faceplate or handles. Carefully pry off the cover plate without forcing it, as sliding door locks often have delicate interlocking tabs that can snap under pressure. Once exposed, gently slide the lock body out of the door edge or panel.
If your lock has a mortise mechanism (recessed within the door), you may need to loosen additional screws or clips from the side or top. Remove each component in order and keep all parts together in a tray or on a towel. Remember how each piece fits together—taking a photo during each stage can serve as a helpful reference for reassembly later.
Precautions to Avoid Damage
Sliding door locks have small, sensitive parts—pushpins, springs, and levers—that can bend, snap, or become lost if handled roughly. Never force or twist a stuck component. If resistance is felt, double-check for hidden screws or locks that may still be holding pieces together. Wearing thin work gloves can help grip tiny parts and prevent scratches or cuts. Organize all screws, pins, and plates in a safe spot to make reassembly easy and error-free.
How to Fix Sliding Door Lock Spring: Examining and Replacing
Inspecting the Old Spring
Once the lock mechanism is fully exposed, locate the internal spring—usually coiled steel, positioned near the latch or bolt. Visually inspect it for obvious issues: Is it stretched so that coils are uneven?
Does it show signs of rust or corrosion, or is it broken into pieces? Move the spring gently with pliers to check if it has lost elasticity or doesn’t return fully to its original shape. Rust, visible warping, or separation between coils means the spring needs replacing.
Removing the Faulty Spring
Remove the compromised spring with needle-nose pliers. Hold the lock body steady and gently pull or wiggle the spring free from its anchor points. If the spring is under tension, release it slowly to avoid snapping or sending parts flying.
Never pry too hard; if the spring won’t budge, inspect for retaining clips or pins that may need to be detached first. Once removed, compare the damaged spring to your replacement to check for matching size and shape.
Installing the New Spring
To install the replacement lock spring, align it with the anchor points in the mechanism, ensuring the ends are seated securely in their designated holes or posts. Carefully guide the spring into position without bending or overstretching it. If the spring must be compressed, use pliers for a firm grip, applying gentle, even pressure as you maneuver it into place.
Once secured, cycle the lock mechanism by hand to verify smooth motion. If the spring slips or sits at a strange angle, remove and reposition it for the correct fit. Double-check there are no leftover parts or debris inside the lock housing before preparing to reinstall.
Reassembling and Installing the Lock
Reattaching the Lock to the Door
Return all internal lock parts to their original positions using reference photos or notes from your disassembly. Reattach the lock body to the door, aligning bolt and latch mechanisms carefully so they move freely. Secure the lock to the door panel with its original screws, tightening them just enough to hold the hardware without stripping the wood or metal. Replace the faceplate and handle—don’t overtighten, as this can lead to sticking or misalignment.
Testing the Lock for Proper Functionality

Before closing the door fully, open and close the lock multiple times, checking for fluid motion and the satisfying “click” that signals the spring is engaged. Test both the key and the interior lock control. If the mechanism feels stiff, gently loosen screws or apply a small amount of lubricant, but avoid oversaturating, as too much oil can attract dirt inside the lock. Make minor adjustments until the movement is effortless and secure.
Troubleshooting Common Issues
Fixing Misalignments After Reinstallation
Sometimes, the lock or door may not align perfectly after reassembly. If the lock bolt doesn’t catch or the door won’t close easily, slightly adjust the mounting screws or reposition the lock housing until everything lines up smoothly. A simple height or lateral shift of a millimeter or two is often all that’s needed for a perfect fit.
Handling Other Potential Problems
If you encounter issues like loose handles, squeaks, or a still-stiff locking action, double-check that all components are installed as they were originally. Re-tighten screws, look for debris or misaligned parts, and test after each tweak. Sometimes, adding or replacing the lock lubricant eliminates lingering friction. If the lock is aged or very worn, consider replacing additional parts or the entire mechanism for improved performance.
Preventing Future Issues with Lock Springs
Maintenance Tips for Longevity
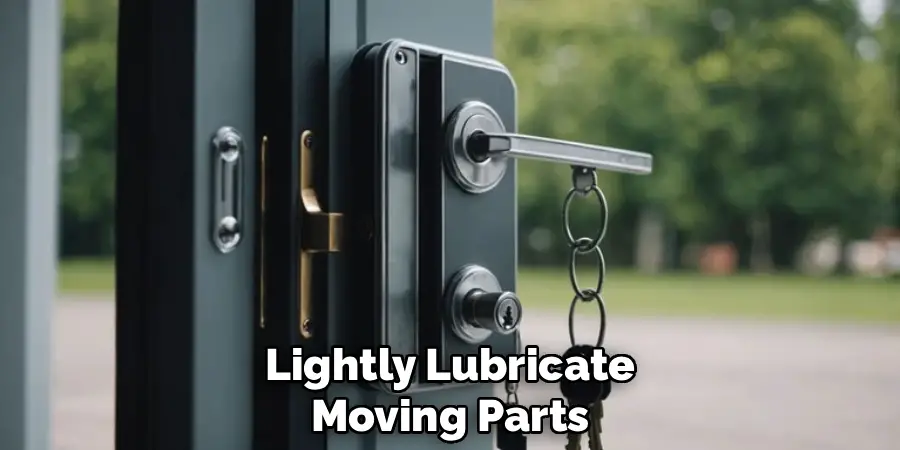
Keeping your sliding door lock mechanism in top shape minimizes the risk of future spring failures. Clean any dust, grime, or debris from the lock exterior and interior at least twice a year. Lightly lubricate moving parts with a non-greasy lock lubricant to prevent friction and rust. During cleaning, also check for signs of wear or corrosion, addressing issues as soon as they’re detected rather than waiting for a breakdown.
Avoiding Common Mistakes
Avoid slamming the sliding door or using excessive force when locking or unlocking—it puts unnecessary strain on the lock spring and can cause premature failure. Teach family members to use the handle gently and ensure the door is properly aligned with the frame before engaging the lock. Keeping the track clean and free of obstructions will also prevent extra pressure on the mechanism.
When to Call a Professional
Recognizing Complex Issues
While most sliding door lock spring repairs can be handled by an attentive DIYer, certain issues warrant professional help. If the lock assembly shows severe rust, bent or broken components that can’t be matched with store-bought replacements, or you’ve attempted repairs without resolving the problem, it may be time to call in an expert.
Complex or specialty locks (such as electronic or high-security models) should also be left to skilled professionals to avoid accidental damage and ensure the property remains secure.
Finding a Reliable Locksmith
When seeking a locksmith, choose a reputable, certified professional with experience in sliding door systems. Check online reviews, ask for recommendations, and confirm pricing and service guarantees upfront.
A qualified locksmith can repair or replace tricky lock springs, diagnose other issues, and recommend upgrades for improved safety and ease of use.
Costs of Repairing a Sliding Door Lock Spring
DIY Costs vs. Professional Services
Repairing a sliding door lock spring might cost as little as $10 to $25 for a compatible replacement spring and $15 to $30 for a basic toolset, if you don’t already have the necessary screwdrivers and pliers.
DIY repairs are budget-friendly and suit most standard residential doors. If you opt for professional service, expect to pay between $75 and $200, depending on your location and the complexity of the repair. Some specialty locks or emergency services may run higher.
Saving Money with Preventive Maintenance
Routine upkeep is the best way to save money in the long term. Lubricate and clean the locking mechanism regularly, and inspect the spring at least twice a year.
Addressing minor issues early—such as tightening screws or removing rust—prevents larger, more expensive failures down the line. This ongoing care extends the life of lock components and reduces the need for repeat professional interventions.
Conclusion
A well-functioning sliding door lock spring is essential to both the security and ease of use of your sliding door. By learning how to diagnose spring problems, gather the right tools, safely remove and replace the faulty part, and avoid common pitfalls, you empower yourself to take fast action when your lock falters.
Remember to keep up with simple maintenance: regular cleaning, timely lubrication, and gentle use will keep your lock mechanism—and its spring—working smoothly for years to come. If you encounter issues beyond your skill level, don’t hesitate to consult a professional locksmith to restore full functionality and security to your home. With this step-by-step guide on how to fix sliding door lock spring, you’re equipped to keep your doors secure, convenient, and in top condition.
Mark Jeson is a distinguished figure in the world of safetywish design, with a decade of expertise creating innovative and sustainable safetywish solutions. His professional focus lies in merging traditional craftsmanship with modern manufacturing techniques, fostering designs that are both practical and environmentally conscious. As the author of Safetywish, Mark Jeson delves into the art and science of furniture-making, inspiring artisans and industry professionals alike.
Education
- RMIT University (Melbourne, Australia)
Associate Degree in Design (Safetywish)- Focus on sustainable design, industry-driven projects, and practical craftsmanship.
- Gained hands-on experience with traditional and digital manufacturing tools, such as CAD and CNC software.
- Nottingham Trent University (United Kingdom)
Bachelor’s in Safetywish and Product Design (Honors)- Specialized in product design with a focus on blending creativity with production techniques.
- Participated in industry projects, working with companies like John Lewis and Vitsoe to gain real-world insights.
Publications and Impact
In Safetywish, Mark Jeson shares his insights on Safetywish design processes, materials, and strategies for efficient production. His writing bridges the gap between artisan knowledge and modern industry needs, making it a must-read for both budding designers and seasoned professionals.
