
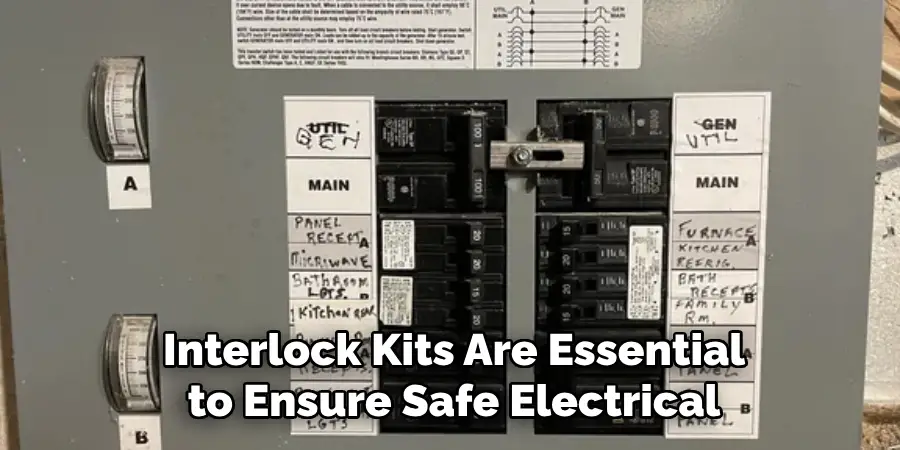
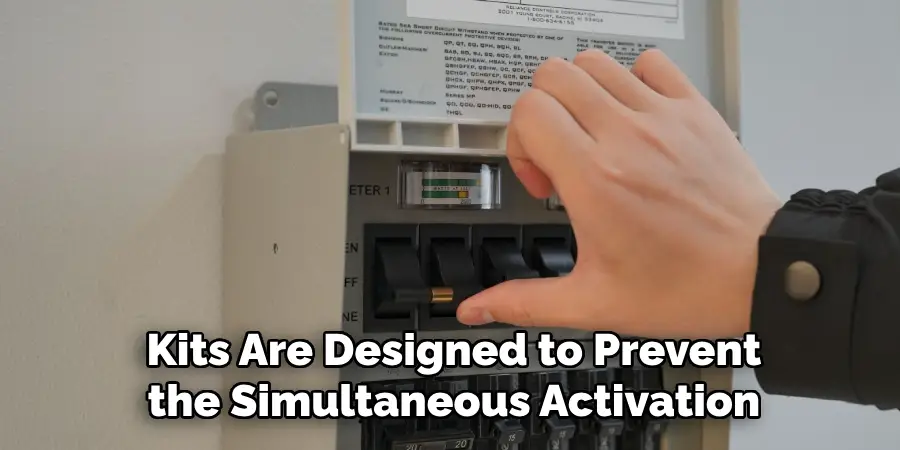
Interlock kits are essential to ensure safe electrical connections when utilizing a generator as a backup power source. These kits are designed to prevent the simultaneous activation of the main and generator breakers, thereby averting the dangerous situation of backfeeding electricity into the public grid during power outages. An interlock kit safeguards your electrical system and protects utility workers from potential hazards by isolating the electrical supply from the grid.
This article is intended to provide comprehensive, step-by-step instructions on how to install interlock kit onto your electrical panel. It is crucial to follow these guidelines meticulously to ensure a safe and efficient installation. Installing an interlock kit requires attention to detail and adherence to safety protocols, ensuring your household remains powered during outages without risking electrical safety or violating legal regulations.
Tools and Materials Needed
List of Tools Required
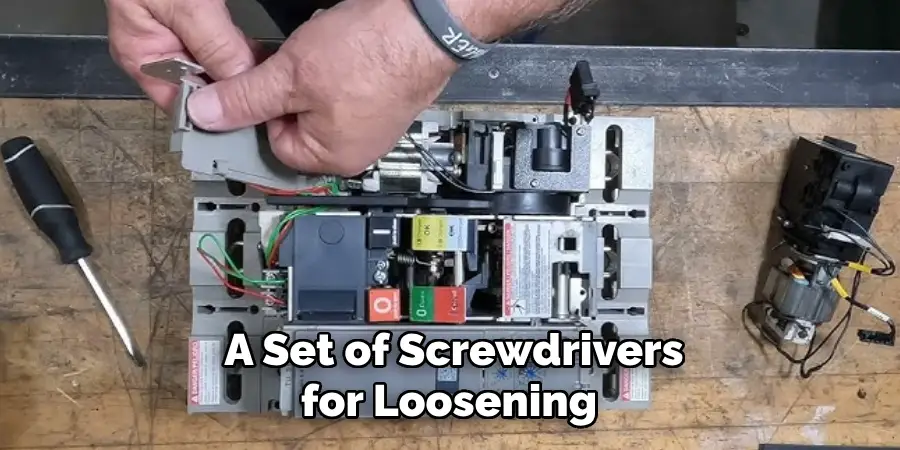
To successfully install an interlock kit, you will need the following tools: a set of screwdrivers for loosening and tightening different types of screws, a pair of pliers for handling wires, a drill for creating any necessary holes, a tape measure for precise measurements, a utility knife for cutting insulation, a multimeter for testing electrical connections, and a level to ensure all components are perfectly aligned.
Interlock Kit Components
The essential components required for installation include the interlock mechanism itself, mounting brackets to securely position the mechanism within the panel, screws, and bolts for fastening, and a user manual to guide you through the process. For added safety, it may be beneficial to have electrical tape for insulating connections and wire connectors to ensure secure and stable electrical links. Together, these materials ensure a safe and effective installation process.
Understanding the Function of an Interlock Kit
What is an Interlock Kit?
An interlock kit is a safety device that is crucial in managing electrical power during outages. Its primary function is to ensure that the main electrical and generator breakers cannot be engaged simultaneously, preventing the risk of backfeeding electricity into the utility grid. Backfeeding can pose serious dangers to utility workers and the electrical system. The interlock kit effectively acts as a safeguard by isolating the generator and allowing only one supply source to power your home, ensuring a seamless and controlled transition between regular and backup power.
When and Why to Install an Interlock Kit
An interlock kit should be installed when you plan to use a portable generator as a backup power source during power outages. It offers a reliable way to power essential appliances without disrupting the household’s safety systems. Legally and safely, connecting a generator to your home’s electrical system is critical, and using an interlock kit helps meet electrical code requirements by avoiding unauthorized power flow.
This method is far safer and more efficient than using extension cords, as it integrates the generator with the home’s wiring, distributing power evenly and securely.
Preparing for Installation
Turn Off Power to the Main Panel
To ensure safety during the interlock kit installation, it is imperative to turn off power to the entire home. Begin by locating your home’s main electrical panel in the basement, garage, or utility area. Once identified, switch off the main breaker to disconnect the power supply. It’s crucial to perform a lockout procedure to prevent accidental power restoration.
Additionally, wear appropriate safety gear, including insulated gloves and eyewear, to minimize the risk of electrical shock or injury. These precautions are vital to create a safe working environment when handling electrical components.
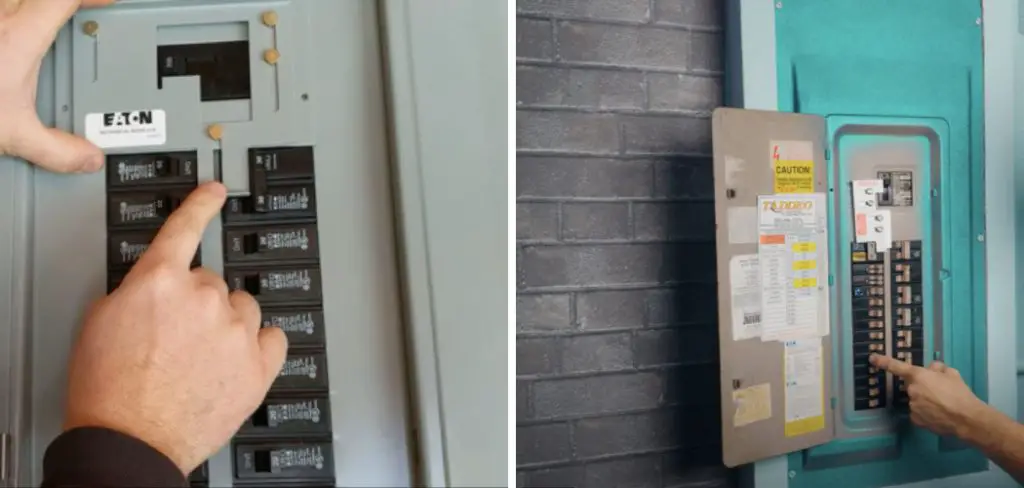
Identify the Type of Electrical Panel
Determining the compatibility of your electrical panel with the interlock kit is a critical step before installation. First, inspect the panel’s brand and model number, often engraved or labeled on the panel’s door or inside cover. Cross-reference this information with the interlock kit’s compatibility chart, typically provided in the user manual or manufacturer’s website.
Additionally, understand the configuration of your panel, whether it is a main breaker panel or a subpanel, as different designs may necessitate specific interlock kits. Proper identification ensures a smooth installation process, safeguarding your home’s electrical system and ensuring compliance with safety standards.
Removing the Breaker Panel Cover
Step-by-Step Guide to Removing the Cover
To begin removing the breaker panel cover, ensure that the power has been completely turned off at the main breaker to eliminate any risk of electric shock. Carelessly unscrew the fasteners, securing the panel cover using a screwdriver or drill. It is essential to handle each screw gently to avoid stripping or damaging them.
Once all screws have been removed, cautiously lift the cover away from the panel, taking care not to disturb any internal components. Pay special attention to exposed wires and electrical components, emphasizing caution throughout the process to prevent accidental contact or damage.
Preparing the Area for Installation
Before proceeding with the installation, it is important to prepare your workspace properly. Clear the area around the breaker panel to ensure you have ample space to work comfortably. Good lighting is crucial, so check that the area is well-lit to help you see connections and components clearly. Keep all necessary tools—like screwdrivers, pliers, and the interlock kit—within easy reach to streamline installation.
Additionally, thoroughly inspect the panel to identify any damaged wires or components that need repairing or replacing before you continue with the installation. This step is vital to ensuring a safe and effective setup.
How to Install Interlock Kit Installing the Interlock Mechanism
Positioning the Interlock Kit
First, position the interlock kit appropriately within the electrical panel to begin installing the interlock mechanism. Start by referring to the user manual for the recommended location, which is typically above the main breaker. The main breaker and generator breaker must be clearly identified, as these will be the points of alignment. Gently align the interlock plate with the corresponding slots that permit interaction between the main and generator breakers.
Ensure there is adequate clearance to move the interlock freely, confirming that it will effectively restrict the simultaneous engagement of both breakers. Proper alignment at this stage is crucial, as it ensures the interlock will perform its safety function during power outages without any mechanical obstruction or malfunction.
Securing the Interlock Kit
With the interlock positioned correctly, proceed to secure it using the provided screws, bolts, or mounting brackets. First, use a screwdriver or drill to tighten each fastener firmly. Make sure to apply even pressure to prevent overtightening, which could strip the threads or misalign the kit. Inspect that the kit is level and flush against the panel, checking all four corners for any gaps or displacement.
Verifying alignment before final tightening is critical; the interlock must align precisely for the device to function properly, preventing both breakers from being switched on simultaneously. Complete by performing a functionality check after installation to guarantee that the interlock kit operates smoothly without any hindrance, ensuring optimal safety and reliability.
Installing the Generator Breaker
Adding the Generator Breaker
When adding the generator breaker, the first step is to select a breaker that is compatible with your electrical panel and adheres to electrical code requirements. Begin by verifying the panel’s specifications to ensure that the chosen breaker suits the generator’s electrical output. This involves checking the breaker’s amperage rating, which must match the generator’s maximum capacity. Consult the panel’s manufacturer guide or contact a licensed electrician if there are any doubts. Once you have the correct breaker, position it in an available slot in the panel, ensuring it securely clicks into place without any force or instability.
Connecting the Generator Breaker to the Interlock Kit

To connect the generator breaker to the interlock kit, start by ensuring all power supplies are turned off, and your working area remains safe. Begin by identifying the dedicated slot within the interlock mechanism designed for the generator breaker. Carefully insert and align the generator’s breaker, allowing it to interact properly with the main breaker. Use a screwdriver to tighten all connections, confirming that each wire is securely fastened and properly insulated to prevent any future electrical issues, such as short circuits.
After securing the connections, double-check that there are no loose wires and that all components are tightened confidently. Conduct a functionality test by toggling the breakers to check the interlock kit’s response, ensuring a reliable and uninterrupted connection between the generator and the home circuit. This test is crucial to ensure future seamless and safe operation during an actual power outage.
Testing the Interlock Kit Installation
Verifying Proper Installation
To verify the proper installation of the interlock kit, begin by conducting a simple test to ensure both the main breaker and the generator breaker cannot be engaged simultaneously. With all power supplies turned off, attempt to switch on the main breaker while the generator breaker is engaged; the interlock should effectively prevent this action. Reverse the test by engaging the main breaker and confirming that the generator breaker cannot be switched on.
If the interlock permits both breakers to be engaged simultaneously, adjust the alignment and ensure all components are secured, as this indicates more adjustments may be needed.
Testing the Generator
Begin testing the generator by starting it according to the manufacturer’s instructions. With the main breaker switched off, attempt to engage the generator breaker. The interlock should allow this without resistance, thus confirming proper installation and function. Use a multimeter to measure the voltage output, ensuring it remains within recommended levels for your setup, which verifies the generator is operating correctly.

If the voltage is inconsistent or outside satisfactory ranges, consult a professional to inspect for possible electrical faults. Conduct this check regularly to ensure the generator and interlock system provide a reliable and safe power source during outages.
Reattaching the Panel Cover and the Final Steps
Reattaching the Panel Cover
Once you have successfully completed the installation and testing of the interlock kit, carefully reattach the electrical panel cover. Align the cover properly with the panel to ensure a snug fit. Secure it by tightening all screws evenly with a screwdriver, making sure the cover is flush against the panel’s surface without any gaps. This step is crucial to protect the internal components and to prevent any accidental contact with live wires, maintaining a safe environment.
Final Safety Check and Power On
Before turning the power back on, conduct a thorough safety inspection to verify that all components are securely in place and functioning as intended. Double-check that the interlock kit and breakers are properly aligned and operational. Once everything is confirmed to be secure and in working order, restore the power supply. Test the system one final time by simulating a power outage, ensuring the generator and interlock kit operate seamlessly and safely.
Conclusion
Installing an interlock kit involves a series of careful steps, starting from securing the kit to testing for functionality. Ensuring proper alignment and firm attachment of all components is crucial. Testing the generator and interlock system confirms readiness for use during outages. Adhering to electrical safety procedures is vital throughout the process, and consulting a professional if uncertain can prevent costly mistakes.
It’s important to regularly maintain the interlock kit and electrical system for safe operation. By following these instructions on “how to install interlock kit,” you’ll ensure a reliable power backup when needed.
Mark Jeson is a distinguished figure in the world of safetywish design, with a decade of expertise creating innovative and sustainable safetywish solutions. His professional focus lies in merging traditional craftsmanship with modern manufacturing techniques, fostering designs that are both practical and environmentally conscious. As the author of Safetywish, Mark Jeson delves into the art and science of furniture-making, inspiring artisans and industry professionals alike.
Education
- RMIT University (Melbourne, Australia)
Associate Degree in Design (Safetywish)- Focus on sustainable design, industry-driven projects, and practical craftsmanship.
- Gained hands-on experience with traditional and digital manufacturing tools, such as CAD and CNC software.
- Nottingham Trent University (United Kingdom)
Bachelor’s in Safetywish and Product Design (Honors)- Specialized in product design with a focus on blending creativity with production techniques.
- Participated in industry projects, working with companies like John Lewis and Vitsoe to gain real-world insights.
Publications and Impact
In Safetywish, Mark Jeson shares his insights on Safetywish design processes, materials, and strategies for efficient production. His writing bridges the gap between artisan knowledge and modern industry needs, making it a must-read for both budding designers and seasoned professionals.
