
Are you tired of your attic space? Does it seem like a waste of valuable real estate in your home?
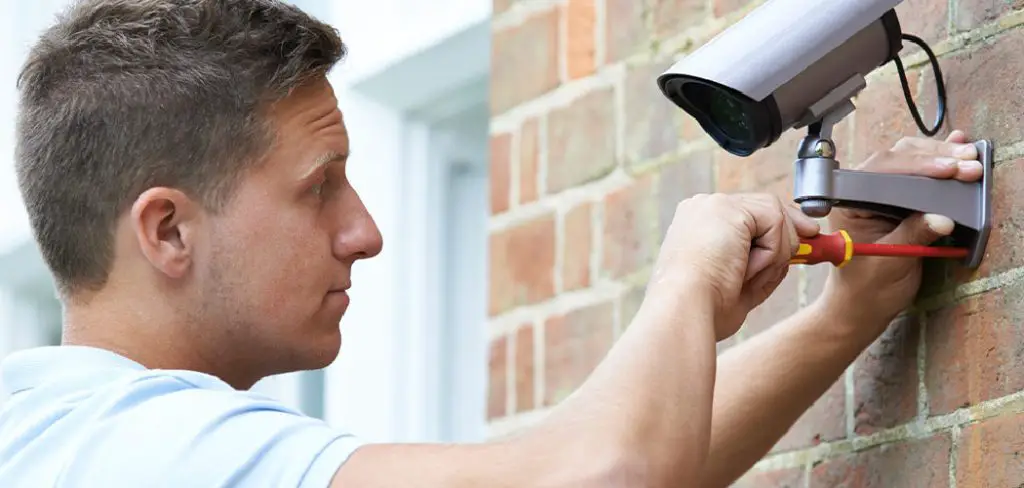
Installing security cameras in your home is a crucial step towards ensuring the safety and protection of your property. However, the absence of an attic can pose unique challenges, limiting the options for discreetly running wires and positioning cameras. Despite these obstacles, various innovative solutions and techniques can facilitate effective installation.
This guide will explore alternative methods on how to install security cameras without an attic, focusing on practical tips and tools to overcome wiring hurdles, select suitable camera types, and ensure optimal placement for maximum coverage and reliability. Whether you are a DIY enthusiast or a first-time installer, these insights will help you confidently enhance your home’s security.
What Will You Need?
Before we delve into the installation process, let’s gather the essential tools and materials needed for a successful outcome. Depending on your specific setup and preferences, you may need some or all of the following items:
- Security Cameras: These are the primary components that capture and transmit video footage to your monitor or recording device. Depending on your needs, you can choose from wireless, wired, or hybrid models.
- Mounting Brackets: These brackets help secure your cameras at the desired angle and position.
- Extension Cables: If your chosen camera wires do not reach the designated installation point, you’ll need extension cables to bridge the gap.
- Cable Clips: These handy accessories assist in keeping your wires organized and prevent tangling.
- Power Supply: Cameras require a power source to function, so have an adequate power supply nearby or plan for alternative options such as solar-powered cameras.
- Drill and Bits: A drill is essential for creating holes to run cables or mount brackets. Ensure you have the correct bit size depending on your desired hole size.
- Screwdriver: You may need a screwdriver for some camera models that require screws for mounting.
- Ladder: Depending on the height of your installation point, you may need a ladder to reach it safely.
Now that you have all the necessary tools and materials let’s dive into the installation process.
10 Easy Steps on How to Install Security Cameras Without an Attic:
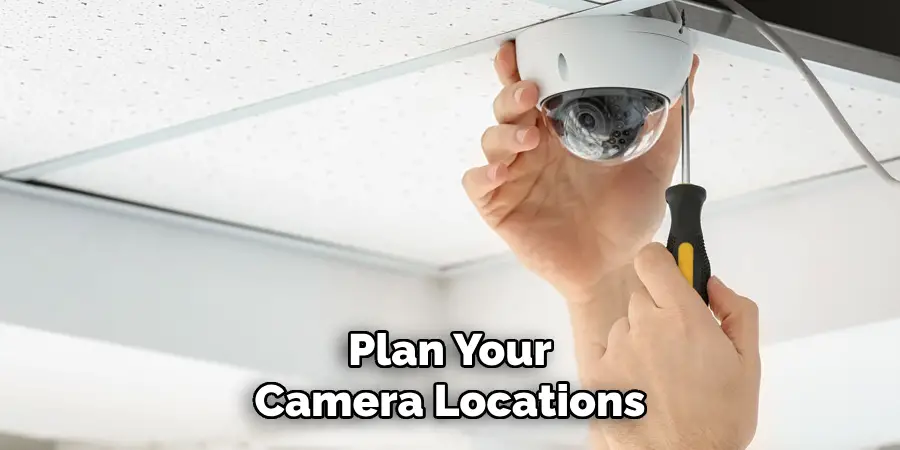
Step 1: Plan Your Camera Locations
Before drilling any holes, planning where you’ll place your security cameras is crucial. Consider areas that are most vulnerable or where you want to monitor foot traffic, such as entryways, driveways, and backyards. Look for places that provide a clear view and keep the cameras out of sight to deter tampering. Use this planning stage to determine the exact number of cameras you’ll need and their type.
Step 2: Prepare Your Camera Wires
Once you’ve determined the ideal camera locations, the next step is to prepare the wiring. Start by measuring the distance from each camera location to your central monitoring area, ensuring you have enough cable length to connect the cameras to your recording device. Using wired cameras may involve cutting and stripping the wires to the appropriate size or using extension cables to bridge longer distances.
Consider concealing the wires as much as possible to maintain a clean appearance and prevent tampering. You can use cable clips to secure the wires along your walls or ceilings, keeping them tidy and out of the way. When laying the cables, plan for any obstacles, such as doorways or windows, which may require additional routing solutions like clips or tubing to safely and discreetly run the wires. This step may be simplified for wireless cameras, but keep an eye on power supply needs to ensure uninterrupted operation. You’re setting the foundation for a seamless installation process through careful preparation and planning.
Step 3: Install the Mounting Brackets
With your camera locations and wiring prepared, it’s time to install the mounting brackets. Begin by marking the spots where the brackets will be placed, ensuring they align with your planned camera positions. Use a drill with the appropriate bit size to create holes for the mounting screws. Carefully align the brackets with the drilled holes and use screws to secure them firmly against the wall or ceiling.
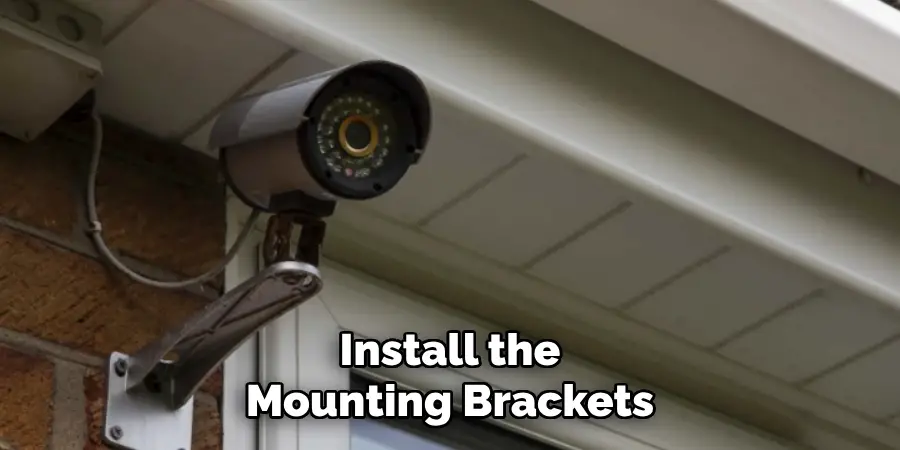
Ensure the brackets are sturdy and level to prevent any tilting or movement of the cameras once mounted. Adjust the bracket angles if necessary to achieve the desired field of view. Properly securing the mounting brackets is essential for reliable camera placement and optimal performance.
Step 4: Attach the Cameras
Now that the mounting brackets are securely in place, you can attach your security cameras. Carefully align each camera with its respective mounting bracket and fix it in position according to the manufacturer’s instructions. This may involve tightening screws or clamps that hold the camera in place. Ensure the cameras are firmly attached and can be adjusted to capture the intended field of view.
Test the camera angles and adapt them to maximize coverage while minimizing blind spots. For wired cameras, connect the cables to the camera ports carefully, ensuring a secure and proper connection. For wireless models, verify they have a reliable power source and that they connect seamlessly to your network.
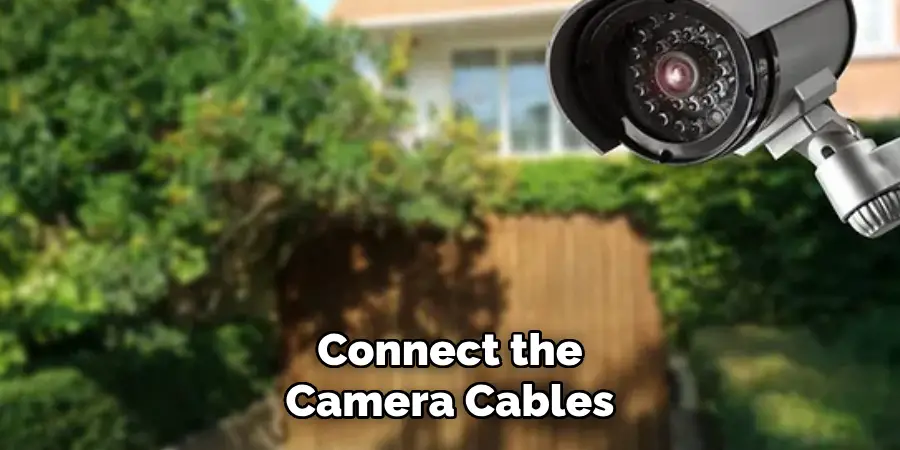
Step 5: Connect the Camera Cables
With the cameras attached, it’s time to connect them to your central monitoring system. Route the prepared cables to your recording device or monitor for wired cameras. Ensure each cable is securely connected to the corresponding ports on the camera and the recording equipment. If using wireless models, verify that each camera has a strong Wi-Fi signal and is appropriately synced with your network. After making all necessary connections, group and organize the cables using cable clips to maintain a tidy setup and prevent accidental disconnection. Once complete, power your cameras to ensure they transmit video signals to your monitoring system.
Step 6: Test the Camera System
With all connections in place, the next crucial step is to test your camera system. Power on your monitoring device and ensure all cameras are sending live feeds. Check each camera view to confirm they capture the intended areas and adjust the angles if necessary to eliminate blind spots. Verify that the image quality is sufficient, and ensure that the night vision feature, if available, functions properly during low-light conditions. Testing any additional features, such as motion detection, alerts, or recording, is also essential to ensure they operate as expected.
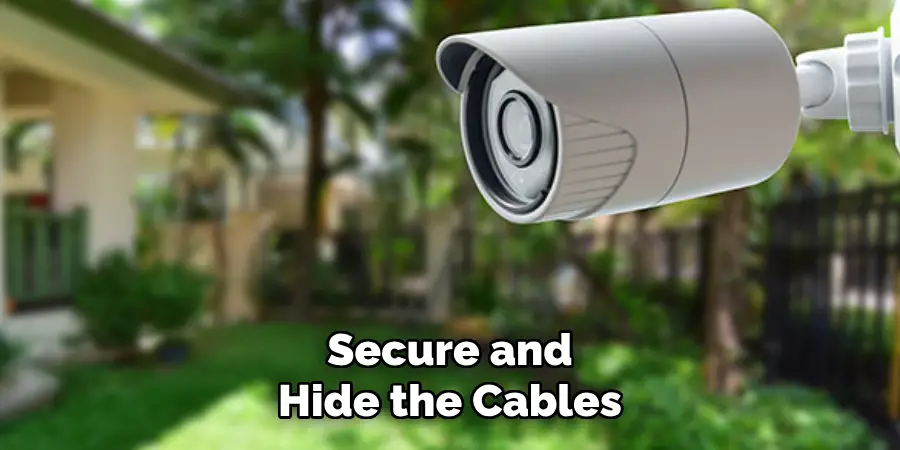
Step 7: Secure and Hide the Cables
Once your camera system has been tested and confirmed to function correctly, tidying up the setup by securing and concealing the cables is essential. Use cable ties to bundle loose wires together, reducing clutter and minimizing the risk of accidental disconnection. Consider using cable channels or tubing to cover the cables along walls and ceilings for additional protection and a cleaner appearance. For outdoor installations, ensure that wires are weather-protected and safely secured to prevent damage from the elements. Concealing the cables improves aesthetics and protects them from potential tampering or accidental damage, contributing to the longevity and reliability of your security system.
Step 8: Monitor and Maintain the System
Regular monitoring and maintenance are crucial to ensuring its effectiveness once your security camera system is fully installed and secured. Establish a routine to periodically check the camera feeds and verify that all areas are effectively covered. Keep an eye out for any technological updates or software your cameras may require, ensuring they remain up-to-date for optimal performance. Inspect the cameras and wiring for any signs of physical damage or wear over time, such as weathering or tampering, and address these issues promptly. Clean the camera lenses periodically to maintain image clarity and ensure that the cameras are free from obstructions such as debris or cobwebs.
Step 9: Optimize Camera Security Settings
After installing and testing your security camera system, optimizing your camera security settings is essential to ensure utmost protection. Begin by setting solid and unique passwords for accessing your camera system and associated applications. Regularly update passwords to enhance security. Activate encryption settings, if available, to protect data transmission from potential interception. Limit administrator privileges to essential personnel only and configure user access levels accordingly. Enable firewalls and routinely check your network for unauthorized devices or users.
Step 10: Set Up Alerts and Notifications
To maximize the effectiveness of your security camera system, configure alerts and notifications to stay informed about any unusual or suspicious activity. Most modern systems allow you to set motion detection or sound detection alerts, which can notify you via email, text message, or smartphone app. Customize the sensitivity and parameters of these alerts to minimize false alarms while ensuring important events are communicated promptly. Be sure to test the alert system to ensure notifications are triggered correctly and that you are receiving them in real-time.
By following these ten steps, you can effectively install and set up your security camera system for optimal performance.
Conclusion:
How to install security cameras without an attic may seem challenging, but with careful planning and execution, it can be done effectively.
Begin by selecting the right equipment suited for your specific needs, whether wired or wireless, ensuring they are designed for the intended installation environment, indoors or outdoors. For mounting and routing purposes, utilize available structures, such as eaves, walls, or existing cabling conduits. Pay attention to cable management by choosing appropriate coverings and securing methods to protect against environmental damage and maintain aesthetics. Diligently follow each step of the installation process, from securely attaching cameras to fine-tuning their angles and settings. Finally, continuously monitor and maintain the system, keeping it updated and working efficiently.
By doing so, you can establish a reliable surveillance setup that enhances security and provides peace of mind.
Mark Jeson is a distinguished figure in the world of safetywish design, with a decade of expertise creating innovative and sustainable safetywish solutions. His professional focus lies in merging traditional craftsmanship with modern manufacturing techniques, fostering designs that are both practical and environmentally conscious. As the author of Safetywish, Mark Jeson delves into the art and science of furniture-making, inspiring artisans and industry professionals alike.
Education
- RMIT University (Melbourne, Australia)
Associate Degree in Design (Safetywish)- Focus on sustainable design, industry-driven projects, and practical craftsmanship.
- Gained hands-on experience with traditional and digital manufacturing tools, such as CAD and CNC software.
- Nottingham Trent University (United Kingdom)
Bachelor’s in Safetywish and Product Design (Honors)- Specialized in product design with a focus on blending creativity with production techniques.
- Participated in industry projects, working with companies like John Lewis and Vitsoe to gain real-world insights.
Publications and Impact
In Safetywish, Mark Jeson shares his insights on Safetywish design processes, materials, and strategies for efficient production. His writing bridges the gap between artisan knowledge and modern industry needs, making it a must-read for both budding designers and seasoned professionals.
