
Are you tired of trying to figure out which key belongs to what, just because they all look the same? It can be frustrating and time-consuming, not to mention potentially dangerous if you accidentally use the wrong key.
Losing or misplacing your keys can be a frustrating and stressful experience. Properly labeling your keys can save valuable time and ensure you always know which key belongs to which lock. However, it’s crucial to do so in a way that prioritizes security and prevents unauthorized access in case your keys are lost.
This guide on how to label your keys safely will explore simple and effective methods for labeling your keys while keeping your safety and privacy in mind. Let’s get started!
What Are the Benefits of Properly Labeling Your Keys?
Properly labeling your keys can bring numerous benefits, including:
- Efficiency: Knowing which key goes to which lock will save you time and hassle when trying to open doors or locks.
- Organization: A well-labeled keychain or key holder can help you stay organized and prevent misplacing or losing your keys.
- Safety: Labeling your keys can help you identify them in case they get lost, reducing the risk of unauthorized access to your home, office, or vehicle.
- Privacy: With proper labeling, you can easily differentiate between different sets of keys and keep sensitive areas or belongings secure.
What Will You Need?
To effectively label your keys, you will need the following materials:
- Key Tags or Labels: These can be purchased at any hardware store or office supply store. They come in various shapes, sizes, and colors.
- Permanent Markers: Choose a dark-colored permanent marker to ensure visibility and durability of the label.
- Clear Tape: This is optional, but can help protect the label from smudging or wearing off over time.
- Scissors: These will be used to cut the tape or key tags if needed.
- Keys: Of course, you will need your keys to label them. Make sure to have all the keys you want to label on hand before starting the process.
10 Easy Steps on How to Label Your Keys Safely
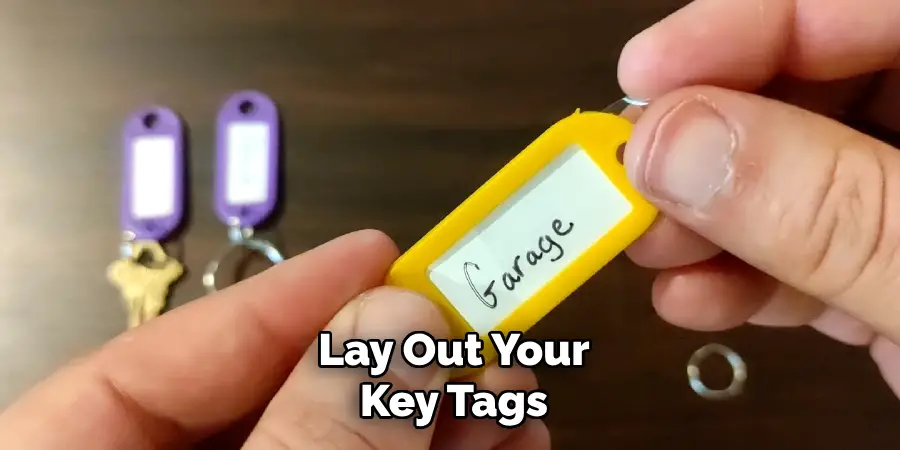
Step 1. Gather Your Supplies
Make sure you have all the necessary supplies before beginning the key labeling process. Lay out your key tags, permanent marker, clear tape (if you are using it), scissors, and, most importantly, all the keys you wish to label. Having everything organized and within reach will make the process smoother and more efficient.
Double-check that your permanent marker is functioning properly and that you have enough key tags to label all your keys. If you’re planning to use clear tape, ensure it is easy to handle and can adequately cover the labels for added protection. Preparing your workspace and gathering supplies in advance will save time and keep everything neat as you proceed.
Step 2. Clean Your Keys
Before labeling your keys, it’s essential to ensure they are clean. Take a soft cloth or a sponge and dampen it with mild soap and warm water. Gently wipe each key to remove any dirt, grease, or residue that might interfere with the label’s adhesion.
For stubborn grime, you can use a small brush, like an old toothbrush, to scrub the grooves and edges carefully. Once cleaned, dry the keys thoroughly with a clean towel or allow them to air dry completely. This step will ensure a long-lasting and neat labeling process.
Step 3. Write the Labels
Start by determining the size and style of the labels needed for your keyboard. Use a fine-tip permanent marker or a label maker to create clear, legible text for each key. Write the corresponding letters, symbols, or functions on small adhesive labels, ensuring the text is centered for a clean look.
If using preprinted labels, double-check that they match the intended layout. Take care to write or select labels that are durable and resistant to smudging, as this will ensure they remain intact during regular use.
Step 4. Attach the Tags
Carefully peel the backing off each label or tag to expose the adhesive side. Align the label with the surface of the corresponding keycap, ensuring it is properly centered and straight. Press firmly to secure the label in place, smoothing out any air bubbles or edges to ensure a seamless application. Repeat this process for all remaining keys, taking your time to maintain consistency.
Step 5. Add Clear Tape
To protect the labels from wear and tear, apply a piece of clear tape over each key. Cut the tape into small sections, slightly larger than the labels, and carefully place it over the surface of the label. Press down firmly to secure the tape, ensuring there are no wrinkles or bubbles.
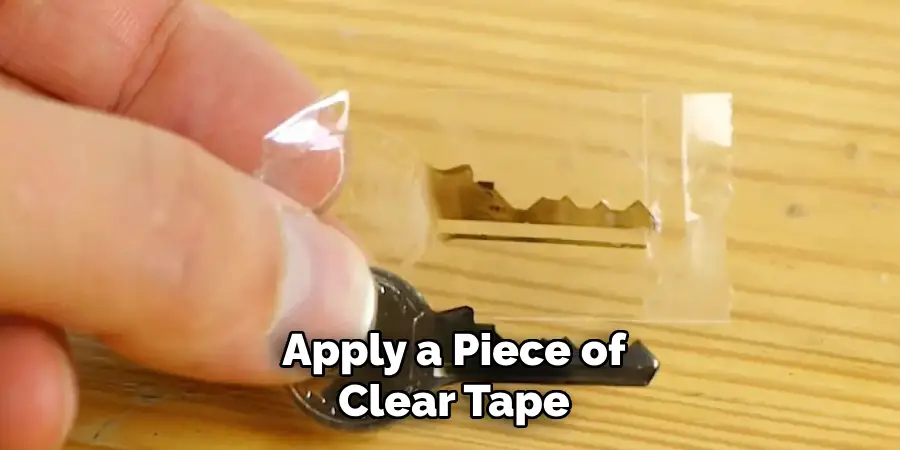
This added layer of protection will help preserve the labels over time and provide a smooth, durable finish. Repeat this for each labeled key to complete the process.
Step 6. Organize Your Keys
Once all your keys are labeled and protected, it’s time to organize them for easy access. Group your keys according to their purpose or frequency of use. For instance, keep house keys, office keys, and car keys in separate sections or use a key ring with dividers to differentiate them.
Consider arranging them in a sequential order or by size to quickly find the key you need. If you use a key holder or storage box, assign specific spots for each key category, ensuring consistent placement. A well-organized key system will save you time and reduce the hassle of searching for the right key.
Step 7. Test the Labels
After labeling your keys, it’s important to test the effectiveness of your system. Take a few moments to identify each key based solely on its label. Ensure that each label is clear, legible, and securely attached. Test accessing keys in various lighting conditions to confirm readability.
If a label is unclear or falls off during use, consider redesigning or reinforcing it. This step will help you assess whether your labeling method is practical and durable for everyday use. An effective labeling system minimizes confusion and streamlines your routine.
Step 8. Store Keys Safely
Storing keys safely is essential for preventing loss and maintaining security. Designate a specific location in your home, such as a key holder, drawer, or wall-mounted organizer, to keep all your keys in one place. Consider using a lockable cabinet or box for sensitive keys, ensuring they are accessible only to authorized individuals.
Avoid leaving keys in plain sight or in public areas where they could be easily misplaced or stolen. Additionally, develop a habit of returning keys to their designated spot immediately after use, reducing the risk of misplacement. A secure and consistent storage system will save time and provide peace of mind.
Step 9. Update Labels as Needed
Regularly review and update the labels on your keys to ensure they remain accurate and easy to identify. Over time, circumstances may change, such as new keys being added or old ones becoming obsolete. Keeping labels updated minimizes confusion and helps maintain an organized system.
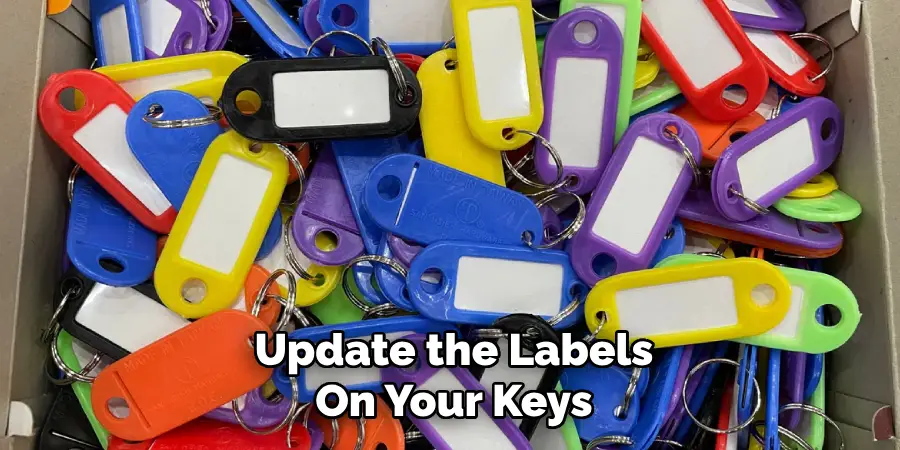
Use durable, legible labels that are resistant to wear and tear, and avoid using vague or unclear descriptions. For added security, consider a labeling method that prevents unauthorized identification of keys in the event they are lost or stolen.
Step 10. Keep Keys Out of Public View
Keeping keys out of public view is a fundamental step in ensuring their security. Leaving keys visible on desks, countertops, or other accessible areas increases the risk of them being misplaced or stolen.
Instead, store keys in discreet, secure locations such as locked drawers, cabinets, or key safes. If a key must be carried, ensure it is kept inside a bag or pocket rather than displayed openly. Being mindful of where keys are placed and who has access to them can significantly reduce the likelihood of unauthorized use or loss.
By following these simple steps, individuals can greatly improve the security of their personal and professional spaces.
5 Things You Should Avoid
- Using Key Tags with Personal Information
Avoid labeling keys with personal information such as your name, address, or phone number. If the key is lost, this information can lead a potential thief directly to your property.
- Using Easy-To-Guess Labels
Do not use labels that identify the lock’s location, like “Front Door” or “Office.” This makes it easier for someone to misuse the key if it falls into the wrong hands.
- Using Visible Labels on Keychains
Avoid attaching visible labels or tags that can be easily read by others. This compromises the security and discretion of your keys.
- Using Fragile Labels
Stay away from paper or easily damaged materials for your key labels. If the label becomes worn or falls off, it can create confusion or even expose sensitive information if used imprudently.
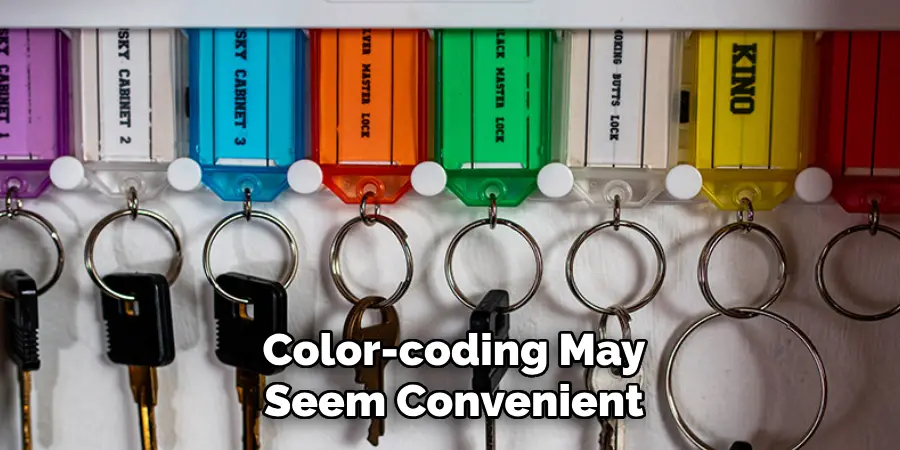
- Color-Coding Keys with Obvious Meaning
While color-coding may seem convenient, using obvious schemes (e.g., red for “front door”) can give unintended clues about the purpose of each key. Keep your system subtle and unobvious.
Conclusion
How to label your keys safely requires a balance of practicality and security.
Avoid fragile or conspicuous labels, and ensure that any identification system you use is discreet and not immediately interpretable. By following these guidelines, you can minimize risks while keeping your keys organized and easily accessible.
Prioritize durable materials and subtle, non-descriptive labeling methods to safeguard your belongings effectively.
Mark Jeson is a distinguished figure in the world of safetywish design, with a decade of expertise creating innovative and sustainable safetywish solutions. His professional focus lies in merging traditional craftsmanship with modern manufacturing techniques, fostering designs that are both practical and environmentally conscious. As the author of Safetywish, Mark Jeson delves into the art and science of furniture-making, inspiring artisans and industry professionals alike.
Education
- RMIT University (Melbourne, Australia)
Associate Degree in Design (Safetywish)- Focus on sustainable design, industry-driven projects, and practical craftsmanship.
- Gained hands-on experience with traditional and digital manufacturing tools, such as CAD and CNC software.
- Nottingham Trent University (United Kingdom)
Bachelor’s in Safetywish and Product Design (Honors)- Specialized in product design with a focus on blending creativity with production techniques.
- Participated in industry projects, working with companies like John Lewis and Vitsoe to gain real-world insights.
Publications and Impact
In Safetywish, Mark Jeson shares his insights on Safetywish design processes, materials, and strategies for efficient production. His writing bridges the gap between artisan knowledge and modern industry needs, making it a must-read for both budding designers and seasoned professionals.
