
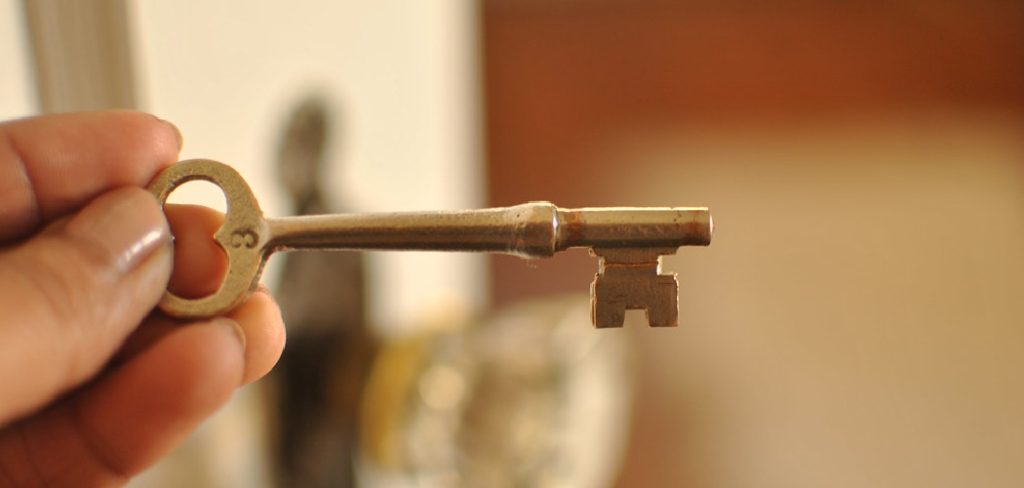
Are you a fan of escape games or puzzles? Have you ever wished you had a key that could open any lock?
How to make a skeleton key is a fascinating process that combines creativity, technical skill, and a bit of historical intrigue. Skeleton keys are master keys designed to unlock multiple locks of a similar type by bypassing the complex internal mechanisms. While they are commonly associated with antique locks and historic architecture, they remain a symbol of mystery and versatility. This guide will walk you through the steps necessary to craft your skeleton key, whether for practical use, artistic purposes, or as a unique collector’s item.
With the right tools and attention to detail, you can create a key that not only functions but also captures the timeless charm of this classic design.
What Are the Benefits of Making a Skeleton Key?
- Versatility: A skeleton key can be used to open multiple locks, making it a reliable tool for those who have many different types of locks in their home or workplace. This eliminates the need to carry around numerous keys and simplifies the unlocking process.
- Historical Significance: Skeleton keys have been used for centuries, dating back to ancient civilizations such as Rome and Egypt. Making your skeleton key allows you to connect with this rich history and create a piece that holds sentimental value.
- Unique Design: No two skeleton keys are exactly alike, as they were traditionally handcrafted by skilled locksmiths. By making your own, you have the opportunity to customize the design and create a truly one-of-a-kind key.
- Creative Outlet: Crafting a skeleton key can also serve as a creative outlet, allowing you to explore different designs and techniques. You can also incorporate other materials such as beads, charms, or paint to add personal touches to your key.
- Practical Use: While many modern doors are equipped with electronic or traditional locking mechanisms, skeleton keys can still have practical use in older homes or antique furniture. By knowing how to make your own, you can open these locks without having to call a locksmith.
What Will You Need?
To make your skeleton key, you will need:
- A Blank Key: This can be purchased at most hardware stores or online. Look for a key that closely resembles the shape and size of the lock you are trying to open.
- A Metal File: This will be used to shape and carve the key.
- Sandpaper: You may need this to smooth out any rough edges on your finished key.
- Graphite Powder or Pencil Lead: This will act as a lubricant for your key once it is made.
- Optional Materials: If you want to add decorative elements to your key, have beads, charms, or paint ready.
10 Easy Steps on How to Make a Skeleton Key
Step 1. Find the Right Blank Key
To begin, locate a blank key that closely resembles the dimensions and overall shape of the skeleton key you need. This key should be made of a material that is soft enough to file and shape, such as brass or another malleable metal, but still durable enough to function as a proper key. You can often find blank keys at hardware stores, online marketplaces, or locksmith shops.
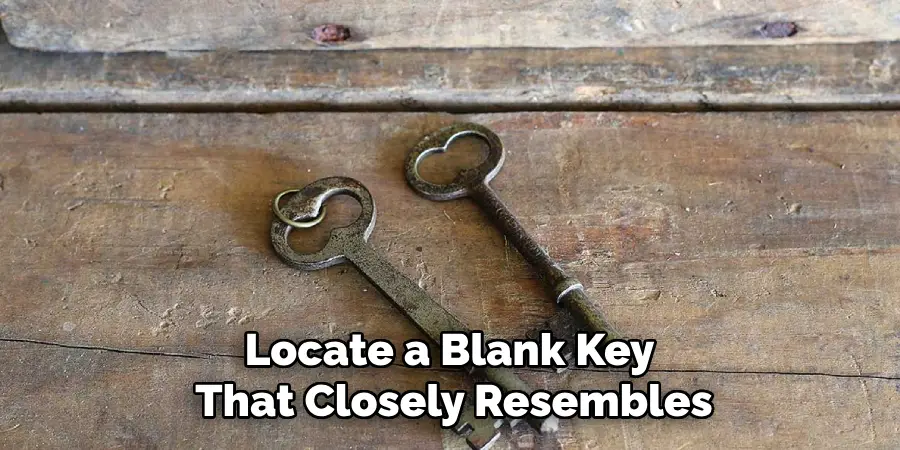
When choosing the right blank, ensure that its shaft is long enough to fit into the lock and that its width is neither too thin nor too thick. A slight mismatch is acceptable since you will be customizing the blank to fit your specific lock, but starting with a size and shape that is as close as possible to the original will make the process significantly easier. If you’re unsure, bring the lock or an existing key for reference to ensure a better match.
Step 2. Examine the Lock
To properly examine the lock, start by carefully inspecting its keyway shape and internal components. Use a flashlight or magnifying tool to get a clear view of the pins, grooves, and ridges inside. Note any distinct features or anomalies within the lock that could impact the key’s design or function. Identifying the lock’s type, such as whether it’s a pin tumbler or a wafer lock, will also help you understand the mechanism and make informed adjustments when customizing the key blank. Take your time to ensure accuracy during this step, as a thorough examination is critical for a successful fit.
Step 3. Mark the Key
Place the key blank into the lock and ensure it is seated properly. Apply gentle pressure to mimic the turning motion of a key, without forcing it. Using a fine-tipped marker or a thin coating of graphite, mark the areas on the blank where it makes contact with the lock’s internal components. These markings will serve as a guide for where the key needs to be cut or filed to match the lock’s unique pattern. Accuracy is critical at this stage, so take care to create clear and precise marks.
Step 4. Shape the Key
Using a fine file or specialized key-cutting tool, carefully shape the blank key according to the marked areas. File down the high points indicated by the markings, gradually refining the shape to match the lock’s internal configuration. Work slowly and methodically, checking the fit frequently by inserting the key into the lock after each adjustment.
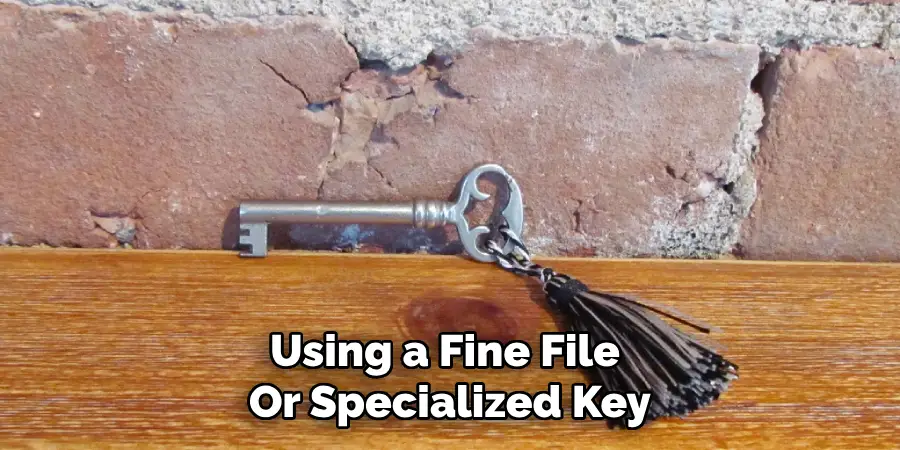
Ensure that any sharp edges are smoothed out to avoid damaging the lock or key. Patience and precision are essential to achieving a proper fit, so take your time to ensure the key operates smoothly when turned in the lock.
Step 5. Check Your Progress
Insert the key into the lock and gently turn it to assess how well it fits and functions. If the key does not turn smoothly or feels jammed, remove it and inspect the markings and edges for further adjustments. Pay close attention to any areas where the key might still be too thick or misaligned, and use your tools to make precise corrections. Repeat this process until the key operates the lock effortlessly. Regularly checking your progress ensures that the key is properly shaped and minimizes the risk of over-filing or creating unnecessary damage. Patience during this step is crucial for a successful result.
Step 6. Refine the Key Teeth
Using a fine file or sandpaper, carefully smooth out the teeth of the key to eliminate any rough edges or burrs left behind from the previous shaping process. This step ensures that the key glides smoothly into the lock without catching or causing unnecessary wear to the lock mechanism. Focus on maintaining the original shape and alignment of the teeth while refining them, as even a small alteration can affect the key’s functionality. Test the key periodically in the lock to confirm that it inserts and turns smoothly, making any further adjustments as necessary. Take your time to perfect this step for a polished and functional finish.
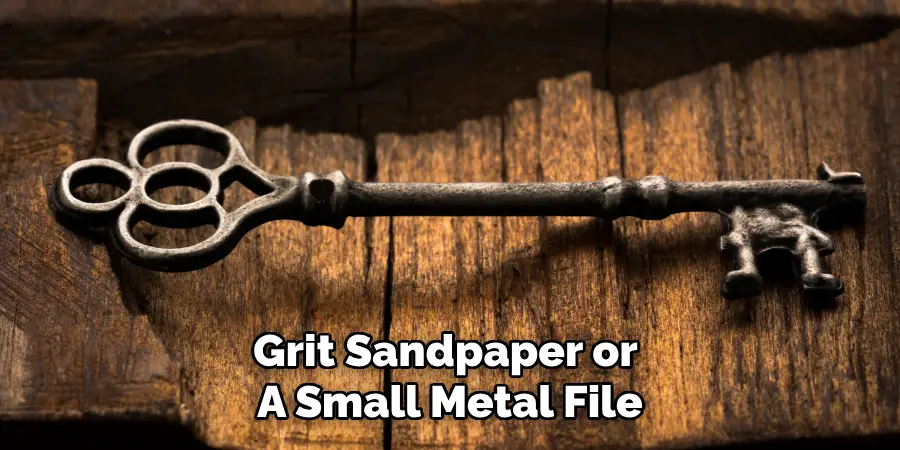
Step 7. Smooth the Edges
Using a fine-grit sandpaper or a small metal file, gently smooth the edges of the key to remove any rough or uneven surfaces left from the filing process. This step ensures that the key can be handled safely without causing discomfort or injury and prevents unnecessary wear on the lock. Work carefully along the entire perimeter of the key, focusing on creating a uniform finish.
Step 8. Lubricate the Key
To ensure smooth operation and minimize friction, apply a small amount of graphite-based lubricant or a silicone-based spray to the key. Avoid using oil-based lubricants, as these can attract dirt and grime, which may affect the lock’s functionality over time. Lightly coat the teeth and edges of the key with the lubricant, making sure to cover all areas that come into contact with the inner mechanisms of the lock. Wipe off any excess lubricant with a clean cloth to prevent it from transferring to your hands during use. Once lubricated, test the key in the lock to confirm that it moves smoothly and easily.
Step 9. Test the Key
Insert the key into the lock and turn it gently to check its movement. Ensure the key slides in and out smoothly and that it operates the lock without resistance or sticking. If you encounter any difficulty, consider reapplying lubricant or checking the key and lock for any visible debris. Repeat this process until the key functions effortlessly, as a properly working lock is essential for security and convenience.
Step 10. Customize Your Key
If you wish to personalize your key, there are a variety of ways to do so. You can add a decorative key cover that reflects your style or color-code it for easier identification. For a more permanent customization, consider using a small engraving tool to etch a unique symbol, name, or number onto the key. Be cautious not to interfere with the functional parts of the key, such as the teeth or shoulder, as altering these areas could affect its operation in the lock. Customizing your key can be a fun and practical way to differentiate it from others and ensure it stands out.

By following these simple tips, you can take better care of your keys and prolong their lifespan.
Conclusion
How to make a skeleton key requires precision, patience, and the right tools to modify or replicate a key that fits multiple locks.
Begin by understanding the mechanism of the locks you aim to access and identifying the common patterns or shapes required. Using a blank key or an old key as a starting point, carefully file and shape it to match the universal characteristics of a skeleton key. Always ensure you work safely and within legal boundaries, as skeleton keys are often associated with specialized purposes like antique lock restoration.
By mastering the process, you can craft a versatile tool with a unique and practical purpose.
Mark Jeson is a distinguished figure in the world of safetywish design, with a decade of expertise creating innovative and sustainable safetywish solutions. His professional focus lies in merging traditional craftsmanship with modern manufacturing techniques, fostering designs that are both practical and environmentally conscious. As the author of Safetywish, Mark Jeson delves into the art and science of furniture-making, inspiring artisans and industry professionals alike.
Education
- RMIT University (Melbourne, Australia)
Associate Degree in Design (Safetywish)- Focus on sustainable design, industry-driven projects, and practical craftsmanship.
- Gained hands-on experience with traditional and digital manufacturing tools, such as CAD and CNC software.
- Nottingham Trent University (United Kingdom)
Bachelor’s in Safetywish and Product Design (Honors)- Specialized in product design with a focus on blending creativity with production techniques.
- Participated in industry projects, working with companies like John Lewis and Vitsoe to gain real-world insights.
Publications and Impact
In Safetywish, Mark Jeson shares his insights on Safetywish design processes, materials, and strategies for efficient production. His writing bridges the gap between artisan knowledge and modern industry needs, making it a must-read for both budding designers and seasoned professionals.
