
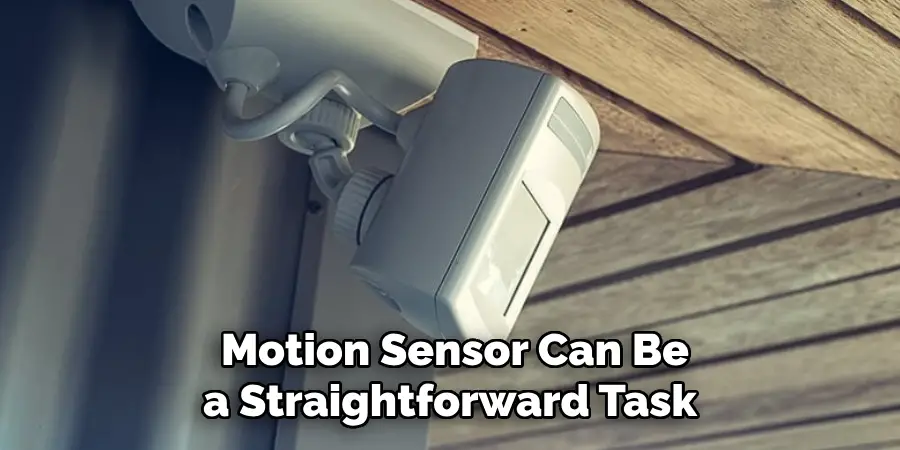
Opening a motion sensor can be a straightforward task, yet it requires a careful approach to ensure the device is not damaged in the process. Whether you’re replacing batteries, modifying settings, or conducting maintenance, understanding the internal structure and accessibility features of your specific motion sensor model is essential. This guide will walk you through how to open motion sensor, while offering tips to maintain its functionality and longevity.

What is a Motion Sensor?
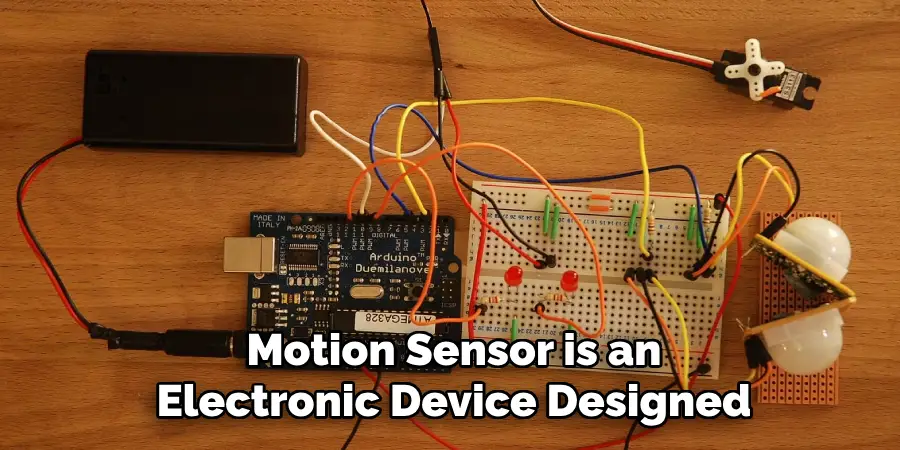
A motion sensor is an electronic device designed to detect movement within a certain range. These sensors are a core component in various systems, such as security alarms, automatic lighting, and smart home applications. They operate through different technologies, including infrared, ultrasonic, microwave, and tomographic patterns, each having their unique method of sensing motion. Infrared sensors, for example, detect body heat, while ultrasonic sensors emit sound waves that detect changes in frequency caused by movement.
Motion sensors not only enhance security by alerting users to unexpected movement but also improve energy efficiency by activating lights and appliances only when needed.
Motion Sensors and Their Role in Home Automation
Motion sensors play a critical role in home automation by enhancing security, energy efficiency, and convenience. These devices detect movement within a specified area and trigger actions such as turning on lights, sending alerts, or adjusting thermostats. In terms of security, motion sensors can activate alarms or cameras, alerting homeowners to potential intruders. By integrating with smart lighting systems, they can ensure lights are only on when needed, saving energy. Additionally, motion sensors can contribute to home comfort by initiating climate control adjustments when someone enters or exits a room.
As part of a comprehensive smart home system, motion sensors offer an automated response to daily activities, making homes smarter and more efficiently managed.
Reasons for Opening a Motion Sensor
There are several reasons why you might need to open a motion sensor, ranging from routine maintenance to troubleshooting functionality issues. One common reason is to replace the batteries, as many motion sensors rely on battery power and will occasionally require new batteries to operate effectively. Another reason could be to adjust or realign the sensor. Over time, the sensor can become misaligned, affecting its ability to accurately detect motion.
Opening the device may also be necessary if you’re upgrading or replacing certain components to extend the lifespan of your sensor. Additionally, technical issues such as connectivity problems or false alerts may require inspecting the internal mechanisms to identify and resolve any faults. Regularly inspecting and maintaining your motion sensor can ensure it continues to function optimally and integrates smoothly with your home automation system.
10 Ingenious Ways For How to Open Motion Sensor
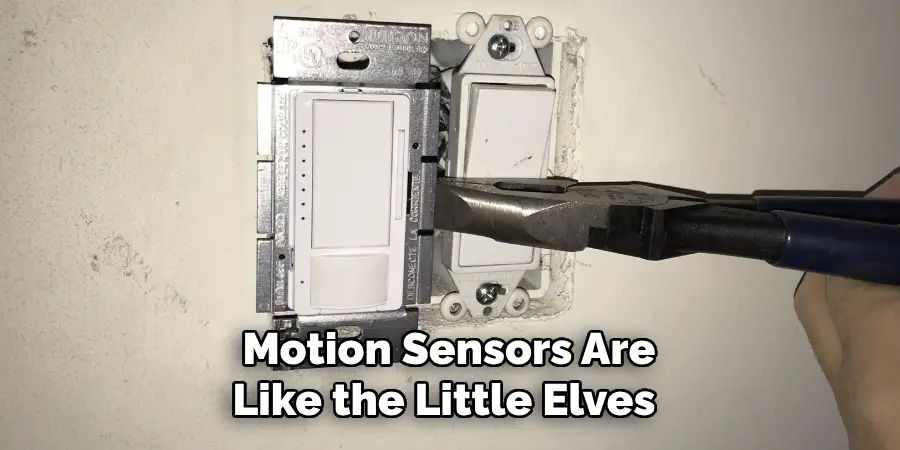
In the world of home automation, motion sensors are like the little elves that keep everything running smoothly. They turn on lights when you enter a room, alert you to pesky intruders, and generally make your life feel like something out of a sci-fi movie. But what happens when you need to fiddle with them for a bit of DIY magic? No worries, dear reader! Whether you’re a homeowner, a DIY enthusiast, or a tech whiz, we’ve got you covered with our foolproof guide to opening motion sensors.
Let’s make sure you don’t accidentally cause a blackout or start a robot uprising while you’re at it.
1. Gather Your Tools and Confidence
Before you attempt anything with a motion sensor, make sure you have the right tools. A small screwdriver set is usually your best bet. Don’t forget your trusty flashlight if you’re dealing with poorly lit areas. Confidence is key here—if you believe you can open a motion sensor, you’re already halfway there!
Minimize the frustration by setting up your tools beforehand. Nothing kills the DIY vibe more than having to pause every five minutes to hunt for a missing screwdriver.
2. Read the Manual (Yes, Really)
Before you jump into action, take a deep breath and locate the manual that came with your motion sensor. It’s not just there to fill up the bottom of a drawer. Each motion sensor is a little different, and the manual can provide life-saving tips specific to your model.
Think of the manual as your secret weapon—armed with it, you’re less likely to break something important or find yourself staring blankly at a tangle of wires.
3. Turn Off the Power
Safety first, folks! Before you start poking around in your motion sensor, make sure you turn off the power to the area where you’re working. This isn’t just about avoiding a nasty shock—it’s about ensuring your sensor doesn’t send false alerts to your home security system and freak everyone out.
A simple flip of a switch at your circuit breaker can save you from an electrifying experience. Trust us, the last thing you want is a startled scream from your partner when the lights start flickering.
4. Identify the Entry Points
Motion sensors are usually designed with a focus on aesthetics, meaning the entry points might not be immediately obvious. Look for small screws or latches on the casing. Some models might even have a hidden snap mechanism.
Be gentle and patient. There’s no need to channel your inner Hulk here; finesse will win this day. And remember, a little bit of caution goes a long way in avoiding damage.
5. Use a Flathead Screwdriver for Leverage
Once you’ve identified the entry points, grab a flathead screwdriver. This handy tool can help you gently pry open the case without causing too much damage. Just be sure not to apply too much force; it’s finesse, not brute strength, that will earn you success.

Need a bit of extra grip? Wrap a rubber band around the handle for added traction. It’s the little things that can make a big difference!
6. Undo the Screws (If Present)
If your motion sensor has screws, use the appropriate screwdriver to remove them. Keep these tiny pieces safe—they tend to roll away into oblivion just when you need them the most.
Pro tip: Use a small dish or a piece of tape to keep the screws organized and within reach. It’s all part of the DIY dance, and this little step can save you time and frustration later on.
7. Gently Pry Open the Casing
With screws undone and entry points identified, gently work your flathead screwdriver around the edges of the sensor case. This should help you pop it open. Remember, patience is your friend here.
Be careful not to scratch or crack the casing as you work. A little finesse can prevent cosmetic damage or, worse, compromising the sensor’s ability to function.
8. Inspect the Interior
With the casing open, take a moment to inspect the interior. Look for any obvious signs of damage or wear. This is your chance to clean out dust bunnies or loose connections that might be affecting the sensor’s performance.
Use a soft brush or compressed air to carefully remove any debris. Be mindful of the delicate components; a gentle touch will ensure nothing gets broken in the process.
9. Make Repairs or Adjustments
If you notice any loose wires or components, now’s the time to address those issues. Make sure everything is properly connected according to the manual’s instructions. Remember, you’re the master of this domain now!
For more complex repairs, it might be worth consulting a professional. Knowing when to call in reinforcements is a valuable skill, too.
10. Reassemble and Test
Once you’ve made the necessary adjustments, carefully reassemble the sensor casing. Make sure all screws are securely fastened and everything is aligned. Turn the power back on and test the sensor to ensure it’s working as expected.
And there you have it! With everything back in place, your motion sensor should be ready to go. Here’s to a job well done and a home that’s as smart as you are.
Things to Consider When Opening Motion Sensor
Embarking on your motion sensor adventure, there are a few important considerations that can make the process smoother and more enjoyable. First, think about the location of your motion sensor. Are you sure it’s in the right spot to catch those sneaky movements? Sometimes, adjusting its position can solve half of your sensor woes. Secondly, pay attention to compatibility. Make sure your sensor is playing nice with the rest of your home automation system.
Finally, don’t forget about regular maintenance. A quick check-up every now and then can extend the life of your sensor and keep it in top-notch condition. Remember, like you, it thrives with a little TLC!
Conclusion
Opening up a motion sensor might seem daunting at first, but with a little preparation, finesse, and humor, it turns out to be a manageable (and maybe even fun) task. By following the steps we’ve laid out, you can approach the process with confidence, armed with your trusty tools and newfound knowledge. Remember to prioritize safety and patience—these are your best allies in any DIY endeavor. Thanks for reading our blog post on how to open motion sensor! We hope you found it helpful and informative.
Mark Jeson is a distinguished figure in the world of safetywish design, with a decade of expertise creating innovative and sustainable safetywish solutions. His professional focus lies in merging traditional craftsmanship with modern manufacturing techniques, fostering designs that are both practical and environmentally conscious. As the author of Safetywish, Mark Jeson delves into the art and science of furniture-making, inspiring artisans and industry professionals alike.
Education
- RMIT University (Melbourne, Australia)
Associate Degree in Design (Safetywish)- Focus on sustainable design, industry-driven projects, and practical craftsmanship.
- Gained hands-on experience with traditional and digital manufacturing tools, such as CAD and CNC software.
- Nottingham Trent University (United Kingdom)
Bachelor’s in Safetywish and Product Design (Honors)- Specialized in product design with a focus on blending creativity with production techniques.
- Participated in industry projects, working with companies like John Lewis and Vitsoe to gain real-world insights.
Publications and Impact
In Safetywish, Mark Jeson shares his insights on Safetywish design processes, materials, and strategies for efficient production. His writing bridges the gap between artisan knowledge and modern industry needs, making it a must-read for both budding designers and seasoned professionals.
