
Programming a key fob with remote start capabilities can enhance the convenience and functionality of your vehicle. It allows you to start your car from a distance to warm up the engine or cool down the interior without entering the vehicle.
This feature is handy in extreme weather conditions. Programming a key fob with remote start involves syncing the key fob with your vehicle’s onboard computer. While the specific steps can vary depending on your car’s make and model, a general understanding of the programming process is essential to successfully configuring your key fob.
In this guide, we will walk you through the basic steps on how to program a key fob with remote start , ensuring you can harness the full potential of this convenient feature.
What Will You Need?
Before you begin programming your key fob with remote start, make sure you have the following items ready:
- Your vehicle owner’s manual
- Your vehicle’s unique identification number (VIN)
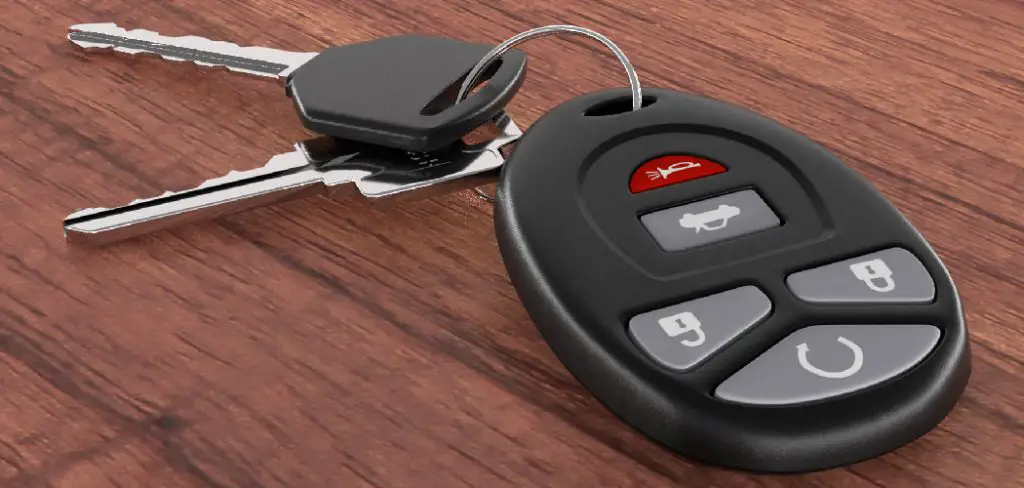
- A new or replacement key fob with remote start capabilities
- A flat and stable surface to work on
- A fully charged car battery
It is essential to have all these items handy before starting the programming process, as any interruptions or delays can result in an unsuccessful sync between the key fob and your car.
10 Easy Steps on How to Program a Key Fob With Remote Start
Step 1: Locate the Programming Button
The programming button is crucial in synchronizing your new key fob with your vehicle’s system. This button is part of the onboard diagnostic setup in many cars, commonly found beneath the dashboard or within the glove compartment. First, consult your vehicle’s owner’s manual to pinpoint its exact location. Typically, the programming button can be activated by pressing it securely with a thin, pointed object, such as a pen or a screwdriver. Ensuring you can access and recognize this button is the first step toward a successful programming process.
Properly locating and interacting with the programming button will set the stage for entering programming mode, where the key fob can begin communicating with your vehicle’s computer system.
Step 2: Enter Programming Mode
Once you have located the programming button, you must enter programming mode. This often involves a specific series of actions, such as turning your vehicle’s ignition to the “On” position without starting the engine. Insert the key into the ignition and turn it on, then press and hold the programming button for a few seconds.
You might observe a series of beeps or a flashing indicator light, signaling that your vehicle has successfully entered programming mode. Ensure that you remain inside the car during this step to maintain a clear line of communication between the key fob and the vehicle’s system. This mode prepares the car to accept the new key fob signal.
Step 3: Synchronize the Key Fob
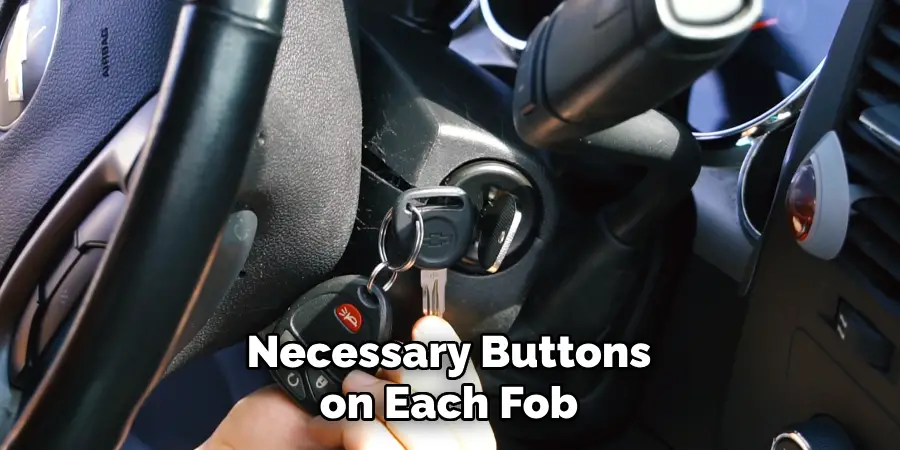
With your vehicle in programming mode, it’s time to synchronize the key fob. Hold it near your vehicle’s ignition or dashboard. Depending on your vehicle’s make and model, you may need to press a specific button on the key fob or a combination of buttons, such as the lock and unlock buttons simultaneously, to begin the synchronization process.
Listen for auditory cues like beeps or observe indicator lights on your dashboard, which confirm that the system has recognized the fob. If successful, these indicators will signal that the vehicle has acknowledged the new key fob and is now paired with it.
Step 4: Test the Key Fob Functions
After successfully synchronizing the key fob with your vehicle’s system, testing its functions is crucial to ensure it operates as expected. Start by using the key fob’s lock and unlock buttons to check if they respond correctly to commands. Then, test the remote start feature by pressing the appropriate button—usually a combination or a dedicated remote start button—to activate the engine.

Listen for the car engine to start from a distance, verifying that the remote start function works properly. If the key fob does not perform these actions successfully, repeat the previous steps to ensure proper synchronization. By conducting these tests, you can confirm that the key fob is correctly programmed and that all functions, including remote start, are operational.
Step 5: Finalize and Exit Programming Mode
Once you have confirmed that the key fob is functioning correctly, it’s time to finalize and exit programming mode. Start by returning your vehicle’s ignition to the “Off” position to terminate the programming state. In some vehicle models, completing this step will automatically end the programming mode and lock in the new key fob settings. However, consult your vehicle’s manual to ensure you follow any additional steps specific to your model. Once exited, remove the key from the ignition and step out of the car. Your key fob should now be fully programmed and ready for everyday use, including seamlessly utilizing the remote start feature.
Step 6: Verify Key Fob Range
After finalizing the programming, it’s advisable to test the critical fob’s range to ensure it functions optimally even at a distance. Stand a few feet away from your vehicle and attempt to lock and unlock the doors using the key fob. Gradually increase the distance with each successful attempt to determine the maximum effective range of its functions, including the remote start feature. A correctly programmed key fob should allow you to operate your vehicle’s functions from a substantial distance, providing ultimate convenience in various situations.
If you notice any limitations in range or inconsistent performance, check the key fob’s battery, as a weak battery can negatively impact the functionality. Confirming the range ensures your key fob is fully operational in diverse environments.
Step 7: Repeat for Additional Key Fobs
If you have more than one key fob to program, repeat the above programming steps for each additional fob. It’s crucial to program all fobs in the same programming session to ensure they are synchronized with your vehicle’s system concurrently. Keep your car in programming mode as you switch from one key fob to the next, and perform the same synchronizing actions, such as pressing the necessary buttons on each fob. Hear the confirmation beeps or see the indicator lights to signify successful programming before moving on to the next fob.
Be sure to test the functionality of each fob before exiting programming mode to confirm that all are operational and have retained their settings accurately.
Step 8: Troubleshoot Common Issues
While programming your key fob, you may encounter common issues that can hinder successful synchronization. One such problem is the failure of the key fob to enter programming mode. Double-check that the vehicle’s ignition is set to the “On” position and that you adhere to the specific sequence required for your vehicle model. Another common issue is the lack of response from the key fob when pressing buttons during synchronization. Inspect the battery inside the key fob to ensure it’s fully charged and functioning. Additionally, radio frequency interference from nearby electronic devices can disrupt the signal exchange, so such disturbances can be eliminated by moving away from potential sources.
Step 9: Seek Professional Assistance
If you’ve exhausted all troubleshooting options and your crucial fob still does not function properly, it may be time to seek professional assistance. Take your vehicle and all associated key fobs to an authorized dealership or a professional locksmith. These professionals have the expertise and specialized equipment to diagnose and resolve complex synchronization issues. They can also verify whether the key fob is faulty or if there might be underlying problems with the vehicle’s receiver system. By seeking expert help, you can address any programming issues effectively, restoring the full functionality of your key fob and remote start features.
Step 10: Regular Maintenance and Updates
After ensuring that your key fob is fully functional, adopting a routine maintenance schedule is essential to keep it in optimum condition. Regularly check and replace the battery life as needed to prevent unexpected failures.
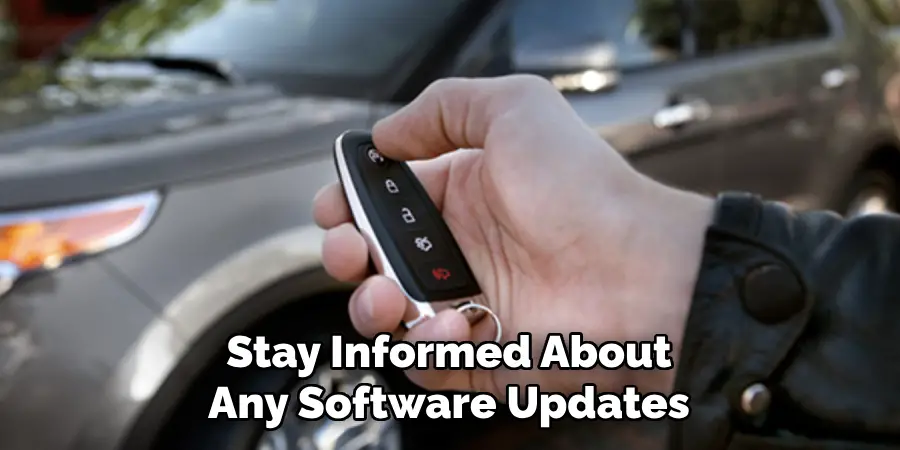
Additionally, stay informed about any software updates or recalls that may affect your key fob or vehicle system, as manufacturers occasionally release updates to address known issues or enhance functionality. Keeping your key fob and vehicle’s receiver system current with the latest updates ensures the longevity and reliability of remote functions. Regular maintenance prevents future malfunctions and enhances the overall convenience and security of your vehicle’s remote access features.
By following these steps, you can successfully program your key fob and fully utilize its remote start capabilities.
Conclusion
How to program a key fob with remote start can greatly enhance your vehicle’s convenience and security.
This detailed process involves a series of systematic steps, from entering programming mode and synchronizing each fob to testing functionality and troubleshooting potential issues. You can achieve reliable remote start and other keyless entry features by ensuring all key fobs are programmed concurrently, verifying the range, and addressing any synchronization problems. Regular maintenance and updating with manufacturer information are pivotal to prolonging the efficacy of your key fob.
Ultimately, taking a systematic approach to programming and maintaining your crucial fob equips you with seamless and uninterrupted vehicle control, making daily commutes and travel more effortless.
Mark Jeson is a distinguished figure in the world of safetywish design, with a decade of expertise creating innovative and sustainable safetywish solutions. His professional focus lies in merging traditional craftsmanship with modern manufacturing techniques, fostering designs that are both practical and environmentally conscious. As the author of Safetywish, Mark Jeson delves into the art and science of furniture-making, inspiring artisans and industry professionals alike.
Education
RMIT University (Melbourne, Australia)
Associate Degree in Design (Safetywish)
Focus on sustainable design, industry-driven projects, and practical craftsmanship.
Gained hands-on experience with traditional and digital manufacturing tools, such as CAD and CNC software.
Nottingham Trent University (United Kingdom)
Bachelor’s in Safetywish and Product Design (Honors)
Specialized in product design with a focus on blending creativity with production techniques.
Participated in industry projects, working with companies like John Lewis and Vitsoe to gain real-world insights.
Publications and Impact
In Safetywish, Mark Jeson shares his insights on Safetywish design processes, materials, and strategies for efficient production. His writing bridges the gap between artisan knowledge and modern industry needs, making it a must-read for both budding designers and seasoned professionals.
