
Are you tired of unlocking your Honda car doors manually? Do you want to learn how to program your Honda key fob for a more convenient and efficient way of accessing your vehicle?
How to program Honda key fob is an essential skill for any Honda vehicle owner who wants to ensure their keyless entry system operates smoothly. Whether you’ve purchased a new key fob or need to reprogram an existing one, mastering this process can save you time and the expense of visiting a dealership.
This guide provides step-by-step instructions on how to program your Honda key fob quickly and efficiently, enabling you to unlock and lock your car remotely with ease. With a bit of patience and attention to detail, you’ll have your key fob up and running in no time.
What Will You Need?
Before starting the programming process, it’s essential to gather all the necessary items. These include:
- A new or existing Honda key fob
- Your vehicle’s owner manual (for specific instructions)
- A working key fob (if reprogramming an existing one)
- A flat and stable surface for the programming process
Once you have all these items ready, you can proceed with the programming process.
10 Easy Steps on How to Program Honda Key Fob
Step 1. Enter Your Vehicle:
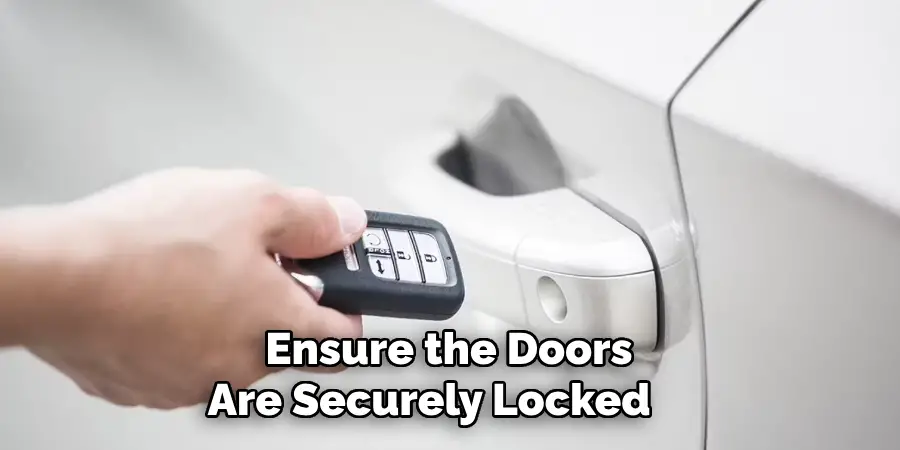
Start by sitting in the driver’s seat and closing all doors to ensure the vehicle’s electronics are not interrupted during the programming process. Ensure the doors are securely locked, allowing the programming mode to activate correctly. Focusing on the task is essential to avoid skipping any critical steps. Comfortably seated in your Honda, you’re ready to kick-start the programming procedure.

Ensure you have all necessary items within reach to avoid unnecessary interruptions. Once settled, prepare to engage with the key fob and ignition in the following series of steps.
Step 2. Turn the Ignition to ‘On’:
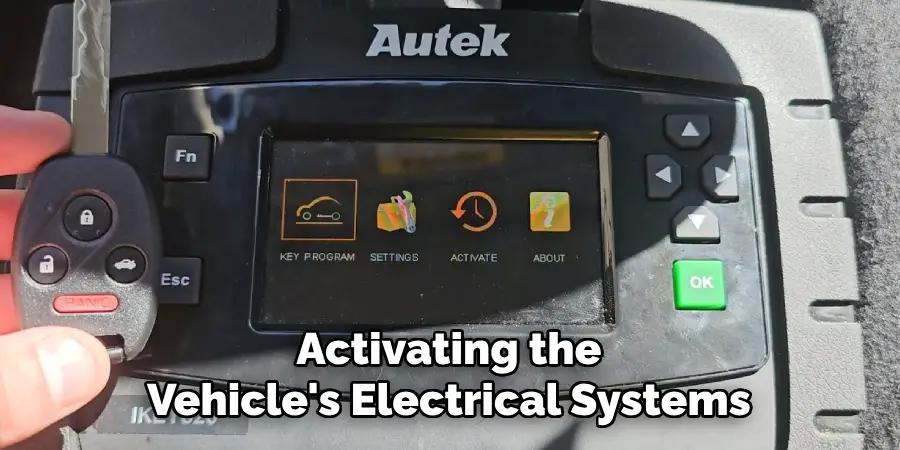
Insert your existing key into the ignition and turn it to the ‘On’ position, but be careful not to start the engine. The ‘On’ position is typically the second, activating the vehicle’s electrical systems while keeping the engine off. This step is crucial as it sets the stage for programming the key fob. Remain in this position for a few seconds to ensure the car’s network system is fully operational before proceeding to the next step.
This systematic approach will help establish a successful connection with the new or existing key fob.
Step 3. Press the ‘Lock’ Button on the Key Fob:
With the ignition in the ‘On’ position, quickly press the ‘Lock’ button on the key fob you wish to program. Make sure to hold the button down for one second. This will signal the vehicle’s electronic system, initiating the synchronization process. It is vital to perform this action promptly to ensure that the programming continues smoothly. This action will confirm the key fob’s identity to your Honda if done correctly. Ensure that the key fob is near the ignition to facilitate effective communication with your vehicle’s system.
Step 4. Turn the Ignition to ‘Off’:

Once you have pressed the ‘Lock’ button on your key fob, turn the ignition switch back to the ‘Off’ position. This transition marks a pivotal stage in the programming process. It helps reset the system, allowing it to acknowledge the programming attempt. Allow the car to remain in this state for a few seconds to ensure it properly registers the signal from the key fob. This brief pause is instrumental in maintaining the flow of the programming sequence. Make sure not to remove the key from the ignition, as you’ll need it again for the next steps of the process.
Step 5. Repeat the ‘On’ and ‘Off’ Process:
To reinforce the programming sequence, repeat turning the ignition to the ‘On’ position, then back to ‘Off’ three times. Each cycle allows the vehicle to recognize and finalize the pairing of your key fob. Upon reaching the final ‘Off’ position, complete the process within a 10-second window. This repetition conditions the vehicle’s system and increases the likelihood of successful programming. Once this step is completed, you’re confidently moving closer to a fully programmed key fob ready for action.
Step 6. End the Cycle on ‘On’ and Press ‘Lock’ Again:
With the ignition in the ‘Off’ position for the last time, cycle the key to the ‘On’ position once more. At this stage, press the ‘Lock’ button on the key fob again for one second. This final press serves as a confirmation of the programming sequence. Ensuring the sequence has been followed correctly up to this point helps reinforce the connection between the key fob and the vehicle.
You should hear a click or see the internal lights flash to indicate that the programming process is nearing completion. This response confirms that your vehicle’s system has recognized the key fob successfully.
Step 7. Turn the Ignition ‘Off’ and Remove the Key:
Once you have pressed the ‘Lock’ button for the final time, turn the ignition back to the ‘Off’ position. At this point, you can safely remove the key from the ignition. This step signals the end of the programming process. Removing the key ensures the system ends the session, locking in the programmed settings. After completing this action, test your key fob by attempting to lock and unlock the vehicle remotely.
If everything has been executed accurately, your key fob should function seamlessly, allowing you a hassle-free entry to your Honda vehicle. If it doesn’t work immediately, consider repeating the steps from the beginning to ensure all was done correctly.
Step 8. Check the Key Fob Functions:
Now that the programming is complete, it’s essential to confirm that all key fob functions are operational. Start by testing the essential functions, such as the lock and unlock buttons close to the vehicle. If these buttons work as expected, test other buttons, like the trunk release or panic button, if available. Walk a moderate distance from your vehicle and test the key fob again to ensure its range is satisfactory.
Successful operation across functions and distances confirms that the programming was executed correctly. Should any issues arise, review each step for accuracy and repeat the process if necessary.
Step 9. Troubleshooting Common Issues:
Despite following the programming steps carefully, you may encounter a situation where the key fob needs to function properly. In such cases, start by ensuring the key fob’s battery is charged and properly installed. If the battery is new and correctly placed, confirm that you performed each programming step within the specified time limits, as timing is crucial in these procedures.
Also, check that no additional electronic devices are interfering with the signal. If issues persist, consider consulting your Honda vehicle’s manual for any model-specific instructions or seeking assistance from a professional locksmith or your dealership.
Step 10. Resetting the System if Necessary:
If your key fob fails to function correctly after multiple attempts, you might need to reset your vehicle’s electronic system. Begin by disconnecting the vehicle’s battery, starting with the negative terminal, to ensure no energy flows through the car’s network. Keep the battery disconnected for approximately 10-15 minutes to allow any residual power to dissipate completely.
Reconnect the battery, starting with the positive terminal, and then retry the programming sequence from the beginning. This reset can clear any errors within the programming cycle, offering a fresh start for the synchronization process. Afterward, test the key fob for functionality as you did previously. If successful, the reset will have resolved any underlying issues, paving the way for a smooth and operational vehicle entry system.
By following these steps, you can successfully program a Honda key fob and enjoy its convenience.
5 Things You Should Avoid
- Skipping the Manual: One of the most common mistakes is neglecting to consult the vehicle’s manual. The manual provides specific programming procedures that differ from model to model.
- Using Incorrect Key Fob Models: Using a key fob designed for a different model or year of Honda can cause incompatibility issues. Ensuring that the critical fob matches your vehicle’s specifications is crucial to avoid programming difficulties.
- Ignoring Battery Levels: Attempting to program your key fob with low battery levels can result in incomplete programming or even failure. Always check and replace the batteries before you begin the programming process.
- Overlooking the Valet Key: Many Honda vehicles come with a valet key that must be used in conjunction with the new key fob during the programming. You must use this key to ensure successful programming, so ensure you have it on hand.
- Skipping the Lock and Unlock Cycle: During the programming process, there is often a specific sequence of locking and unlocking the doors that need to be followed. Skipping or incorrectly performing these steps can interrupt the process, leading to an unsuccessful programming attempt.
Conclusion
How to program Honda key fob can seem daunting, but by following the correct steps and avoiding common pitfalls, the process can be straightforward.
Firstly, always reference the vehicle’s manual to understand the specific requirements of your model. Ensure you have the correct critical fob model that is compatible with your car and check the battery levels before starting. Remember the importance of the valet key in the programming process and carefully follow the lock and unlock cycle as outlined in the instructions.
Adhere to these guidelines to successfully program your Honda key fob and ensure it functions seamlessly with your vehicle.
Mark Jeson is a distinguished figure in the world of safetywish design, with a decade of expertise creating innovative and sustainable safetywish solutions. His professional focus lies in merging traditional craftsmanship with modern manufacturing techniques, fostering designs that are both practical and environmentally conscious. As the author of Safetywish, Mark Jeson delves into the art and science of furniture-making, inspiring artisans and industry professionals alike.
Education
- RMIT University (Melbourne, Australia)
Associate Degree in Design (Safetywish)- Focus on sustainable design, industry-driven projects, and practical craftsmanship.
- Gained hands-on experience with traditional and digital manufacturing tools, such as CAD and CNC software.
- Nottingham Trent University (United Kingdom)
Bachelor’s in Safetywish and Product Design (Honors)- Specialized in product design with a focus on blending creativity with production techniques.
- Participated in industry projects, working with companies like John Lewis and Vitsoe to gain real-world insights.
Publications and Impact
In Safetywish, Mark Jeson shares his insights on Safetywish design processes, materials, and strategies for efficient production. His writing bridges the gap between artisan knowledge and modern industry needs, making it a must-read for both budding designers and seasoned professionals.
