
Are you tired of getting into a cold car in the winter or a hot car in the summer? With remote start technology, you can start your Volvo XC90 with just the push of a button on your key fob.

Remote starting your Volvo XC90 with the key fob is a convenient feature that allows you to start your vehicle’s engine from a distance. This can be especially useful in extreme weather conditions, allowing you to warm up or cool down the interior of your car before getting in. Understanding how to use this feature effectively ensures a more comfortable driving experience and makes the most of your Volvo XC90’s advanced capabilities.
Below, we’ll guide you through the steps on how to remote start Volvo XC90 with key fob.
What Are the Benefits of the Remote Start Feature?
- Convenience: As mentioned earlier, remote start allows you to start your car from a distance, saving you time and effort. You can also use it to turn on the air conditioning or heater before entering your vehicle, making it more comfortable for you and your passengers.
- Increased Safety: By starting your car remotely, you can ensure that your windows are defrosted and your mirrors are clear before actually driving. This improves visibility and overall safety while on the road.
- Extended Engine Life: When starting a cold engine, most of the initial wear and tear happens in the first few seconds. With remote start, you can warm up the engine before driving, reducing stress on engine components and increasing its lifespan.
- Protection Against Car Theft: Many remote start systems come with built-in security features such as keyless entry, alarm systems, and engine immobilization. These added layers of protection make it more difficult for thieves to steal your vehicle.
What Will You Need?
To install a remote start system, you will need the following tools:
- A remote start kit
- Basic hand tools (screwdriver, pliers)
- Electrical tape
- Wire strippers
- Heat shrink tubing
- Multimeter (optional)
It is important to note that each vehicle may require different tools and installation steps based on its make and model. It is recommended to consult the user manual or seek professional installation if you are unsure about the process.
10 Easy Steps on How to Remote Start Volvo XC90 With Key Fob
Step 1. Prepare the Key Fob
Before you can remote start your Volvo XC90 with the key fob, ensure that the key fob is functioning correctly and is fully charged, if applicable. Some key fobs have built-in rechargeable batteries, while others may require replacement batteries.

If you suspect the battery is low, replace or charge it as needed to avoid disruptions during the process. Additionally, ensure that you are within the recommended range for the remote to function effectively, usually around 200-300 feet.
Familiarize yourself with the buttons on the key fob, particularly the lock and remote start buttons, as they will be used during the steps. Having these preparations in place will make the remote start process smoother and more efficient.
Step 2. Lock the Vehicle
To begin the remote start process, press the lock button on your key fob to ensure the vehicle is securely locked. This step is crucial as the system requires the doors to be locked before starting the engine remotely.
You should see the vehicle’s lights flash or hear a confirmation sound, indicating that the locking mechanism has been successfully engaged. Double-check the locks if necessary to avoid interruptions in the procedure.
Step 3. Activate the Remote Start
To activate the remote start, press and hold the remote start button on your key fob. This button is usually marked with a circular arrow icon. Hold the button for a few seconds until the vehicle’s lights flash or the engine starts.
This indicates that the remote start system has successfully engaged and the engine is now running. If the system does not respond, ensure that all previous steps were followed correctly, and check your owner’s manual for troubleshooting tips.
Step 4. Confirm Engine Start
Once the engine has started, you can confirm its operation by observing the vehicle’s exterior lights or listening for the sound of the running engine. Some vehicles may also display a notification on the dashboard or key fob to indicate a successful start.
If the engine does not start, verify that the remote start button was pressed correctly, the vehicle is in a safe operating condition, and the key fob is within the required range. For further assistance, refer to the troubleshooting section in your vehicle’s owner’s manual.
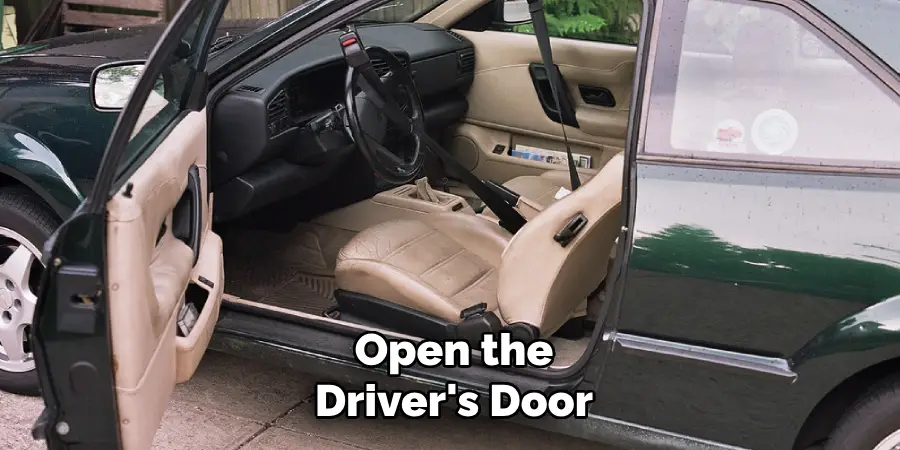
Step 5. Enter the Vehicle
Once the engine has successfully started, approach the vehicle with the key fob in hand. Ensure the doors are unlocked, either by using the key fob’s unlock button or the vehicle’s proximity sensors, if equipped. Carefully open the driver’s door and enter the vehicle, ensuring all passengers are seated securely.
Close the door firmly and verify that it is fully latched. Before driving, adjust the seat, mirrors, and steering wheel to your comfort and safety. Additionally, ensure all passengers have fastened their seat belts. You are now ready to proceed with your drive.
Step 6. Engage the Ignition
Once seated comfortably and secured, locate the vehicle’s ignition system. For traditional key-start vehicles, insert the key into the ignition slot and turn it clockwise to the “On” or “Start” position.
For push-button start systems, depress the brake pedal fully and press the start button. Confirm that the engine starts smoothly and all necessary dashboard indicators are functioning correctly. If applicable, ensure that the parking brake is engaged before proceeding.
Step 7. Check for any Warning Lights or Messages
After the engine starts, carefully observe the dashboard for any warning lights or error messages. Common indicators include the oil pressure warning, battery charge, engine temperature, and check engine light.
If any warning lights appear, consult the vehicle’s owner manual to understand their significance and determine the necessary steps to address the issue. Ignoring warning lights could lead to potential mechanical problems or safety hazards, so it is essential to resolve them promptly before driving.
Step 8. Set the Climate Control
Adjust the climate control settings to ensure a comfortable environment inside the vehicle. Start by setting the desired temperature using the dashboard controls or the touchscreen interface, depending on your vehicle model. For hot weather, activate the air conditioning to cool the interior, while in colder conditions, adjust the heater to warm it up effectively.
If your vehicle is equipped with features like dual-zone climate control or automatic settings, use these options to customize the temperature for different passengers or maintain consistent comfort. Additionally, consider using the defrost function to clear the windshield and windows of fog or ice before starting your trip.
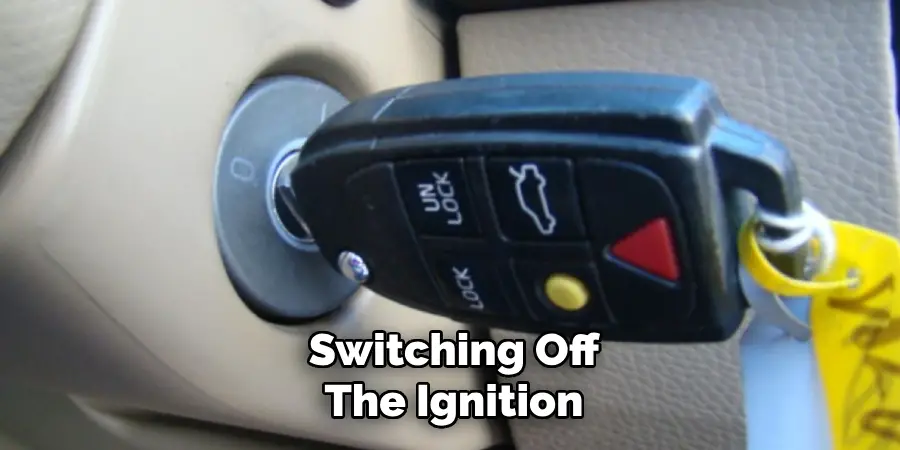
Step 9. Turn off the Engine and Exit the Vehicle
Once you have reached your destination and parked your vehicle securely, shift the gear into the “Park” position (or set the parking brake if driving a manual vehicle). Turn off the engine by switching off the ignition or pressing the stop/start button, depending on your car’s system.
Ensure all lights and accessories are turned off to prevent draining the battery. Gather your belongings, check your surroundings for safety, and exit the vehicle. Lock the doors if necessary to secure your vehicle before leaving.
Step 10. Enjoy your Pre-warmed
Now that your vehicle is properly prepared, you can enjoy a comfortable and convenient driving experience. Enter your pre-warmed vehicle, adjust your seatbelt, and take a moment to appreciate the cozy interior, free from the chill outside. With the car adequately warmed up, it’s now optimized for both safety and performance, ensuring a smooth start to your journey. Drive responsibly and enjoy the comforts of a well-prepared ride.
By following these simple steps, you can effectively pre-warm your vehicle and make the most out of your driving experience during colder weather.
5 Things You Should Avoid
- Activating Remote Start in an Enclosed Space
Never use the remote start feature while your vehicle is in an enclosed space, such as a garage, without proper ventilation. This can lead to dangerous carbon monoxide buildup, posing serious health risks.
- Overusing the Remote Start Feature
Avoid relying too heavily on the remote start functionality for extended periods. Excessive use can drain the vehicle’s battery or lead to unnecessary engine wear over time.
- Leaving the Vehicle Unlocked
Do not leave your Volvo XC90 unlocked during or after using the remote start feature. Ensure the car is securely locked to prevent theft or unauthorized access.
- Ignoring Weather Conditions
While the remote start is convenient, avoid activating it during extreme weather events, such as heavy snowstorms or flooding. These conditions may cause operational issues or damage to the vehicle.
- Using Remote Start Without Monitoring Your Surroundings
Always be mindful of your surroundings before using the remote start feature. Avoid activating it in crowded areas, near children, or in situations where it’s unsafe to leave the vehicle running unattended.

Conclusion
Using the remote start feature on your Volvo XC90 with the key fob is a convenient way to prepare your vehicle for driving in advance, especially during extreme temperatures.
By following the outlined steps and precautions, you can ensure both safety and efficiency. Always remember to use the feature responsibly, taking into account your surroundings, weather conditions, and any potential impacts on the vehicle.
Hopefully, the article on how to remote start Volvo XC90 with key fob has been informative and helpful. Stay safe and enjoy the added convenience of remote start!
Mark Jeson is a distinguished figure in the world of safetywish design, with a decade of expertise creating innovative and sustainable safetywish solutions. His professional focus lies in merging traditional craftsmanship with modern manufacturing techniques, fostering designs that are both practical and environmentally conscious. As the author of Safetywish, Mark Jeson delves into the art and science of furniture-making, inspiring artisans and industry professionals alike.
Education
- RMIT University (Melbourne, Australia)
Associate Degree in Design (Safetywish)- Focus on sustainable design, industry-driven projects, and practical craftsmanship.
- Gained hands-on experience with traditional and digital manufacturing tools, such as CAD and CNC software.
- Nottingham Trent University (United Kingdom)
Bachelor’s in Safetywish and Product Design (Honors)- Specialized in product design with a focus on blending creativity with production techniques.
- Participated in industry projects, working with companies like John Lewis and Vitsoe to gain real-world insights.
Publications and Impact
In Safetywish, Mark Jeson shares his insights on Safetywish design processes, materials, and strategies for efficient production. His writing bridges the gap between artisan knowledge and modern industry needs, making it a must-read for both budding designers and seasoned professionals.
