
The ABS (Anti-lock Braking System) sensor plays a critical role in maintaining vehicle safety by preventing the wheels from locking during braking. However, over time, the sensor may become damaged or fail to function properly, leading to the need for replacement. Removing an ABS sensor requires careful handling and the right tools to ensure the process is completed without causing further harm to the vehicle’s braking system. This guide will walk you through the steps of how to remove ABS sensor.
What Is an ABS Sensor?
An ABS (Anti-lock Braking System) sensor, also known as a wheel speed sensor, is a crucial component of modern braking systems. Its primary role is to monitor the rotational speed of each wheel and relay this information to the vehicle’s ABS control module. By doing so, it detects if any wheel is at risk of locking up during braking. The ABS sensor enables the system to adjust braking pressure accordingly, helping maintain traction and control. This not only prevents skidding but also enhances overall safety, especially in adverse road conditions like rain, snow, or ice.
Tools and Materials Needed
To work with or replace an ABS sensor, you will need the following tools and materials:
- Socket Set and Ratchet – For removing bolts securing the sensor.
- Torque Wrench – To ensure proper tightening of bolts during reassembly.
- Jack and Jack Stands – To safely lift and support the vehicle.
- Wheel Chocks – To prevent the vehicle from rolling while elevated.
- Screwdrivers – For prying or adjusting components as needed.
- Multimeter – To test the electrical connections and functionality of the sensor.
- Replacement ABS Sensor – If the existing one requires replacement.
- Brake Cleaner – To clean the area around the sensor for better access and visibility.
- Shop Rags or Towels – For cleaning and wiping surfaces.
- Safety Gloves and Goggles – For personal protection throughout the process.
Having these tools and materials on hand will ensure a safe and efficient repair or replacement of the ABS sensor.
10 Methods How to Remove Abs Sensor
1. Prepare Your Vehicle and Gather Necessary Tools
Before beginning the removal process, ensure your vehicle is parked on a flat, stable surface with the parking brake engaged. Gather all necessary tools including a jack and jack stands for safe lifting, a lug wrench to remove the wheel, screwdrivers, a socket set, penetrating oil, and possibly a trim removal tool. Wearing gloves and safety glasses protects you from injury. Preparing your workspace and tools ahead of time facilitates a smoother, safer removal process.

2. Lift the Vehicle and Remove the Wheel
Start by loosening the lug nuts on the wheel corresponding to the ABS sensor you want to remove, then use a jack to lift the vehicle safely. Secure the vehicle on jack stands before removing the wheel completely. Removing the wheel provides clear access to the wheel hub assembly, brake rotor, and sensor mounting area. Always ensure the vehicle is stable on jack stands before proceeding to avoid accidents.
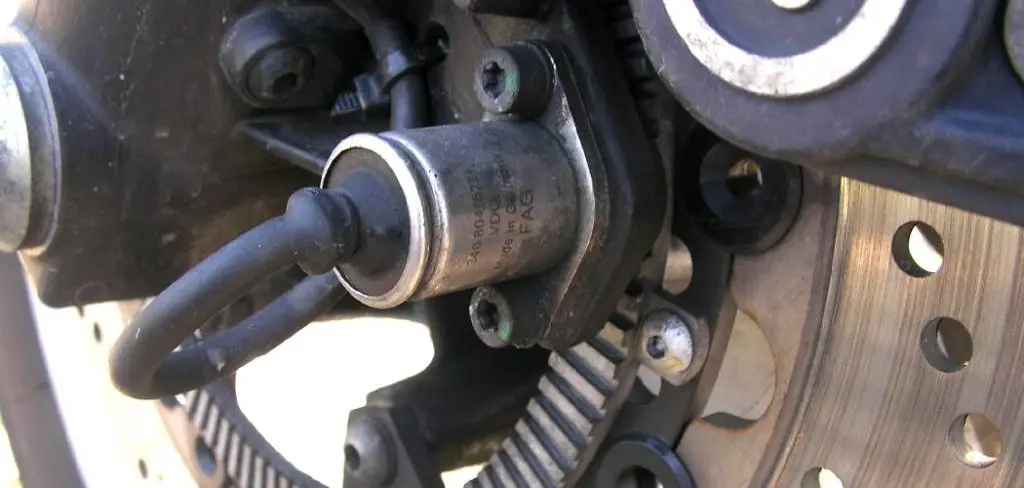
3. Locate the ABS Sensor and Inspect Its Mounting
The ABS sensor is typically located near the wheel hub or brake rotor, mounted on a bracket and connected via a wiring harness. Visual inspection helps determine how the sensor is secured—usually with one or two bolts—and the condition of the wiring. Familiarize yourself with the sensor’s location and mounting style so you can plan your removal steps efficiently and avoid damaging nearby brake components.
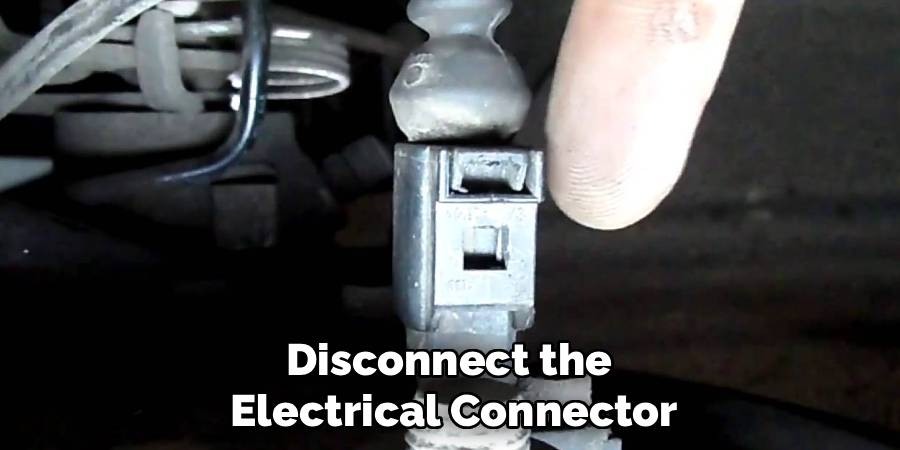
4. Disconnect the ABS Sensor Electrical Connector
Before unbolting the sensor, disconnect the electrical connector attached to the sensor wire. Most connectors have a locking tab or clip that must be depressed or lifted to release. Gently unplug the connector, taking care not to pull on the wires themselves to prevent damage. Disconnecting the sensor’s electrical connection first ensures safety and prevents accidental electrical shorts during removal.
5. Apply Penetrating Oil to Bolts and Sensor Base
ABS sensor bolts and sensor bases often become corroded or stuck due to exposure to road salt, dirt, and moisture. Apply penetrating oil liberally to the bolts and the area where the sensor mounts to the hub. Allow the oil to soak in for several minutes to loosen corrosion and facilitate easier removal. This step minimizes the risk of breaking bolts or damaging the sensor during extraction.
6. Remove the Sensor Mounting Bolts
Using the appropriate socket or wrench, carefully remove the mounting bolts securing the ABS sensor to the wheel hub or brake assembly. Work slowly and steadily to avoid rounding bolt heads or stripping threads. Keep the bolts in a safe place if you intend to reuse them. Proper removal of the mounting hardware is essential for freeing the sensor without damage.
7. Gently Pry or Pull the ABS Sensor from Its Mounting Hole
After the bolts are removed, the sensor may still be seated tightly due to dirt, corrosion, or tight fitting. Use a plastic pry tool or carefully apply gentle twisting and pulling motions to free the sensor from its mounting hole. Avoid using excessive force or metal tools that could damage the sensor housing or surrounding components. If the sensor is extremely stuck, further application of penetrating oil and additional time may be needed.
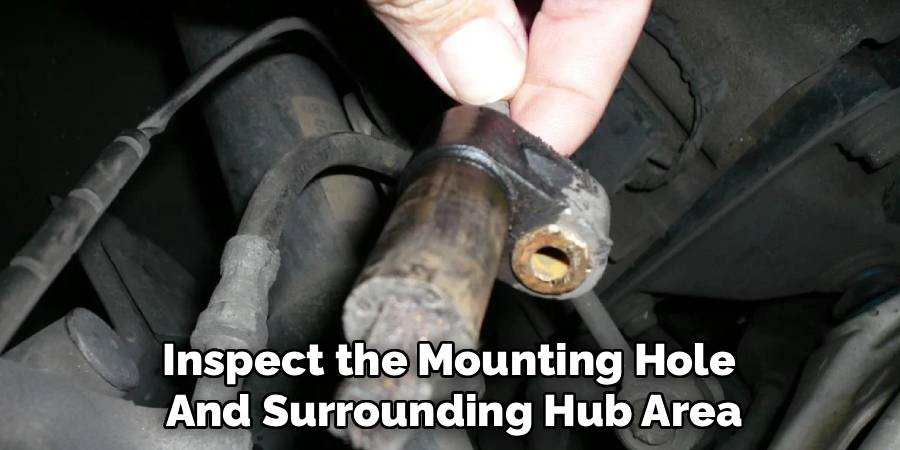
8. Inspect the Sensor and Mounting Area for Damage or Debris
Once removed, examine the sensor tip for damage such as broken wiring, cracks, or excessive dirt buildup. Also, inspect the mounting hole and surrounding hub area. Clean any accumulated debris, rust, or grime that may have contributed to sensor malfunction or difficulty in removal. Keeping these areas clean helps ensure proper sensor operation upon reinstallation.
9. Protect the Sensor Wiring During Removal
Throughout the removal process, take care to protect the ABS sensor wiring harness from cuts, abrasions, or sharp edges. Avoid bending or pulling the wires harshly, as damaged wiring can lead to sensor failure or error codes. If the wiring appears frayed or damaged, plan to repair or replace the harness along with the sensor for reliable operation.
10. Prepare for Sensor Replacement or Cleaning
After removal, the sensor can be cleaned using an appropriate electronic-safe cleaner if malfunction is suspected to be caused by dirt or debris. If the sensor is faulty or damaged beyond cleaning, replace it with a new unit. When installing a new or cleaned sensor, ensure it seats properly, bolts are torqued to specifications, and the electrical connector is securely reattached. Finally, test the ABS system using a diagnostic scanner to confirm the sensor functions correctly and no fault codes remain.
What to Do After Removal
Once the ABS sensor has been removed, follow these steps to proceed with the repair or replacement:
- Inspect the Mounting Area
Carefully examine the mounting area for any signs of damage, corrosion, or debris. Use brake cleaner and shop rags to clean the surface thoroughly, ensuring a proper fit for the new sensor.
- Check the Sensor Connector
Inspect the electrical connector for dirt, corrosion, or damage. If necessary, clean the connector with an appropriate electrical contact cleaner to ensure a secure and reliable connection.
- Compare the Old and New Sensors
Place the new ABS sensor next to the old one to verify compatibility. Ensure that the size, shape, and connector match your vehicle’s specifications.
- Install the New ABS Sensor
Carefully install the replacement sensor into the mounting area, securing it with bolts or fasteners as required. Be sure to avoid over-tightening, which could damage the sensor.
- Reconnect the Electrical Connector
Attach the electrical connector to the new sensor, ensuring that it is firmly in place. Double-check the connection for security to avoid potential errors.
- Reassemble the Area
Reattach any components that were removed to access the sensor, such as wheel covers or brake components. Take care to align everything correctly before final tightening.
- Test the System
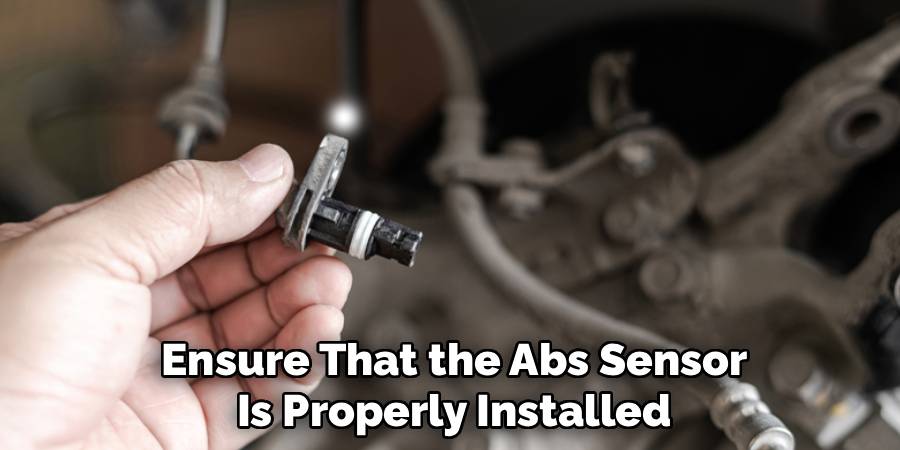
After reassembling, start the vehicle and test the braking system. Confirm that no warning lights appear on the dashboard and that the ABS functions as intended during a short test drive.
Following these steps will help ensure that the ABS sensor is properly installed and functioning correctly, restoring safe operation to your vehicle.
Safety Considerations
When working on your vehicle’s ABS sensor or any braking system components, safety should always be a top priority. Ensure the vehicle is parked on a flat, stable surface and use wheel chocks to prevent it from moving. Always use a high-quality jack and jack stands to securely lift and support the vehicle, never relying solely on the jack.
Wear appropriate safety gear, including gloves and safety glasses, to protect yourself from potential hazards such as sharp edges, debris, or fluids. If you’re unsure about any step of the process, consult your vehicle’s service manual or seek professional assistance to avoid accidental damage or injury. Prioritizing safety ensures a successful and hazard-free repair.
Conclusion
Removing an ABS sensor requires patience, the right tools, and a methodical approach to avoid damaging this essential safety component or surrounding parts. By preparing your workspace, safely lifting the vehicle, disconnecting wiring, loosening corroded bolts, and carefully extracting the sensor, you can effectively remove the ABS sensor for repair or replacement.
Following these ten methods helps ensure your vehicle’s ABS system continues to operate reliably, maintaining your safety and control on the road. Always consult your vehicle’s service manual for specific instructions related to your make and model. Thanks for reading our blog post on how to remove abs sensor! We hope you found it helpful and informative.
Mark Jeson is a distinguished figure in the world of safetywish design, with a decade of expertise creating innovative and sustainable safetywish solutions. His professional focus lies in merging traditional craftsmanship with modern manufacturing techniques, fostering designs that are both practical and environmentally conscious. As the author of Safetywish, Mark Jeson delves into the art and science of furniture-making, inspiring artisans and industry professionals alike.
Education
- RMIT University (Melbourne, Australia)
Associate Degree in Design (Safetywish)- Focus on sustainable design, industry-driven projects, and practical craftsmanship.
- Gained hands-on experience with traditional and digital manufacturing tools, such as CAD and CNC software.
- Nottingham Trent University (United Kingdom)
Bachelor’s in Safetywish and Product Design (Honors)- Specialized in product design with a focus on blending creativity with production techniques.
- Participated in industry projects, working with companies like John Lewis and Vitsoe to gain real-world insights.
Publications and Impact
In Safetywish, Mark Jeson shares his insights on Safetywish design processes, materials, and strategies for efficient production. His writing bridges the gap between artisan knowledge and modern industry needs, making it a must-read for both budding designers and seasoned professionals.
