
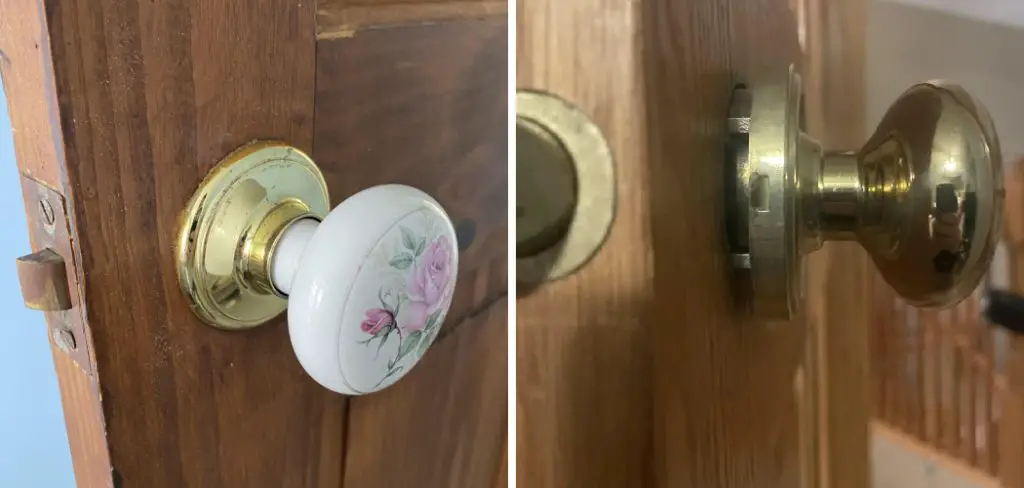
If you’ve ever come across a door lock with no visible screws, you know it can be quite a puzzle to tackle. The challenge often arises with modern lock designs, which favor clean lines and tamper-resistant mechanisms, or in cases where manufacturers intentionally hide screws for improved security.
Whether you’re a property manager dealing with stubborn office locks, a homeowner upgrading hardware for aesthetics, or troubleshooting a malfunctioning mechanism, understanding how to remove door lock without screws can save you both time and unnecessary frustration.
You might encounter such a situation during routine maintenance, after moving into a new property, or when a lock jams and prevents access. Performing the task yourself is entirely possible with the right approach and a keen eye for hidden features.
In this comprehensive guide, we break down the process for removing screwless door locks efficiently and safely—from understanding lock design to troubleshooting unexpected challenges. By mastering these steps, you’ll enhance your confidence and avoid extra costs, all while keeping your doors in great condition.
Tools and Materials Needed
Essential Tools for Safe Removal
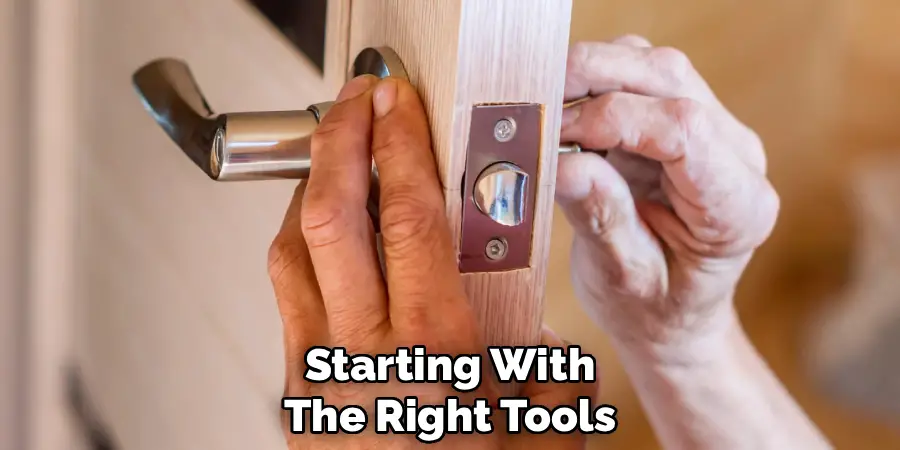
Begin your project by gathering the tools you’re most likely to need. While models and manufacturers vary, a few essentials are nearly universal for unlocking these uniquely designed locks. Have a flathead screwdriver at the ready; its thin blade is ideal for prying cover plates or accessing release mechanisms.
An Allen wrench (sometimes called a hex key) is critical, as many screwless locks use a set screw tucked away in a small hole. Equip yourself with a flashlight or headlamp—good lighting is crucial for spotting the subtle details that are the hallmark of these locks. Finally, a pick tool or small awl comes in handy for pressing tiny release buttons or sliding hidden catches.
Additional Tools for Tricky Scenarios
Occasionally, removal will demand a bit more. If a component is stuck due to residue, paint, or corrosion, a can of lubricant such as WD-40 can help loosen things up. For locks that seem particularly stubborn or are set deep within the door, a small pry bar or sturdy plastic spudger minimizes the risk of damaging surrounding surfaces.
If you work often with commercial or high-security locks, consider investing in specialized lock-removal tools designed for your specific hardware. Being prepared with both standard and optional tools promotes a smooth and frustration-free experience.
Understanding the Lock Design
Why Some Locks Don’t Have Visible Screws
A growing number of manufacturers are choosing screwless designs, increasing both aesthetic appeal and security. Concealed fasteners create a streamlined appearance that’s popular in contemporary homes and offices. But beyond their looks, hidden screws also discourage tampering. With no clear way for an intruder—or a do-it-yourselfer—to quickly disassemble the lock, these mechanisms present an extra layer of protection.
The absence of visible screws typically means you’ll need to access hidden latches, pins, or set screws usually reachable only with the handle removed or via a discreet opening. Understanding these design motivations is key to approaching removal with the right technique and mindset.
Identifying Types of Screwless Locks
Not all screwless locks are created equal. Some, such as latch-style locks, rely on a concealed release pin or spring latch, often accessed through a tiny hole in the shaft or handle. Others use a pin-lock system, which secures the handle via spring-loaded mechanisms rather than more traditional through-screws.
Still other commercial models may employ snap-on covers or rotating escutcheons that obscure the underlying mechanism. Take time to inspect your lock closely—its style and features will dictate the best removal method, and a visual match with online guides or manufacturer diagrams can boost your confidence.
Getting Started with the Removal
Preparing the Area for Work
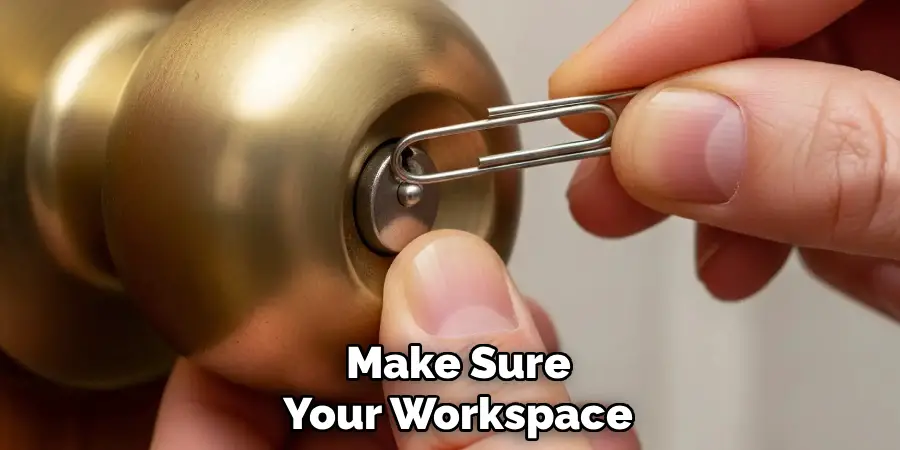
Before diving into how to remove door lock without screws, make sure your workspace sets you up for success. Stabilize the door so it doesn’t swing shut mid-process—doorstops or wedges work well, especially if you’re working solo.
Clear away clutter at your feet and around the door so you have space to maneuver and locate small parts if they drop. Adequate lighting not only improves visibility but also helps you spot the subtle markings or access points critical to unlocking these mechanisms effectively.
Checking for Manufacturer Instructions
Many screwless lock designs come with manufacturer-specific instructions or diagrams, either in leaflet form or online. Take a moment to look up your lock’s brand and model number; a quick online search often turns up exploded diagrams, installation videos, or troubleshooting guides, all of which can be invaluable during removal.
Relying on firsthand instructions helps prevent unnecessary trial-and-error, reducing the risk of damage and ensuring each step matches your lock’s unique assembly.
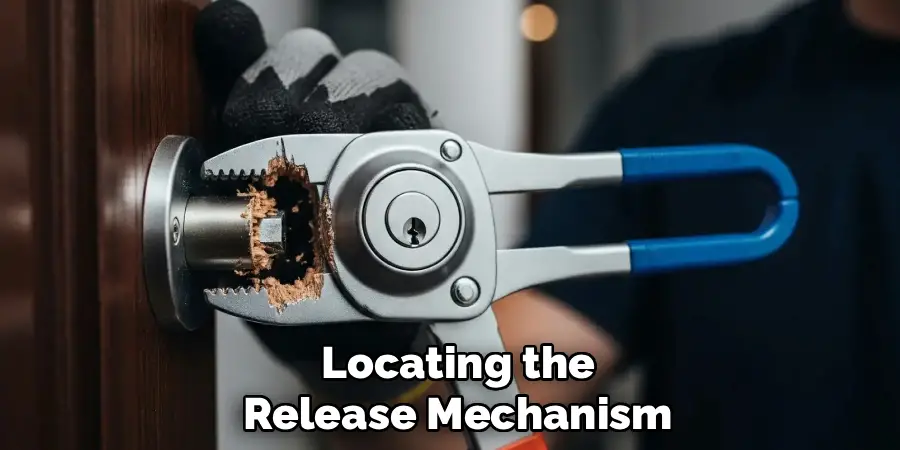
Locating the Release Mechanism
Checking for Hidden Release Points
One of the first tasks is to hunt for the lock’s secret release point. Run your fingers and eyes along the inner shaft of the handle and the base of the cover plate, feeling for tiny holes or notches. Sometimes, the release mechanism is so subtle it can be missed without close inspection.
Use a flashlight to help you peer into shadowed crevices. Insert a small pick tool, paperclip, or the appropriately sized Allen wrench into these apertures and gently probe for a release catch or spring-loaded pin. When depressed or twisted, these components typically unlock the handle or allow the outer cover to slide or snap free.
Using Light to Inspect Invisible Features
Light is your strongest ally. Hold a flashlight at angles that throw shadows on any subtle indentations or seams in the lock body. Pay particular attention to where the lever or knob meets the base escutcheon—often the release point is tucked away here.
Shining light from the opposite side of the door can also reveal silhouettes of pins, holes, or outline differences that hint at concealed openings or snap tabs. Good visibility makes it easier to spot where to insert your tool and greatly reduces the risk of damage from random prying.
How to Remove Door Lock Without Screws: Step-by-Step Lock Removal
Releasing the Lock Body
Once you identify the location of the release mechanism, you’re ready to disengage the lock body. If using a pin, insert your pick tool or a small screwdriver into the hole and press gently—most locks will yield with a noticeable click or slight spring movement. For locks featuring a hidden set screw, insert the correct-sized Allen wrench and turn counterclockwise until you feel resistance give. In some cases, you may need to both press a pin and simultaneously twist or pull on the handle to trigger release.
Take your time—force is rarely necessary. Patience and careful movements minimize scratching or bending delicate parts. Some lock bodies may also be designed to twist off after the catch is released; check for subtle rotational movement if pulling doesn’t yield results.
Removing the Exterior Housing
Once the handle or knob is off, turn your attention to the exterior housing, also called the escutcheon. Depending on the model, it may snap into place, be secured by clips, or rotate to unlock.
Use a flathead screwdriver or spudger to gently pry along the edge where the cover meets the door, working slowly so as not to mar the finish. Proceed methodically, applying light, even pressure at several points until the plate pops off or can be twisted free. Set all removed components on a towel or in a container to keep parts together and avoid losing springs or decorative caps.
Extracting the Lock Cylinder or Latch
With the decorative components gone, the lock’s functional heart—the cylinder or latch—should now be exposed. Inspect for any remaining retention features, such as tabs or a set pin. These may need to be pressed or unhooked before you can easily withdraw the core mechanism.
Carefully pull the cylinder or latch assembly straight out of the door, wiggling gently if you encounter resistance. If the fit is snug or years of paint and use have gummed up the works, a bit of lubricant and patience are your best friends. Throughout the process, take care not to enlarge holes or mar the door’s finish, especially if you’ll be reinstalling hardware.

Troubleshooting the Process
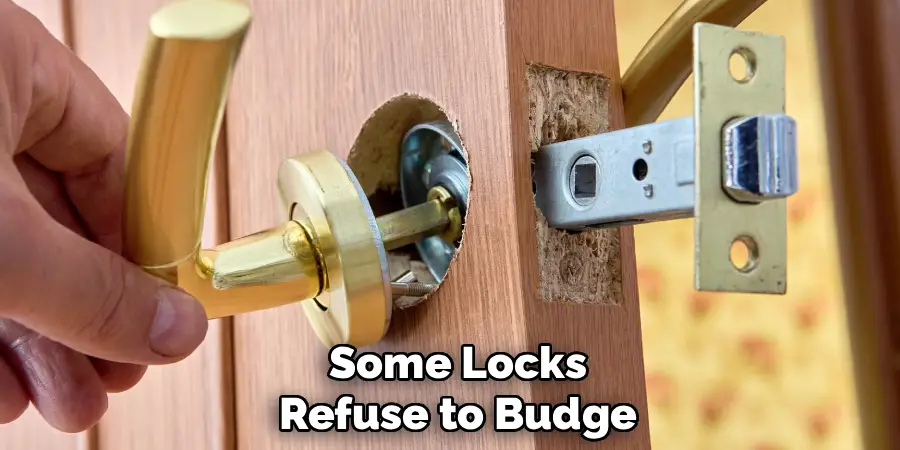
Dealing with Stuck Lock Components
Even with a systematic approach, some locks refuse to budge. Stuck parts are most often the result of paint, rust, or accumulated debris. Begin by applying a light spray of lubricant to seams and waiting a few minutes.
Use a flathead screwdriver—not for prying aggressively, but to gently wiggle and persuade stuck components to free themselves. If the plate or cylinder still won’t move, gently tap around the housing with the plastic handle of your screwdriver. Avoid applying excessive force, which could damage both the lock and your door.
Addressing Misaligned or Hidden Mechanisms
Occasionally, the internal lock mechanism may be slightly misaligned, causing resistance as you try to extract it. This can happen if the door has settled or if screws hidden deep inside are slightly off-center. Try gently manipulating the door—pushing or pulling it a little within the frame—while working on the lock.
Moving the handle or escutcheon in small, circular motions can sometimes line things up just enough for the component to slide free. If you find a retaining tab or catch that isn’t clearly described in guides, gently probe around it with your pick tool until you feel it move. Sometimes, simply reversing the process (reinstalling the handle briefly, then removing it again) can dislodge stubborn locks.
Cleaning and Inspecting the Lock Area
Cleaning to Remove Dirt and Residue
After successfully removing your lock, take the opportunity to clean the now-exposed door area. Use a soft, lint-free cloth to wipe away dust, debris, or old lubricant. A mild cleaning solution can lift sticky residue or fingerprints, but be careful not to oversaturate the wood or surrounding materials. Cleaning now not only improves the look of your door but also ensures that your new hardware functions smoothly.
Inspecting for Structural Damage
With the hardware out of the way, examine the condition of the door’s borehole, the surrounding frame, and the latch plate recess. Look for cracks, splinters, or signs of wear that may compromise the stability of a new lock. Check for signs that previous hardware might have been overtightened, causing distortion, especially around softer wood. If you find significant damage, address it with wood filler or minor carpentry to ensure your replacement lock fits snugly and operates correctly.
Preparing for a Replacement Lock
Verifying Dimensions and Compatibility
It’s important that your new lock matches the dimensions of the old mechanism. Measure the diameter of the door’s main hole (usually called the bore), as well as the backset—the distance from the door edge to the center of the bore.
Also, measure the thickness of the door itself. Compare these numbers with your replacement lock’s specifications. A snug fit reduces rattling, maintains security, and ensures the lock sits flush. If the new mechanism is slightly larger or smaller, adapters or filler plates are available from most hardware suppliers.
Aligning Components for Smooth Installation
Lay out all parts of the new lock and do a dry fit before actual installation. Make sure moving parts align correctly with the latch and that the handle or lever attaches with ease. If you need to adjust the borehole or latch recess, use the proper tools and work carefully, testing fit after each adjustment. Aligning everything at this stage prevents headaches and speeds installation, whether you’re upgrading to a better lock or simply replacing worn hardware.
Reassembling, If Necessary
If your goal was to temporarily remove the lock—for painting, repairs, or troubleshooting—you’ll want to reverse your removal process. Start by gently inserting the latch or cylinder back into its recess, aligning any tabs or catches with their intended slots.
Reattach the escutcheon or decorative plate, being careful to snap or screw it into place as originally found. Place the handle or knob back onto the spindle or shaft, securing it with the hidden pin, detent, or set screw. Double-check that all moving parts operate freely and that the lock latches securely. If you replaced lubricant or adjusted alignment, test the lock several times to ensure reliability. Reassemble slowly and keep track of small fasteners to avoid accidental omittance.
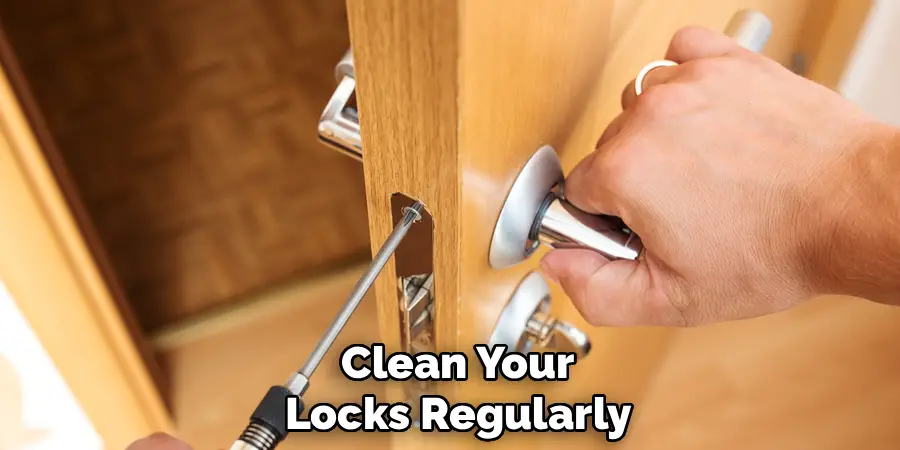
Maintenance Tips to Avoid Future Effort
- Clean your locks regularly with a mild detergent and a soft cloth to prevent dust and grime from interfering with moving parts.
- Lubricate latch bolts and cylinders periodically with a silicone- or graphite-based lubricant to keep the mechanism operating smoothly; avoid oil-based sprays as they can attract dirt.
- Inspect door alignment and lock operation every few months, tightening loose screws and adjusting strike plates as needed.
- Minimize paint buildup around hardware by removing locks before painting doors, which will make future removal much easier.
Wrapping It All Up
Tackling the challenge of how to remove door lock without screws may seem intimidating at first, but with the right approach and a clear set of instructions, it becomes a manageable task almost anyone can handle. By preparing your workspace, understanding your lock’s design, and methodically locating hidden release points, you’ll unlock the mystery behind modern, screwless locks without unnecessary damage. Persistence and the right tools are key—whether overcoming stubborn components or ensuring a precise fit for your replacement lock.
This DIY approach not only saves you the expense and inconvenience of hiring a professional but also increases your confidence as a homeowner or property manager. Regular cleaning and maintenance, as outlined above, will reduce future effort, keeping your door locks working reliably for years to come. Most importantly, knowing how to remove door lock without screws gives you greater control over your space, providing peace of mind that you can address both routine upgrades and unexpected lockouts quickly and efficiently.
With care and attention, your next lock removal job will go smoothly, setting the stage for secure, attractive, and functional doors throughout your home or building.
Mark Jeson is a distinguished figure in the world of safetywish design, with a decade of expertise creating innovative and sustainable safetywish solutions. His professional focus lies in merging traditional craftsmanship with modern manufacturing techniques, fostering designs that are both practical and environmentally conscious. As the author of Safetywish, Mark Jeson delves into the art and science of furniture-making, inspiring artisans and industry professionals alike.
Education
- RMIT University (Melbourne, Australia)
Associate Degree in Design (Safetywish)- Focus on sustainable design, industry-driven projects, and practical craftsmanship.
- Gained hands-on experience with traditional and digital manufacturing tools, such as CAD and CNC software.
- Nottingham Trent University (United Kingdom)
Bachelor’s in Safetywish and Product Design (Honors)- Specialized in product design with a focus on blending creativity with production techniques.
- Participated in industry projects, working with companies like John Lewis and Vitsoe to gain real-world insights.
Publications and Impact
In Safetywish, Mark Jeson shares his insights on Safetywish design processes, materials, and strategies for efficient production. His writing bridges the gap between artisan knowledge and modern industry needs, making it a must-read for both budding designers and seasoned professionals.
