
Removing an old alarm keypad from the wall is a task many homeowners encounter, whether due to system upgrades, changes in security providers, or purely for aesthetic reasons. As technology evolves, outdated keypads may no longer serve their purpose, prompting the need for newer, more advanced models.
Additionally, some may seek a cleaner, more modern look in their homes, necessitating removing these unsightly devices. However, removing an old alarm keypad should be cautiously approached to avoid electrical hazards and potential damage to the wall or wiring.
Proper disconnection is crucial to ensure the safety and functionality of the remaining security systems. This article provides a comprehensive, step-by-step guide on how to remove old alarm keypad from wall efficiently. Whether you’re a DIY enthusiast or simply looking to replace an old system, this guide will assist you in completing the task without complications.
Tools and Safety Precautions
Tools Needed
Having the right tools on hand is essential to successfully remove an old alarm keypad from the wall. The most important tools include a screwdriver for loosening and removing screws, a voltage tester to ensure no live electrical currents are present, wire cutters for severing any connected wires, and needle-nose pliers for gripping and manipulating wires.
Additionally, if the removal leaves damage or holes in the wall, optional tools like drywall patching materials can be used to restore the wall’s appearance after removing the keypad.
Safety Precautions
Safety is paramount when dealing with electrical components, so taking the necessary precautions is crucial. Start by turning off the power to the alarm system at the circuit breaker to prevent any electrical hazards.
Use a voltage tester to check for any remaining live wires before proceeding with the removal. Moreover, wearing gloves can provide extra protection against electrical shock, making the process safer and more comfortable. Adhering to these safety measures can effectively mitigate risks and ensure a smooth and secure removal.
Powering Down the System
Disabling the Alarm System
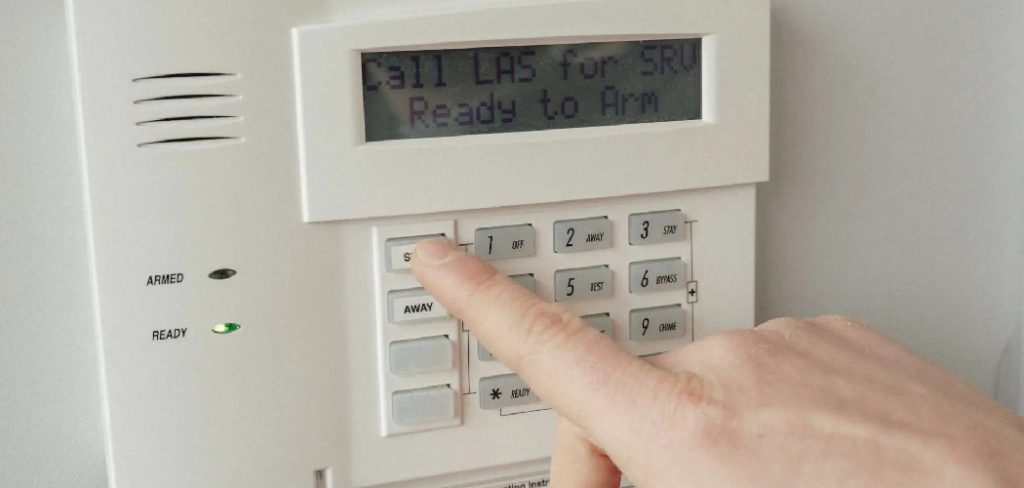
Before removing the old alarm keypad, it is critical to ensure that the system is completely powered down. First, disarm the alarm system, if it is currently active, by entering the appropriate code on the keypad to avoid triggering an alarm once power is cut.
Next, locate the main power source of the system, often found in the alarm control panel, which can usually be situated in a utility room, closet, or garage. Once located, disconnect the primary power source to cut electricity to the system.
Additionally, many alarm systems have a backup battery within the control panel to maintain functionality in case of primary power outages. Open the control panel and carefully disconnect the backup battery to ensure the system is entirely deactivated. This step is essential to prevent any accidental alarms or electrical hazards during keypad removal.
Turning Off the Circuit Breaker
With the alarm system fully disabled, the next step is to turn off the circuit breaker that controls the alarm system. Begin by identifying the specific breaker that corresponds to the alarm system.
This information is usually labeled, but if not, refer to the breaker panel layout in your home’s documentation. Once identified, switch off this particular breaker, safeguarding against electrical risks.
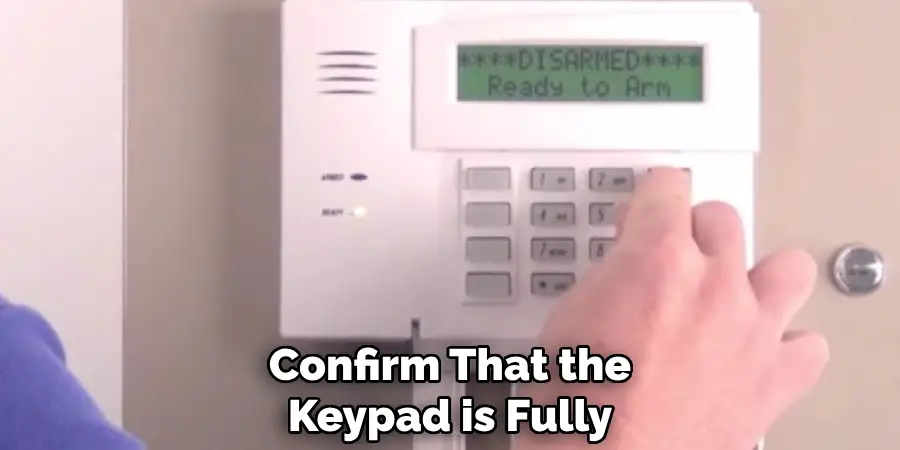
Finally, confirm that the keypad is fully deactivated by attempting to power it on; no lights or sounds should be apparent. Ensuring the keypad is inactive guarantees that the power supply is truly off, providing safe conditions for subsequent removal tasks. This careful approach prevents unexpected electrical exposure and system damage while enabling a smooth removal process.
How to Remove Old Alarm Keypad from Wall: Removing the Keypad from the Wall
Loosening the Keypad Screws
To begin the process of removing the keypad from the wall, locate the screws that secure the keypad in place. These screws are often found hidden at the bottom of the device or concealed behind the front cover. You may need to gently pry or slide off the keypad cover to access these screws, ensuring not to apply excessive force that could damage the exterior.
Once the cover is removed, use a screwdriver to carefully unscrew and detach the keypad from its mount, not disturbing the wires within. This methodical approach allows for a clear view of the keypad’s internal components, facilitating further steps in the removal process.
Detaching the Wires
With the keypad cover removed, the next step involves carefully detaching the wires connected to the keypad. It’s vital to identify the purpose of each wire and label them if possible, especially if you plan to incorporate them into a new alarm system. Use small tags or tape to mark the wires to make future reconnection straightforward.
Employ a screwdriver or needle-nose pliers to gently disconnect each wire from its terminal, ensuring you maintain a steady hand to prevent any damage to the wire ends or terminals. By handling the wires with caution, you uphold the integrity of the connections, making the potential integration with a new system smoother and less complicated.
Removing the Backplate
Once the wires have been safely disconnected, removing the keypad’s backplate or mounting plate from the wall is the final task. This typically involves unscrewing the remaining screws that hold the backplate in place. Use a screwdriver to remove these screws methodically, allowing the backplate to be detached from the wall safely.
Sometimes, the backplate may be secured with adhesive or additional mounting brackets that require gentle loosening. Employ a putty knife or similar tool to carefully separate such materials without damaging the wall surface. By executing these steps carefully, the wall will be left in good condition and ready for any repairs or updates you wish to implement after removing the keypad.
Handling Exposed Wires
Cap or Secure Unused Wires
Once the keypad and its associated components have been removed, it’s vital to safely handle any exposed wires. To cap off unused wires, use wire nuts or electrical tape to effectively insulate these live connections, ensuring no electrical current remains accessible. Wire nuts provide a secure and reliable method to conclude electrical connections simply by twisting onto the ends of exposed wires.

Alternatively, applying electrical tape can serve as a temporary solution, ensuring the live wire ends are aptly covered and secured. If you plan on reusing these wires for a future system, organizing and labeling them is prudent. Using small tags or labeling tape, assign each wire a clear identifier corresponding to its function or connection point. This strategy prevents confusion during future installations, facilitating a smoother process.
Pushing Wires into the Wall
Carefully tucking them back into the wall cavity is essential for wires not intended for future use. Begin by gently folding the wires to minimize their length and bulk. Then, push them into the wall through the existing hole, aiming for an organized arrangement. Use electrical tape or cable ties to bind several wires together, limiting their movement within the wall.
Additionally, consider taping these bundles to the interior wall surface or utilizing cable anchors if accessible. This approach ensures that wires do not interfere with subsequent installations and helps maintain an uncluttered atmosphere behind the wall space, preparing it for future renovations or updates.
Repairing the Wall After Removal
Filling Holes
Once the keypad and supporting components have been successfully removed, you may notice small holes in the wall left by screws or anchors. Start by filling these gaps with spackle or joint compound.
Using a putty knife, apply a generous amount of the compound into each hole, smoothing it out as you fill. The putty knife helps spread the compound evenly across the surface, creating a seamless overlay and adequately covering the holes. Allow the filled areas to dry completely, usually a few hours, before proceeding to the next steps.
Sanding and Painting
After the compound has dried, lightly sand the patched areas with fine-grit sandpaper to achieve a smooth finish that blends effortlessly into the surrounding wall. This step eliminates any excess compound and creates a flawless surface. Select a paint that matches the existing wall color to ensure a consistent look.
Carefully apply the paint using a brush or roller, covering the repaired spots entirely. To ensure the new paint blends with the rest of the wall, feather out the edges of the painted area. Allow the paint to dry thoroughly and apply additional coats for optimal coverage and uniformity if necessary.
Disposal of the Old Keypad and Equipment
Options for Disposal
When disposing of the old keypad and associated equipment, it’s important to consider local recycling options or e-waste facilities. These facilities offer a safe method for handling electronic components and ensure the environmentally responsible disposal of materials, preventing harmful substances from entering landfills.
Donation or Repurposing
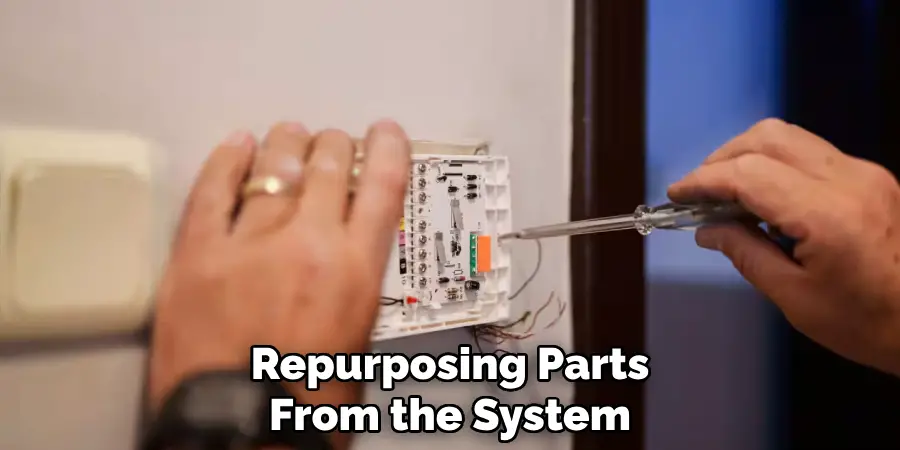
If the keypad remains functional, it could benefit others by being donated to organizations or individuals in need. Alternatively, repurposing parts from the system, such as using components for DIY projects or selling them for reuse, aligns with sustainable practices and extends the life of electronic items.
Conclusion
In conclusion, this guide has detailed the step-by-step process on how to remove old alarm keypad from wall safely and effectively. By disconnecting wires with care, removing the backplate, and securely handling exposed wires, you minimize risks associated with electrical work.
Emphasizing safety through capping or securing unused wires, followed by expertly repairing the wall with spackle and paint, ensures a professional finish. This approach facilitates a smooth transition to a new system and enhances your DIY skills. Following these outlined steps encourages a successful outcome for any home improvement enthusiast.
Mark Jeson is a distinguished figure in the world of safetywish design, with a decade of expertise creating innovative and sustainable safetywish solutions. His professional focus lies in merging traditional craftsmanship with modern manufacturing techniques, fostering designs that are both practical and environmentally conscious. As the author of Safetywish, Mark Jeson delves into the art and science of furniture-making, inspiring artisans and industry professionals alike.
Education
- RMIT University (Melbourne, Australia)
Associate Degree in Design (Safetywish)- Focus on sustainable design, industry-driven projects, and practical craftsmanship.
- Gained hands-on experience with traditional and digital manufacturing tools, such as CAD and CNC software.
- Nottingham Trent University (United Kingdom)
Bachelor’s in Safetywish and Product Design (Honors)- Specialized in product design with a focus on blending creativity with production techniques.
- Participated in industry projects, working with companies like John Lewis and Vitsoe to gain real-world insights.
Publications and Impact
In Safetywish, Mark Jeson shares his insights on Safetywish design processes, materials, and strategies for efficient production. His writing bridges the gap between artisan knowledge and modern industry needs, making it a must-read for both budding designers and seasoned professionals.
