
If you find yourself needing to remove your Vivint Outdoor Camera Pro, whether for replacement, relocation, or any other reason, it’s crucial to follow the correct steps to ensure both safety and functionality.

This guide on how to remove vivint outdoor camera pro will walk you through the process, highlighting necessary precautions and tools required to effectively and securely uninstall your device. By adhering to these guidelines, you can protect your equipment from damage and preserve its future usability.
Why Remove Your Vivint Outdoor Camera Pro?
Before we delve into the steps involved in removing your device, let’s first explore some reasons why you might need to do so.
Replacement:
Perhaps you’ve upgraded to a newer model of the Vivint Outdoor Camera Pro, or your existing device has stopped working. In both cases, removing the old camera is crucial before installing a new one.
Relocation:
If you’re moving to a new home and want to take your outdoor camera with you, you’ll need to remove it from its current location first.
Maintenance or Repair:
Occasionally, you may need to take down your outdoor camera for maintenance or repair purposes. This could include cleaning the lens or replacing damaged parts.
Safety Precautions
Before starting the removal process, it’s essential to keep safety in mind. These cameras are usually installed at high points on walls or ceilings, so it’s crucial to take necessary precautions to avoid accidents or injuries.
Here are some safety tips to keep in mind:
- Make sure you have a sturdy and stable ladder to reach the camera safely.
- Use protective eyewear and gloves when handling the device.
- Turn off power sources before starting removal, if applicable.
Tools Required
To successfully remove your Vivint Outdoor Camera Pro, you’ll need some tools. These include:
A Ladder:
Now that we’ve covered the basics let’s go into the steps involved in removing your Vivint Outdoor Camera Pro.
Screwdriver:
To access the camera’s mounting bracket, you’ll need a screwdriver to remove any screws holding it in place.
Wire Cutters:
If your camera is wired to a power source, you’ll need wire cutters to disconnect and remove the wires safely.
8 Step-by-step Guides on How to Remove Vivint Outdoor Camera Pro
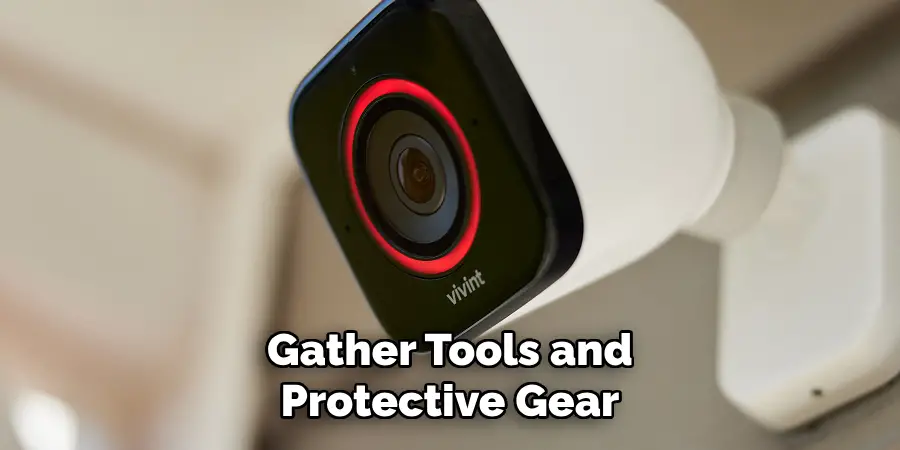
Step 1: Gather Tools and Protective Gear
Before starting the process, make sure you have all the necessary tools and protective gear given below:
- Ladder
- Screwdriver
- Wire Cutters
- Protective Eyewear and Gloves (Optional)
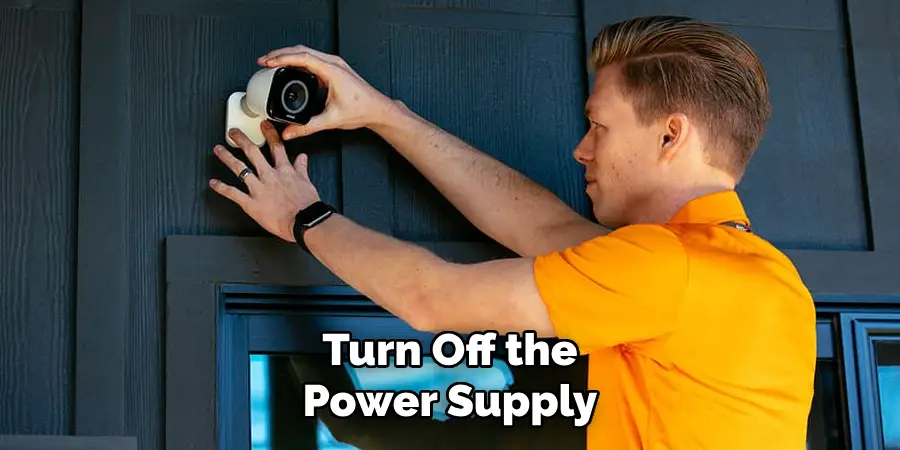
Step 2: Turn Off the Power Supply
Before proceeding with the removal of your Vivint Outdoor Camera Pro, ensure that the power supply to the camera is completely turned off. This is a crucial safety step to prevent any risk of electric shock and to protect the electronic components of your camera from potential damage. Locate the circuit breaker or power switch that controls the camera and switch it off.
If your camera is connected to a plug, simply unplug it from the outlet. Double-check to make sure the power is disconnected by observing that the camera’s indicator lights are off.
Step 3: Position the Ladder
With the power supply securely turned off, the next step is to carefully position your ladder. Place the ladder on a stable, flat surface to prevent any wobbling or accidental falls. Ensure it is fully extended and locked into place according to the manufacturer’s instructions. If possible, have a second person hold the ladder steady while you work.
This added stability can help you maintain balance and focus on the task at hand. Climb the ladder slowly and carefully, making sure not to carry too many tools in one hand, as maintaining a secure grip on the ladder is essential for safety.
Step 4: Locate the Camera
Once you are safely positioned at the top of your ladder, the next step is to locate the exact position of your Vivint Outdoor Camera Pro. Look carefully for the camera’s mounting bracket and any securing screws that need to be removed.
Take note of any wires connected to the camera, and observe how they are routed through or around the mounting area. You may also want to take a picture or make notes to assist with reinstallation later. Ensure you have easy access to both the camera and its fittings before proceeding to the next step of dismounting.

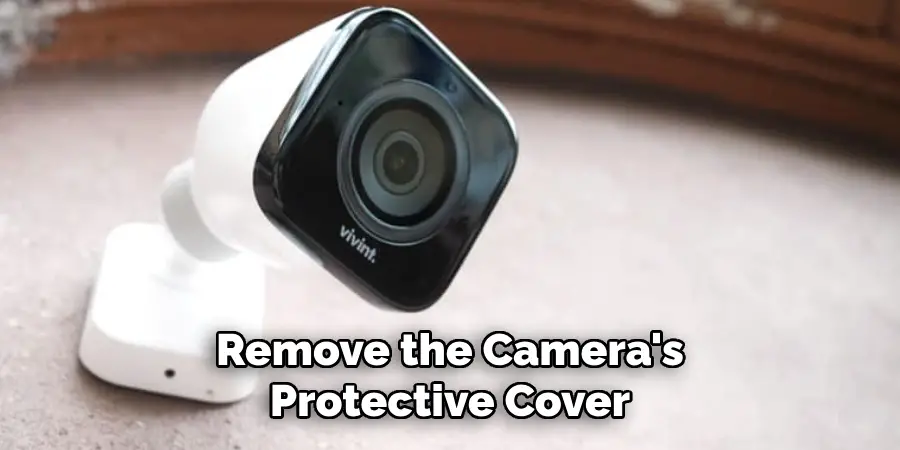
Step 5: Remove the Camera’s Protective Cover
With the camera located, it is time to remove its protective cover. This cover shields the camera from adverse weather conditions and is typically secured with either screws or a snap-on mechanism. If screws are holding the cover in place, use the screwdriver to carefully unscrew them. Keep the loose screws in a safe place to avoid losing them. If the cover is a snap-on type, gently pry it open using your fingers or a flat tool, being careful not to apply excessive force that might damage the cover or the camera.
Once the cover is removed, set it aside safely for future reinstallation or storage. This step will provide you with access to the camera’s internal components and mounting hardware, which you’ll need to dismantle in subsequent steps.
Step 6: Disconnect the Wires
If your camera is wired to a power source, you’ll need to disconnect it. This step requires caution and precision as you will be dealing with live electrical wires. Using protective gloves, locate the wire connecting the Vivint Outdoor Camera Pro to its power supply source and carefully unplug it or unscrew any terminals that might be holding it in place.
If necessary, use wire cutters to safely remove any cable ties or clips securing the wire in place before removing it entirely. Keep the disconnected wires organized according to their connection points for easy reinstallation later on.
Step 7: Remove the Mounting Bracket and Hardware
With all wiring disconnected, the next step is to remove the camera’s mounting bracket and hardware. Carefully observe the position of any screws or clips attaching the bracket to its mounting surface.
Using your screwdriver, carefully loosen and remove these screws while holding onto the bracket for support. Once all securing screws are removed, gently disengage the camera from the bracket using a gentle rocking motion until it comes free.
Step 8: Descend Safely
With your Vivint Outdoor Camera Pro removed along with its carrying hardware and mounting bracket, you can now descend safely from your ladder. Make sure not to rush this final step as accidents often occur when people try to hurry down ladders too quickly. Utilize both hands while holding onto the ladder securely, and carefully step down one rung at a time until you reach the ground.
Congratulations! You have successfully removed your Vivint Outdoor Camera Pro. Remember to store all parts safely for possible future use or reinstallation.
Following these steps on how to remove vivint outdoor camera pro carefully is essential for your safety and to avoid any damage to the camera or its components. If you feel uncertain about removing the camera yourself, it is always best to seek professional assistance. Regular maintenance and proper handling can help prolong the lifespan of your Vivint Outdoor Camera Pro, ensuring your home security remains top-notch.
Frequently Asked Questions
Q: Can I Remove the Vivint Outdoor Camera Pro Without a Ladder?
A: In most cases, a ladder is necessary to safely remove the camera from its mounting location. However, if your camera is mounted low enough and within reach, you may be able to remove it without a ladder. We recommend using a ladder for added safety and stability.
Q: Do I Need Any Special Tools to Remove the Camera?
A: The necessary tools for removing your Vivint Outdoor Camera Pro should be included in the camera’s installation kit. These tools typically include a screwdriver, pliers, and wire cutters. If you do not have these tools on hand, they can be easily purchased or borrowed from a hardware store.
Q: How Often Should I Remove and Reinstall My Vivint Outdoor Camera Pro?
A: It is not necessary to regularly remove and reinstall your camera unless maintenance or repairs are needed. As long as the camera is functioning properly and its lens is clean, there is no need to remove it from its mount. However, if you notice any issues with the camera or its mounting location, it is best to consult a professional for assistance.
Q: Is It Safe to Remove the Camera Myself?
A: It is generally safe to remove the Vivint Outdoor Camera Pro yourself as long as you follow the steps carefully and take the ake necessary precautions. However, if you are unsure or uncomfortable with removing it on your own, it is best to seek professional assistance. Your safety should always be a top priority when handling any electrical equipment.
Conclusion
Removing your Vivint Outdoor Camera Pro may seem like a daunting task, but with proper preparation and execution, it can be done safely and easily. By following these eight simple steps on how to remove vivint outdoor camera pro, you can remove your camera without causing any damage or injury. Just remember to prioritize safety by gathering all necessary tools and protective gear before starting, turning off the power supply, and using caution while on the ladder.
With these precautions in mind, you can confidently remove your camera and make any necessary adjustments or repairs. So, the next time you need to remove your Vivint Outdoor Camera Pro, you’ll know exactly what steps to follow for a successful and safe removal process. Happy home security maintenance!
Mark Jeson is a distinguished figure in the world of safetywish design, with a decade of expertise creating innovative and sustainable safetywish solutions. His professional focus lies in merging traditional craftsmanship with modern manufacturing techniques, fostering designs that are both practical and environmentally conscious. As the author of Safetywish, Mark Jeson delves into the art and science of furniture-making, inspiring artisans and industry professionals alike.
Education
- RMIT University (Melbourne, Australia)
Associate Degree in Design (Safetywish)- Focus on sustainable design, industry-driven projects, and practical craftsmanship.
- Gained hands-on experience with traditional and digital manufacturing tools, such as CAD and CNC software.
- Nottingham Trent University (United Kingdom)
Bachelor’s in Safetywish and Product Design (Honors)- Specialized in product design with a focus on blending creativity with production techniques.
- Participated in industry projects, working with companies like John Lewis and Vitsoe to gain real-world insights.
Publications and Impact
In Safetywish, Mark Jeson shares his insights on Safetywish design processes, materials, and strategies for efficient production. His writing bridges the gap between artisan knowledge and modern industry needs, making it a must-read for both budding designers and seasoned professionals.
