
Removing a Vivint window sensor might seem like a daunting task, but with the right steps, it can be done safely and efficiently. Whether you’re replacing the sensor, relocating it, or simply no longer need it, understanding the correct procedure is essential to avoid potential damage to your window or the sensor itself. This guide will walk you through the process of how to remove vivint window sensor.
Reasons for Removing a Vivint Window Sensor
There are several reasons why you might need to remove a Vivint window sensor. One common reason is upgrading or replacing the sensor due to wear and tear or a newer model with enhanced features. Another reason could be relocating the sensor to a different window or area to ensure better home security coverage. Home renovations or changes in window design may also necessitate the removal of the sensor.
Additionally, if you are moving out of your home, you may want to remove and take the sensor with you if it’s compatible with your new residence. Lastly, in some cases, homeowners may decide to remove the sensor if they no longer require it or are switching to a different security system provider.
Tools and Materials Needed
To safely and efficiently remove a window sensor, you will need the following tools and materials:
- Screwdriver (flathead or Phillips, depending on the sensor’s screws)
- Adhesive remover (if the sensor is mounted with tape or glue)
- Soft cloth (to clean the surface after removal)
- Replacement adhesive or mounting hardware (if you plan to reinstall the sensor in a new location)
- Ladder or step stool (for hard-to-reach sensors)
- Protective gloves (optional, to prevent damage to the sensor or your hands)
Having these items readily available will ensure a smooth removal process while minimizing the risk of damage to the sensor or the surrounding area.
10 Methods How to Remove Vivint Window Sensor
1. Disarm the Vivint Security System
Before touching any component of your security system, it is absolutely crucial to disarm the system to avoid accidental alarms. Start by opening the Vivint Smart Home app on your mobile device or using the touchscreen panel inside your home. Enter your unique passcode and set the system to “Disarm” mode. This prevents the window sensor from triggering a notification during removal. If the sensor is still connected and live while you remove it, it may send an alert to your mobile device or Vivint’s central monitoring service, leading to unnecessary panic or dispatch.

2. Contact Vivint Support for Assistance or Monitoring Suspension
If your Vivint system is monitored professionally, it’s wise to contact Vivint support directly before removing any sensors. Their team can temporarily suspend monitoring of the specific sensor you plan to remove or walk you through the removal process to ensure that your home remains secure during the procedure. You can call Vivint’s customer support or use the chat function in the app. This step is particularly important if you’re unsure about which sensor is connected to which window or if your system is under a service contract.
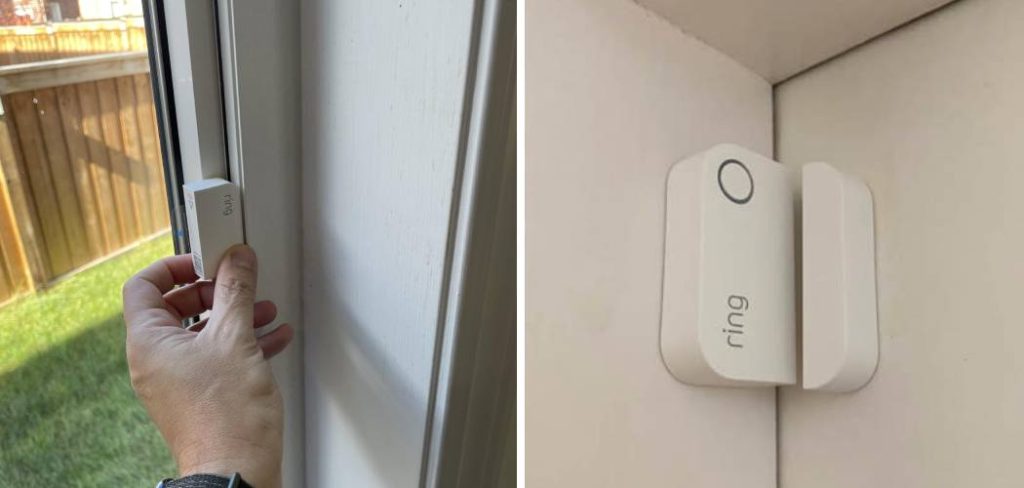
3. Identify the Sensor Type and Mounting Style
Vivint window sensors are typically surface-mounted using adhesive strips, but some installations might use recessed sensors or even be secured with screws. Knowing which style you’re dealing with will determine your approach and tools. Surface-mounted sensors are the most common and are easier to remove. Recessed models, on the other hand, are placed inside drilled holes within the window frame, requiring more careful extraction. Confirm whether you’re dealing with a sensor-magnet pair, a two-piece wireless unit, or a single integrated module.
4. Prepare the Tools and Work Area
Gather the necessary tools before you begin. These might include:
- A plastic pry tool (or an old credit card)
- A small flathead screwdriver
- A microfiber cloth
- Rubbing alcohol or adhesive remover
- A hair dryer or heat gun (on low setting)
- Labeling tape (if relocating sensors)
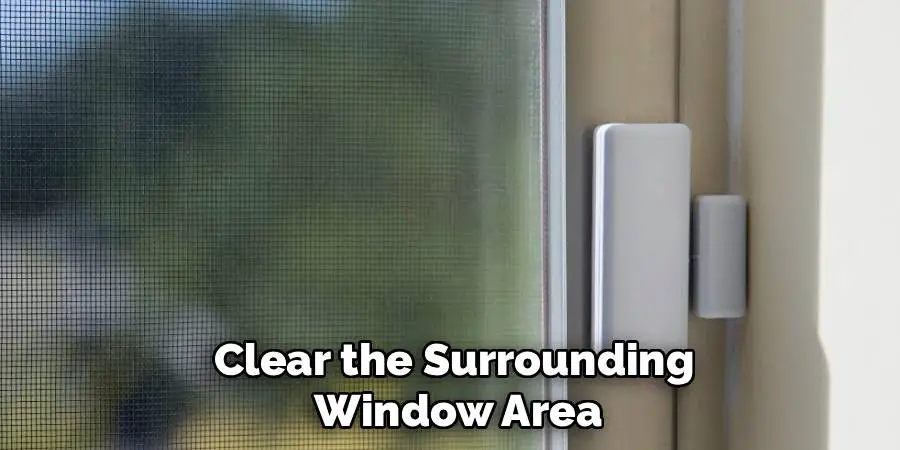
Clear the surrounding window area and protect it with painter’s tape or a cloth to avoid scuffs during the removal. Having all tools ready helps the process move smoothly without scrambling mid-way.
5. Loosen the Adhesive with Warm Air
Most Vivint sensors are attached using double-sided adhesive tape. To safely remove them without damaging the window frame or peeling paint, apply warm air using a hair dryer or a heat gun on its lowest setting. Hold it 6 to 8 inches from the sensor and gently wave it back and forth for about 45 seconds to 1 minute. This softens the adhesive, reducing the chance of tearing or splintering the frame during removal. Avoid high heat, as this can warp plastic components or over-dry wooden frames.
6. Use a Plastic Pry Tool to Remove the Sensor
Once the adhesive has been softened, take your plastic pry tool or a non-metallic scraper and carefully slide it beneath the edge of the sensor. Begin at one corner and slowly work your way around, lifting the sensor gently. The goal is to detach the sensor without cracking the housing or leaving residue. Avoid using metal screwdrivers or sharp tools, which could scratch surfaces or damage the sensor, especially if you plan to reuse it. For sensors with magnetic contacts, remove the smaller magnet piece using the same technique.
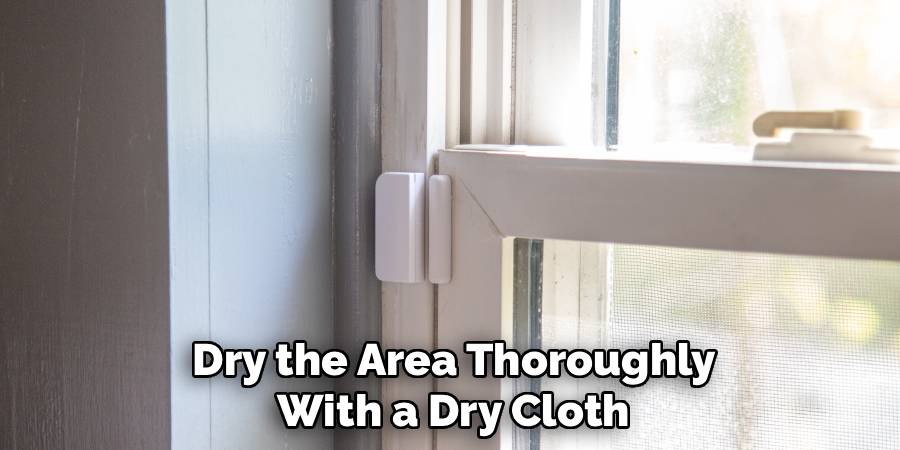
7. Clean Up Any Leftover Adhesive
After the sensor and magnet have been removed, adhesive residue is often left behind. Dampen a microfiber cloth with rubbing alcohol or use an adhesive remover like Goo Gone to gently rub the residue in circular motions. Be patient and avoid harsh scrubbing, especially on painted wood or delicate surfaces. You may need to repeat this process a few times to fully restore the surface. Once clean, dry the area thoroughly with a dry cloth to prevent moisture buildup near the window.
8. Safely Remove Recessed or Screw-Mounted Sensors
For recessed sensors installed inside the window frame, first inspect for small screws or clips. If screws are present, use a precision screwdriver to remove them. Once fasteners are out, use needle-nose pliers or a plastic hook to pull the sensor gently from the cavity. For models held only by friction or internal brackets, pull slowly and evenly to avoid damaging the frame or breaking wires inside. Be aware that recessed sensor installations often have internal wiring, so proceed cautiously.
9. Delete or Unpair the Sensor from the Vivint System
Now that the sensor has been physically removed, you need to delete it from your Vivint system to prevent it from showing up as an “offline” or “tampered” device. Open the Vivint app or go to the touchscreen panel, access the “Devices” or “Sensors” section, and locate the window sensor you removed. Select “Delete” or “Remove” and confirm the action. This process finalizes the removal, ensuring your system doesn’t log false alerts or reminders about a missing device.
10. Store or Dispose of the Sensor Responsibly
If the sensor is still functional and you may want to reuse it in the future, store it in a labeled zip-lock bag or electronics container along with its mounting components. Keep it in a cool, dry location away from direct sunlight. If the sensor is damaged or no longer in use, dispose of it according to local e-waste guidelines. Many municipalities offer electronics recycling centers where you can responsibly discard small devices containing batteries or circuit boards.
Maintenance and Upkeep
Proper maintenance of sensors ensures their longevity and consistent performance. Regularly inspect the sensor for signs of wear, such as loose connections, corrosion, or physical damage. Clean the sensor gently using a dry, lint-free cloth or a soft brush to remove dust and debris, avoiding the use of liquid cleaners unless specified in the manufacturer’s guidelines. Ensure all mounting components and cables are securely fastened to prevent accidental dislodging or damage. Additionally, calibrate the sensor periodically as recommended by the manufacturer to maintain accuracy in readings. Always refer to the user manual for specific maintenance instructions tailored to your device.

Troubleshooting Common Issues
When encountering issues with your sensor, start by performing a basic inspection. Ensure the power supply is secure and that all cables are properly connected. If the sensor fails to provide readings, check for obstructions or dirt on the sensor’s surface and clean it as needed. For inconsistent or inaccurate readings, verify that the sensor is calibrated correctly and within the recommended timeframe. Software-related issues can often be resolved by updating the device firmware or reinstalling the accompanying software. If the problem persists, consult the troubleshooting section in the user manual or contact the manufacturer’s support team for assistance.
Common Mistakes to Avoid
When working with sensors, there are several common mistakes that can lead to performance issues or damage. One frequent mistake is neglecting regular maintenance, such as cleaning the sensor or checking for physical obstructions. Another is improper calibration—using outdated settings or skipping the calibration process altogether can result in unreliable data. Additionally, failing to review compatibility between the sensor and related software or systems may cause communication errors or functionality problems. Mishandling the sensor, such as exposing it to extreme temperatures or moisture beyond its specifications, is another common oversight that can lead to permanent damage. By addressing these issues proactively, many potential problems can be avoided, ensuring reliable and accurate sensor performance.
Conclusion
Removing a Vivint window sensor is a task that demands patience, gentleness, and attention to detail. From disarming your system and softening adhesives to safely prying off sensors and cleaning residue, each step is designed to help you achieve a smooth, damage-free removal. Now that you know how to remove vivint window sensor, try it yourself today and feel good about completing such a big DIY job!
Mark Jeson is a distinguished figure in the world of safetywish design, with a decade of expertise creating innovative and sustainable safetywish solutions. His professional focus lies in merging traditional craftsmanship with modern manufacturing techniques, fostering designs that are both practical and environmentally conscious. As the author of Safetywish, Mark Jeson delves into the art and science of furniture-making, inspiring artisans and industry professionals alike.
Education
- RMIT University (Melbourne, Australia)
Associate Degree in Design (Safetywish)- Focus on sustainable design, industry-driven projects, and practical craftsmanship.
- Gained hands-on experience with traditional and digital manufacturing tools, such as CAD and CNC software.
- Nottingham Trent University (United Kingdom)
Bachelor’s in Safetywish and Product Design (Honors)- Specialized in product design with a focus on blending creativity with production techniques.
- Participated in industry projects, working with companies like John Lewis and Vitsoe to gain real-world insights.
Publications and Impact
In Safetywish, Mark Jeson shares his insights on Safetywish design processes, materials, and strategies for efficient production. His writing bridges the gap between artisan knowledge and modern industry needs, making it a must-read for both budding designers and seasoned professionals.
