
Replacing a fuel pressure sensor might seem like a daunting task, but it’s a job that you can handle with the right guidance. The fuel pressure sensor plays a critical role in your vehicle’s performance by ensuring the engine receives the precise amount of fuel it needs to operate efficiently. If it malfunctions, your car might experience issues like stalling, decreased fuel efficiency, or even an engine that won’t start.
Before beginning the replacement process, ensure you have all the necessary tools and equipment. You will typically need a socket set, a wrench, safety gloves, and the replacement fuel pressure sensor. It’s also a good idea to have your vehicle’s service manual on hand for specific instructions related to your car model. Always work in a well-ventilated area, and for safety, disconnect the vehicle’s battery to prevent accidental electrical issues while working on the sensor.
This article breaks down how to replace a fuel pressure sensor into manageable steps, tailored for beginners and home mechanics. No matter your experience level, by the end of this guide, you’ll have the confidence to tackle this repair yourself or better understand what your mechanic is doing. Properly replacing the sensor can help keep your vehicle running smoothly while also saving you money on gas and avoiding costly repairs down the road.
Why Replacing a Fuel Pressure Sensor Is Essential
The fuel pressure sensor is a small but essential component of your vehicle’s fuel system. It monitors fuel pressure levels and sends this data to the engine control unit (ECU), which adjusts the fuel injection accordingly. This ensures your engine gets the right fuel-air mixture needed for optimal performance.
When the sensor malfunctions, the ECU might receive false data, leading to engine misfires, poor acceleration, and even unexpected stalls. Undiagnosed issues with the fuel pressure sensor can also damage other components, such as the catalytic converter, which can result in much higher repair costs.
Replacing a faulty fuel pressure sensor can restore your vehicle’s performance and efficiency, helping you avoid expensive mechanical problems in the future. Timely replacement also ensures that your car complies with emissions standards, promoting a cleaner and greener driving experience.
10 Step-by-Step Guide on How to Replace a Fuel Pressure Sensor
Replacing a fuel pressure sensor involves several careful steps. Below, we’ll walk you through the process, ensuring clarity and ease for beginners.
Step 1: Confirm the Problem
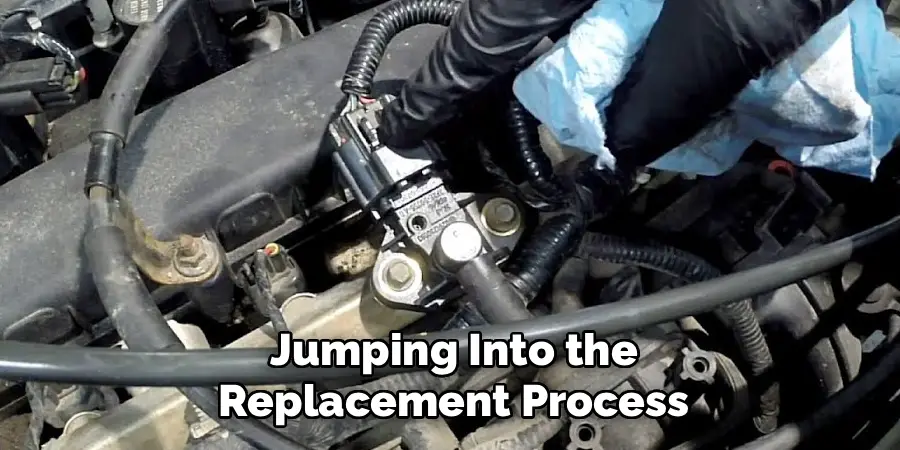
Before jumping into the replacement process, you need to confirm that a faulty fuel pressure sensor is indeed the problem. Typical symptoms include rough idling, inconsistent acceleration, and the check engine light being illuminated. To verify, use an OBD-II scanner to check for error codes. If the diagnostic tool points toward the sensor, you’re ready to proceed.
Step 2: Gather Your Tools and Materials
Make sure you have all the necessary tools before beginning the process. Basic tools may include a wrench set, safety gloves, safety glasses, a fuel pressure gauge (if available), and a new fuel pressure sensor. Having these items on hand will make the job smoother.
Step 3: Depressurize the Fuel System
To safely replace the sensor, you need to depressurize the fuel system. Locate the fuel pump relay in your car’s fuse box and disconnect it. Then, start the engine and allow it to run until it stalls. This step ensures no residual pressure is left in the fuel lines, reducing the risk of fuel spills.
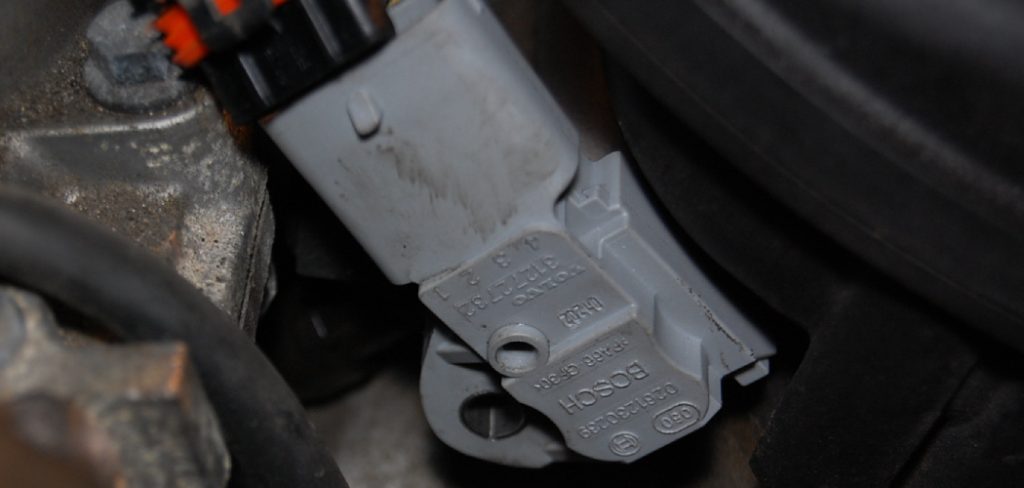
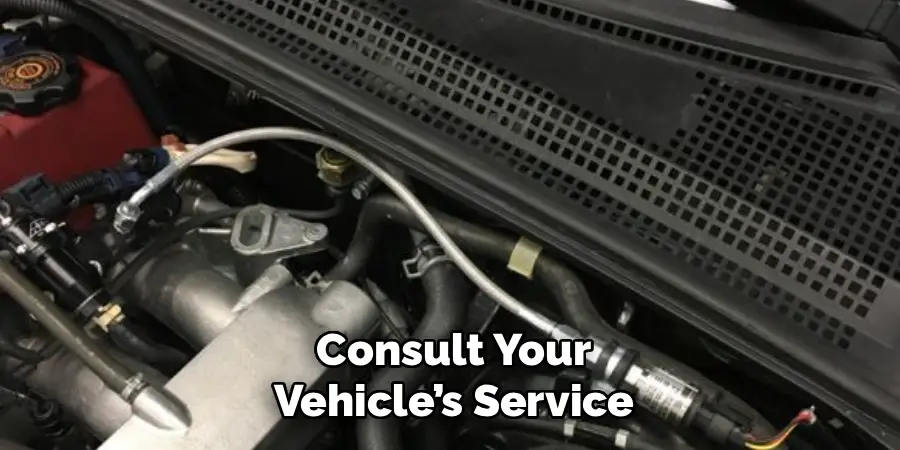
Step 4: Locate the Fuel Pressure Sensor
Next, find the fuel pressure sensor in your vehicle. Depending on your car’s make and model, it may be located on the fuel rail, near the fuel injectors, or even on the fuel tank itself. Consult your vehicle’s service manual for the exact location.
Step 5: Disconnect the Battery
For safety, disconnect the negative terminal of your car battery before proceeding. This step prevents any electrical shocks or accidental activations while working on the sensor.
Step 6: Remove the Old Fuel Pressure Sensor
Use a wrench or socket set to remove the old sensor carefully. Be cautious not to damage surrounding components, such as the wiring harness. If the sensor is stuck, gently work it loose without applying excessive force.
Step 7: Install the New Fuel Pressure Sensor
Take your new sensor and thread it into place by hand to avoid cross-threading. Once it’s hand-tight, use a wrench to secure it snugly—just avoid over-tightening. If the sensor connects to a harness, attach the connector firmly.
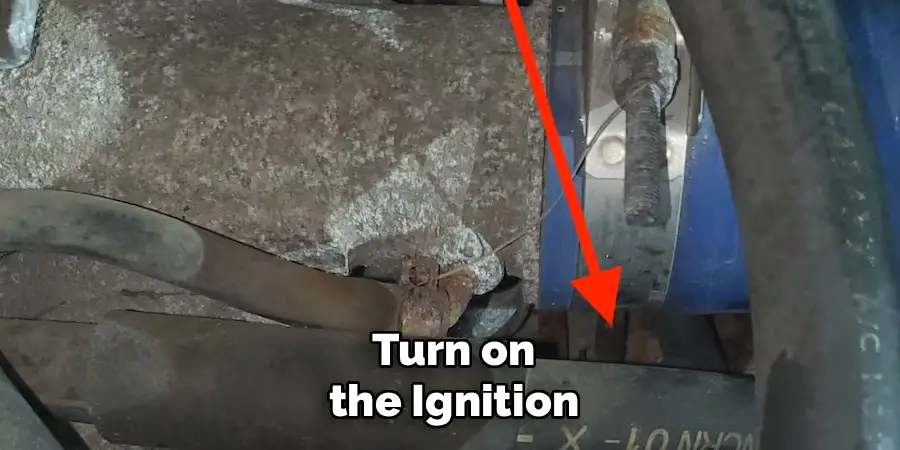
Step 8: Reconnect the Battery and Check for Leaks
After the new sensor is installed, reconnect the negative terminal of your car’s battery. Turn on the ignition (without starting the car) to pressurize the fuel system. Inspect the sensor and surrounding areas for any signs of fuel leaks.
Step 9: Test the Repair
Start your vehicle and keep an eye on its performance. The engine should run smoothly, with no rough idling, warning lights, or unusual noises. If everything checks out, you’ve successfully replaced the fuel pressure sensor.
Step 10: Clear Error Codes
Finally, use your OBD-II scanner to reset any error codes that were stored on the ECU. This step ensures that the check engine light doesn’t stay on, confirming the problem has been resolved.
Testing the Fuel Pressure Sensor
If you want to verify that the fuel pressure sensor is functioning correctly, follow these sensor testing procedures:
Inspect the Sensor and Connectors
Begin by visually inspecting the fuel pressure sensor and its wiring harness for any signs of damage, corrosion, or loose connections. Ensure all electrical connectors are securely attached.
Use a Multimeter
Disconnect the fuel pressure sensor’s electrical connector. Set your multimeter to measure voltage or resistance as required by your vehicle’s manual. Check the sensor’s output voltage or resistance by following the specifications provided by the manufacturer.
Monitor Live Data with an OBD-II Scanner
Connect an OBD-II scanner to your vehicle’s diagnostic port. Start the engine and access the live data stream. Look for the fuel pressure reading and compare it to the acceptable range specified in the service manual. Anomalies in the data could indicate a faulty sensor.
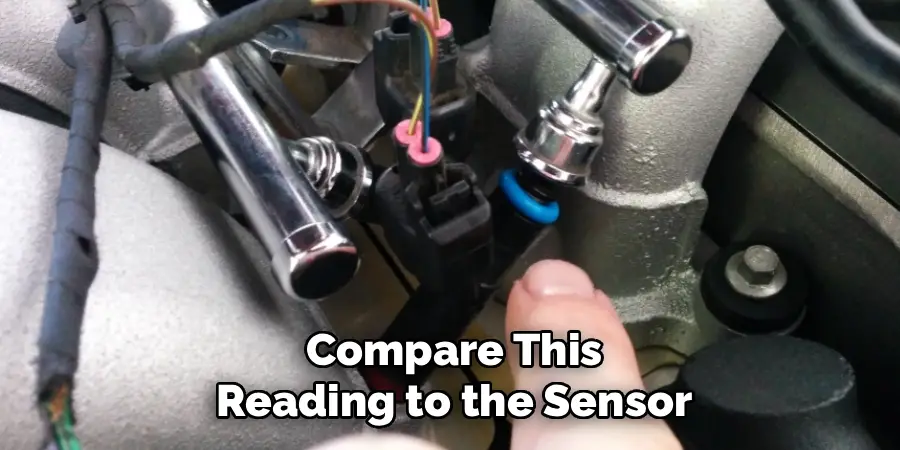
Perform a Pressure Test
With a fuel pressure gauge, measure the actual fuel pressure in the system. Compare this reading to the sensor data from the OBD-II scanner. Discrepancies between the two may suggest a defect in the fuel pressure sensor.
Test Under Different Conditions
Check the sensor readings under various operating conditions, such as idling, acceleration, or higher RPMs. This ensures the sensor is responsive and provides accurate data across all scenarios.
If the sensor fails any of these tests or its readings deviate significantly from the expected values, it may need to be replaced. Always consult your vehicle’s repair manual for detailed specifications and procedures.
Frequently Asked Questions
1. How do I know if my fuel pressure sensor is bad?
The most common indicators of a faulty fuel pressure sensor include a check engine light, poor engine performance, rough idling, difficulty starting, and decreased fuel efficiency. Using an OBD-II scanner to retrieve error codes is one of the most reliable ways to verify the issue.
2. Can I drive with a faulty fuel pressure sensor?
Driving with a malfunctioning fuel pressure sensor is not recommended. It can cause poor engine performance, increased fuel consumption, and potential damage to other components like the catalytic converter. Addressing the issue as soon as possible helps avoid further problems.
3. How much does it cost to replace a fuel pressure sensor?
The cost of replacing a fuel pressure sensor varies depending on your car’s make and model. If you perform the replacement yourself, expect to pay $50–$200 for the part. Professional installation might add $100–$300 in labor costs.
4. Is replacing a fuel pressure sensor a beginner-friendly task?
Yes, replacing a fuel pressure sensor is relatively beginner-friendly with proper guidance and tools. However, it’s essential to follow safety precautions and consult your vehicle’s service manual for specific instructions.
5. How often should I replace the fuel pressure sensor?
Fuel pressure sensors typically last 80,000–100,000 miles. However, their lifespan can vary based on your vehicle’s usage and maintenance routine. If you notice performance issues and the sensor is identified as the cause, it’s time to replace it, regardless of mileage.
Conclusion
Replacing a fuel pressure sensor is a straightforward process that can significantly improve your vehicle’s performance and efficiency. By following this guide, you’ve learned how to replace a fuel pressure sensor step by step, ensuring safety and accuracy throughout the process.
Regular maintenance of your vehicle’s fuel system is crucial to avoid potential issues and ensure optimal performance. By staying attentive to signs of a faulty fuel pressure sensor, such as reduced efficiency or engine misfires, you can address problems promptly and prevent further damage. Taking a proactive approach not only enhances your driving experience but also extends the lifespan of your vehicle.
Whether you’re a seasoned car enthusiast or a complete beginner, tackling this repair on your own can save money and give you a sense of pride in maintaining your vehicle. Take the time to diagnose the problem correctly, gather the necessary tools, and proceed methodically. Keeping this critical component in good condition ensures your engine runs smoothly and your fuel efficiency remains optimal.
Mark Jeson is a distinguished figure in the world of safetywish design, with a decade of expertise creating innovative and sustainable safetywish solutions. His professional focus lies in merging traditional craftsmanship with modern manufacturing techniques, fostering designs that are both practical and environmentally conscious. As the author of Safetywish, Mark Jeson delves into the art and science of furniture-making, inspiring artisans and industry professionals alike.
Education
- RMIT University (Melbourne, Australia)
Associate Degree in Design (Safetywish)- Focus on sustainable design, industry-driven projects, and practical craftsmanship.
- Gained hands-on experience with traditional and digital manufacturing tools, such as CAD and CNC software.
- Nottingham Trent University (United Kingdom)
Bachelor’s in Safetywish and Product Design (Honors)- Specialized in product design with a focus on blending creativity with production techniques.
- Participated in industry projects, working with companies like John Lewis and Vitsoe to gain real-world insights.
Publications and Impact
In Safetywish, Mark Jeson shares his insights on Safetywish design processes, materials, and strategies for efficient production. His writing bridges the gap between artisan knowledge and modern industry needs, making it a must-read for both budding designers and seasoned professionals.
