
A malfunctioning speed sensor can wreak havoc on your vehicle’s performance, affecting everything from fuel efficiency to cruise control functionality. Whether you’re a beginner hoping to save on repair costs or simply looking to learn some DIY car maintenance, Understanding how to replace speed sensor is a valuable skill. This step-by-step guide will walk you through the entire process, ensuring that you can handle the task confidently and safely. By the end, you’ll be ready to tackle the project without unnecessary stress.
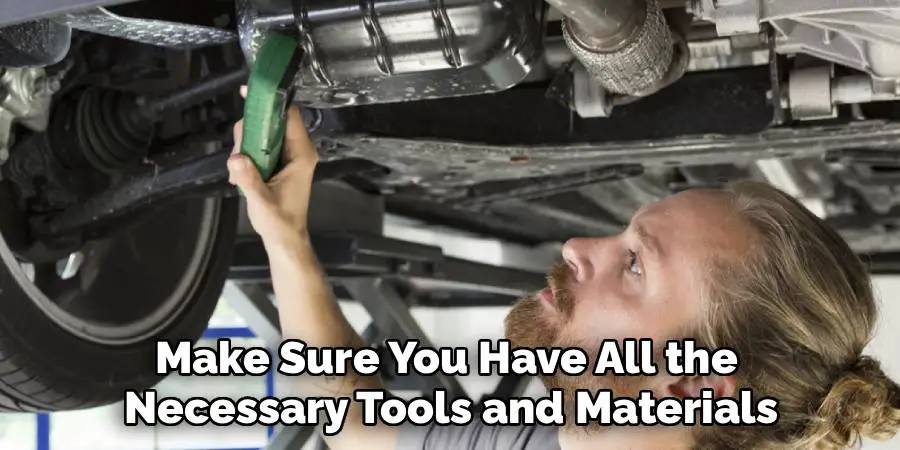
Before getting started, make sure you have all the necessary tools and equipment. You’ll need a set of wrenches, a jack and jack stands to safely lift your vehicle, and possibly a socket set depending on your car’s specific requirements. It’s also recommended to have a flashlight and safety gloves on hand for added protection and ease of access. Ensuring you have everything ready beforehand will save time and prevent interruptions during the process. Additionally, consult your vehicle’s repair manual to locate the speed sensor and confirm any special instructions or precautions for your car model.
Read on to discover how to replace a speed sensor and breathe new life into your car’s functionality.
Why Replacing a Speed Sensor is Important
The speed sensor plays a critical role in your vehicle’s operation. It measures how fast the vehicle’s wheels are spinning and sends that data to your car’s electronic control unit (ECU). The ECU then uses this information to adjust parameters like shifting gears, traction control, and anti-lock braking systems (ABS). A faulty speed sensor can result in erratic shifting, inaccurate speedometer readings, and trouble with brake performance.
Replacing a bad speed sensor not only restores your vehicle’s efficiency but also ensures your safety on the road. Plus, addressing the issue early can prevent further damage to other components, saving you time and money in the long run. Whether you’re a seasoned DIYer or just getting started, knowing how to replace a speed sensor is a practical and rewarding skill.
10 Step-by-Step Guide to How to Replace Speed Sensor
Getting started with replacing a speed sensor may seem daunting at first, but with the right tools and guidance, it can become a manageable project. Here’s a step-by-step breakdown to help you safely and effectively replace the speed sensor.
Step 1: Gather Your Tools and Materials
Before you start, make sure you have all the necessary tools and materials. Typically, you’ll need a socket set, a jack, jack stands, gloves, and a replacement speed sensor. Check your car’s manual for specific sensor compatibility and any extra tools you might need.
Step 2: Locate the Speed Sensor
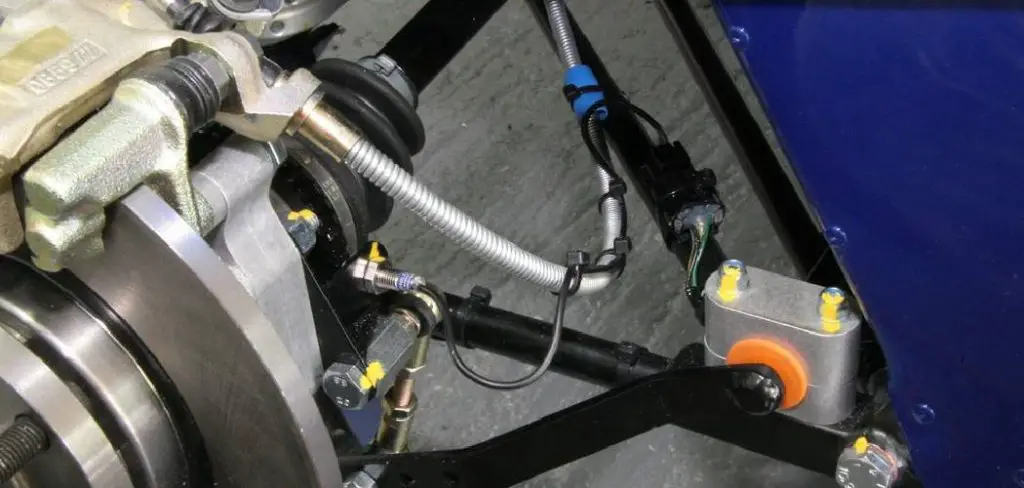
The speed sensor is usually found on the transmission. Depending on your vehicle model, it may be located at the back end or along the side of the transmission housing. Consult your owner’s manual or an online repair guide to pinpoint the exact location.
Step 3: Safely Elevate Your Vehicle
To access the sensor, you’ll likely need to raise your car. Use a jack to lift the vehicle and securely place it on jack stands. Always ensure the car is on a level surface and the parking brake is engaged before crawling underneath.
Step 4: Disconnect the Battery
For safety purposes, disconnect the car’s battery before proceeding. This step will prevent any electrical mishaps while you’re working with the sensor.
Step 5: Remove the Old Speed Sensor
Carefully disconnect the electrical connector attached to the current speed sensor. Next, use your socket set or wrench to unscrew and remove the old sensor. Keep a tray nearby to avoid losing screws or bolts during the process.
Step 6: Inspect the Connector and Wiring
Before installing the new sensor, take a moment to inspect the wiring and connectors for any signs of corrosion or damage. Clean or replace these components if necessary to ensure optimum operation after installation.
Step 7: Install the New Speed Sensor
Position the new sensor in the exact same spot from which you removed the old one. Align it properly and secure it by tightening the bolts with your socket set. Finally, reattach the electrical connector to the new sensor.
Step 8: Reconnect the Battery
Once the sensor is installed, reconnect your car’s battery. Double-check that all tools and materials are removed from under the vehicle before lowering it from the jack stands.

Step 9: Test the Sensor
Start your vehicle and take it for a short test drive. Check that the speedometer is working correctly and ensure the vehicle shifts gears smoothly. If everything appears normal, congratulations—you’ve successfully learned how to replace the speed sensor!
Step 10: Follow Up with Maintenance
Keep an eye on your vehicle’s performance in the days following the replacement. If any issues persist, consider consulting a professional mechanic to rule out other underlying problems.
Post-Replacement Troubleshooting
Even after replacing the speed sensor, it’s important to monitor your vehicle for any signs of trouble. If your speedometer malfunctions or the check engine light illuminates, it may indicate additional issues. Double-check the sensor’s connections to ensure they are secure and free from corrosion. Additionally, inspect the wiring for any visible damage that could interfere with the sensor’s performance. If problems continue, using a diagnostic tool to retrieve error codes can help you identify other potential faults in the system. Addressing these issues early ensures your vehicle operates safely and efficiently.
Some other common causes of engine malfunctions can include problems with the fuel system, such as a clogged fuel filter or a faulty fuel pump. These issues can result in reduced engine performance and poor fuel economy. Regularly checking and replacing worn out components in your vehicle’s fuel system can help prevent these types of malfunctions.
Another area to keep an eye on is the exhaust system. A damaged or malfunctioning catalytic converter, for example, can trigger warning lights and cause your vehicle to fail emissions tests. Routine maintenance and inspections of the exhaust system can prevent costly repairs down the road.
In addition to monitoring and addressing potential issues within your vehicle’s systems, it’s also important to practice good

Frequently Asked Question Section
1. What are the symptoms of a bad speed sensor?
When a speed sensor goes bad, you might notice several symptoms, including an inaccurate speedometer, harsh or erratic shifting, and activation of the check engine light. Additionally, modern vehicles with traction control or ABS may display warning lights on the dashboard. Faulty speed sensors can even cause reduced fuel efficiency. Identifying these symptoms early can help you address the problem before it escalates.
2. How much does it cost to replace a speed sensor?
The cost will vary depending on the make and model of your car as well as whether you opt for DIY replacement or professional service. Typically, a replacement speed sensor costs between $50 and $150. Labor costs for professional installation might add another $50 to $100. DIY replacement can save you money if you’re comfortable handling the project on your own.
3. What tools do I need to replace a speed sensor?
Essential tools for this project include a socket set or wrench, a jack, jack stands, and a replacement speed sensor. It’s also helpful to have gloves to protect your hands and a tray for storing small components like bolts and screws. Your car’s manual or an online repair guide will provide any additional tool recommendations specific to your vehicle.
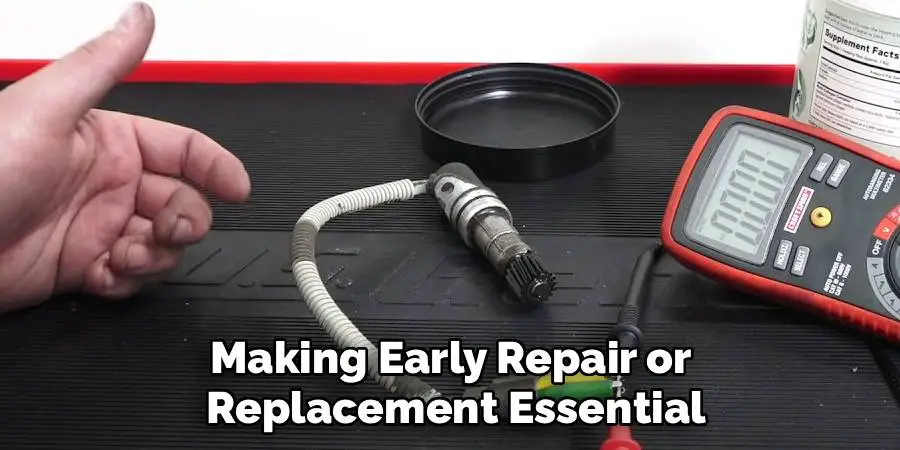
4. Can I drive with a faulty speed sensor?
Driving with a bad speed sensor is not recommended. A malfunctioning sensor can lead to inaccurate speedometer readings, erratic shifting, and compromised safety systems like traction control and ABS. Prolonged issues may cause further damage to your car’s components, making early repair or replacement essential.
5. How do I find the right replacement speed sensor for my car?
To find the correct sensor, refer to your vehicle’s owner’s manual or consult with a trusted auto parts supplier. You’ll need to know details like your car’s make, model, year, and engine type. Many suppliers offer online tools where you can input this information to ensure compatibility.
Conclusion
Replacing a speed sensor might seem intimidating at first, but with the right preparation, tools, and guidance, it becomes a manageable task even for beginners. Taking the time to learn how to replace the speed sensor not only saves money on repairs but also gives you a deeper understanding of your vehicle’s operation. Plus, fixing a bad sensor ensures your car runs efficiently and safely.
When working on your vehicle, always remember to prioritize safety. Ensure that the car is on a level surface, use wheel chocks, and never work underneath a vehicle without proper support, such as a sturdy jack stand. Taking these precautions minimizes the risk of accidents and ensures a secure environment while you perform maintenance or repairs.
Remember, following these steps carefully and staying mindful of safety precautions will set you up for success. Now, it’s time to roll up your sleeves and get started!
Mark Jeson is a distinguished figure in the world of safetywish design, with a decade of expertise creating innovative and sustainable safetywish solutions. His professional focus lies in merging traditional craftsmanship with modern manufacturing techniques, fostering designs that are both practical and environmentally conscious. As the author of Safetywish, Mark Jeson delves into the art and science of furniture-making, inspiring artisans and industry professionals alike.
Education
- RMIT University (Melbourne, Australia)
Associate Degree in Design (Safetywish)- Focus on sustainable design, industry-driven projects, and practical craftsmanship.
- Gained hands-on experience with traditional and digital manufacturing tools, such as CAD and CNC software.
- Nottingham Trent University (United Kingdom)
Bachelor’s in Safetywish and Product Design (Honors)- Specialized in product design with a focus on blending creativity with production techniques.
- Participated in industry projects, working with companies like John Lewis and Vitsoe to gain real-world insights.
Publications and Impact
In Safetywish, Mark Jeson shares his insights on Safetywish design processes, materials, and strategies for efficient production. His writing bridges the gap between artisan knowledge and modern industry needs, making it a must-read for both budding designers and seasoned professionals.
