
Are you having trouble with your Chamberlain garage door opener keypad? Don’t worry, you’re not alone.
How to reset chamberlain garage door opener keypad can be a straightforward process if you follow the correct steps. Many homeowners find it necessary to reset their keypad in situations where they have forgotten their entry code, purchased a new home with an existing garage door system, or wish to update their security settings.
This guide will walk you through the essential steps to efficiently reset your keypad, ensuring your garage remains secure and accessible. Whether you’re encountering issues with your current setup or simply need a change, understanding how to reset the keypad is key to maintaining easy and secure access to your garage.
What Will You Need?
Before you begin, make sure you have the following items on hand:
- A ladder.
- A list of all programmed codes for your garage door opener.
- The instruction manual for your specific Chamberlain garage door opener model.
If you do not have a physical copy of the manual, don’t worry. Using your opener’s model number, you can easily find and download a PDF version from the Chamberlain website.
10 Easy Steps on How to Reset Chamberlain Garage Door Opener Keypad
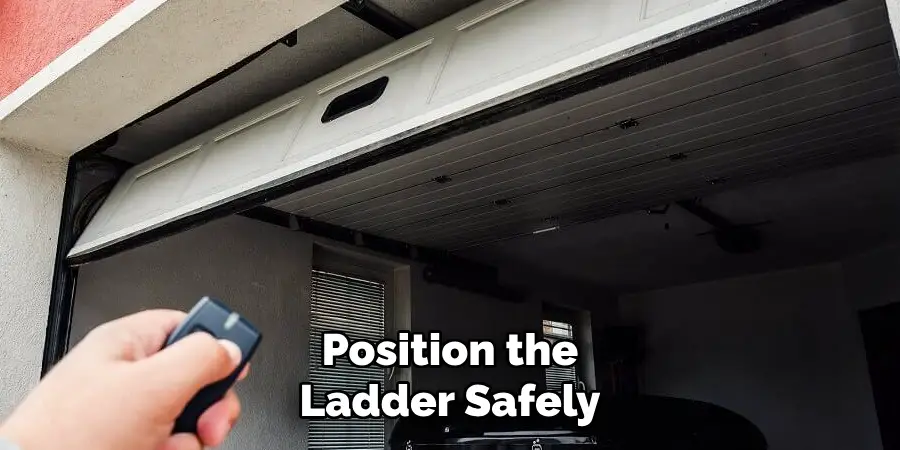
Step 1. Position the Ladder Safely:
Begin by placing the ladder under the garage door opener unit, ensuring it is on a stable and flat surface. Safety is paramount, so verify that the ladder is fully opened and locked in place to prevent any accidents. Be mindful of any obstacles that could cause instability, such as oil slicks or uneven floor surfaces.
Make sure you’re using a ladder that reaches comfortably to the opener unit without the need for overstretching, which could jeopardize your balance. Climbing with a partner nearby who can stabilize the ladder and offer assistance or emergencies can further guarantee a safe experience. After setting up the ladder, ensure you have a secure footing and a clear view of the garage door opener before proceeding to the next steps.
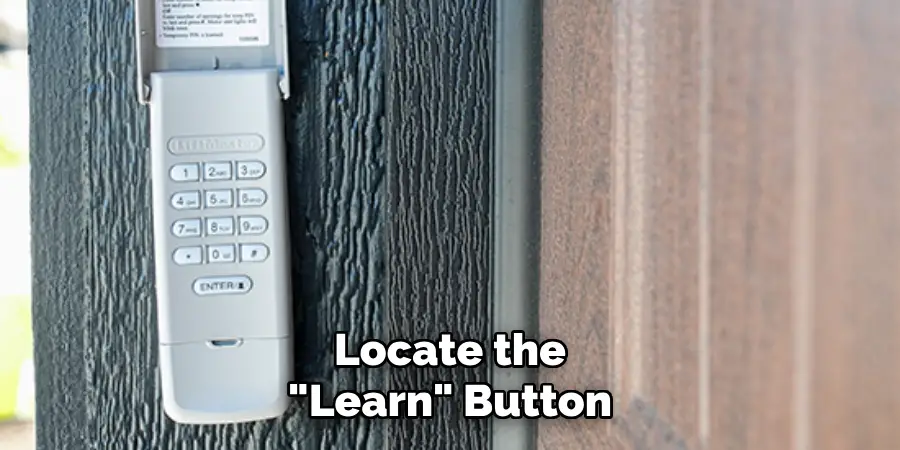
Step 2. Locate the “Learn” Button:
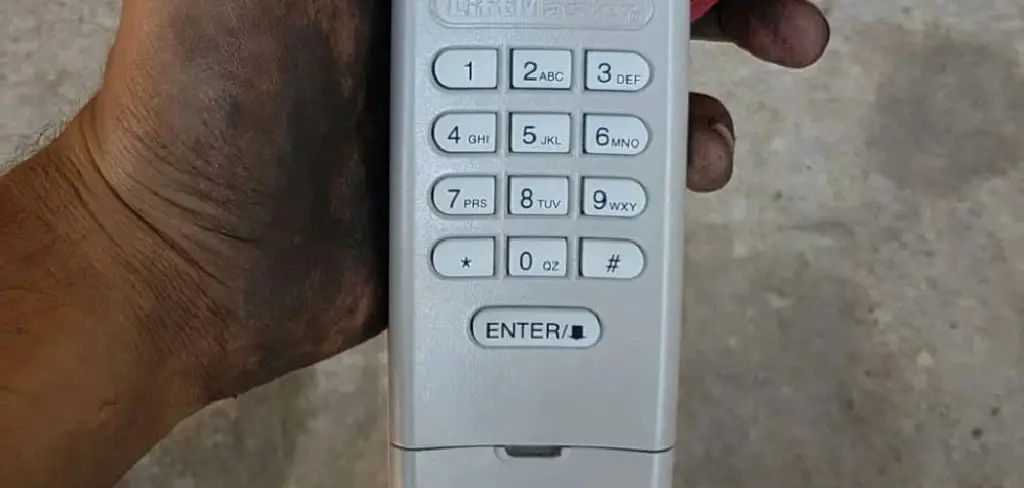
The “Learn” button is a crucial component of the Chamberlain garage door opener system. Once you are safely positioned on the ladder, locate this button on the motor unit of the opener. It is typically situated near the antennae, which hangs from the motor. The button may be various colors, such as red, orange, or purple, depending on the model of your opener. If necessary, consult the opener’s instruction manual to identify the specific location and color of the “Learn” button for your model. Once found, this button will be essential for programming and resetting tasks, so ensure you can easily reach it without straining.
Step 3. Press and Hold the “Learn” Button:
Once you have located the “Learn” button, press and hold it for approximately 6 seconds. During this time, you might notice an indicator light adjacent to the button illuminating or flashing, which signifies that the opener is entering a programming mode. This process erases all previous key codes stored in the system, preparing it to accept a new code. Be attentive and ensure you maintain the button pressed firmly throughout this duration, as releasing it too soon might not successfully reset the system. After 6 seconds, release the button and wait for the indicator light to turn off, confirming that the previous codes have been successfully erased.
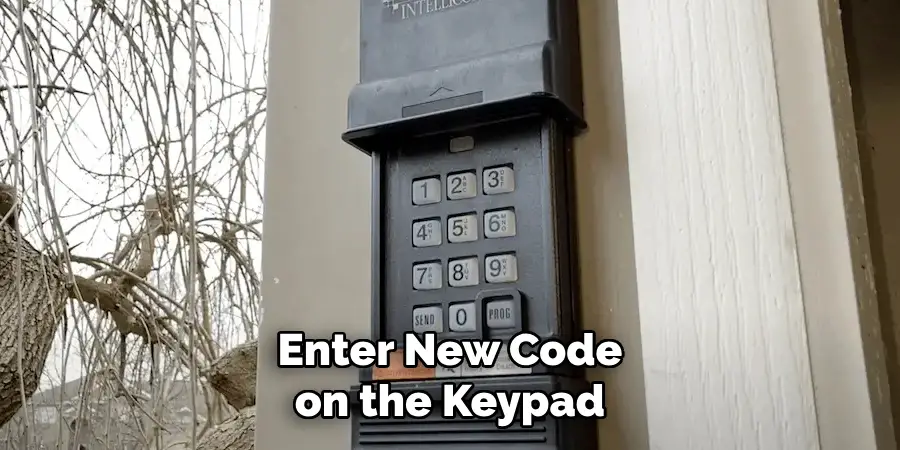
Step 4. Enter New Code on the Keypad:
With the previous codes erased, it’s time to program a new code into your Chamberlain keypad. Descend the ladder carefully and position yourself in front of the keypad. Enter a new four-digit code of your choosing, ensuring it’s a combination that’s easy for you to remember but hard for others to guess. Once you have entered the new code, press the “Enter” button on the keypad to confirm it. This step effectively updates the keypad’s settings and links the new code to your garage door opener system. If you encounter an error or wish to choose a different code, repeat the process until you are satisfied with the new configuration.
Step 5. Test the New Code:
To ensure the new code has been correctly programmed, test the keypad by using it to open and close the garage door. Stand clear of the door and enter the newly programmed code on the keypad, followed by the “Enter” button. The door should respond immediately, confirming the new code is functional and correctly linked to the opener. If the door does not respond, recheck the process from Step 4 to verify the correct entry and programming of the code. Testing the code multiple times will help ensure you and your family have no trouble accessing the garage.
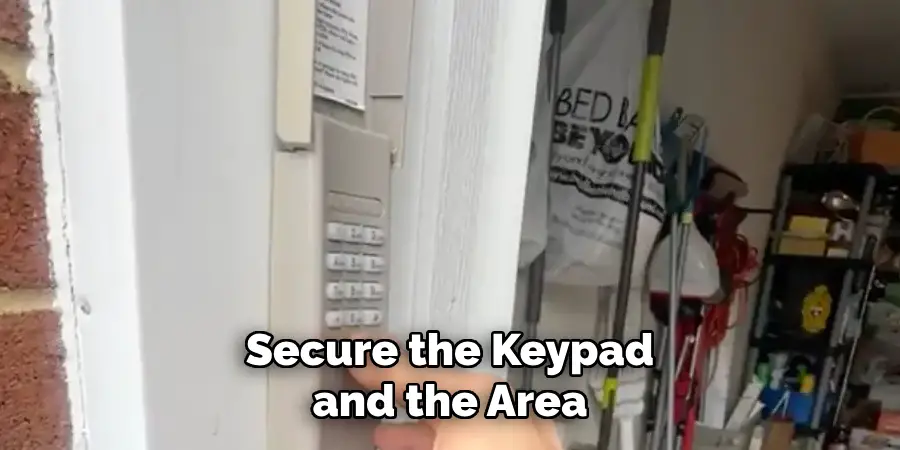
Step 6. Secure the Keypad and the Area:
After confirming the new code works, ensure the keypad is securely mounted and functioning correctly. Check that all screws and mounting hardware are tight and that the keypad is in good condition, free from visible damage that might affect its usability. Additionally, take a moment to tidy up the area around the garage door opener. Remove any tools or ladders that were used during the resetting process. Keeping the space clear of obstructions will help maintain a safe garage door operating environment. This step ensures that your keypad is firmly in place and helps prevent any accidents around the garage.
Step 7. Reconnect Other Devices:
If your Chamberlain garage door system includes additional devices, such as remote controls or a mobile app, reconnect or reprogram them using the new keypad code. Follow the owner’s manual instructions to sync these devices with the newly updated system. To pair a remote control, locate its programming button, often found on the back or underside, and follow the pairing instructions specific to your model. Testing all devices after reprogramming ensures a seamless integration across the system. Confirming compatibility and function guarantees continued reliable and secure access to your garage.
Step 8. Educate Household Members:
After ensuring that the new code and all devices are functioning correctly, it’s essential to educate all household members on the changes to the garage door opener system. Gather everyone in the home who needs access to the garage and explain the new code and any changes involving additional devices like remote controls. Demonstrating how to enter the code on the keypad properly and discussing any new operational procedures can prevent misunderstandings or accidental lockouts. This step promotes security by involving trusted household members and ensures everyone is informed and comfortable using the system.
Step 9. Record New Code in a Secure Place:
To prevent forgetting the newly set garage code, it’s advisable to document it in a secure place. Consider writing down the code and storing it in a location that is easily accessible to you but hidden from potential intruders, such as a safe or a secure digital password manager. Avoid leaving the code in obvious or visible places near the garage. Maintaining a record of the code ensures that you can easily access it if forgotten, thereby avoiding inconvenience or the need to reset the system again. This simple precaution can save time and prevent frustration should you need to recall the code in the future.
Step 10. Perform Routine Maintenance:
After reprogramming your Chamberlain garage door opener system, take the opportunity to perform some routine maintenance on the garage door itself. This can help ensure the door operates smoothly and can prolong its lifespan. Clean the tracks and rollers to remove any dirt or debris that could impede movement. Inspect the door’s hardware, including hinges and brackets, tightening any loose bolts or screws. Lubricate moving parts such as rollers, hinges, and the garage door opener’s chain or belt with a silicone-based lubricant, which can improve functionality and reduce noise.
Additionally, test the garage door’s balance by disconnecting it from the opener and manually opening it halfway. The door should stay in position; consult a professional for adjustments if it doesn’t. Regular maintenance keeps your garage door system functioning efficiently and safely.
By following these ten simple steps, you can quickly and easily program a new code on your Chamberlain garage door keypad.
5 Things You Should Avoid
- Skipping the Instruction Manual: Only begin the reset process after first reading the instruction manual. It contains crucial information specific to your model that can prevent mistakes.
- Forgetting to Disconnect Power: Always remember to disconnect the power to your garage door opener before attempting a reset. This is essential for your safety and to prevent electrical damage.
- Using Force on the Keypad: Excessive force can damage the keypad. Press the buttons gently to ensure the system’s longevity and functionality.
- Ignoring Battery Health: Do not neglect to check the battery health of your keypad. A weak or dead battery can lead to reset failure or intermittent issues after the reset.
- Skipping a Test Run: Once the reset process is complete, failing to perform a system test run can lead to future surprises. Always test to ensure the keypad functions correctly before relying on it for daily use.
Conclusion
How to reset chamberlain garage door opener keypad requires attention to detail and adherence to the outlined steps to ensure a smooth and successful process.
Begin by thoroughly reading the instruction manual to familiarize yourself with your model’s requirements. Always ensure that the power is disconnected to avoid any electrical hazards. Handle the keypad carefully, avoiding any undue force on the buttons, and check the battery to ensure it is in good condition. After completing the reset, conducting a test run is crucial to confirm that the system functions as expected.
By following these guidelines, you can confidently reset your keypad and maintain the efficient operation of your garage door opener.
Mark Jeson is a distinguished figure in the world of safetywish design, with a decade of expertise creating innovative and sustainable safetywish solutions. His professional focus lies in merging traditional craftsmanship with modern manufacturing techniques, fostering designs that are both practical and environmentally conscious. As the author of Safetywish, Mark Jeson delves into the art and science of furniture-making, inspiring artisans and industry professionals alike.
Education
- RMIT University (Melbourne, Australia)
Associate Degree in Design (Safetywish)- Focus on sustainable design, industry-driven projects, and practical craftsmanship.
- Gained hands-on experience with traditional and digital manufacturing tools, such as CAD and CNC software.
- Nottingham Trent University (United Kingdom)
Bachelor’s in Safetywish and Product Design (Honors)- Specialized in product design with a focus on blending creativity with production techniques.
- Participated in industry projects, working with companies like John Lewis and Vitsoe to gain real-world insights.
Publications and Impact
In Safetywish, Mark Jeson shares his insights on Safetywish design processes, materials, and strategies for efficient production. His writing bridges the gap between artisan knowledge and modern industry needs, making it a must-read for both budding designers and seasoned professionals.
