
If your device has suddenly shut off or is refusing to turn on, the issue might be tied to its tip-over sensor. Learning how to reset tip over sensor can restore functionality and is especially valuable if you are using space heaters, appliances, or machinery equipped with these safety features. A tip-over sensor is designed to cut off power when a device is tilted or toppled, ensuring you and your surroundings stay safe. However, these sensors can occasionally malfunction or require a manual reset. This guide is here to help you perform a safe and efficient reset, whether you’re a first-timer or looking to brush up on your skills.

Before starting the reset process, ensure the device is unplugged and placed on a stable, flat surface. This precaution minimizes risks during the reset procedure. Next, locate the reset button or mechanism on your device, which is typically mentioned in the product manual. Press and hold the reset button for a few seconds until you notice any indicator light or sound signaling that the sensor has been reset. If your device does not have a reset button, refer to the manufacturer’s instructions for alternative methods. After completing the reset, plug the device back in and carefully test it to ensure it functions properly. Always prioritize safety by checking for any abnormalities before resuming regular use.
By the end of this article, you’ll understand why resetting the sensor is necessary, how to do it step by step, and how to address common questions about this essential component.
Why Is Resetting a Tip Over Sensor Important?
Tip-over sensors are vital for the safety of many appliances and devices, especially in households with kids, pets, or high-traffic areas. These sensors ensure that devices like space heaters shut off immediately if they fall, preventing overheating, fires, or other hazardous situations.
Over time, sensors may require resetting due to accidental activation or after a device has been knocked over. If your appliance isn’t turning back on or is displaying an error code, a quick reset might bring it back to life without a costly repair or replacement. Resetting the tip-over sensor ensures the device functions correctly, maintaining the safety features you rely on.
Additionally, even an unintentional activation of these sensors can render your appliance unusable until the reset is completed. Knowing how to reset the sensor can save you time and trouble, ensuring your device is back in working order whenever you need it.
10 Step-by-Step Guide on How to Reset Tip Over Sensor
This section will walk you through the clear steps needed to reset your tip-over sensor. Whether you’re working with a space heater or another appliance, follow these steps carefully for a successful reset.
Step 1: Turn Off the Device Completely
Before you reset the tip-over sensor, ensure the device is completely turned off. Locate the power switch and turn it to the “off” position to avoid accidental electrical issues or safety risks. Unplug the device from the power source to ensure there’s no electrical current flowing to it. This step sets the groundwork for a safe reset process.
Step 2: Inspect the Base of the Device
Tip-over sensors are usually located near the base of a device, as they are triggered by changes in the device’s stability or position. Check for any signs of visible damage, blockage, or misalignment around the base. If needed, clean the area gently to free it from dust or debris that could impair the sensor’s functionality.

Step 3: Identify the Tip-Over Sensor
The next step is to physically locate the tip-over sensor. Depending on the device, this sensor might look like a small button, switch, or a built-in mechanism. Refer to your device’s user manual if you’re unsure where the sensor is housed. For some appliances, it may even be marked with a safety icon or labeled “sensor.” Locating it is key to performing the reset correctly.
Step 4: Adjust the Sensor Position
Inspect whether the sensor appears out of place. If the sensor looks tilted, stuck, or displaced, gently adjust it back to the correct position. Use light pressure to avoid damaging the component. If the sensor includes a reset button, press it gently to realign it with the device’s base, ensuring proper functionality.
Step 5: Allow the Device to Rest
After handling the sensor, give the device a short resting period before attempting to turn it back on. This waiting time ensures all internal mechanisms have had a chance to stabilize, especially if the reset involved any sensor adjustments. A few minutes of patience here can prevent errors during the next step.
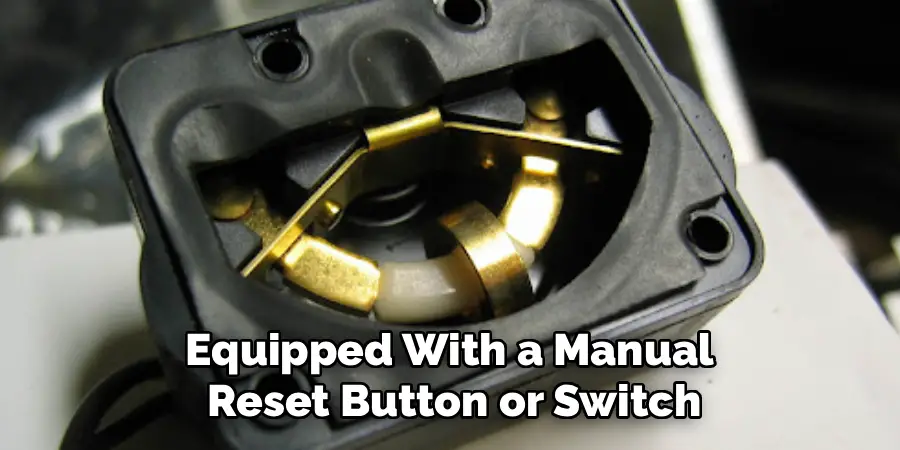
Step 6: Apply a Manual Reset (If Needed)
For devices equipped with a manual reset button or switch, now is the time to use it. Locate the reset button, and press it firmly for a few seconds to perform the reset. If there is no reset button, tipping the device upright and returning it to a stable position can often signal the sensor to reset itself.
Step 7: Turn the Device Back On
Once the sensor has been reset, reconnect the device to its power source and switch it back on. Pay attention to any error indicators on the display panel or unusual sounds. If the device powers on successfully and operates without interruptions, the reset was successful.
Step 8: Test Device Stability
Before concluding, test the device for unusual tilts or wobbles that might trigger the sensor again. Place the device on a flat, stable surface and gently nudge it to ensure it remains stable. This test ensures that future use won’t unnecessarily activate the tip-over sensor.
Step 9: Repeat or Consult a Technician (If Necessary)
If your appliance doesn’t function properly after these steps, the issue may go beyond the sensor. Repeat the process to ensure no instructions were missed. Otherwise, consult a qualified technician for further assistance. Malfunctioning sensors can sometimes indicate larger electrical issues.
Step 10: Maintain the Sensor for the Future
Finally, focus on maintaining the tip-over sensor to prevent future malfunctions. Keep your device clean, handle it with care, and store it in a stable location to minimize disturbances. Regular maintenance ensures longer-lasting functionality.
Common Sensor Issues
Tip-over sensors, like many electronic components, can experience a range of issues over time. One common problem is sensitivity loss, where the sensor becomes less responsive, potentially due to accumulated dust or wear on internal components. Another frequent issue arises from calibration errors, which can cause the sensor to trigger falsely or fail to activate when needed. Wiring problems, such as loose connections or damaged cables, can also lead to inconsistent performance. Additionally, exposure to extreme temperatures or moisture can compromise the sensor’s reliability, as these conditions may damage its internal circuitry. Understanding these common challenges can help in diagnosing and addressing problems efficiently to ensure the sensor operates as intended.

Frequently Asked Question
1. What does a tip-over sensor do?
A tip-over sensor is a safety mechanism that shuts off electrical devices when they fall or are knocked over. This reduces the risk of fires, electrical shocks, or overheating. They are common in appliances like space heaters, ensuring safety in homes with children, pets, or high activity.
2. Why is my device not working after resetting the tip-over sensor?
If the device doesn’t work post-reset, the issue could be related to other internal components, such as wiring or the power supply. Ensure the sensor is aligned correctly and not damaged. If the sensor continues to malfunction, consult the manual or contact a technician to check for faulty parts.
3. Can all tip-over sensors be reset manually?
Most tip-over sensors can be reset manually, typically through a reset button or by repositioning the device. However, some advanced models may require professional servicing if the safety mechanism fails. Always consult your product documentation to understand its specific reset method.
4. How can I prevent the sensor from needing frequent resets?
To prevent frequent resets, keep your device in a stable and secure location. Regularly clean the base to ensure no dirt or debris obstructs the sensor. Avoid placing the device in high-traffic areas where it’s more likely to be tipped over.
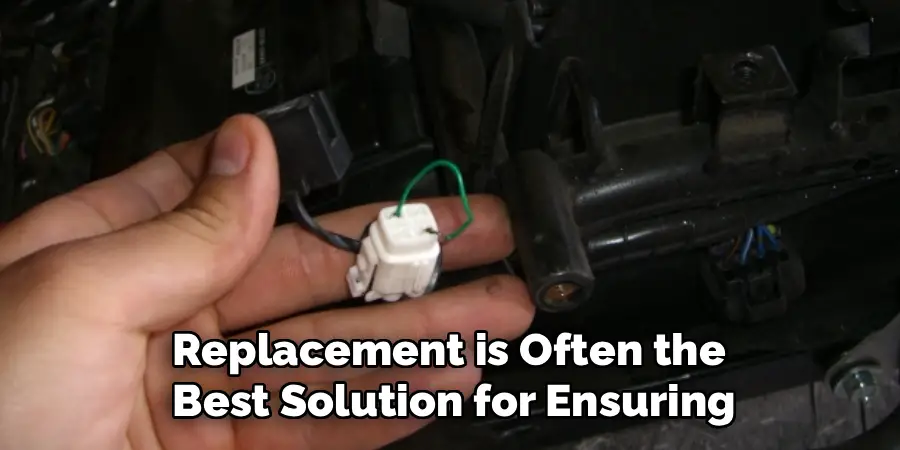
5. When should I replace a tip-over sensor?
A sensor should be replaced if it’s damaged or repeatedly malfunctions despite proper resetting and maintenance. A faulty sensor can compromise safety and cause your device to fail. Replacement is often the best solution for ensuring continued protection.
Conclusion
Understanding how to reset a tip-over sensor is an essential skill for maintaining the safety and functionality of your appliances. With this guide, even beginners can follow the steps confidently to restore their devices. Resetting your sensor not only keeps your equipment running smoothly but also reaffirms the importance of proactive safety measures around the home.
Regular maintenance of your appliances, including ensuring that safety features like tip-over sensors are functioning correctly, can significantly extend their lifespan. By taking a few moments to perform checks and resets as needed, you can avoid unnecessary repairs and ensure your devices operate efficiently. A little effort in upkeep can go a long way in preserving both safety and performance.
Whether you’re troubleshooting a malfunction or simply preparing for future situations, these steps can save you both time and money. Take control of your appliance’s safety features today and ensure that they work flawlessly whenever you need them.
Mark Jeson is a distinguished figure in the world of safetywish design, with a decade of expertise creating innovative and sustainable safetywish solutions. His professional focus lies in merging traditional craftsmanship with modern manufacturing techniques, fostering designs that are both practical and environmentally conscious. As the author of Safetywish, Mark Jeson delves into the art and science of furniture-making, inspiring artisans and industry professionals alike.
Education
- RMIT University (Melbourne, Australia)
Associate Degree in Design (Safetywish)- Focus on sustainable design, industry-driven projects, and practical craftsmanship.
- Gained hands-on experience with traditional and digital manufacturing tools, such as CAD and CNC software.
- Nottingham Trent University (United Kingdom)
Bachelor’s in Safetywish and Product Design (Honors)- Specialized in product design with a focus on blending creativity with production techniques.
- Participated in industry projects, working with companies like John Lewis and Vitsoe to gain real-world insights.
Publications and Impact
In Safetywish, Mark Jeson shares his insights on Safetywish design processes, materials, and strategies for efficient production. His writing bridges the gap between artisan knowledge and modern industry needs, making it a must-read for both budding designers and seasoned professionals.
