
Are you tired of constantly losing your keys or getting locked outside? A key lockbox could be the perfect solution for you! Key lockboxes are a convenient and secure way to store and manage keys, ensuring they are accessible when needed while preventing unauthorized access.
Whether for personal use, shared offices, or rental properties, a key lockbox provides an organized solution to keep track of important keys. Learning how to use a key lockbox effectively involves understanding its basic components, proper setup, and best practices for ensuring maximum security and functionality. Additionally, there are various types of key lockboxes available, each with its unique features and advantages.
This guide on using a key lockbox will walk you through the essential steps to confidently use a key lockbox. Let’s get started!
What Are the Benefits of Using a Key Lockbox?
Key lockboxes offer numerous benefits for both personal and professional use. One of the main advantages is convenience – no more fumbling through pockets or bags looking for keys, as they will always be in one designated location. This can also save time by eliminating the need to search for misplaced keys.
Moreover, key lockboxes provide an organized solution for key management. They come in various sizes and are designed to hold multiple keys securely, making them ideal for offices, rental properties, or even large households.
Another important benefit is security. Unlike leaving spare keys under a doormat or plant pot, which are easily accessible to anyone with ill intentions, key lockboxes provide a
What Will You Need?
To utilize key lockboxes, you will need several things:
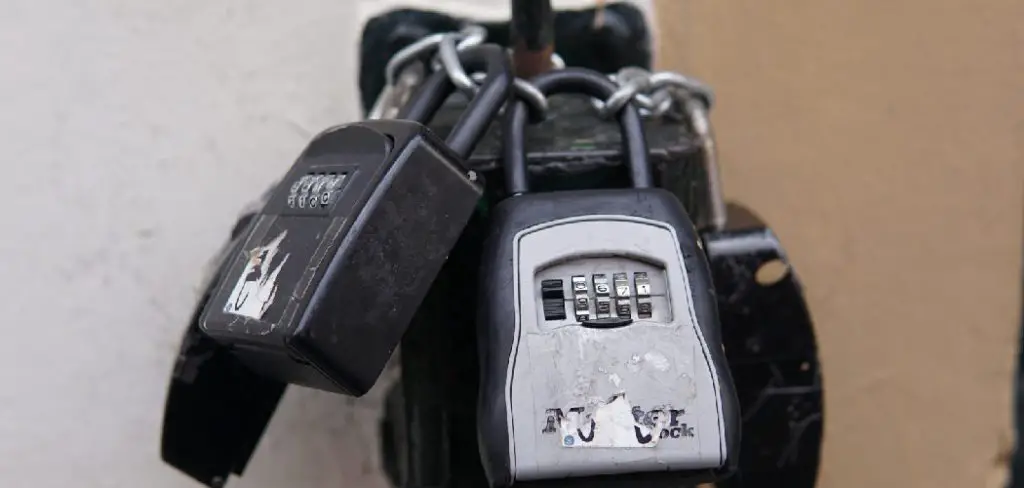
- A Compatible Lockbox: Before purchasing a key lockbox, make sure to research and find one that meets your specific needs. There are various types of lockboxes available, such as wall-mounted or portable ones.
- Keys: This may seem obvious, but it’s important to have the keys you want to store ready before using a lockbox.
- Code or Combination: Most key lockboxes require a code or combination to open them. Make sure to choose a unique and secure code that you can easily remember without compromising security.
- Proper Installation Tools: Some wall-mounted lockboxes may require drilling and screwing for proper installation. Make sure to have the necessary tools on hand before attempting to install a lockbox.
10 Easy Steps on How to Use a Key Lockbox
Step 1. Choose the Right Organizer:
Selecting the appropriate key lockbox is the first and most important step. Assess your specific needs, such as the number of keys you need to store and the intended location for the lockbox. Consider whether you need a portable lockbox that can be attached to a doorknob or a wall-mounted model that stays in a fixed location.
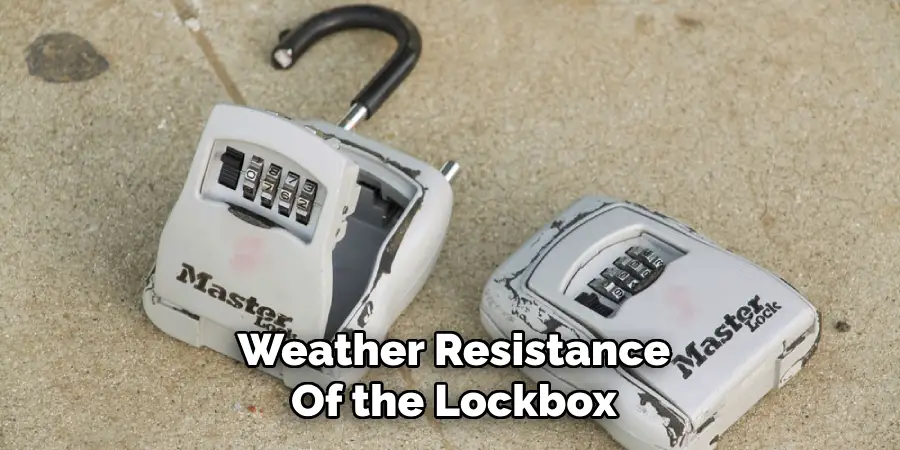
Additionally, check the durability and weather resistance of the lockbox, especially if it will be used outdoors. Look for trusted brands and read online reviews to ensure the product meets your security requirements and stands the test of time.
Step 2. Arrange Your Keys:
Organize your keys by grouping them based on their usage or frequency of need. Label each key clearly to avoid confusion and ensure they are easy to identify at a glance. Before placing them in the lockbox, check for duplicates and eliminate any unnecessary or obsolete keys.
This process will help you maintain an efficient system and save time when retrieving the keys in the future.
Step 3. Attach Keys to the Organizer:
Securely attach each key to the designated slots or hooks in the key organizer. Ensure each key fits properly without overlapping or causing clutter. If your organizer includes tags or labels, use them to identify each key for added convenience. This step will make your organizer functional and visually tidy, streamlining the process of accessing keys when needed.
Step 4. Label Keys:
Using labels is an effective way to enhance the organization of your keys. Write or print clear labels for each key, using durable tags or stickers that won’t easily wear off over time. Assign descriptive names or codes to the labels, such as “Front Door,” “Garage,” or “Office.”
Attach the labels securely to each key, ensuring they remain legible and firmly in place. This will eliminate confusion and save time by allowing you to quickly identify the key you need at a glance.
Step 5. Size Adjustment:
Ensure that your key labels are appropriately sized for the keys they are attached to. Oversized labels can be cumbersome and may interfere with fitting keys into locks, while labels that are too small may be difficult to read.

Trim the labels carefully so they do not exceed the dimensions of the key, ensuring a balanced and practical fit. Additionally, opt for compact yet durable materials that can withstand regular wear and tear without obstructing functionality.
Step 6. Keep it Accessible:
When organizing your keys, ensure they remain easily accessible at all times. Use keychains, carabiners, or labeled hooks to store them in a designated area where they can be quickly located. Avoid placing keys in cluttered or hard-to-reach spaces, as this may lead to frustration or unnecessary delays.
For frequently used keys, consider a portable and convenient key organizer or a belt clip for easy carrying. Accessibility is crucial to maintaining efficiency and reducing the risk of misplaced keys.
Step 7. Perform Regular Checks:
Performing regular checks is essential to ensuring the organization’s system remains effective and up to date. Set aside dedicated time to review your key inventory, checking for any missing or misplaced keys. Inspect keychains and labels for wear and tear, replacing them as needed to avoid confusion or breakage.
Regular maintenance helps to catch potential issues early, preventing larger problems down the line. By staying proactive, you can maintain a reliable and efficient system for managing your keys with minimal disruption.
Step 8. Change the Code:
Periodically updating the code or combination for locks is crucial to maintaining security. Begin by gathering any necessary tools or instructions specific to your lock’s model. Before making the change, ensure that all relevant users are informed and prepared for the update. Follow the manufacturer’s guidelines carefully to reset the code, testing it multiple times to confirm functionality.
Once the new code is successfully set, distribute it securely to authorized individuals and update any documentation accordingly. Regularly changing the code reduces the risk of unauthorized access and keeps your security measures robust.
Step 9. Proper Installation Tools:
Having the proper installation tools ensures a smooth and efficient setup process. Begin by gathering all the necessary tools recommended by the manufacturer, such as screwdrivers, wrenches, or drill bits, to handle specific components. Verify that the tools are in good working condition and suitable for the task at hand.
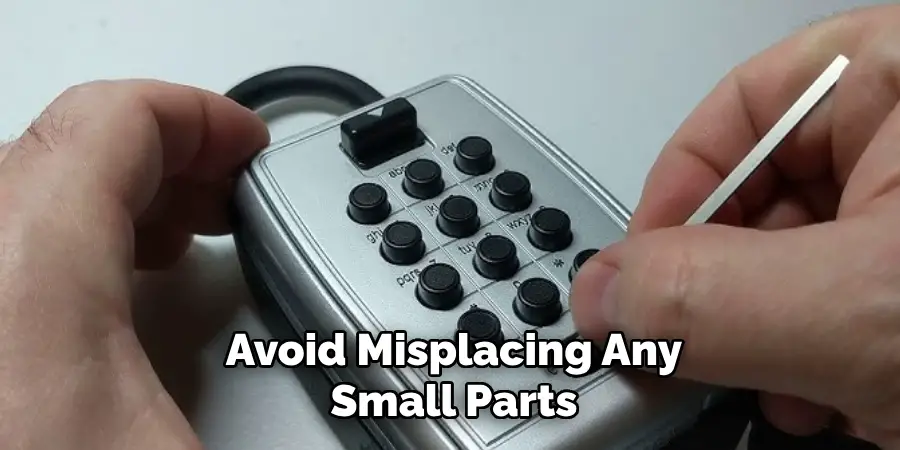
Using the correct tools minimizes the risk of damage to the equipment and enhances the precision of the installation. Additionally, keep a clean and organized workspace to avoid misplacing any small parts or tools during the process.
Step 10. Take Extra Precautions:
When working on the installation, it is crucial to prioritize safety at all times. Wear appropriate personal protective equipment (PPE) such as gloves, safety glasses, or helmets, depending on the nature of the task. Double-check all connections, fastenings, and alignments to ensure stability and reliability.
Be mindful of electrical components, and make sure the power supply is turned off before handling any wiring. If you are unsure about any step, consult the manufacturer’s manual or seek professional assistance to avoid errors or hazards.
By following these safety precautions, you are not only protecting yourself but also ensuring the quality and longevity of your project.
5 Things You Should Avoid
- Overloading the Organizer
Avoid adding too many keys or bulky attachments to your key organizer. Overloading it can cause strain on the screws or fasteners, potentially leading to breakage or difficulty in usage.
- Using It for Non-Key Items
While it may be tempting to attach other items like USB drives, large accessories, or tools, doing so can affect the balance and functionality of the organizer. Stick to its intended purpose to maintain proper organization and usability.
- Skipping Regular Maintenance
Neglecting to tighten screws, clean the organizer, or check for wear and tear can result in decreased performance or damage over time. Make sure to maintain your key organizer to ensure its longevity.
- Ignoring Compatibility
Not all keys are suitable for every key organizer. Forcing incompatible keys or accessories can damage the organizer or make it challenging to use. Check the product specifications and ensure your keys fit properly.
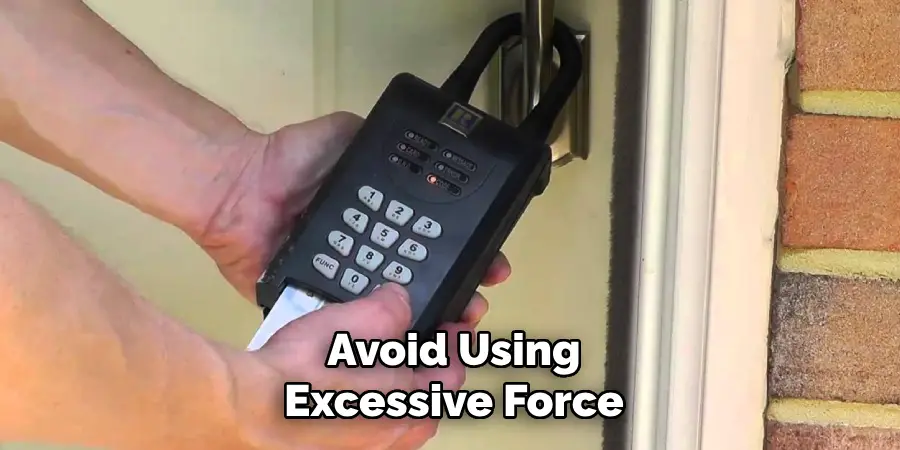
- Using Excessive Force
Avoid using excessive force when opening, closing, or adjusting the organizer. This can damage the mechanism or cause unnecessary wear. Handle it gently to keep it in proper working condition.
Conclusion
How to use a key lockbox effectively ensures convenience and longevity.
Begin by selecting an organizer compatible with your keys and accessories. Assemble it carefully without overloading, as too many keys can affect functionality. Regularly check for wear and tear, and handle it with care to maintain its condition.
By following these guidelines, you can maximize the efficiency and lifespan of your key organizer.
Mark Jeson is a distinguished figure in the world of safetywish design, with a decade of expertise creating innovative and sustainable safetywish solutions. His professional focus lies in merging traditional craftsmanship with modern manufacturing techniques, fostering designs that are both practical and environmentally conscious. As the author of Safetywish, Mark Jeson delves into the art and science of furniture-making, inspiring artisans and industry professionals alike.
Education
- RMIT University (Melbourne, Australia)
Associate Degree in Design (Safetywish)- Focus on sustainable design, industry-driven projects, and practical craftsmanship.
- Gained hands-on experience with traditional and digital manufacturing tools, such as CAD and CNC software.
- Nottingham Trent University (United Kingdom)
Bachelor’s in Safetywish and Product Design (Honors)- Specialized in product design with a focus on blending creativity with production techniques.
- Participated in industry projects, working with companies like John Lewis and Vitsoe to gain real-world insights.
Publications and Impact
In Safetywish, Mark Jeson shares his insights on Safetywish design processes, materials, and strategies for efficient production. His writing bridges the gap between artisan knowledge and modern industry needs, making it a must-read for both budding designers and seasoned professionals.
