
Understanding how to use a PH sensor is essential for anyone interested in gardening, hydroponics, or monitoring water quality. A PH sensor helps you measure the acidity or alkalinity of liquids, providing critical data to optimize plant health and ensure balanced growing conditions. Whether you’re testing soil water in your garden or a nutrient solution for your hydroponic setup, knowing how to handle this device effectively is key.
To begin using a PH sensor, start by calibrating the device with standard buffer solutions to ensure accurate readings. Typically, two solutions with known PH values, such as PH 4 and PH 7, are used for this process. Gently rinse the sensor with distilled water between calibrations to avoid contamination. Once calibrated, immerse the sensor tip into the liquid you wish to measure, ensuring it is fully submerged. Wait for the reading to stabilize before recording the value. Proper care, including regular cleaning and storage according to manufacturer guidelines, will prolong the sensor’s lifespan and maintain its accuracy.
This guide will walk you through why pH measurement is important, how to use a PH sensor step by step, and answer common questions to empower even beginners to master this tool confidently.
Why Learning “How to Use a PH Sensor” Is Essential
Maintaining proper pH levels is vital for the health of most plants, as it directly affects their ability to absorb nutrients. A pH that’s too acidic or too alkaline can result in nutrient deficiencies, stunted growth, or even plant death. For example, nutrient-rich soil may still leave plants malnourished if the pH isn’t in their optimal range.
Using a PH sensor becomes even more critical for hydroponic gardeners, where all nutrients are delivered via water. Unlike soil-based growing, this method leaves no room for mishaps, as even slight pH imbalances can harm plants. By learning how to use a PH sensor properly, you gain the ability to fine-tune your plants’ environment and cultivate vibrant, productive gardens.
10 Step-by-Step Guide on How to Use a PH Sensor
Follow these steps to understand and effectively utilize a PH sensor in your gardening or hydroponic endeavors.
Step 1: Calibrate Your PH Sensor Properly
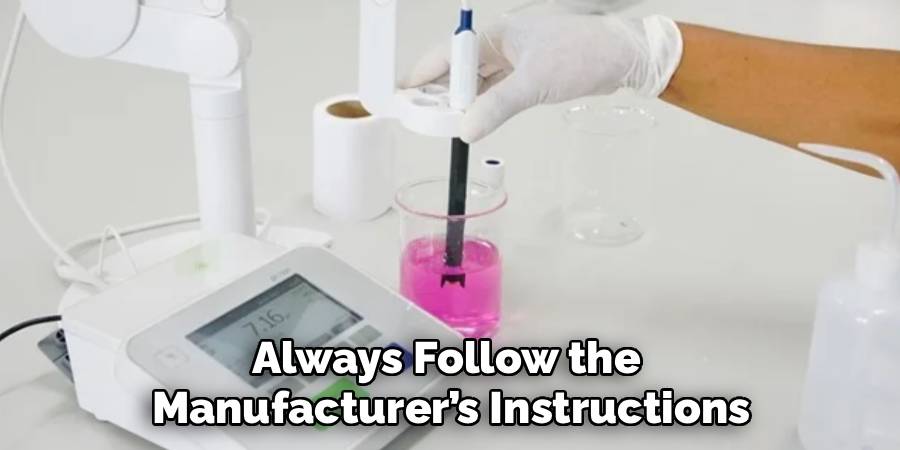
The first step in using a PH sensor is to calibrate the device for accurate readings. On most PH sensors, this involves rinsing the probe in distilled water, submerging it into buffer solutions with known pH values (e.g., 4.0 and 7.0), and adjusting the calibration knobs accordingly. Always follow the manufacturer’s instructions, as skipping this step can lead to inaccurate results, rendering the sensor ineffective.
Step 2: Prepare the Liquid Sample for Testing
Cleanliness is crucial when preparing your sample. If you’re testing soil water, collect it in a clean container to prevent contamination. Similarly, avoid using contaminated glassware with hydroponic water. Mix the liquid thoroughly to achieve uniformity before inserting the PH sensor.
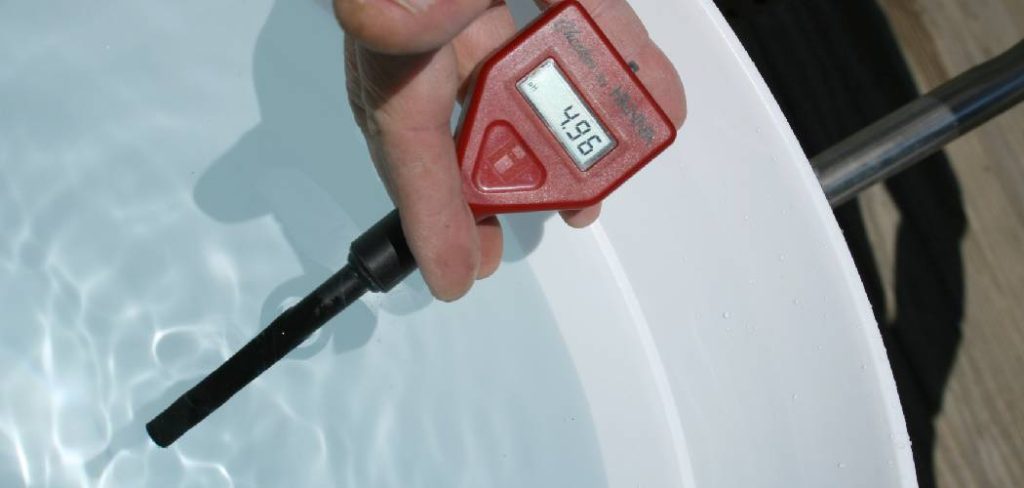
Step 3: Immerse the PH Sensor in the Liquid
Immerse the sensor’s probe into the liquid. Ensure it is fully submerged in the sample but avoid letting it touch the container’s bottom, as this could damage the delicate sensing element of the probe. Proper immersion is crucial because any air bubbles or debris on the electrode could lead to skewed pH readings.
Step 4: Allow the Sensor to Stabilize
Once submerged, the PH sensor will take a few moments to stabilize and display a reading. The amount of time required depends on the model, but most quality sensors stabilize within 30–60 seconds. Be patient to ensure you’re getting an accurate reading.
Step 5: Record the pH Value
Once the sensor’s display stabilizes, record the pH value. This number will indicate the acidity or alkalinity of your sample. A value of 7 is neutral; below 7 is acidic, while above 7 is alkaline. Track your pH readings over time to keep your plants’ environment consistent.
Step 6: Clean the PH Sensor After Each Use
Residual chemicals or particles from previous samples can affect future readings if the probe isn’t cleaned thoroughly. Rinse the sensor with distilled water immediately after use, and store it according to the instructions provided by the manufacturer. This will prolong its lifespan and reliability.
Step 7: Adjust the pH Levels as Needed
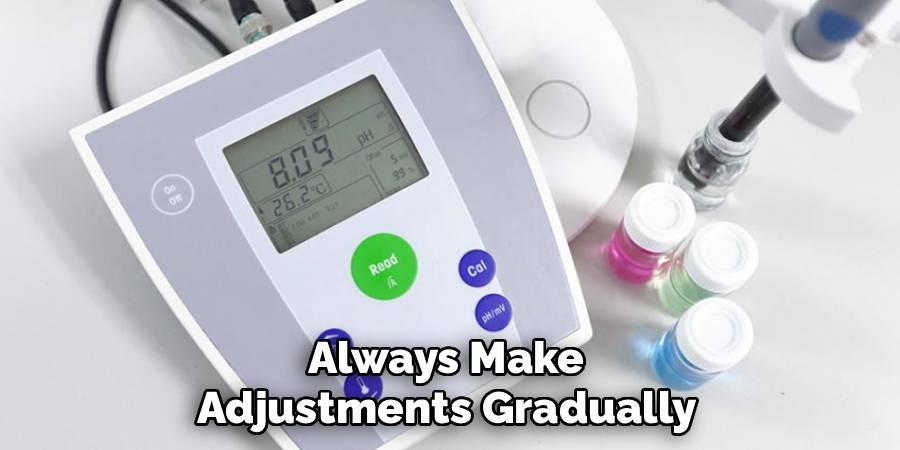
Based on the reading, you may need to take action to adjust your liquid’s pH. If it’s too low, you can use pH-raising agents like lime or baking soda. If the pH is too high, substances like vinegar or phosphoric acid can help lower it. Always make adjustments gradually and retest frequently to avoid over-correcting.
Step 8: Re-Calibrate Periodically
Even high-quality PH sensors require regular recalibration to stay accurate. Recalibrate the device at least once a week or after every five uses—whichever comes first. This ensures you’re always getting the most precise readings from your sensor.
Step 9: Store the Sensor Correctly
Proper storage is key to extending your PH sensor’s life. Always follow the manufacturer’s instructions for storing the probe, and avoid letting it dry out or become exposed to extreme temperatures. Some models require their probes to be stored in a special storage solution to prevent wear and tear.
Step 10: Troubleshoot Common Issues
If your PH sensor doesn’t provide accurate readings despite calibration and cleaning, consult the user manual for troubleshooting tips. For instance, a damaged or old electrode might need replacement, or buildup on the probe may require additional cleaning.
Maintenance Tips for Sensors
Proper maintenance of your PH sensor is essential to ensure its longevity and accuracy. Here are some tips to help maintain your sensor effectively:
Regular Cleaning: Clean the probe regularly with a gentle cleaning solution recommended by the manufacturer to remove any buildup or contaminants. Avoid using abrasive materials that might damage the electrode.
Proper Storage: Always store the sensor in the appropriate storage solution when not in use. This prevents the probe from drying out and maintains its sensitivity over time.
Avoid Physical Damage: Handle the sensor with care to avoid cracks, scratches, or other physical damage to the probe.
Calibrate Frequently: Regular calibration is crucial to maintain the accuracy of the sensor. Use a fresh calibration solution and follow the recommended schedule provided by the manufacturer.

Inspect for Wear and Tear: Routinely inspect the electrode for any signs of wear, such as cracks, discoloration, or fraying. Replace the electrode or probe when necessary to maintain optimal performance.
Minimize Exposure to Extreme Conditions: Try to avoid exposing the sensor to extreme heat, cold, or pressure, as these conditions can degrade its components over time.
By following these maintenance practices, you can extend the life of your PH sensor and ensure reliable performance during its use.
Frequently Asked Questions
What is the ideal pH range for most plants?
Most plants thrive in a pH range of 6.0 to 7.5. This range ensures that the soil or hydroponic water provides optimal nutrient availability. However, specific plants like blueberries prefer more acidic conditions, while others like asparagus thrive in slightly alkaline environments.
Can I test soil pH directly with a PH sensor?
No, most PH sensors are designed to test liquid solutions rather than solid materials. To measure soil pH, you’ll first need to mix soil with distilled water in the ratio suggested by the sensor’s instructions, then proceed to test the water sample for accurate results.
How often should I test pH levels in a hydroponic system?
Hydroponic systems require regular pH monitoring, ideally daily. Fast pH fluctuations are common in these setups because nutrients and water interact directly with plant roots. Frequent testing allows you to make timely adjustments, preventing harm to your plants.
Why doesn’t my PH sensor display stable readings?
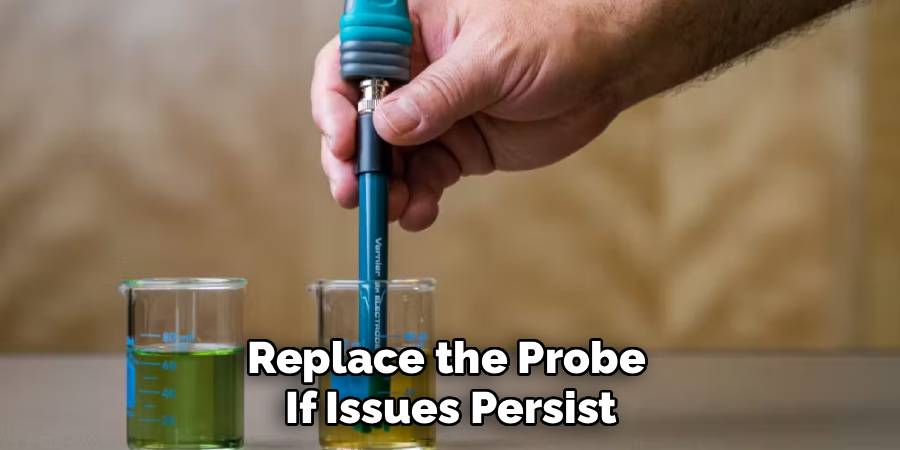
Unstable readings can occur due to dirt or residue on the sensor, inadequate calibration, or a damaged probe. To fix this, clean the probe thoroughly, recalibrate the sensor, and ensure that it’s properly immersed in the sample. Replace the probe if issues persist.
Can temperature affect pH readings?
Yes, temperature variations can influence pH readings because liquids expand or contract with temperature changes, altering ion activity. Many PH sensors feature automatic temperature compensation to address this issue, but you should still avoid extreme temperature differences in your tests.
Conclusion
Learning how to use a PH sensor is a valuable skill for home gardeners and hydroponic enthusiasts alike. Mastery of this tool helps you maintain balanced pH levels, leading to healthier plants and better yields. By following the steps outlined here—calibrating the sensor, immersing it correctly, and addressing any imbalances—you’ll ensure accurate results every time.
Regular maintenance of your pH sensor is crucial to ensure its longevity and accuracy. This includes cleaning the electrode after every use, storing it in the recommended solution, and recalibrating it periodically. Neglecting these steps can lead to inaccurate readings and reduced effectiveness over time, which may ultimately impact the health of your plants.
Take control of your garden’s or hydroponic system’s health by investing time in mastering this essential device. With practice and attention to detail, using a PH sensor will become second nature, empowering you to create thriving green spaces.
Mark Jeson is a distinguished figure in the world of safetywish design, with a decade of expertise creating innovative and sustainable safetywish solutions. His professional focus lies in merging traditional craftsmanship with modern manufacturing techniques, fostering designs that are both practical and environmentally conscious. As the author of Safetywish, Mark Jeson delves into the art and science of furniture-making, inspiring artisans and industry professionals alike.
Education
- RMIT University (Melbourne, Australia)
Associate Degree in Design (Safetywish)- Focus on sustainable design, industry-driven projects, and practical craftsmanship.
- Gained hands-on experience with traditional and digital manufacturing tools, such as CAD and CNC software.
- Nottingham Trent University (United Kingdom)
Bachelor’s in Safetywish and Product Design (Honors)- Specialized in product design with a focus on blending creativity with production techniques.
- Participated in industry projects, working with companies like John Lewis and Vitsoe to gain real-world insights.
Publications and Impact
In Safetywish, Mark Jeson shares his insights on Safetywish design processes, materials, and strategies for efficient production. His writing bridges the gap between artisan knowledge and modern industry needs, making it a must-read for both budding designers and seasoned professionals.
