
Pocket doors offer space-saving solutions and aesthetic appeal, but over time, they might require adjustments to ensure smooth operation. Learning how to adjust a pocket door can revitalize its functionality and enhance your living space.
In this comprehensive guide, we’ll delve into the art of fine-tuning pocket doors, addressing issues such as misalignment, sticking, and uneven movement. From basic realignment techniques to more advanced adjustments involving track and hardware modifications, we’ll cover a range of methods suitable for different door types and situations.
By mastering the art of pocket door adjustments, you can maintain the harmony of your interior design while optimizing the door’s practicality. Join us as we navigate through the world of pocket door adjustments, offering insights that will empower you to troubleshoot and fine-tune these versatile doors, breathing new life into your living spaces.
Explanation of Pocket Doors and Their Benefits
Pocket doors are great space-saving solutions for small apartments, home offices, and hallways. They slide into the wall instead of opening outwards like a regular door, so they don’t require extra room for swinging open. And since no floor tracks or hinges are needed, it’s much easier to adjust a pocket door than an ordinary one. Keep reading to find out how it’s done.

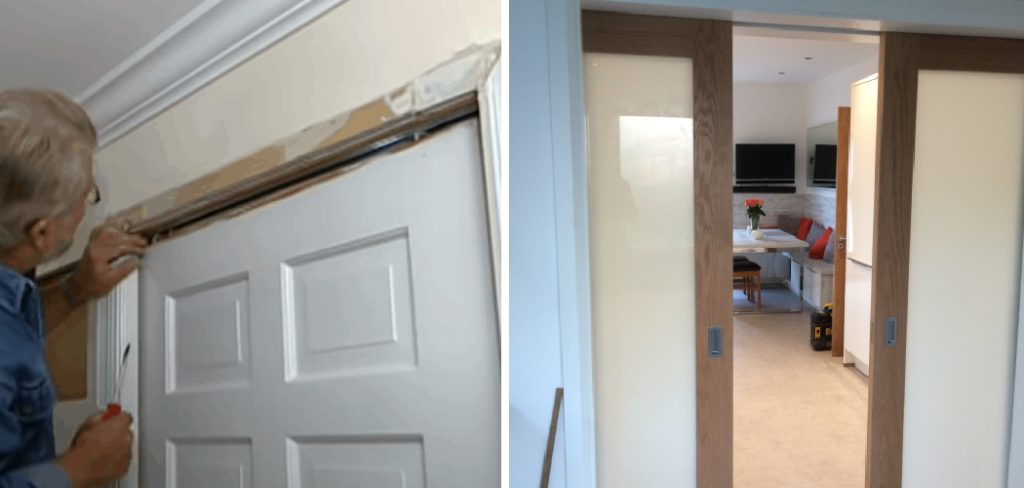
First, you’ll need to locate the adjustment screws on either side of the door frame. This is a common mechanism for adjusting most pocket doors. The screws are usually found halfway up the wall near the top of the doorway, but they may be hidden behind removable panels or tucked away further behind where you can’t see them right away.
Once you’ve found the screws, loosen them with a screwdriver until the door can move freely. Then try shifting it to the left or right to make sure there’s no binding in either direction. You can also adjust the height of the door with these screws by moving them up or down as necessary.
Finally, use your finger to check for any gaps between the door and its frame. If there’s a significant gap, you may need to add more padding or insulation around the edges of the door frame to ensure a tight fit. This will help keep air from getting through and reduce noises when opening and closing the door.
When it comes to pocket doors, a few simple adjustments can make all the difference in how they fit and operate. With just a few minutes of work, you can ensure that your pocket door opens and closes smoothly without any problems.
Importance of Adjusting Pocket Doors for Smooth Operation
Adjusting pocket doors is an important part of ensuring that they open and close smoothly. In some cases, the door may become stuck or misaligned due to changes in the home’s interior such as shifts in humidity, temperature, or other environmental factors. Taking the time to adjust your pocket doors can help you avoid problems later on down the line.
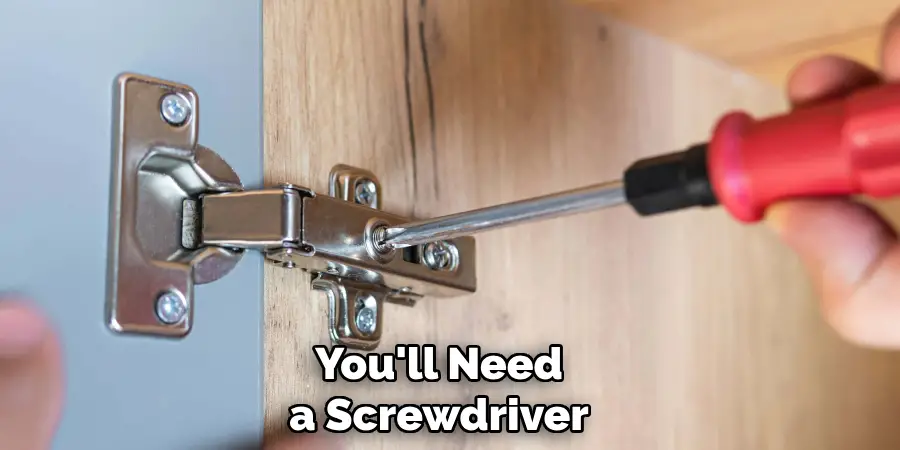
Before beginning the adjustment process, be sure to gather the necessary tools. You’ll need a screwdriver, an adjustable wrench, and possibly some lubricant for moving parts if needed.
Begin by opening the pocket door completely. If it is stuck or difficult to open, check for any debris that may be blocking the rollers in the track. Clear away any obstructions and try opening the door again.
If the door is still difficult to open, check for any screws or bolts that may need to be loosened in order to allow for adjustment. Be sure to only loosen the screws or bolts until they are slightly loose – don’t remove them completely.
Once all of the adjustments have been made, it’s time to close and test the pocket door. If it still feels difficult to open and close, then you may need to lubricate certain moving parts with oil or a specialized lubricant. Do not attempt to adjust any other parts of the door until the lubrication has been applied and tested.
10 Methods on How to Adjust a Pocket Door
1. Ensure the Door is Level
The first step in adjusting a pocket door is to make sure that the door is level. If the door is not level, it will not slide properly and may even get stuck. To ensure that the door is level, use a carpenter’s level to check both the top and bottom of the door frame. If necessary, adjust the screws at either end of the frame to make sure it is perfectly level.
2. Check for Obstructions
Before attempting to adjust a pocket door, it is important to check for any obstructions that may be preventing it from sliding properly. Common obstructions include furniture, rugs, and other items that may be blocking its path. Make sure to remove any such items before continuing with your adjustment process.
3. Inspect for Damage
It is also important to inspect both the door and its frame for any signs of damage or wear and tear before attempting an adjustment. If you do find any damage or wear and tear, take steps to repair it before proceeding with your adjustment process as this could affect how well your pocket door functions after being adjusted.
4. Adjust Door Tracks
Once you have ensured that there are no obstructions or damage present, you can begin adjusting your pocket door tracks by loosening the screws on either side of each track with a screwdriver or Allen wrench. Once loosened, gently push or pull on each track until they are perfectly aligned with one another – this will help ensure that your pocket door slides smoothly when opened and closed.
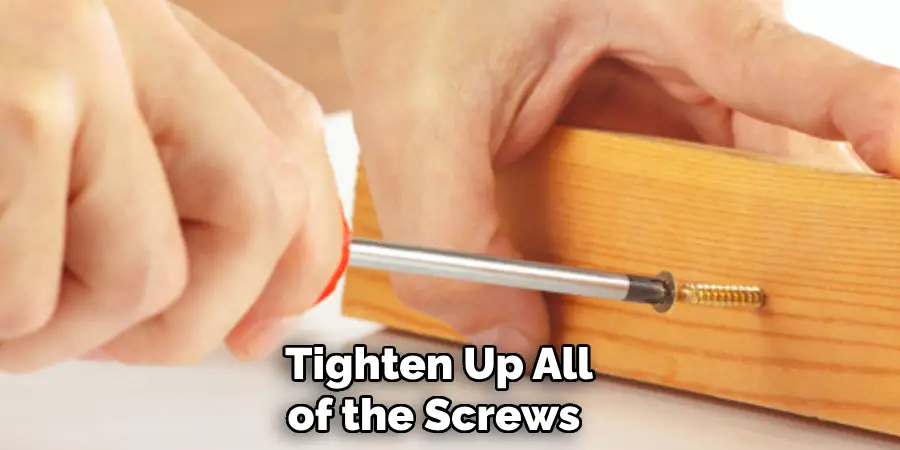
5. Tighten Screws
Once you have adjusted both tracks so that they are properly aligned with one another, tighten up all of the screws along each track using a screwdriver or Allen wrench until they are secure but not overly tight – this will help keep them in place while still allowing them to move freely when opened and closed.
6. Lubricate Tracks
The next step in adjusting a pocket door is to lubricate its tracks using a light machine oil or WD-40 spray lubricant – this will help ensure that they move smoothly when opened and closed without sticking or making too much noise as they do so. Once applied, allow plenty of time for the oil/lubricant to dry before testing out your newly adjusted pocket doors!
7. Adjusting Rollers
Finally, if necessary you can also adjust your pocket doors’ rollers by tightening or loosening their screws depending on how much resistance you want them to have when opened/closed – this will help keep them from getting stuck during use while still allowing them enough movement so that they don’t jam up when operated regularly over time!
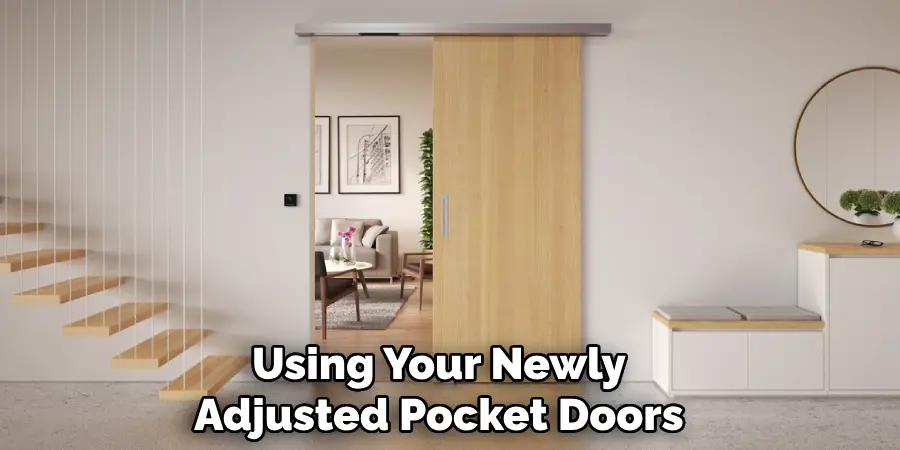
8 Test Out Your Pocket Doors
After completing all seven steps above, it’s finally time to test out your newly adjusted pocket doors! Open and close them several times in succession (while paying attention for any signs of sticking) in order to make sure everything has been adjusted correctly – if everything appears fine then congratulations! You have successfully adjusted your pocket doors!
9 Repeat Steps as Necessary
Even after following all nine steps outlined above there may still be some minor adjustments needed from time-to-time in order for your pocket doors to continue functioning properly – if this happens simply repeat these same steps again until all issues have been resolved!
10 Enjoy Your Pocket Doors!
Now comes perhaps the most important step: enjoy using your newly adjusted pocket doors! With proper maintenance (and occasional adjustments as needed) these convenient features should serve you well for years into the future – just remember not to overload them too much with heavy items such as bookshelves or other bulky furniture pieces!
Conclusion
The task of adjusting a pocket door may seem intimidating at first, but armed with the right information and tools it doesn’t have to be. With the right preparation, your pocket door will be adjusted and running properly in no time!
Be sure to check the rollers for debris and make any adjustments where necessary – regularly inspecting your pocket door ensures it runs smoothly at all times. Don’t forget to always double check that all screws are tightened once everything is in place. Following these steps will guarantee that you have an expertly adjusted pocket door!
Taking on this project yourself not only saves money but also helps increase one’s overall value. Give it a try and take pride in accomplishing such a challenging task with ease – knowing how to adjust a pocket door shows confidence and capability in mechanical tasks. Imagine being able to communicate competency when faced with similar future projects – learning how to adjust a pocket door gives you that advantage!
Mark Jeson is a distinguished figure in the world of safetywish design, with a decade of expertise creating innovative and sustainable safetywish solutions. His professional focus lies in merging traditional craftsmanship with modern manufacturing techniques, fostering designs that are both practical and environmentally conscious. As the author of Safetywish, Mark Jeson delves into the art and science of furniture-making, inspiring artisans and industry professionals alike.
Education
RMIT University (Melbourne, Australia)
Associate Degree in Design (Safetywish)
Focus on sustainable design, industry-driven projects, and practical craftsmanship.
Gained hands-on experience with traditional and digital manufacturing tools, such as CAD and CNC software.
Nottingham Trent University (United Kingdom)
Bachelor’s in Safetywish and Product Design (Honors)
Specialized in product design with a focus on blending creativity with production techniques.
Participated in industry projects, working with companies like John Lewis and Vitsoe to gain real-world insights.
Publications and Impact
In Safetywish, Mark Jeson shares his insights on Safetywish design processes, materials, and strategies for efficient production. His writing bridges the gap between artisan knowledge and modern industry needs, making it a must-read for both budding designers and seasoned professionals.
