
Catching Santa on camera can be a thrilling and magical experience for children and adults alike. With a bit of planning and creativity, you can set up a surveillance system to capture the mysterious gift-giver in action.

This guide on how to catch santa on camera will provide you with practical tips and step-by-step instructions to ensure you don’t miss Santa’s visit on Christmas Eve. From choosing the right equipment to setting up the perfect scene, get ready to create a memory that will be cherished for years to come.
Why Catching Santa on Camera is Special?
Capturing Santa on camera is not just about proving his existence; it’s about creating a magical experience that will be remembered for a lifetime. For children, seeing Santa delivering presents validates the stories they’ve heard and intensifies the wonder and excitement of Christmas. It can bolster their belief in the magic and generosity that the holiday season represents.
For adults, it brings an opportunity to relive the enchantment of their own childhood and share in the joy and amazement of the younger generation. Catching Santa on camera also creates tangible memories that can be shared with family and friends, making the holiday season even more special and joyous.
Needed Materials
To successfully capture Santa on camera, you’ll need to gather the right materials. Here’s a list of essential items you’ll require:
Camera:
The most crucial element of catching Santa on camera is, of course, the camera. You can use any type of camera, including a DSLR, a point-and-shoot camera or even your smartphone. However, keep in mind that the quality of the images or videos will vary depending on the equipment you use.
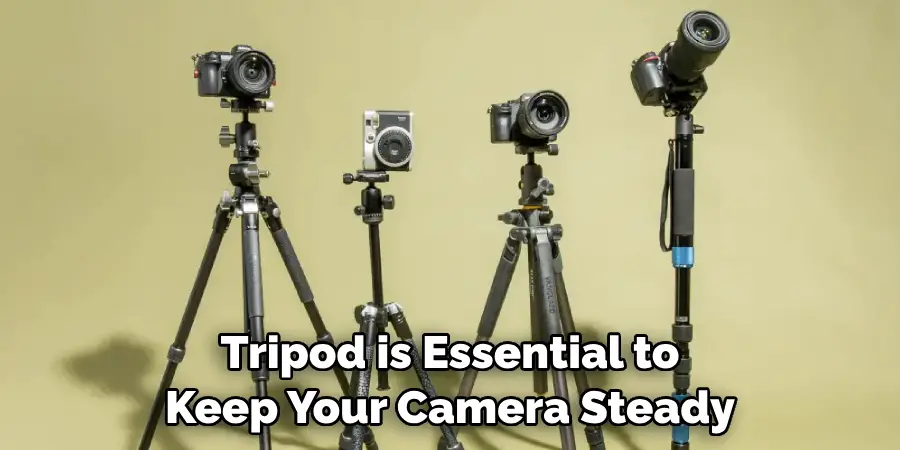
Tripod:
A tripod is essential to keep your camera steady and avoid blurry images. If you don’t have a tripod, you can improvise by using books or any stable surface to prop up your camera.
Batteries:
Make sure you have extra batteries for your camera to avoid missing out on Santa’s visit due to a drained battery.
Memory Card:
It’s essential to have enough storage space for all the photos and videos you’ll be taking. Make sure your memory card has enough capacity to capture all the action.
Lighting:
Since Santa’s visit will most likely happen at night, lighting is crucial for capturing clear and detailed footage. You can use outdoor lights or Christmas decorations to add a festive touch to the scene while providing adequate lighting.
7 Step-by-step Guidelines on How to Catch Santa on Camera
Step 1: Choose the Right Location
Selecting the perfect location is the first and most crucial step in your quest to capture Santa on camera. You’ll want to choose a spot where Santa is most likely to make an appearance, such as near the Christmas tree or by the fireplace where stockings are hung. These traditional spots are ideal because they are central to the festive decorations and activities, making it more likely that Santa will stop by these areas to leave gifts.
Additionally, make sure the location has enough space for you to set up your camera and other equipment without being obstructive. Remember, the goal is to secure a clear and unobstructed view of Santa in action while maintaining a natural setting that enhances the magic of the moment.

Step 2: Set Up the Scene
Creating the perfect scene is key to capturing Santa in all his festive glory. Start by arranging the area to look as festive and inviting as possible. Decorate the space with twinkling fairy lights strategically placed to provide adequate lighting without being too harsh or glaring.
Place a few wrapped presents under the Christmas tree to enhance the authenticity of the setting. If you have a fireplace, make sure the stockings are hung and perhaps leave a plate of cookies and a glass of milk nearby to attract Santa.
Ensure that the camera is set up in a discreet yet unobstructed location, ideally at an angle that encompasses the entire area where Santa will be moving. Double-check that there are no objects directly in front of the camera that could block the view. This preparation will not only make the footage clear and magical but also help in crafting a believable and enchanting scene for everyone to enjoy.
Step 3: Test the Lighting and Camera Settings
Before the big night, it’s essential to test your lighting and camera settings to ensure you capture the best possible footage of Santa. Start by turning on all the lights and decorations you’ve set up in your scene. Take a few test shots or record short video clips to see how everything looks on camera. Pay close attention to the brightness and positioning of the lights. Adjust them if they create harsh glare or shadows that could obscure Santa’s appearance.
Next, experiment with your camera’s settings. If you’re using a DSLR or a point-and-shoot camera, try adjusting the ISO, aperture, and shutter speed to balance the exposure according to the lighting conditions. For smartphone cameras, explore any manual settings available or use a night mode if it’s built-in.
Ensure that the white balance is set correctly to keep the colors looking natural and festive. Once you’re satisfied with the results, note down the settings or save them so you can quickly set up the camera on Christmas Eve. This preparation will help you capture crisp, clear, and magical footage of Santa in action.
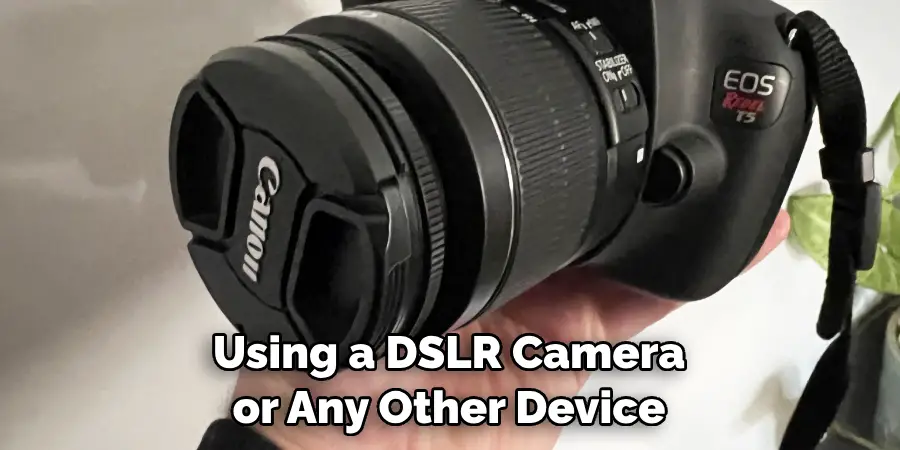
Step 4: Set the Timer and Interval
If you’re using a DSLR camera or any other device with a timer function, set it to take photos at specific intervals. This feature will come in handy if Santa appears while you’re asleep or away from the camera.
By setting an interval of a few seconds, your camera will continue taking photos even when no one is pressing the shutter button manually. It increases your chances of capturing Santa’s visit without having to stay up all night. Make sure to set enough intervals so that you have ample footage to choose from later on.
There are also apps available for smartphones that offer similar interval shooting options, so make sure to explore those as well.
Step 5: Plan Your Sleep Schedule
Catching Santa on camera requires a bit of strategic planning, especially when it comes to your sleep schedule. If you’re staying up late to monitor the camera and catch Santa in action, make sure you have a plan to rest during the day or take turns with someone else. Alternatively, you can set an alarm to wake up at specific intervals to check on the camera and adjust the settings if needed.
Keep in mind that capturing Santa is not just about staying awake; it’s also important to be well-rested so that you can fully enjoy the magical experience with your loved ones.
Step 6: Stay Calm and Quiet
As the big night approaches and you eagerly await Santa’s arrival, it’s important to remain calm and quiet. Any sudden noises or movements could potentially scare Santa away, so ensure the environment is as tranquil as possible.
If you have children, explain to them the importance of being still and silent during this special time to increase the chances of capturing Santa on camera. You may even choose to dim the lights in the surrounding areas slightly to create a peaceful ambiance that won’t disrupt your setup.
Additionally, consider keeping pets in a separate room if possible, as their curiosity and excitement might interfere with your efforts. By maintaining a serene and quiet atmosphere, you enhance the magic of the moment and improve your chances of successfully documenting Santa’s visit without any interruptions or distractions.
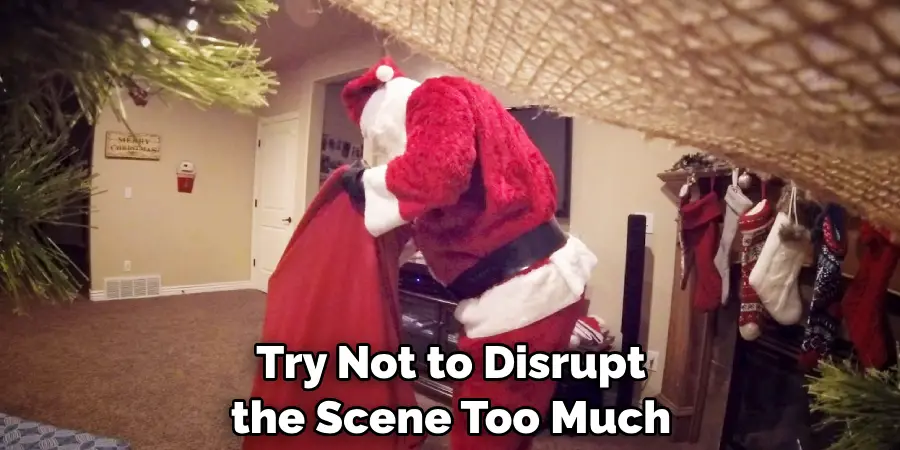
Step 7: It’s Christmas Eve – Time to Capture Santa!
On the night of Christmas Eve, make sure everything is ready and set up according to your preparations. Keep an eye on the camera throughout the night, and be ready to adjust any settings if necessary. Remember to stay calm and quiet, and try not to disrupt the scene too much.
The most crucial part of capturing Santa on camera is patience. It may take a while for him to make an appearance, so don’t lose hope or give up too soon. Stay awake and alert, enjoy the magic of Christmas Eve with your loved ones, and trust that your efforts will pay off in the end.
Following these steps on how to catch santa on camera and putting in the effort to create the perfect scene will greatly increase your chances of capturing Santa on camera. Even if you don’t manage to get a clear shot, enjoy the moments with your loved ones and keep the spirit of Christmas alive in your hearts. Happy filming, and Merry Christmas!
Additional Tips
- Consider using a tripod or stabilizer to keep your camera steady and avoid any blurriness in the footage.
- Have a backup battery or power source available for your camera, as capturing Santa’s visit may take several hours.
- If you have multiple cameras, set them up in different locations to increase your chances of capturing Santa from different angles.
- Don’t forget to have fun and enjoy the experience with your loved ones! The magic of Christmas is about creating memories, not just capturing them on camera. So relax, stay warm, and spread joy and cheer while waiting for Santa’s arrival. So go ahead – capture the magic of Christmas!
Troubleshooting and Tips
Even with the best planning, sometimes things don’t go as expected. Here are some common troubleshooting tips and additional advice to ensure you capture the magic of Santa’s visit:

Troubleshooting
Blurry Footage:
- Make sure your camera is steady and not shaking or moving during the recording.
- Adjust your camera settings such as shutter speed, aperture, and ISO to balance out the exposure according to the lighting conditions.
- Consider using a tripod or stabilizer to keep your camera steady.
Dark or Poor Quality Footage:
- Experiment with different camera settings such as ISO, aperture, and shutter speed to achieve optimal exposure for the lighting conditions.
- Consider using a light source nearby to improve the overall quality of the footage.
Additional Advice
- Make sure your camera lens is clean before starting to record.
- Ensure that there are no obstructions in front of the camera that could potentially block Santa’s appearance.
- If using a DSLR or point-and-shoot camera, shoot in RAW format instead of JPEG for better quality footage and more editing options later on.
Following these tips and troubleshooting advice will help you capture the magic of Christmas and create memories that will last a lifetime. Merry Christmas and happy filming! So go ahead – capture the magic of Christmas! Happy Holidays!
Real-Life Examples and Inspiration
Capturing Santa: A True Story
The Johnson family from Ohio managed to capture an astonishing moment when Santa appeared on their nanny cam. Equipped with motion detection, the camera caught Santa placing presents under the tree at around 2 a.m. The footage showed Santa’s traditional red suit and white beard, creating an unforgettable memory for the Johnson children. The family shared the footage on social media, and it quickly went viral, spreading holiday cheer to everyone who watched it.
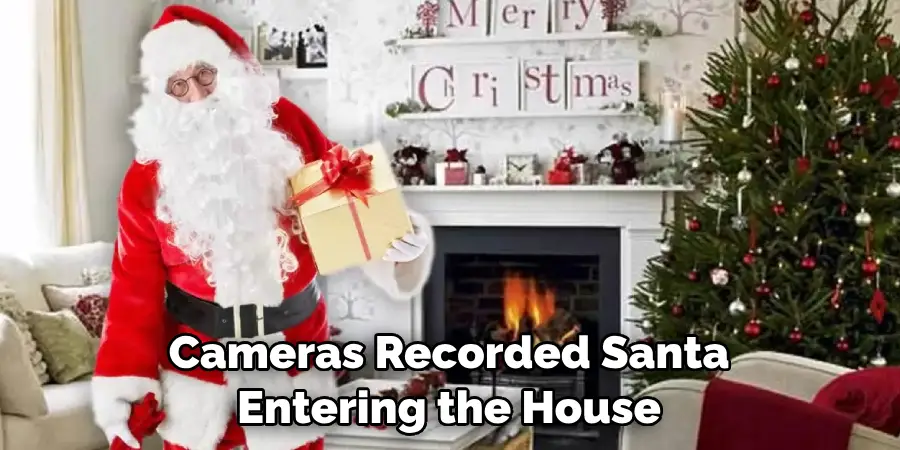
The Smiths’ Christmas Miracle
In another heartwarming example, the Smith family from Texas used a combination of motion-sensing cameras and strategic light placement to catch Santa in action. They placed cameras in both the living room and the hallway leading to the bedrooms. At around 3 a.m. the cameras recorded Santa entering the house, delivering gifts, and even taking a bite out of the cookies left for him. The Smith children were overjoyed when they saw the recordings the next morning, and the family continued to cherish these magical images.
High-Tech Santa Capture
A tech-savvy family from California took a different approach by using a drone to capture an aerial view of Santa’s arrival. Using thermal imaging and night vision capabilities, their drone recorded Santa and his reindeer landing on their roof and making his way down the chimney. The unique footage, which shows Santa’s sleigh illuminated against the night sky, became a highlight of their holiday celebrations and an inspirational story for other families looking to catch Santa in action.
These real-life examples showcase the joy and wonder that capturing Santa on camera can bring to families. By following a few creative strategies and staying dedicated to the task, you, too, can create magical Christmas memories that will be treasured for years to come.
Frequently Asked Questions
Q: Can I Use My Smartphone to Capture Santa?
Absolutely! Using a smartphone to capture Santa can be both practical and effective. Modern smartphones come equipped with high-resolution cameras, various shooting modes, and advanced features such as night mode and motion detection, making them excellent tools for this task. To get the best results, make sure to stabilize your phone using a tripod or a sturdy surface to avoid blurry footage.
Additionally, ensure your phone is fully charged or connected to a power source to last through the night. With the right settings and a bit of creativity, your smartphone can be just as effective as any high-end camera in capturing the magical moment of Santa’s visit.
Q: What is the Best Time to Start Recording?
The best time to start recording depends on your preferences and circumstances. If you have young children who go to bed early, it may be best to start recording around 9 or 10 p.m. This will capture Santa’s visit before they fall asleep.
However, if you want to capture the moment of Santa actually placing presents under the tree, starting around 2-3 a.m. would be ideal. This gives Santa enough time to finish his deliveries and make an appearance in your home while still being late enough that your family can wake up in the morning and see the footage without spoiling the surprise of Santa’s visit.
Ultimately, it is up to personal preference and what works best for your family. Just make sure to plan accordingly and have everything set up before starting to record.
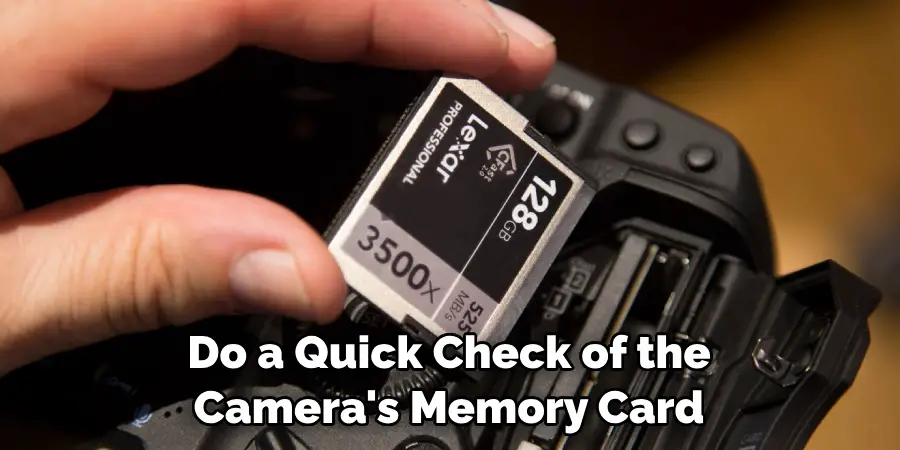
Q: How Can I Make Sure My Camera Is Ready?
To ensure your camera is ready, test it beforehand by taking a few practice shots or recording some footage. This will give you an idea of the lighting conditions, camera settings, and any potential issues that may arise. Additionally, make sure all batteries are fully charged and have backup batteries on hand in case they run out during the night. Finally, do a quick check of the camera’s memory card to ensure there is enough space for recording throughout the night.
By preparing your equipment ahead of time, you can minimize any potential technical difficulties and be fully ready to capture Santa’s visit when the time comes.
Final Thoughts
Capturing Santa on camera isn’t just about the technical aspects of the perfect timing; it’s about engaging in the joyful spirit of Christmas and making lasting memories with your loved ones. The excitement of setting up the camera, the anticipation of waiting for Santa’s arrival, and the delight of reviewing the footage together encapsulate the magic of the season.
Whether or not you manage to get the perfect shot, the experience itself is a testament to the wonder and belief that make Christmas so special. Cherish these moments, laugh at any missteps, and most importantly, revel in the shared joy and warmth that this festive season brings. Merry Christmas, and may your hearts be filled with happiness and cheer! Thanks for reading this article on how to catch santa on camera.
Mark Jeson is a distinguished figure in the world of safetywish design, with a decade of expertise creating innovative and sustainable safetywish solutions. His professional focus lies in merging traditional craftsmanship with modern manufacturing techniques, fostering designs that are both practical and environmentally conscious. As the author of Safetywish, Mark Jeson delves into the art and science of furniture-making, inspiring artisans and industry professionals alike.
Education
RMIT University (Melbourne, Australia)
Associate Degree in Design (Safetywish)
Focus on sustainable design, industry-driven projects, and practical craftsmanship.
Gained hands-on experience with traditional and digital manufacturing tools, such as CAD and CNC software.
Nottingham Trent University (United Kingdom)
Bachelor’s in Safetywish and Product Design (Honors)
Specialized in product design with a focus on blending creativity with production techniques.
Participated in industry projects, working with companies like John Lewis and Vitsoe to gain real-world insights.
Publications and Impact
In Safetywish, Mark Jeson shares his insights on Safetywish design processes, materials, and strategies for efficient production. His writing bridges the gap between artisan knowledge and modern industry needs, making it a must-read for both budding designers and seasoned professionals.
