
Do you need help starting your Acura with your key fob? It could be a sign that the battery needs to be replaced.
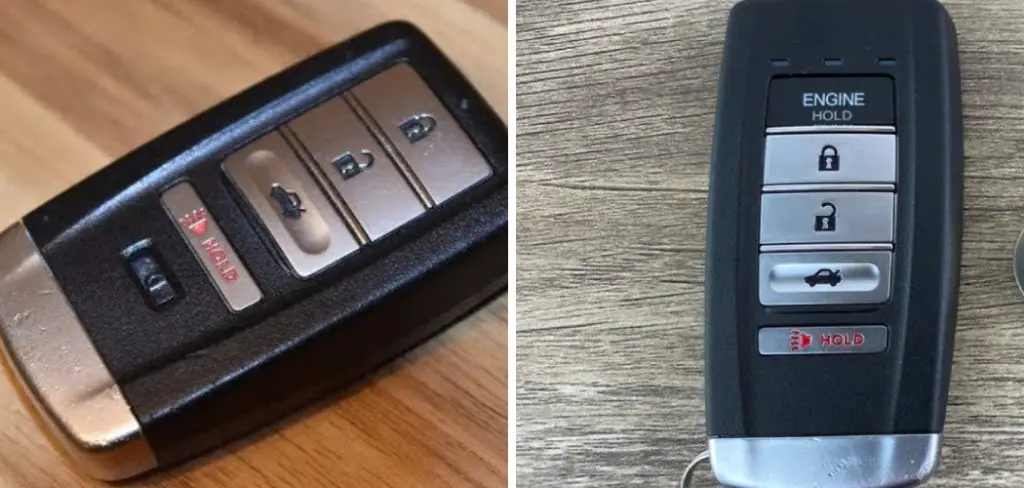
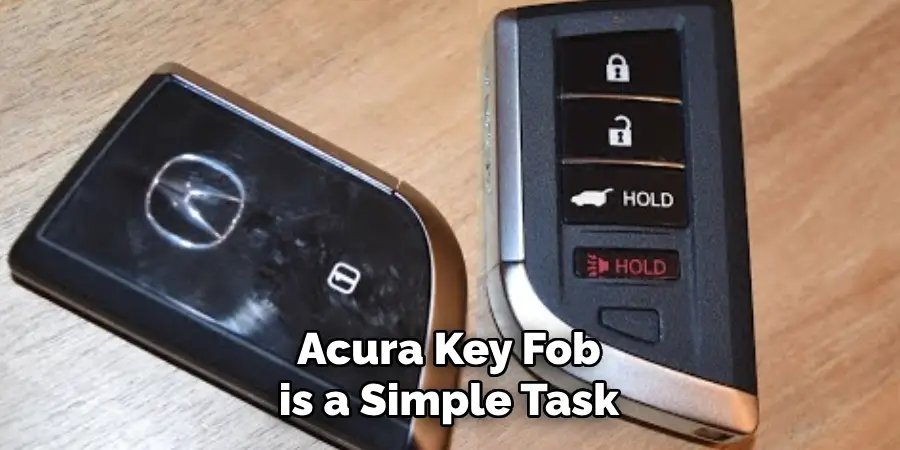
Changing the battery in your Acura key fob is a simple task that can save you time and money by avoiding a trip to the dealership. If you’ve noticed that your key fob isn’t responding as quickly as it used to or is not working, it’s likely time for a battery replacement. With just a few tools and a new battery, you can restore the efficiency and reliability of your Acura key fob in a matter of minutes.
This guide will walk you through the process step-by-step on how to change battery on acura key fob, ensuring you have your key fob back in top shape in no time.
What Will You Need?
Before you get started, make sure you have the following items on hand:
- A new CR2032 battery (or whichever size is specified for your Acura key fob model)
- Small flat-head screwdriver
- Pliers or tweezers
Once you have these items, you’re ready to begin the battery replacement process.
10 Easy Steps on How to Change Battery on Acura Key Fob
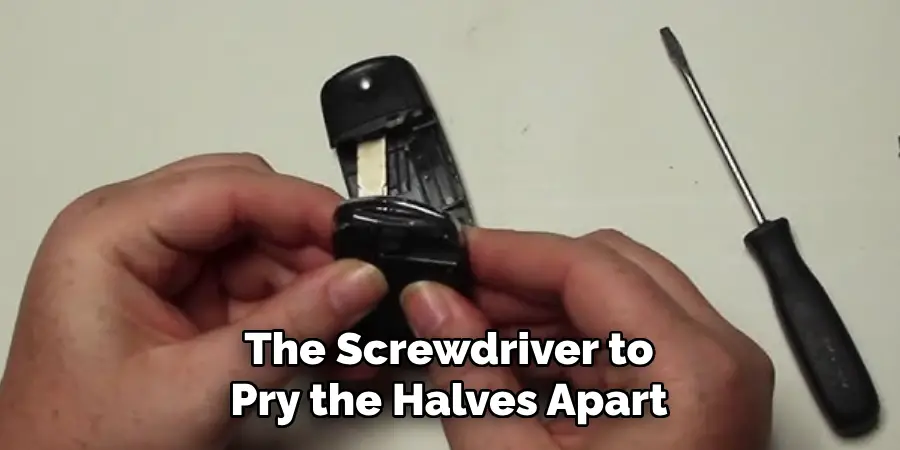
Step 1: Open the Key Fob
To open the key fob, locate the small notch or groove along the edge of the fob’s casing. This is usually found on the seam where the two halves of the key fob meet. Use your small flat-head screwdriver and carefully insert it into the notch. Gently twist the screwdriver to pry the halves apart. Be cautious during this step to avoid damaging the plastic casing.
If the halves don’t separate easily, apply even and gentle pressure to ensure the casing opens without cracking. Once you have pried the case open, set the top half of the key fob aside, revealing the battery compartment and electronics inside.
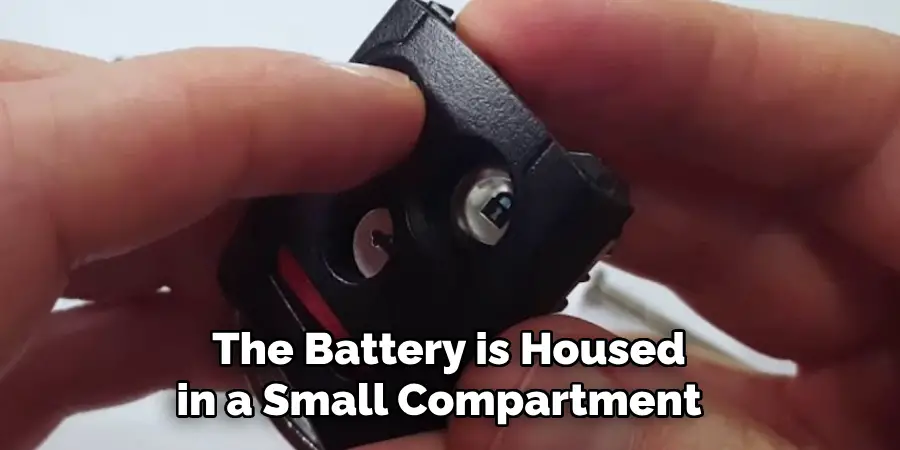
Step 2: Remove the Old Battery
With the key fob open, the battery is housed in a small compartment. Take note of the battery’s position and orientation before removal, as you’ll need to insert the new one in exactly the same position. Use the small flat-head screwdriver or a pair of tweezers to lift the old battery out of its compartment gently. Be careful not to touch any electronic components inside the fob with your hands or tools, as this could cause damage. Dispose of the old battery properly, following your local regulations for battery disposal.
Step 3: Insert the New Battery
Take the new CR2032 battery and carefully place it into the battery compartment, ensuring that it is oriented like the old battery. Usually, the positive side (often marked with a “+”) should be facing up. Use the flat-head screwdriver or tweezers to gently press the battery into place, making sure it is seated securely within the compartment.
Avoid excessive force, which can damage the battery or the key fob’s sensitive electronic components. Double-check that the battery is snug and properly aligned to ensure optimal performance.
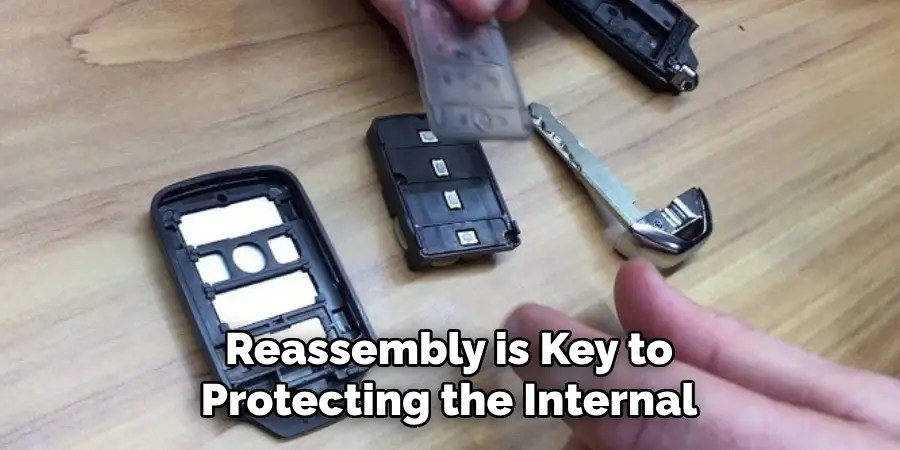
Step 4: Reassemble the Key Fob
Once the new battery is securely in place, it’s time to reassemble your crucial fob. Begin by aligning the two halves of the fob housing. Ensure that both pieces are positioned correctly and that all edges match up. Press the halves together firmly until you hear a click, indicating that the casing has snapped back into place. Ensure there are no gaps around the seam and all parts of the key fob are correctly aligned.
If there are any discrepancies, gently adjust and re-snap the halves to ensure a secure fit. Reassembly is key to protecting the internal electronics from potential damage.
Step 5: Test the Key Fob
Once the key fob is reassembled, testing it to ensure the new battery is functioning correctly is crucial. Stand close to your Acura and press any button on the key fob. Listen for the sound of the car locking or unlocking to confirm that the key fob is working correctly. If the car does not respond, double-check the battery placement and the fob’s reassembly.
Make sure the battery is installed correctly with the positive side facing up and that there is a secure connection within the battery compartment. If issues persist, consider consulting your car’s manual or a professional for additional troubleshooting.
Step 6: Repeat as Necessary
Like all batteries, key fob batteries have a limited lifespan, typically lasting one to three years, depending on usage. If you notice your key fob’s responsiveness decreasing again in the future, repeat these steps to replace the battery. It’s also a good idea to keep an extra CR2032 battery on hand to prepare you for future battery replacements. Regular maintenance and timely battery changes will ensure your Acura key fob remains reliable and functional.
Step 7: Maintain Your Key Fob
Maintaining your key fob can extend its longevity and ensure consistent performance. Regularly check the key fob’s case for any cracks or signs of wear that could expose the internal electronic components to potential damage. Clean the exterior with a soft, damp cloth to remove any dirt or grime accumulating over time. Avoid using harsh chemicals or soaking the key fob, as moisture can infiltrate and harm the electronics.
Additionally, ensure the keychain attachment or any additional accessories do not put undue stress on your key fob’s case, which could lead to breakage. Consistent upkeep can prevent the need for frequent repairs or replacements and keep your Acura key fob operating smoothly.
Step 8: Store Spare Batteries Properly
It’s essential to store replacement batteries properly to ensure they are ready for use when needed. Keep unused CR2032 batteries in a cool, dry place away from direct sunlight and heat sources, which can degrade the battery life and effectiveness. A dedicated battery organizer or container can help prevent accidental discharge or damage caused by storing them with other metal objects.
Also, children and pets should keep batteries out of reach to avoid accidental ingestion. By taking these precautions, you’ll have reliable batteries when your Acura key fob requires a fresh power source.
Step 9: Troubleshoot Common Issues
If you encounter persistent issues with your key fob even after replacing the battery, you can take a few standard troubleshooting steps. First, ensure the battery is seated correctly, and the casing is securely closed, as a loose connection can cause malfunction. If the issue continues, try re-synchronizing the key fob with your car, as desynchronization can sometimes occur after a battery change.
Refer to your car’s owner manual for instructions on re-syncing your key fob. Additionally, check for signs of damage to the vital fob’s circuitry or buttons. It may require professional repair or replacement if you suspect more significant damage. Taking these steps can often resolve issues without needing more extensive interventions.
Step 10: Consult a Professional
If you have attempted all troubleshooting steps and your key fob is still not responding, it may be time to consult a professional. For further assistance, visit your local Acura dealership or an automotive locksmith specializing in car electronics. These professionals have the expertise and equipment to diagnose and repair deeper issues, such as programming errors or internal electronic damage, that cannot be addressed through simple battery replacement or troubleshooting.
Seeking professional help can ensure your key fob is restored to optimal working conditions without compromising your car’s security features.
By following these steps to replace your Acura key fob battery and maintain its longevity, you can keep your car’s remote entry system functioning correctly and avoid any inconvenience caused by a dead key fob.
5 Things You Should Avoid
- Using Improper Tools: Avoid using sharp or inappropriate tools that could damage the key fob casing. A small flathead screwdriver is usually sufficient to gently pry open the key fob without causing scratches or breakage.
- Forcing the Fob Open: Applying too much pressure can crack or break the key fob. Carefully work your way around the fob, gently separating the halves to prevent structural damage.
- Touching the Battery Contacts: Avoid touching the contacts with your fingers when handling the new battery. Finger oils can interfere with the battery’s connection, potentially impairing functionality.
- Ignoring Battery Orientation: Inserting the new battery in the correct orientation is crucial. Installing it upside down or incorrectly can prevent the key fob from operating or even damage the circuitry.
- Delaying Battery Replacement: Waiting too long to replace the battery when signals of a low battery appear can lead to complete key fob failure. It’s best to replace the battery as soon as you notice issues to ensure consistent vehicle access.
Conclusion
How to change battery on Acura key fob is a straightforward process, but it requires caution to avoid damage and ensure proper functionality.
By following the steps and precautions mentioned, you can maintain the integrity of the key fob and prolong its lifespan. Use the right tools, handle the battery correctly, and act promptly when battery replacement is needed. This diligence will ensure that your key fob continues operating smoothly, providing reliable vehicle access whenever required.
With a bit of attention and care, you can keep your key fob in excellent working condition for years.
Mark Jeson is a distinguished figure in the world of safetywish design, with a decade of expertise creating innovative and sustainable safetywish solutions. His professional focus lies in merging traditional craftsmanship with modern manufacturing techniques, fostering designs that are both practical and environmentally conscious. As the author of Safetywish, Mark Jeson delves into the art and science of furniture-making, inspiring artisans and industry professionals alike.
Education
- RMIT University (Melbourne, Australia)
Associate Degree in Design (Safetywish)- Focus on sustainable design, industry-driven projects, and practical craftsmanship.
- Gained hands-on experience with traditional and digital manufacturing tools, such as CAD and CNC software.
- Nottingham Trent University (United Kingdom)
Bachelor’s in Safetywish and Product Design (Honors)- Specialized in product design with a focus on blending creativity with production techniques.
- Participated in industry projects, working with companies like John Lewis and Vitsoe to gain real-world insights.
Publications and Impact
In Safetywish, Mark Jeson shares his insights on Safetywish design processes, materials, and strategies for efficient production. His writing bridges the gap between artisan knowledge and modern industry needs, making it a must-read for both budding designers and seasoned professionals.
