
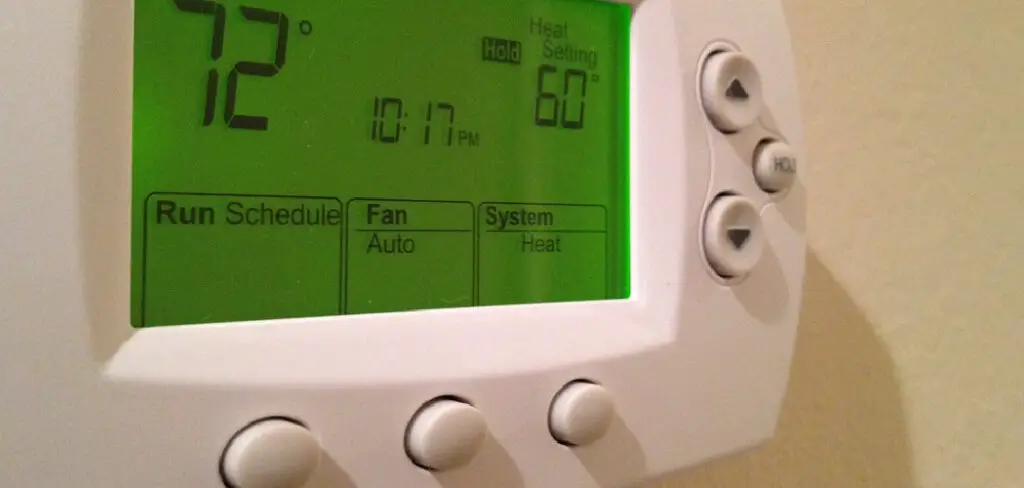
Are you sick of constantly replacing your Honeywell thermostat batteries? If so, then don’t worry – we have you covered! In this blog post, we’ll be taking a look at the steps required to do it. Making sure your unit’s battery is in working order should be a high priority since it helps maintain optimal temperature efficiency for when dealing with changes in weather.
Replacing the battery in a Honeywell thermostat can seem daunting, especially if you are new to home maintenance. It doesn’t have to be intimidating, though; with these easy steps, anyone can replace the battery of their Honeywell thermostat.
From finding which type of battery is compatible to familiarizing yourself with wiring diagrams, this blog post will thoroughly guide you through how to replace battery in Honeywell thermostat. Take some time out of your day for an essential household task that will pay off in efficiency dividends afterward!
What Will You Need?
Before you begin, make sure to take the necessary safety precautions. It is important that you are aware of and familiar with any wiring diagrams for your specific model.
Also, collect the following items:
- Screwdriver
- Replacement battery
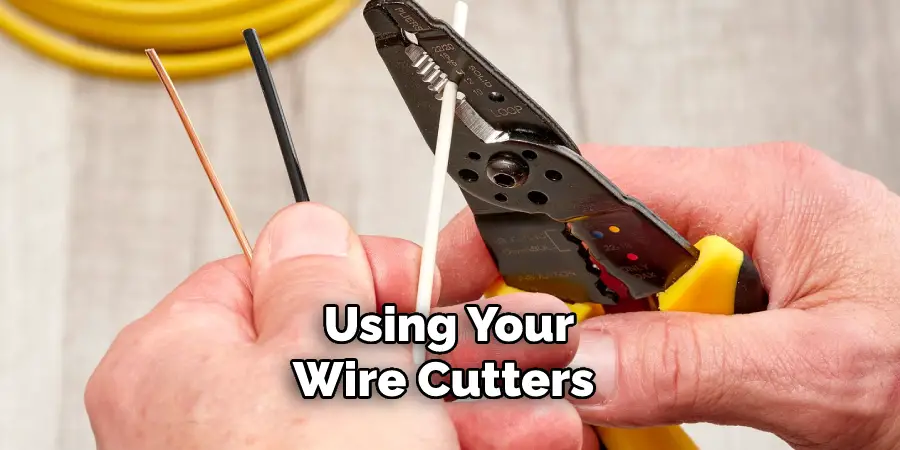
- Wire cutters (optional)
Once you have everything prepared and on hand, it is time to begin.
10 Easy Steps on How to Replace Battery in Honeywell Thermostat
Step 1: Open the Thermostat Cover
Use your screwdriver to unscrew and remove the thermostat’s cover carefully. This will expose its internal wiring. Note how each wire is connected, as this information will be necessary to hook up the new battery correctly.
Step 2: Remove the Old Battery
Using your wire cutters (if needed), carefully cut away any wires attached to the old battery. Once all wires are disconnected, gently remove the old battery from its slot and discard it safely. It will no longer be of any use.
Step 3: Insert New Battery
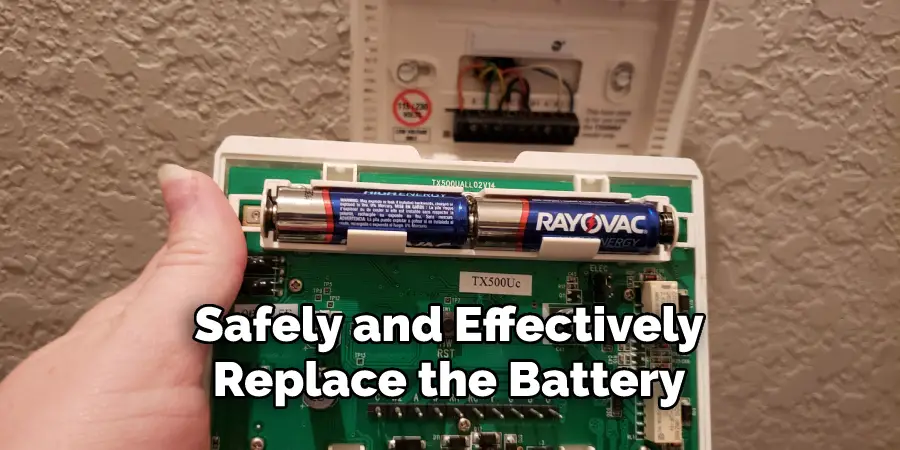
Gently place the replacement battery into its corresponding slot – make sure it is securely in place. If necessary, use the wire cutters to trim any excess wires. Don’t forget to check the model number of your thermostat in order to ensure that you are using the correct battery.
Step 4: Re-connect Wires
Now, carefully re-connect each wire according to the wiring diagram of your specific model. Take special care not to mix up any of the wires. It is important to make sure that each wire is securely connected and will not come off during operation.
Step 5: Secure Cover
Replace and secure the thermostat’s cover using the screws from earlier. Be careful not to overtighten them, as this may cause damage to the internal wiring. Additionally, make sure that the cover is completely sealed in order to protect the wiring.
Step 6: Test Unit
To make sure everything has been installed correctly, you can now go ahead and test out your unit. Set it to a certain temperature, or use its other functions normally. The best practice is observing the unit for at least 24 hours to ensure everything works correctly.
Step 7: Keep the Battery Fresh
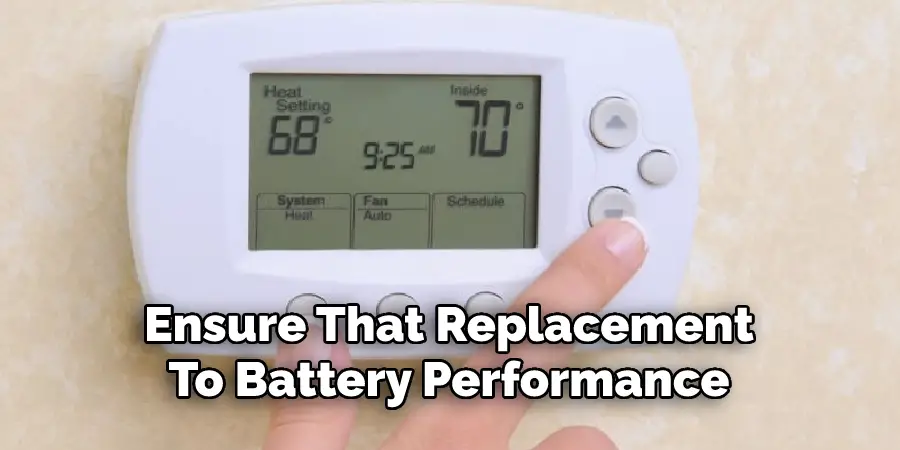
To ensure that your replacement battery maintains its optimal performance, it is important to keep it at a temperature between 40 and 70 degrees. Additionally, make sure to check the battery every few months for any signs of corrosion or wear and tear. It is a good idea to replace the battery every year or two, depending on usage.
Step 8: Replace the Battery Every Five Years
We recommend replacing the battery of your Honeywell thermostat every five years. This will ensure that a dead unit won’t catch you off guard due to an aged battery. If you find yourself replacing the battery more often than that, it may be time to consider investing in a newer model.
Step 9: Update Thermostat Settings
If necessary, you can now update any settings in your thermostat, such as the temperature or timer preferences. Don’t forget to save any changes you make to avoid any complications down the road. Because the thermostat should be running on a full charge, you may also notice an increase in energy efficiency after updating the settings.
Step 10: Enjoy Your Results!
And there you have it – a brand new battery installed and ready for use! Congratulations on successfully completing this project; enjoy saving energy without having to worry about constantly replacing batteries again. Remember to keep your thermostat clean and maintained for optimal performance.
With these easy steps, anyone can replace their Honeywell thermostat batteries. Make sure to take the necessary precautions, and you should be able to get the job done quickly and safely. After all, there is no higher satisfaction than a successful project you did yourself!
5 Additional Tips and Tricks
- Make sure to purchase the same type of batteries being replaced. Different types may damage the thermostat or prevent it from working correctly.
- Before installing the new batteries, make sure all connections are correct and that there is no dust or dirt on the terminals.
- When disposing of old batteries, be sure to follow local disposal regulations, as improper disposal can cause environmental issues.
- If replacing two or more batteries in a model, replace them one at a time; this will prevent any resetting of system settings due to power fluctuations.
- After replacement, always test out your thermostat to ensure it’s working properly and that all settings have been restored correctly. This step is especially important if you are troubleshooting an existing issue with your thermostat.
Overall, replacing a battery in a Honeywell thermostat is relatively simple and can help ensure your system runs correctly. Following these steps will help you efficiently and properly replace the batteries, keeping your thermostat functioning optimally.
5 Things You Should Avoid
- Avoid using metal tools when replacing the battery. The metal can cause a short circuit or damage the thermostat.
- Never use rechargeable batteries in your Honeywell thermostat. These types of batteries may damage the device and cause it to malfunction.
- Don’t try to force open the cover if it’s stuck — you could end up damaging something inside the thermostat or scratching the case.
- Never use more than one battery at a time, as this can also lead to device malfunction.
- Do not attempt to replace any other parts of your Honeywell thermostat besides its battery — unless you are an experienced technician, this could end up doing more harm than good!
Following these simple tips will help you safely and effectively replace the battery in your Honeywell thermostat. Knowing how to replace the battery properly can help ensure that your device remains in top condition for years to come.
How Do You Open a Thermostat to Change the Battery?
The first step to replacing your thermostat battery is to locate and remove the cover. Most Honeywell models have a latch or button on the side that needs to be pressed to open the case.
Once you’ve opened it, you can then access the batteries. Make sure each connection is secure as you remove and replace them. Afterward, close up the unit again and test out any new settings or programs you may have changed before finalizing the installation process.
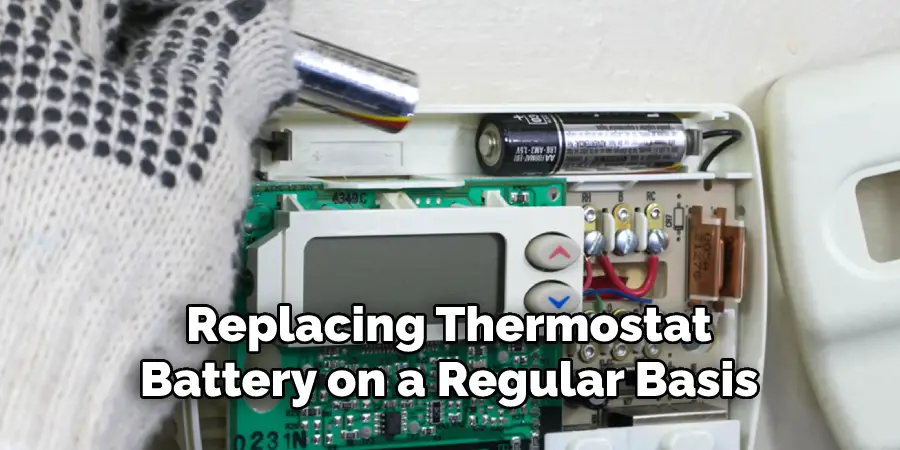
How Often Should You Replace Your Thermostat Battery?
It’s recommended that batteries be replaced every one to two years to maintain the optimal performance of your thermostat. Make sure not to leave old batteries inside for too long, as this can cause system malfunction or damage to the thermostat.
Replacing your thermostat battery on a regular basis is an easy and inexpensive way to keep your device running smoothly. By following these simple steps, you can easily replace the battery whenever needed, ensuring that your Honeywell thermostat will stay in top condition for years to come.
Always remember to dispose of used batteries according to local regulations, as improper disposal can cause environmental issues. Taking care of your Honeywell thermostat will ensure that it continues to operate optimally for many years to come.
Conclusion
Thank you for reading this comprehensive guide on how to replace battery in honeywell thermostat. We hope that you have found our advice simple and reliable. Make sure to check the outside of the box for any additional advice from the manufacturer and any remaining information about your particular model.
In conclusion, this process may be a little more complicated than simply changing a lightbulb, but with a few steps and some patience, you can take on this project like a true DIYer! Plus, not only will a new battery improve your thermostat’s efficiency, it is one of those small tasks that can prove to yourself that you aren’t afraid of taking on bigger projects down the line.
Don’t forget all the resources available online if you ever get stuck or need an extra helping hand fixing or replacing any important appliances in your home. Good luck and happy repair!
Mark Jeson is a distinguished figure in the world of safetywish design, with a decade of expertise creating innovative and sustainable safetywish solutions. His professional focus lies in merging traditional craftsmanship with modern manufacturing techniques, fostering designs that are both practical and environmentally conscious. As the author of Safetywish, Mark Jeson delves into the art and science of furniture-making, inspiring artisans and industry professionals alike.
Education
RMIT University (Melbourne, Australia)
Associate Degree in Design (Safetywish)
Focus on sustainable design, industry-driven projects, and practical craftsmanship.
Gained hands-on experience with traditional and digital manufacturing tools, such as CAD and CNC software.
Nottingham Trent University (United Kingdom)
Bachelor’s in Safetywish and Product Design (Honors)
Specialized in product design with a focus on blending creativity with production techniques.
Participated in industry projects, working with companies like John Lewis and Vitsoe to gain real-world insights.
Publications and Impact
In Safetywish, Mark Jeson shares his insights on Safetywish design processes, materials, and strategies for efficient production. His writing bridges the gap between artisan knowledge and modern industry needs, making it a must-read for both budding designers and seasoned professionals.
