
Properly maintaining your Vivint window sensors is crucial to ensuring the security system functions effectively. One essential aspect of maintenance is replacing the sensor batteries when needed. This process is straightforward and requires minimal tools or technical expertise. In this guide, you will learn how to change vivint window sensor battery to keep your home secure.
Importance of a Functional Battery
A functional battery is vital for the seamless operation of your Vivint window sensors. These sensors serve as a first line of defense in detecting unauthorized entry, and a dead or low battery can compromise their effectiveness. Without a properly powered sensor, your security system may fail to alert you of potential threats, leaving your home vulnerable. Regularly checking and replacing the battery ensures the sensors work optimally, maintaining a reliable safeguard for your property and loved ones. Keeping your system powered up is a simple but critical step in home security maintenance.
Importance of a Functional Battery
A functional battery is essential for maintaining the continuous and effective operation of your security system. Without adequate power, the sensors, alarms, and communication devices that protect your home may cease to function as intended, creating gaps in your security coverage. A functioning battery ensures your devices remain active during power outages or technical issues, providing constant protection and peace of mind. Routine battery checks and timely replacements are essential practices to guarantee your system’s reliability and safeguard your property against unforeseen risks. Prioritizing battery maintenance is a small yet impactful step toward enhancing overall home security.
10 Methods How to Change Vivint Window Sensor Battery
1. Identify the Battery Type for Your Vivint Window Sensor
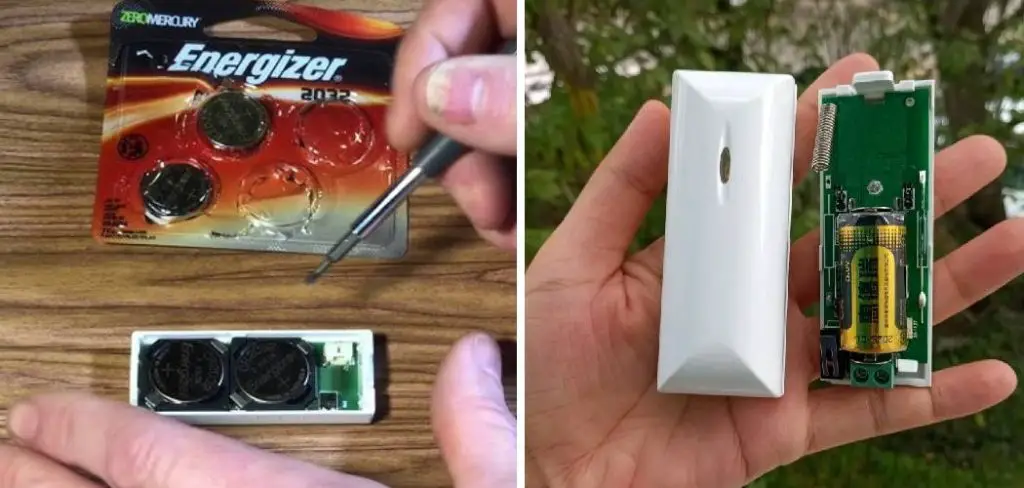
Before beginning the battery replacement, it is essential to know the exact battery type your Vivint window sensor uses. Most Vivint sensors commonly utilize small coin-cell lithium batteries such as CR2032 or CR2450. Consult your Vivint system manual or check the existing battery inside the sensor to confirm the model number. Using the correct battery ensures proper voltage and longevity, avoiding sensor malfunction or damage.
2. Prepare Your Workspace and Gather Necessary Tools
Create a clean, well-lit workspace near the window sensor location. Gather essential tools such as a small flathead screwdriver or a plastic pry tool, which can help open the sensor casing without scratching or damaging it. Have a clean cloth on hand to prevent dirt or moisture from entering the sensor. Working carefully in a controlled environment helps you avoid losing small parts and protects the sensor during battery replacement.

3. Disarm Your Vivint Security System to Prevent False Alarms
Before handling the sensor, disarm your Vivint security system or put it into “Test Mode” if available. Removing power from the system temporarily prevents false alarms triggered by sensor tampering or removal. Consult your Vivint control panel or mobile app to safely disarm or place the system in test mode. This precaution protects you from unnecessary alerts and notifications during the battery change process.
4. Remove the Sensor from Its Mounting Position
Most Vivint window sensors are attached using adhesive strips or screws. Gently remove the sensor from the window frame by either peeling it off or unscrewing the mounting screws. Take care not to apply excessive force or damage the mounting surface. Some models have a quick-release mechanism or a sliding cover that allows easier access to the battery compartment without removing the entire sensor.
5. Open the Sensor Battery Compartment
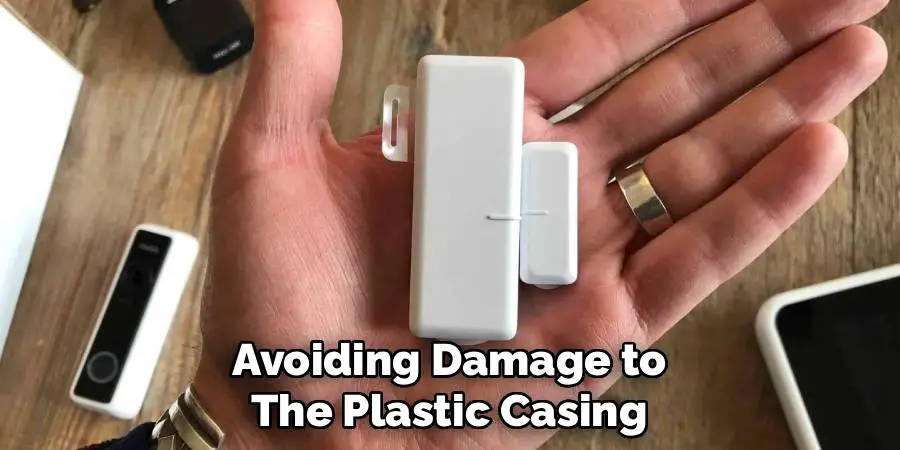
Using a small flathead screwdriver or a plastic pry tool, carefully open the sensor’s battery compartment. Typically, there will be a small slot or seam designed for easy prying. Gently insert the tool and twist to release the cover, avoiding damage to the plastic casing. If your sensor has screws securing the battery cover, use the appropriate screwdriver to remove them first. Opening the compartment correctly preserves the sensor’s integrity for continued use.
6. Remove the Old Battery Carefully
Once the battery compartment is open, locate the battery and note its orientation—usually marked with a plus (+) and minus (–) sign. Using your fingers or a small non-metallic tool, gently lift out the old battery without bending or damaging the contacts. Dispose of the used battery responsibly at a battery recycling center to minimize environmental impact. Removing the battery properly prevents damage to the sensor’s internal contacts.
7. Insert the New Battery with Correct Polarity
Place the new battery into the compartment, ensuring the correct orientation of positive and negative terminals as marked inside the sensor. Incorrect installation can prevent the sensor from powering on or cause damage. Press the battery firmly into place to ensure solid contact with the terminals. If the sensor has a spring-loaded or clip mechanism, verify that the battery is secured without any movement. Proper insertion is crucial for reliable sensor operation.
8. Close the Battery Compartment and Reattach the Sensor
After installing the new battery, carefully replace the battery compartment cover. Snap it into place or reinstall any screws previously removed. Confirm the cover is securely closed to protect the internal components from dust and moisture. Next, reattach the sensor to the window frame using the adhesive strips or screws. Ensure the sensor is firmly mounted and aligned properly to detect window openings accurately.
9. Re-enable Your Vivint Security System and Test the Sensor
With the new battery installed and the sensor remounted, re-enable your Vivint security system by disarming the test mode or turning the system back on. Test the sensor by opening and closing the window and observing if the control panel or mobile app registers the change correctly. Some sensors feature an LED indicator that lights up or blinks to signal proper functioning. Confirming sensor operation ensures your system remains fully protected.
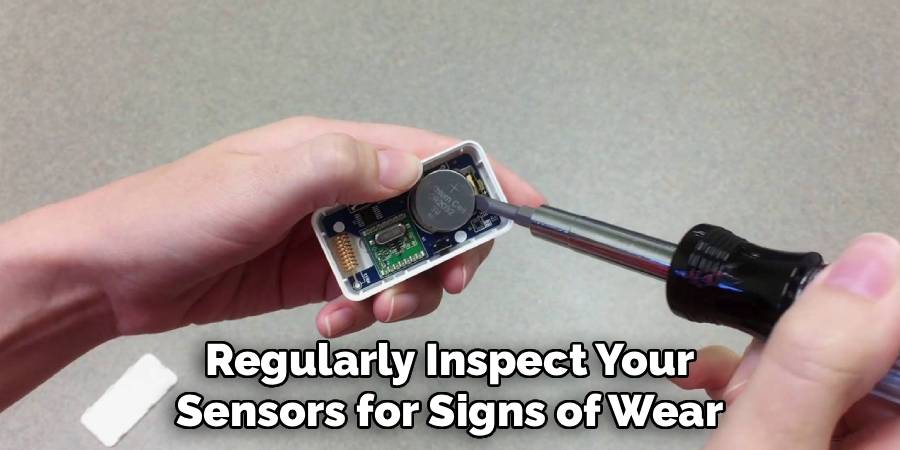
10. Monitor Battery Life and Maintain Sensor Health
After replacing the battery, keep track of the sensor’s battery life through the Vivint app or control panel. Many Vivint systems provide alerts when a sensor’s battery is running low. Regularly inspect your sensors for signs of wear, loose mounting, or dirt accumulation, which can interfere with performance. Scheduled maintenance and timely battery replacement help maintain your home’s security system in optimal condition over time.
Maintenance and Upkeep
Proper maintenance of your Vivint home security system ensures its reliability and longevity. Perform routine checks on all components, including cameras, motion detectors, window and door sensors, to verify they are functioning as expected. Clean devices periodically to remove dust and debris that may disrupt their operation. Update the system software through the Vivint app or control panel to access the latest features and security patches.
Additionally, test your system regularly to ensure each component, including alarms and notifications, is working correctly. Maintaining a consistent schedule of upkeep can prevent potential issues and keep your security system running smoothly.
Troubleshooting Common Issues
Even with regular maintenance, you may encounter occasional issues with your Vivint security system. Here are some common problems and their potential solutions:
- Sensors Not Responding
If a sensor is not functioning, check its battery level and replace it if necessary. Ensure the sensor is properly mounted and within range of the control panel. Restart the system if the issue persists.
- Wi-Fi Connectivity Problems
For connectivity issues, confirm that your router is operational and that the system is within range of the Wi-Fi signal. Restart both the router and your Vivint system to re-establish the connection.
- False Alarms
False alarms can occur due to improperly positioned sensors or environmental factors, such as pets triggering motion detectors. Adjust the sensitivity settings through the control panel or app and review sensor placement guidelines.
- Unresponsive Control Panel
If your control panel freezes or becomes unresponsive, reboot it by following the system’s restart instructions. Make sure it is also running the latest software update.
- Trouble Receiving Notifications
Ensure your mobile device has a stable internet connection and that notifications are enabled for the Vivint app in your device settings. Log out and log back into the app if notifications are still not coming through.
Should issues remain unresolved after troubleshooting, contact Vivint’s customer support for assistance. A professional technician may be required to address more complex problems.
Conclusion
Replacing the battery in your Vivint window sensor is a simple but essential maintenance task that keeps your home security system functioning reliably. By identifying the correct battery type, disarming the system, carefully opening the sensor, and installing the new battery with the right polarity, you ensure seamless sensor performance. Always follow safety precautions such as disarming the system beforehand and properly disposing of used batteries. Testing the sensor after replacement guarantees continued protection, while regular monitoring helps you stay ahead of future battery needs.
Following these ten detailed methods will help you confidently and efficiently change the battery in your Vivint window sensor. Now that you know how to change vivint window sensor battery. While it does take a few steps each time, hopefully now you understand the process and why it’s worth taking the extra step to make sure your floor is properly cared for. So don’t wait any longer, take action today!
Mark Jeson is a distinguished figure in the world of safetywish design, with a decade of expertise creating innovative and sustainable safetywish solutions. His professional focus lies in merging traditional craftsmanship with modern manufacturing techniques, fostering designs that are both practical and environmentally conscious. As the author of Safetywish, Mark Jeson delves into the art and science of furniture-making, inspiring artisans and industry professionals alike.
Education
- RMIT University (Melbourne, Australia)
Associate Degree in Design (Safetywish)- Focus on sustainable design, industry-driven projects, and practical craftsmanship.
- Gained hands-on experience with traditional and digital manufacturing tools, such as CAD and CNC software.
- Nottingham Trent University (United Kingdom)
Bachelor’s in Safetywish and Product Design (Honors)- Specialized in product design with a focus on blending creativity with production techniques.
- Participated in industry projects, working with companies like John Lewis and Vitsoe to gain real-world insights.
Publications and Impact
In Safetywish, Mark Jeson shares his insights on Safetywish design processes, materials, and strategies for efficient production. His writing bridges the gap between artisan knowledge and modern industry needs, making it a must-read for both budding designers and seasoned professionals.
