
Properly functioning seatbelt sensors are essential for ensuring safety while driving. These sensors work as part of a vehicle’s safety system, alerting drivers and passengers if seatbelts are not fastened. Over time, sensors can become faulty due to wear, damage, or technical issues. Learning how to check seatbelt sensor can help you identify potential problems early and ensure your vehicle remains safe for use.
What Is a Seatbelt Sensor
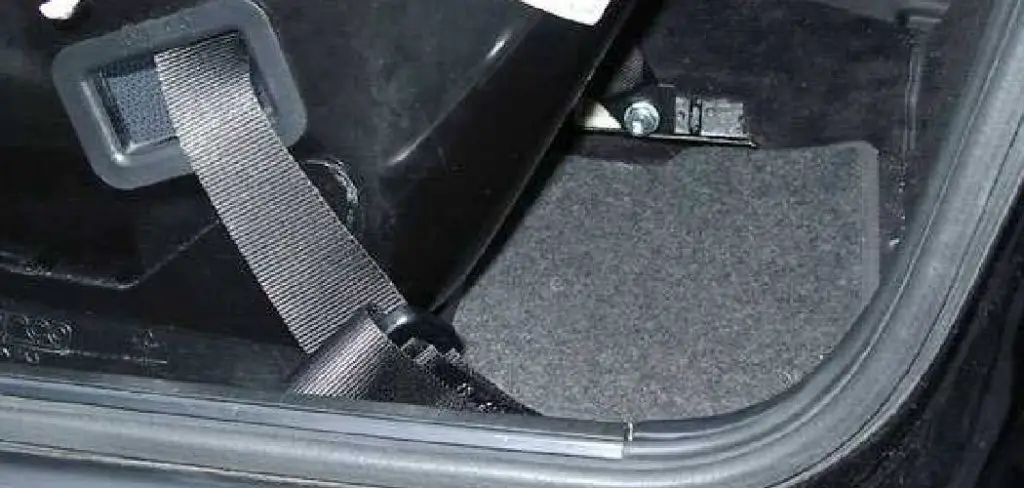
A seatbelt sensor is a critical component of a vehicle’s safety system designed to detect whether the seatbelt is properly fastened. It typically consists of sensors located in the seatbelt buckle or latch mechanism that send signals to the vehicle’s electronic control unit (ECU). When the seatbelt is not engaged, the sensor triggers a warning light or sound on the dashboard to remind the driver and passengers to buckle up. This technology not only enhances safety by encouraging seatbelt use but also integrates with advanced systems like airbags to ensure optimal performance in the event of a collision.
Signs of a Faulty Seatbelt Sensor
A malfunctioning seatbelt sensor can compromise the safety and functionality of the system, making it essential to recognize the warning signs early. Common indicators of a faulty seatbelt sensor include the seatbelt warning light remaining illuminated on the dashboard even when the seatbelt is properly fastened.
Another sign could be the absence of the warning light or sound when the seatbelt is not engaged, leaving the driver or passengers without a proper reminder. Additionally, erratic or intermittent signals, such as the warning activating randomly during a drive, might indicate sensor issues. If these symptoms occur, it is crucial to have the seatbelt sensor inspected and repaired by a qualified professional to ensure the safety of all vehicle occupants.
Tools & Equipment Needed
To inspect or repair a seatbelt sensor, several tools and pieces of equipment may be required. These include:
- Multimeter: To test the electrical connections and ensure the sensor is functioning properly.
- Screwdrivers and socket set: For removing panels or accessing the seatbelt mechanism and sensor.
- Plastic trim removal tools: To safely remove interior trim without damaging the vehicle.
- Replacement parts: Such as a new seatbelt sensor, wiring, or connectors if the existing components are damaged.
- Wire cutters and crimpers: For repairing or replacing damaged wiring connections.
- Flashlight: To improve visibility in hard-to-reach areas of the vehicle.
- Service manual: Specific to the vehicle model, to guide disassembly and sensor troubleshooting.
Having these tools readily available will make the inspection and repair process more efficient and effective.
10 Methods How to Check Seatbelt Sensor
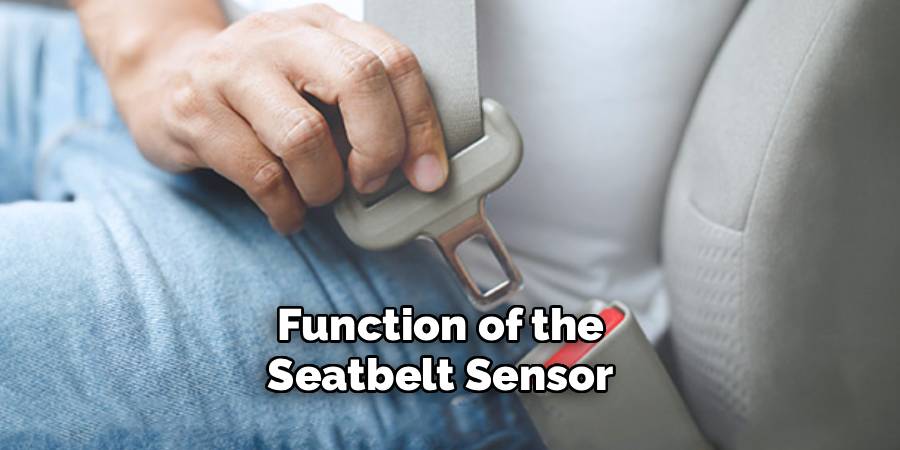
1. Understand the Function of the Seatbelt Sensor
Before you begin testing, it’s important to understand how seatbelt sensors work. Typically, the sensor consists of a small switch or electrical component integrated within the seatbelt buckle or retractor mechanism. When the seatbelt latch is inserted into the buckle, the sensor closes an electrical circuit signaling the car’s computer that the seatbelt is fastened. If the sensor detects no latch engagement, it triggers a warning light or chime. Familiarity with this mechanism helps identify potential points of failure during inspection.
2. Visually Inspect the Seatbelt Buckle and Wiring
Start by conducting a thorough visual inspection of the seatbelt buckle and surrounding wiring. Look for signs of physical damage such as cracks, corrosion, or frayed wires. Dirt and debris inside the buckle can interfere with sensor operation, so clean the buckle gently with compressed air or a soft brush. Check that wiring connectors are firmly seated and free from corrosion. Damaged or loose wires can cause intermittent or permanent sensor failures.
3. Use the Vehicle’s Dashboard Warning Light as an Indicator
Most vehicles have a dedicated seatbelt warning light on the dashboard. Begin by fastening the seatbelt and observing if the warning light turns off. If the light stays illuminated or blinks after fastening, this is an initial sign of sensor malfunction. Unfastening the seatbelt should cause the light to illuminate again. If these responses do not occur, further diagnostics are required. This simple visual cue is often the quickest way to detect sensor problems.
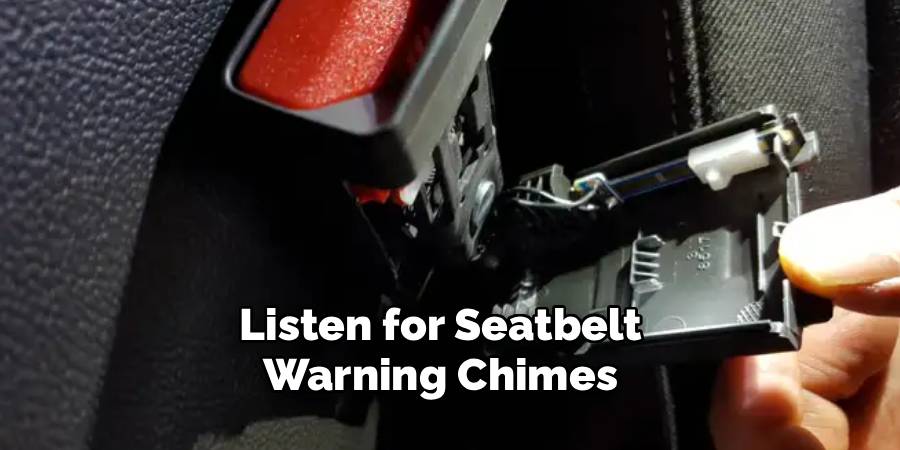
4. Listen for Seatbelt Warning Chimes
Alongside the dashboard light, many cars emit an audible chime if the seatbelt is unfastened while the vehicle is in motion. Start the car and leave the seatbelt unbuckled. The warning chime should sound within seconds. Fasten the seatbelt and verify that the chime stops promptly. Inconsistent or missing chimes may indicate a faulty sensor or wiring issue. This auditory feedback complements the visual dashboard signals for a comprehensive check.
5. Perform a Diagnostic Scan Using an OBD-II Scanner
Modern vehicles store seatbelt sensor data within the onboard diagnostic system. Using an OBD-II scanner, you can access fault codes related to seatbelt sensors. Connect the scanner to the vehicle’s diagnostic port—usually located under the dashboard—and navigate to the body control module or restraint system section. Look for codes such as B0050 (driver seatbelt buckle switch) or similar. These codes pinpoint which sensor or circuit is malfunctioning, aiding targeted repairs.
6. Test the Seatbelt Sensor Circuit with a Multimeter
For a more technical approach, use a digital multimeter to check the sensor’s electrical circuit. First, locate the seatbelt sensor wiring harness, typically beneath the seat or attached to the buckle. Set the multimeter to measure resistance (ohms). Insert the seatbelt latch into the buckle, and the sensor should close the circuit, showing low resistance. Remove the latch, and the circuit should open, indicating infinite resistance. Any deviation from this pattern suggests a faulty sensor or wiring.
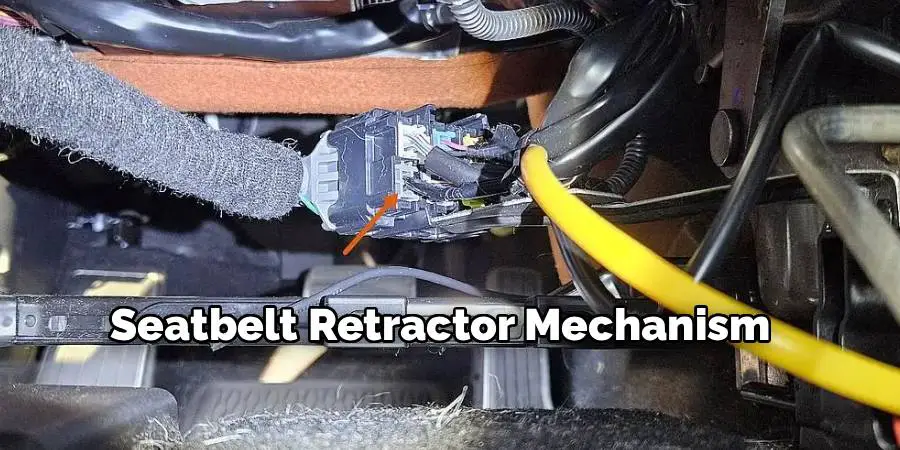
7. Inspect the Seatbelt Retractor Mechanism
Some seatbelt sensors are integrated into the retractor, the spool that winds the belt. If you suspect a sensor issue there, carefully remove the seat trim to access the retractor assembly. Look for broken wires, disconnected plugs, or damaged sensor modules. Moving the seatbelt through its full range of motion while monitoring sensor function can reveal intermittent issues caused by wiring fatigue or mechanical wear.
8. Check for Loose or Damaged Connectors
Over time, connectors can loosen due to vibrations or accidental tugs on the seatbelt assembly. Locate the electrical connectors near the seatbelt sensor and firmly reseat them. Look for bent pins, corrosion, or damaged locking tabs that could prevent proper electrical contact. Cleaning connectors with electrical contact cleaner can improve connectivity and sensor performance.
9. Use a Seatbelt Sensor Simulator for Testing
If you want to test the system without repeatedly buckling and unbuckling the seatbelt, consider using a seatbelt sensor simulator or bypass tool designed for diagnostics. These devices mimic the electrical signal generated by a fastened seatbelt and can help confirm if the sensor input is being properly received by the vehicle’s control module. Note that simulators should only be used for testing purposes and never to circumvent seatbelt safety in everyday driving.
10. Consult a Professional Technician for Complex Issues
If all basic checks fail to resolve the issue, it’s advisable to consult a professional automotive technician. Seatbelt sensor problems can sometimes stem from complex electronic faults within the vehicle’s safety systems, requiring specialized diagnostic equipment and expertise. A technician can perform in-depth testing, sensor replacement, and system calibration to restore proper function safely and reliably.
Maintenance and Upkeep
Regular maintenance of your vehicle’s seatbelt system is essential to ensure its reliability and longevity. Start by inspecting seatbelts periodically for signs of wear, such as fraying, cuts, or weakening of the webbing material. Clean the belts with a mild soap solution and a soft cloth to remove dirt and grime that can hinder their operation, being careful not to use harsh chemicals that may damage the fibers.

Additionally, ensure that the seatbelt retractors and buckles are functioning smoothly without obstruction. Routine checks of the seatbelt sensor and related mechanisms, as well as addressing any warning signals promptly, can help prevent costly repairs down the line and maintain safety standards.
Troubleshooting Common Issues
When it comes to seatbelts, certain common issues may arise that can affect their functionality. One frequent problem is seatbelt retraction failure, where the belt doesn’t retract smoothly. This may be caused by dirt or debris buildup inside the mechanism. Cleaning the retractor or gently pulling the belt to its full length before releasing it can sometimes resolve the issue. Another issue is when the buckle fails to latch securely or becomes stuck.
Inspect the buckle for blockages, such as dirt or small objects, and clean it with compressed air or a soft brush. If the seatbelt warning light remains on after ensuring the belt is properly fastened, it may indicate a sensor fault. Checking the electrical connections or consulting a professional technician may be necessary to resolve sensor-related problems. Addressing these issues promptly ensures the reliability of the seatbelt system and maintains safety while driving.
Conclusion
Checking your vehicle’s seatbelt sensor involves a combination of visual inspection, diagnostic testing, and electrical measurement. Starting with simple observation of warning lights and chimes and progressing to detailed multimeter tests or OBD-II scanning ensures a thorough evaluation. Maintaining functional seatbelt sensors is essential for vehicle safety and legal compliance, making these ten methods valuable tools for vehicle owners and technicians alike. Thanks for reading our blog post on how to check seatbelt sensor! We hope you found it helpful and informative.
Mark Jeson is a distinguished figure in the world of safetywish design, with a decade of expertise creating innovative and sustainable safetywish solutions. His professional focus lies in merging traditional craftsmanship with modern manufacturing techniques, fostering designs that are both practical and environmentally conscious. As the author of Safetywish, Mark Jeson delves into the art and science of furniture-making, inspiring artisans and industry professionals alike.
Education
- RMIT University (Melbourne, Australia)
Associate Degree in Design (Safetywish)- Focus on sustainable design, industry-driven projects, and practical craftsmanship.
- Gained hands-on experience with traditional and digital manufacturing tools, such as CAD and CNC software.
- Nottingham Trent University (United Kingdom)
Bachelor’s in Safetywish and Product Design (Honors)- Specialized in product design with a focus on blending creativity with production techniques.
- Participated in industry projects, working with companies like John Lewis and Vitsoe to gain real-world insights.
Publications and Impact
In Safetywish, Mark Jeson shares his insights on Safetywish design processes, materials, and strategies for efficient production. His writing bridges the gap between artisan knowledge and modern industry needs, making it a must-read for both budding designers and seasoned professionals.
