
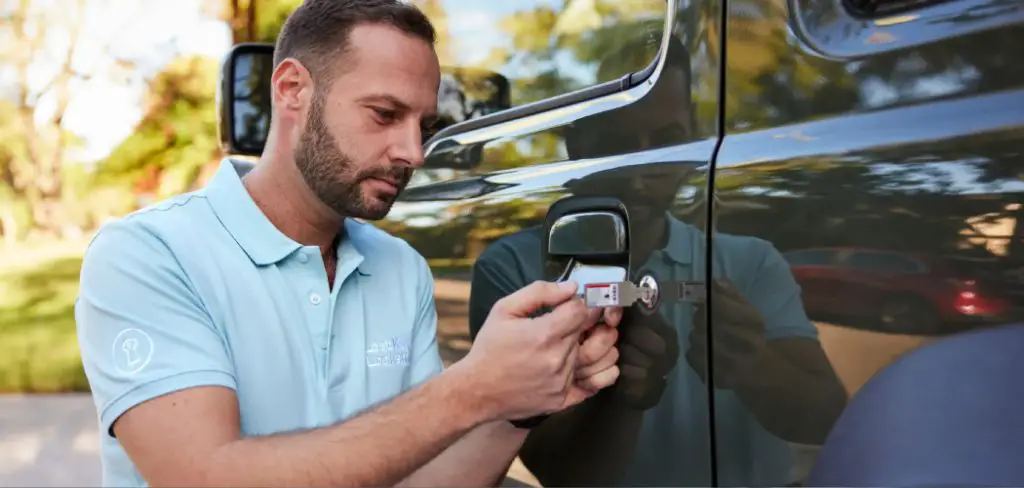
Are you having trouble with your key fob not working properly? Maybe it won’t unlock your car or start the engine. This can be a frustrating and inconvenient problem, but fear not!
A broken key fob can be an inconvenience, especially when it prevents you from locking or unlocking your vehicle or accessing other important functions. Fortunately, many common key fob issues can be resolved with some simple troubleshooting steps. Whether your key fob has a dead battery, damaged buttons, or issues with its internal components, this guide will walk you through the process of how to fix a broken key fob.
By following these steps, you can save time and money while restoring the functionality of your key fob. Let’s get started!
What Are the Benefits of Fixing a Broken Key Fob?
Fixing a broken key fob can bring some benefits, including:
- Convenience: A functioning key fob allows you to easily lock or unlock your vehicle without having to manually use the key. This is especially helpful when your hands are full or in inclement weather.
- Security: A malfunctioning key fob can leave your vehicle vulnerable to theft if it cannot be properly locked. By fixing any issues with your key fob, you can ensure the safety and security of your vehicle.
- Cost Savings: Replacing a key fob can be expensive, especially if it involves programming by a dealership. By fixing the issue yourself, you can save significant costs.
- Environmental Impact: By repairing your key fob instead of replacing it, you are reducing waste and helping the environment by keeping electronic devices out of landfills.
By taking the time to fix any issues with your key fob, you can enjoy these benefits and extend the lifespan of this important gadget.
What Will You Need?
To repair your key fob, you will need a few basic supplies:
- Replacement batteries (if needed)
- Small screwdriver
- Needle-nose pliers
- Electrical tape or super glue
You may also need a manual for your specific key fob model and some extra patience.
10 Easy Steps on How to Fix a Broken Key Fob
Step 1. Identify the Problem
Start by determining what is wrong with your key fob. Common issues include unresponsiveness, buttons that don’t work, or a case that is cracked or damaged. Check if the key fob’s battery might be dead, as this is one of the most frequent causes of malfunction. Inspect the key fob closely for any physical damage, like loose components, worn-out buttons, or dirt and debris stuck inside.
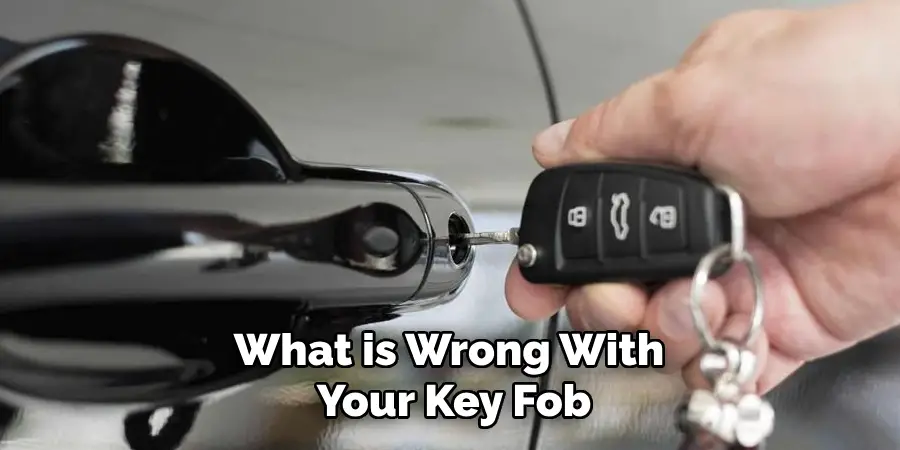
Additionally, verify that the key fob is properly synchronized with your vehicle, as desynchronization can sometimes happen, especially after battery replacement. Identifying the root cause of the problem is a crucial first step that will guide you through the appropriate repair process.
Step 2. Open the Key Fob Case
To open the key fob case, start by locating the seam or notch where the two halves of the case come together. This is usually found along the edge of the key fob. Use a small, flat tool such as a screwdriver or a coin to carefully pry the case open. Be gentle to avoid damaging the casing or the internal components. Some key fobs may have screws that need to be removed first, so inspect the case for any small screws and unscrew them using an appropriate tool. Once opened, take note of how the components are arranged inside for easier reassembly later.
Step 3. Inspect the Internal Components
Carefully examine the internal components of the key fob. Look for any signs of damage, such as corroded battery contacts, loose connections, or debris. If there is dirt or debris present, gently clean the interior using a soft, dry cloth or a cotton swab. Avoid using liquids or abrasive materials, as they can damage the delicate parts of the key fob. If the battery is held in place by a metal clip, check that the clip is secure and free of corrosion. Identifying and addressing any internal issues now will ensure the key fob functions properly once reassembled.
Step 4. Replace the Battery
To replace the battery, take the new battery and align it according to the positive (+) and negative (-) markings inside the key fob. Carefully press the battery into place, ensuring it is seated securely under any retaining clips or features. Avoid forcing the battery, as this could cause damage to the internal components. Once the battery is properly positioned, double-check to confirm it is stable and aligned correctly. This step is crucial to guarantee the key fob’s functionality upon assembly.

Step 5. Clean the Contacts
Using a clean, dry cloth or an alcohol wipe, gently clean the metal contacts inside the key fob. This helps to remove any dirt, residue, or corrosion that may interfere with the electrical connection. Make sure to avoid using excessive force or abrasive materials, as this could damage the contacts. Allow the area to dry completely before proceeding to reassemble the key fob. Properly cleaned contacts will ensure optimal performance and reliability of your key fob.
Step 6. Fix Any Loose Connections
Inspect the internal components of the key fob to identify any loose or misaligned connections. Carefully check the battery terminals and other contact points to ensure they are secure and properly aligned. If you notice any loose connections, gently press them back into place using a small, non-conductive tool like a plastic spudger. Be cautious not to apply excessive pressure, as it could damage the delicate components. Ensuring all connections are secure is essential for the key fob to function correctly. Once satisfied, proceed to reassemble the key fob and test it for proper operation.
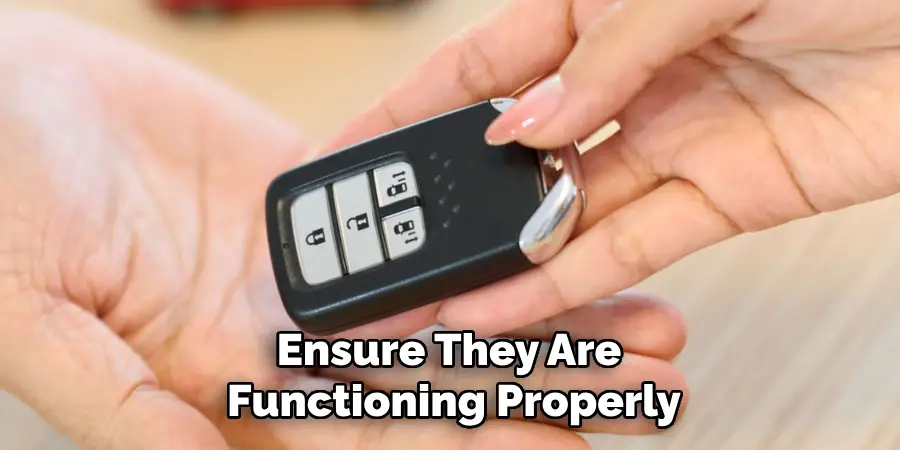
Step 7. Test the Buttons
Press each button on the key fob to ensure they are functioning properly. Stand near your vehicle and test the lock, unlock, and other features the key fob controls. If the buttons respond as expected and the vehicle reacts correctly, the reassembly process is successful. If some buttons do not work or the response is inconsistent, you may need to revisit the earlier steps to check for any loose connections or other issues.
Step 8. Reassemble the Key Fob
Begin by carefully aligning the two halves of the key fob’s casing. Ensure that all internal components, including the battery and circuit board, are securely in place and properly positioned. Once aligned, press the two halves together firmly until you hear a click, indicating that the casing has snapped shut. Double-check to ensure there are no gaps between the pieces. If your key fob includes screws, use a small screwdriver to fasten them tightly. Finally, reattach any external components, such as a key ring, and your key fob is ready to use.
Step 9. Test the Key Fob
Take a moment to test the functionality of your key fob to ensure everything is working correctly. Stand close to your vehicle and press the buttons on the key fob, such as lock, unlock, or any other available functions. Observe your vehicle’s response to confirm that the key fob is operating as expected. If your vehicle does not respond, double-check the assembly to ensure the battery is properly installed and the internal components are correctly positioned. If issues persist, you may need to verify the compatibility of the replacement battery or consult your vehicle’s manual for troubleshooting tips. Once the key fob is successfully tested, you’re all set!
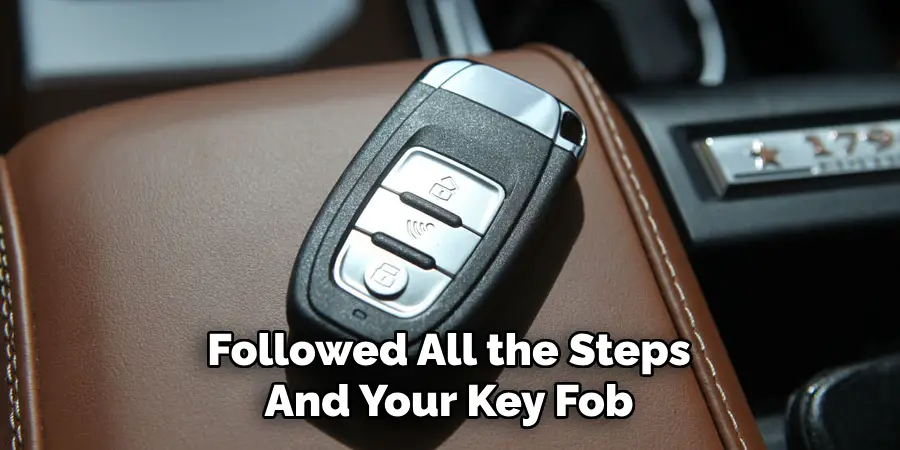
Step 10. Seek Professional Help If Needed
If you have followed all the steps and your key fob still isn’t functioning properly, it may be time to seek assistance from a professional. Visit your vehicle’s dealership or a qualified automotive locksmith who can diagnose and address the issue. They have specialized tools and expertise to handle key fob repairs or replacements. Additionally, they can help reprogram the key fob if necessary. Seeking professional help ensures your key fob is working correctly and prevents further complications.
By following these steps, you can restore your key fob to working condition and continue enjoying its convenience.
5 Things You Should Avoid
- Using Excessive Force: Avoid prying open the key fob or handling its components roughly. This can cause further damage to the internal circuitry and make repairs more costly.
- Using the Wrong Tools: Do not attempt to open or repair your key fob with tools that are not designed for this purpose. Improper tools can damage delicate parts such as the battery housing or circuit board.
- Ignoring the Battery Type: Replacing the key fob battery with the wrong type can lead to malfunctioning or even permanent damage. Always verify the correct battery type before installing a replacement.
- Skipping Professional Help: Avoid attempting complex repairs if you’re unsure of the process. Seeking assistance from a certified automotive locksmith or dealership is often safer and more effective than DIY attempts.
- Exposing the Fob to Water or Dirt: If your key fob is already broken, exposing it to additional moisture, dirt, or debris can worsen the damage. Keep the fob clean and dry throughout the repair process.
Conclusion
How to fix a broken key fob requires careful attention to detail and following proper steps to ensure successful repairs.
By diagnosing the issue, replacing the battery if needed, avoiding unnecessary force, and seeking professional help when necessary, you can restore functionality effectively. Always handle your key fob with care, keeping it clean and dry to prevent further damage.
With the right approach, you can save time and money while ensuring your vehicle remains secure and accessible.
Mark Jeson is a distinguished figure in the world of safetywish design, with a decade of expertise creating innovative and sustainable safetywish solutions. His professional focus lies in merging traditional craftsmanship with modern manufacturing techniques, fostering designs that are both practical and environmentally conscious. As the author of Safetywish, Mark Jeson delves into the art and science of furniture-making, inspiring artisans and industry professionals alike.
Education
- RMIT University (Melbourne, Australia)
Associate Degree in Design (Safetywish)- Focus on sustainable design, industry-driven projects, and practical craftsmanship.
- Gained hands-on experience with traditional and digital manufacturing tools, such as CAD and CNC software.
- Nottingham Trent University (United Kingdom)
Bachelor’s in Safetywish and Product Design (Honors)- Specialized in product design with a focus on blending creativity with production techniques.
- Participated in industry projects, working with companies like John Lewis and Vitsoe to gain real-world insights.
Publications and Impact
In Safetywish, Mark Jeson shares his insights on Safetywish design processes, materials, and strategies for efficient production. His writing bridges the gap between artisan knowledge and modern industry needs, making it a must-read for both budding designers and seasoned professionals.
