
Are you having issues with your key fob plastic? Is it cracked or broken, making it difficult to use? Don’t worry, fixing a key fob plastic is easier than you might think.
A broken or cracked key fob plastic can be frustrating, especially since it protects the internal components of your remote and ensures it functions correctly. Instead of replacing the entire key fob, you can save money and time by repairing its plastic casing with a few simple tools and materials.
This guide on how to fix a key fob plastic will walk you through the steps needed to mend your key fob plastic, whether it’s a minor crack or a more significant break, so you can restore its durability and get back to using it with confidence.
What Are the Benefits of Fixing a Key Fob Plastic?
Repairing your key fob plastic has several benefits, including:
- Cost Savings: As mentioned earlier, repairing the plastic casing of your key fob can save you money compared to buying a new one. Depending on the severity of the damage, fixing it yourself can cost significantly less than purchasing a replacement.
- Sustainability: By repairing rather than replacing, you are reducing waste and helping to protect the environment. Electronic waste is becoming a growing problem, so every small effort we make to reduce it can have a positive impact.
- Convenience: If your key fob needs to be programmed or synced with your vehicle’s system, repairing the original one will save you the hassle of having to reprogram a new one.
- Preservation of Sentimental Value: Some key fobs may hold sentimental value for their owners, especially if they are from an older model or handed down from a loved one. Repairing it rather than replacing it allows you to hold onto that sentiment.
- Customization: Repairing your key fob also allows you to customize it with unique designs or colors, making it stand out and reflect your style.
What Will You Need?
Repairing a key fob often requires a few essential tools and materials to ensure the process is smooth and successful. Here’s a list of items you may need:
- Replacement Battery: Most key fob issues stem from a dead battery, so make sure to have the correct battery type for your device. Check your key fob’s manual or look for the battery specifications inside the fob.
- Small Screwdrivers: A set of precision or mini screwdrivers will help you carefully open the key fob without causing damage to its casing.
- Electronic Cleaner or Isopropyl Alcohol: These essentials can be used to safely clean the internal components of the key fob and remove any dirt or corrosion.
- Replacement Buttons or Casings: If your key fob’s buttons or casing are damaged, you can easily find replacements online or at a local car dealership.
- Extra Key Fobs: Keep an extra key fob in a safe place in case you lose or damage your main one. This will save you time and money compared to getting a new one from the dealership.
8 Easy Steps on How to Fix a Key Fob Plastic
Step 1. Gather Repair Materials
Start by collecting all the necessary materials for fixing your key fob plastic. You’ll need a small screwdriver, superglue or a strong adhesive, sandpaper (preferably fine-grit), and replacement parts if any external pieces are severely damaged. Additionally, consider getting the masking tape to hold parts in place as they dry and a microfiber cloth to clean the surface before repairs.
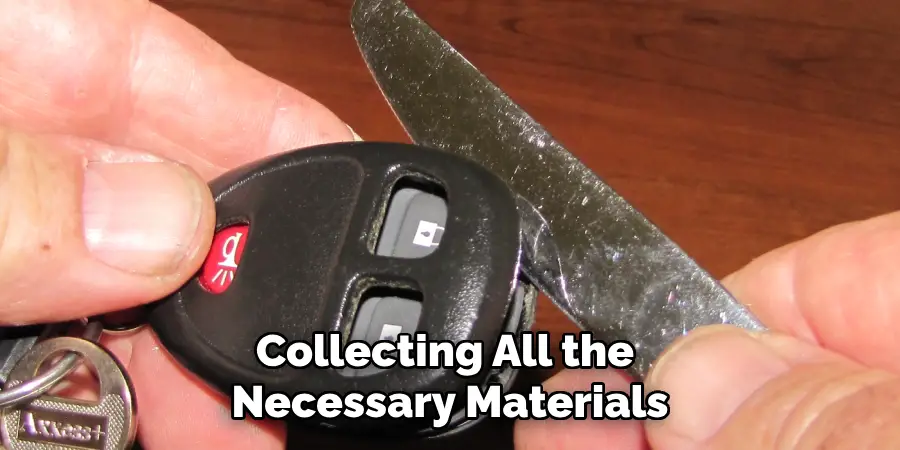
Ensuring you have all the tools and materials ready will make the repair process smoother and more efficient, avoiding interruptions once you start working.
Step 2. Apply Glue or Epoxy
Carefully apply the glue or epoxy to the broken or damaged areas. Use a small brush or applicator to ensure precise application, avoiding excess adhesive that could seep out and harden messily. If you’re repairing a crack or joint, make sure to evenly distribute the adhesive along the surfaces to be bonded for maximum strength. Once the adhesive is applied, press the pieces together firmly and hold them in place for the recommended time specified by the glue or epoxy manufacturer. Use masking tape or clamps to secure the parts and allow the adhesive to cure fully before proceeding to the next step.
Step 3. Reinforce the Damage
To ensure the repair is durable, consider reinforcing the damaged area with additional material. For cracks or breaks in hard surfaces, applying a thin layer of epoxy or resin over the repaired joint can add extra strength. If you’re working with fabric or flexible materials, use a patch or mesh on the backside of the repair for additional support.
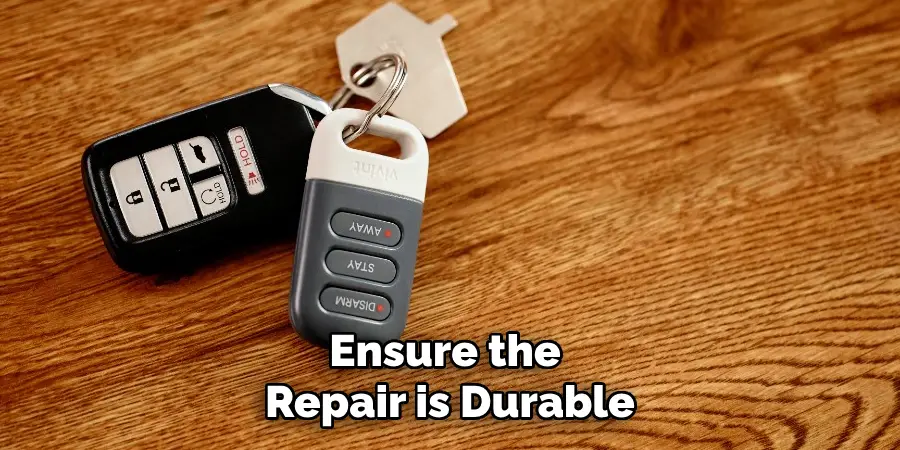
Sand down any excess adhesive or reinforcement material to create a smooth, seamless finish. This step prevents further damage and ensures the repaired item can handle regular use without compromising its integrity.
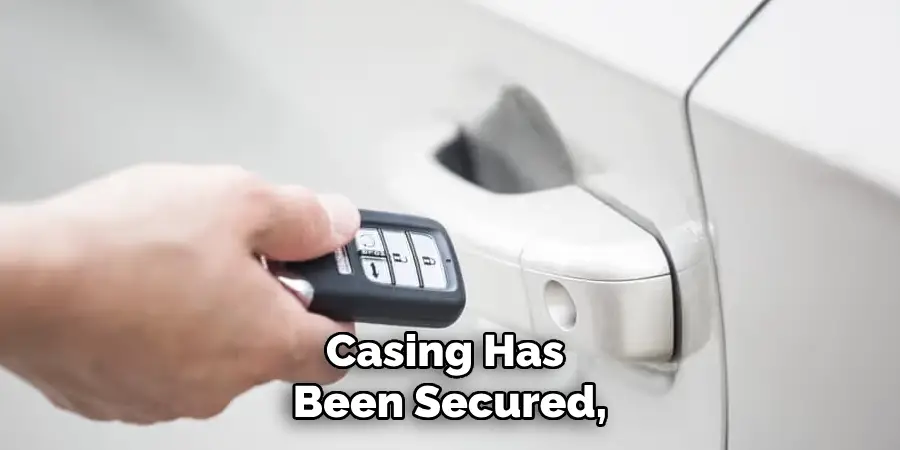
Step 4. Replace the Plastic Casing
Once the adhesive and reinforcement materials have fully cured, it’s time to reassemble the item by replacing the plastic casing. Start by checking the repaired sections to ensure they are secure and smooth to the touch. Carefully align the plastic casing pieces with the item, making sure all grooves and clips fit snugly into place. If necessary, use a small amount of adhesive or fasteners to secure the casing, but avoid applying too much, as this can interfere with the item’s functionality or appearance. Take your time during this step to avoid any misalignments or gaps, which may compromise the overall durability of the repair.
Step 5. Check the Buttons
Once the casing has been secured, test all buttons to ensure they are functioning properly. Press each button individually to confirm it clicks smoothly and activates the corresponding feature without sticking or requiring excessive force.
If any buttons appear stiff or unresponsive, carefully disassemble and check for misaligned components or debris that might be obstructing their movement. Adjust or clean as necessary, then retest to guarantee optimal performance. This step is crucial for verifying the usability of the item after reassembly.
Step 6. Seal the Casing
Once all the internal components have been tested and confirmed to function properly, align the casing halves carefully to avoid pinching any internal wiring or components. Secure the casing using the appropriate screws or fasteners, ensuring they are tightened evenly and firmly without over-tightening, which could cause damage. Double-check all seals, particularly if the item is designed to be water-resistant or dust-proof, to ensure they are properly in place. A well-sealed casing not only protects the internal components but also preserves the longevity and reliability of the item.
Step 7. Test the Key Fob
Place the key fob back into its functional use and ensure all buttons are working as intended. Start by testing the lock and unlock functions from a reasonable distance to verify the signal is being transmitted properly. If applicable, test additional features such as remote start, trunk release, or panic alarm. Make sure the response is consistent and immediate. If the key fob does not function correctly, recheck the battery installation and ensure the casing is securely closed. For persistent issues, consider consulting the user manual or seeking professional assistance.
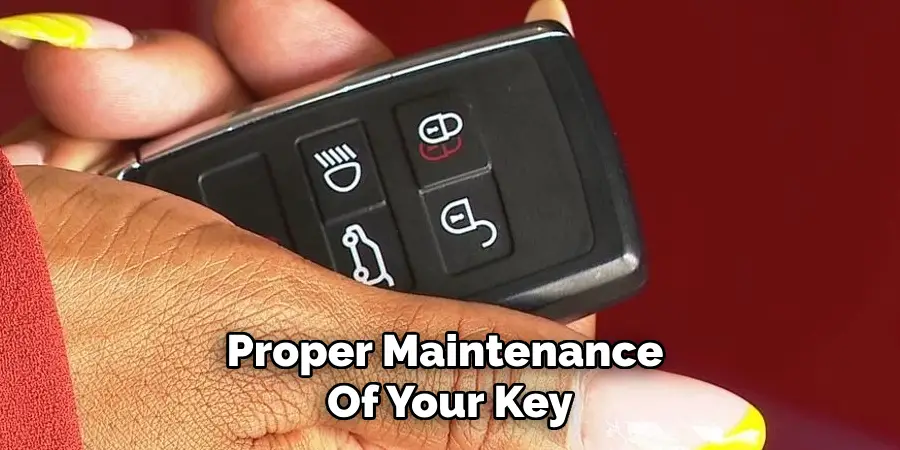
Step 8. Maintain Your Key Fob
Proper maintenance of your key fob ensures its longevity and optimal performance. Keep the key fob clean by wiping it regularly with a soft, lint-free cloth to remove dust and grime. Avoid exposing it to extreme temperatures, moisture, or direct sunlight for prolonged periods, as these conditions can damage internal components.
Replace the battery as soon as you notice a decrease in signal range or responsiveness. Additionally, handle the key fob with care to prevent accidental drops or impacts that could affect its functionality. Regular maintenance will help avoid inconvenience and ensure the key fob operates effectively when you need it.
By following these simple tips, you can ensure that your key fob will last for a long time and continue to provide convenience and security for your vehicle.
5 Things You Should Avoid
- Using Harsh Chemicals
Avoid using strong adhesives or cleaning agents containing harsh chemicals like acetone or bleach. These can damage the plastic, weaken its structure, or cause discoloration.
- Applying Excessive Force
When trying to fix the key fob plastic, refrain from using excessive force to open or repair it. This could lead to further cracking or complete breakage of the plastic casing.
- Ignoring Proper Adhesives
Do not use regular glue to repair cracks or breaks in the plastic. Instead, opt for specialized plastic adhesives that bond effectively without compromising the integrity of the material.
- Neglecting Surface Preparation
Before attempting any repair, avoid ignoring the importance of cleaning and preparing the surface. Dust, oil, or dirt can prevent adhesives from properly bonding with the plastic.
- Skipping Protective Measures
Don’t skip applying tape or a protective layer over repaired areas. This will help reinforce the fix and prolong the durability of the key fob plastic.
Conclusion
How to fix a key fob plastic requires careful attention to preparation, choosing the right tools, and following precise steps to ensure a durable repair.
By cleaning the surface, avoiding common mistakes, and reinforcing the fixed area with protective measures, you can restore the key fob’s functionality and appearance. With patience and proper care, this process can save you the cost of replacement while extending the life of your key fob.
Always handle the repair carefully to achieve the best results.
Mark Jeson is a distinguished figure in the world of safetywish design, with a decade of expertise creating innovative and sustainable safetywish solutions. His professional focus lies in merging traditional craftsmanship with modern manufacturing techniques, fostering designs that are both practical and environmentally conscious. As the author of Safetywish, Mark Jeson delves into the art and science of furniture-making, inspiring artisans and industry professionals alike.
Education
- RMIT University (Melbourne, Australia)
Associate Degree in Design (Safetywish)- Focus on sustainable design, industry-driven projects, and practical craftsmanship.
- Gained hands-on experience with traditional and digital manufacturing tools, such as CAD and CNC software.
- Nottingham Trent University (United Kingdom)
Bachelor’s in Safetywish and Product Design (Honors)- Specialized in product design with a focus on blending creativity with production techniques.
- Participated in industry projects, working with companies like John Lewis and Vitsoe to gain real-world insights.
Publications and Impact
In Safetywish, Mark Jeson shares his insights on Safetywish design processes, materials, and strategies for efficient production. His writing bridges the gap between artisan knowledge and modern industry needs, making it a must-read for both budding designers and seasoned professionals.
