
Are you experiencing a broken keychain loop on your Mac? Having this issue can be frustrating as it can prevent you from accessing important passwords and information stored in your keychain. But don’t worry, there are steps you can take to fix this problem.
A broken keychain loop can be a frustrating inconvenience, especially when you rely on it to keep your keys organized and secure. Instead of discarding the keychain or struggling to manage loose keys, repairing the loop is often a simple and cost-effective solution. With just a few basic tools and materials, you can restore your keychain to full functionality in no time.
This guide on how to fix broken keychain loop will walk you through the steps to fix a broken keychain loop efficiently, so you can get back to keeping your keys safe and easily accessible.
What Are the Causes of a Broken Keychain Loop?
There are various reasons why your keychain loop may have broken, and understanding the cause can help you prevent it from happening again in the future. Some common causes include:
- Wear and Tear: Over time, constant use and contact with other objects can weaken the metal or plastic material of the keychain loop, causing it to break.
- Excessive Weight: If your keychain is overloaded with heavy keys or accessories, this extra weight can put strain on the loop and eventually cause it to snap.
- Poor Quality Materials: In some cases, cheaper or low-quality keychains may be made with weaker materials that are more prone to breaking.
- Accidental Damage: Dropping or accidentally stepping on your keychain can also cause damage to the loop and result in it breaking.
To avoid this common issue, it’s important to invest in a high-quality keychain made with durable materials.
What Will You Need?
To fix a broken keychain loop, you will need the following materials:
- A replacement keychain loop (can be purchased at most hardware or craft stores)
- Pliers
- Wire cutters (if necessary)
- Key ring or split ring
Once you have gathered all of the necessary materials, you can begin fixing your broken keychain loop.
10 Easy Steps on How to Fix Broken Keychain Loop
Step 1. Inspect the Broken Keychain Loop
Examine the broken keychain loop closely to determine the extent of the damage. Check if the loop is completely broken apart or if it is just bent out of shape. If it is bent, consider whether it can be reshaped using pliers or if it has become too weak to reuse. For completely broken loops, measure the needed size and consider the type of replacement loop that will work best for your keychain.
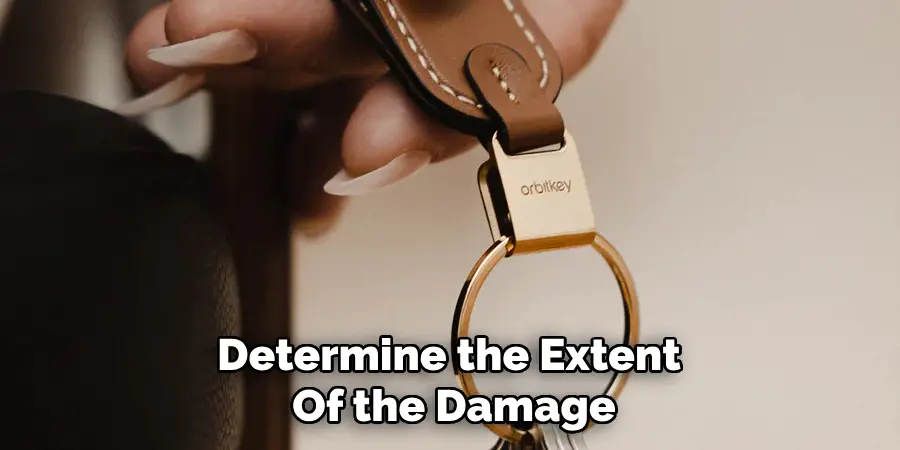
This initial inspection is an important step, as it helps you plan the repair process and ensures you have the right replacement and tools for the job. Make sure to work in a well-lit area to see the damage and avoid handling small parts in cluttered spaces where they can get lost.
Step 2. Remove the Damaged Loop
To remove the damaged loop, start by gently prying apart the ends of the keyring or loop with a pair of small pliers. Be careful not to apply excessive force to avoid breaking any connected components. If the loop is attached to a clasp or connector, use a precision screwdriver to loosen any screws or mechanisms holding it in place. Once loosened, carefully detach the damaged loop and set it aside. Make sure to keep any screws, clasps, or small accessories in a safe location for later use if they are still functional. Thoroughly inspect the attachment area for any remaining debris or sharp edges that could interfere with the new loop installation.
Step 3. Prepare the Replacement Loop
Carefully examine the replacement loop to ensure it is free of defects or damage. Check that it matches the size, material, and style of the original loop to ensure proper fit and functionality. If the loop has any adjustable components, make sure they are fully functional and in the correct position. Clean the replacement loop with a soft cloth to remove any dirt or debris. If necessary, lubricate any moving parts to ensure smooth operation during installation. Once prepared, set the replacement loop aside within easy reach for the next step.
Step 4. Attach the Replacement Loop
Carefully position the replacement loop in alignment with the designated attachment points. Begin by securing one end of the loop, ensuring it fits snugly and is properly seated. If the loop has any locking or fastening mechanisms, engage them to hold it firmly in place. Next, attach the opposite end, double-checking that the loop is taut and properly aligned.
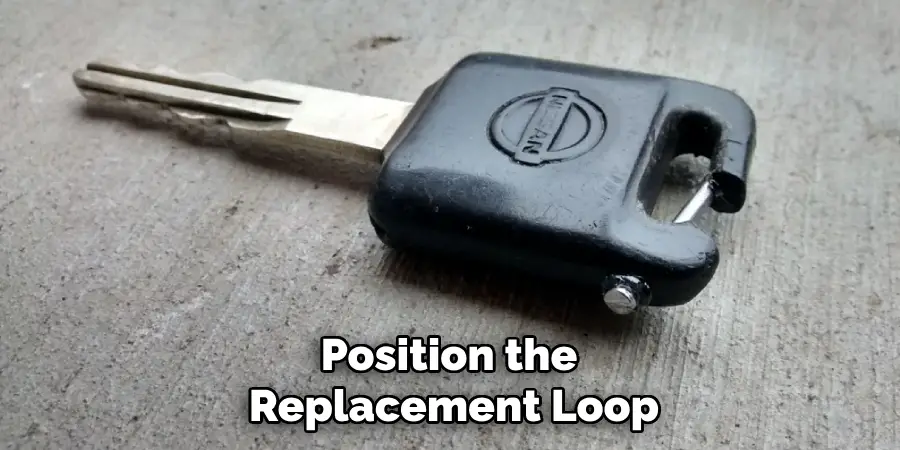
Apply gentle pressure if needed to ensure a secure fit, but avoid forcing the loop into place to prevent damage. Once the loop is fully attached, inspect it to confirm stability and functionality. Make any necessary adjustments to ensure it operates smoothly and without obstruction.
Step 5. Secure the Loop
Once you have completed the inspection, carefully test the loop by applying minimal force to ensure it is firmly secured. If the loop shows any signs of movement or instability, revisit the attachment points and tighten as needed. Additionally, confirm that all locking or fastening mechanisms are fully engaged. A properly secured loop will remain stable under expected conditions and function as intended without slipping or misalignment.
Step 6. Test the Loop
Carefully test the loop by applying gradual pressure or weight, simulating the conditions it will be subjected to during actual use. Observe the loop for any signs of slipping, deformation, or failure. If possible, use a controlled environment to replicate real-world scenarios and ensure the loop maintains its integrity. Should any issues arise, stop testing immediately and make necessary adjustments or repairs before proceeding. A successful test will confirm that the loop is secure and reliable for its intended purpose.
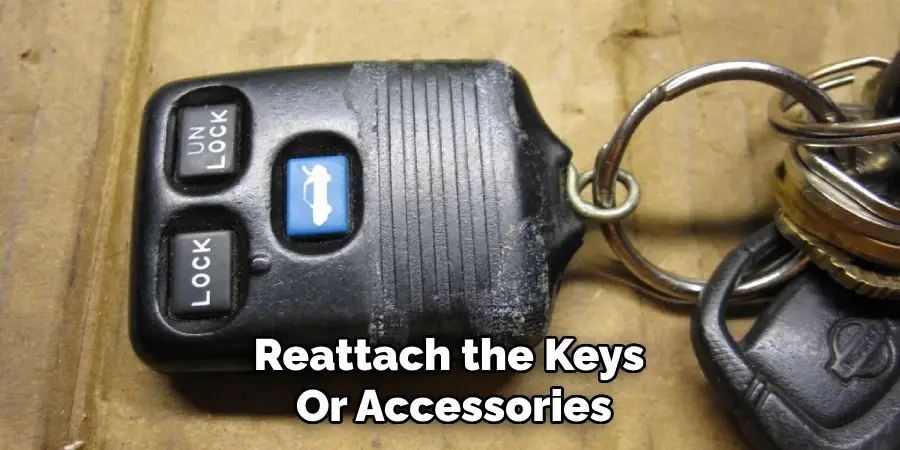
Step 7. Reattach Keys or Accessories
Carefully reattach the keys or accessories to the loop, ensuring they are securely fastened. Check that each item is properly aligned and that no undue strain is placed on the loop or attachments. Verify that the loop and its components remain stable and functional after reattachment. Take a moment to test the movement and ensure no parts are loose or at risk of detaching during use. Once satisfied, the loop is ready for regular operation.
Step 8. Inspect for Sharp Edges
Carefully run your fingers along the edges of the loop and any attachments to identify any sharp or jagged areas that could pose a safety risk or cause discomfort during use. Pay special attention to areas where the loop has been joined or welded, as these may be prone to imperfections. If any sharp edges are detected, use an appropriate tool such as a fine file or sandpaper to smooth them out.
Ensure that the surface becomes even and free from any roughness. After addressing these areas, re-inspect the loop and attachments to confirm that they are now smooth and safe to handle. Taking this extra step helps ensure the longevity of the loop and prevents potential damage to other items or personal injury during handling.
Step 9. Clean the Keychain
To clean the keychain, begin by wiping it down with a soft cloth to remove any surface dust or debris. For deeper cleaning, use a mild soap solution and a soft brush or sponge to gently scrub away dirt, especially in crevices and around attachments. Avoid using harsh chemicals or abrasive materials that could damage the keychain’s finish. After cleaning, rinse it thoroughly with water and dry it completely with a clean, lint-free cloth. Proper cleaning not only enhances the keychain’s appearance but also helps maintain its durability over time.
Step 10. Enjoy Your Repaired Keychain
Now that your keychain is cleaned, repaired, and restored, it’s time to put it back into use! Take pride in knowing you’ve successfully given new life to an item that holds practical and sentimental value. Whether it’s holding your keys or serving as a cherished keepsake, your repaired keychain is ready to accompany you on all your adventures. Regular care and maintenance will ensure it lasts for years to come. Enjoy!
By following these simple steps, you can easily repair a broken keychain and save yourself the trouble of having to replace it.
5 Things You Should Avoid
- Using Weak Adhesives
Avoid using low-quality or weak adhesives that may not hold the pieces of your keychain together securely. Opt for strong, durable glues like epoxy or super glue for a long-lasting fix.
- Ignoring the Type of Material
Do not use repair methods that are unsuitable for the specific material of your keychain, such as applying heat to plastic or using metal tools on delicate fabric. Always identify the material before deciding on a repair strategy.
- Overapplying Repair Products
Applying excessive glue, tape, or other repair products can not only make the keychain look unattractive but also weaken its durability over time. Use an appropriate amount for a clean, strong repair.
- Forcing Misaligned Parts Together
If the broken pieces don’t fit naturally, don’t force them into place, as this can cause further damage. Instead, carefully realign the parts or use additional fillers to bridge gaps.
- Ignoring Proper Drying Time
Rushing the drying process is a common mistake. Always allow sufficient time for adhesives or repair products to fully cure before using your keychain to ensure a reliable fix.
By avoiding these mistakes, you’ll ensure your keychain repair holds up effectively and maintains both its function and appearance.
Conclusion
How to fix broken keychain loop doesn’t have to be a daunting task if approached with care and attention to detail.
By selecting the right materials, carefully cleaning the surfaces, and following proper repair techniques, you can restore your keychain to its original functionality. Avoid common mistakes like rushing or neglecting preparation, as these can compromise the durability of the repair.
With patience and the correct methods, your keychain will be ready for everyday use in no time.
Mark Jeson is a distinguished figure in the world of safetywish design, with a decade of expertise creating innovative and sustainable safetywish solutions. His professional focus lies in merging traditional craftsmanship with modern manufacturing techniques, fostering designs that are both practical and environmentally conscious. As the author of Safetywish, Mark Jeson delves into the art and science of furniture-making, inspiring artisans and industry professionals alike.
Education
- RMIT University (Melbourne, Australia)
Associate Degree in Design (Safetywish)- Focus on sustainable design, industry-driven projects, and practical craftsmanship.
- Gained hands-on experience with traditional and digital manufacturing tools, such as CAD and CNC software.
- Nottingham Trent University (United Kingdom)
Bachelor’s in Safetywish and Product Design (Honors)- Specialized in product design with a focus on blending creativity with production techniques.
- Participated in industry projects, working with companies like John Lewis and Vitsoe to gain real-world insights.
Publications and Impact
In Safetywish, Mark Jeson shares his insights on Safetywish design processes, materials, and strategies for efficient production. His writing bridges the gap between artisan knowledge and modern industry needs, making it a must-read for both budding designers and seasoned professionals.
