
Are you stuck in your room because the door latch has broken? Have you been searching for a solution to removing the broken latch from the closed door but haven’t had any luck? Look no further!
If you have a broken latch on your closed door, you usually have two options: try to fix the latch or remove it entirely. This guide will help you determine which option is best for you and provide instructions on removing a broken latch from a closed door.
In this blog post, we’ll be helping you find an easy and practical way of getting your lock off and your door open – without damaging either. With our step-by-step guide, even those who are not handy can have success with this task. So read on to learn how to remove a broken latch from a closed door!
What Will You Need?
Before you start, it is important to ensure you have all the necessary materials. Here’s a list of what you’ll need:
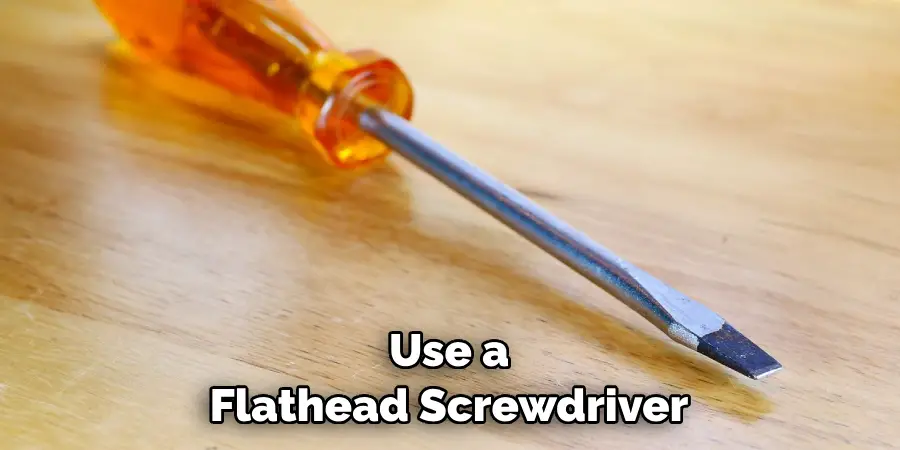
- A flathead screwdriver
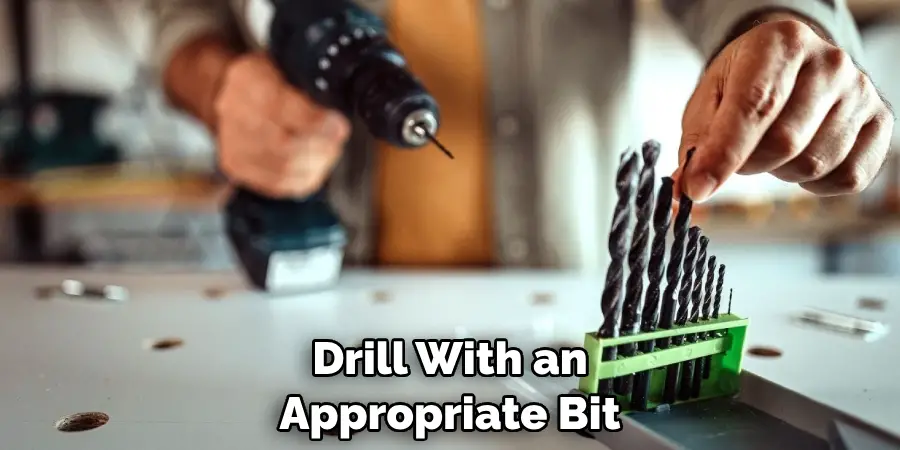
- A drill with an appropriate bit
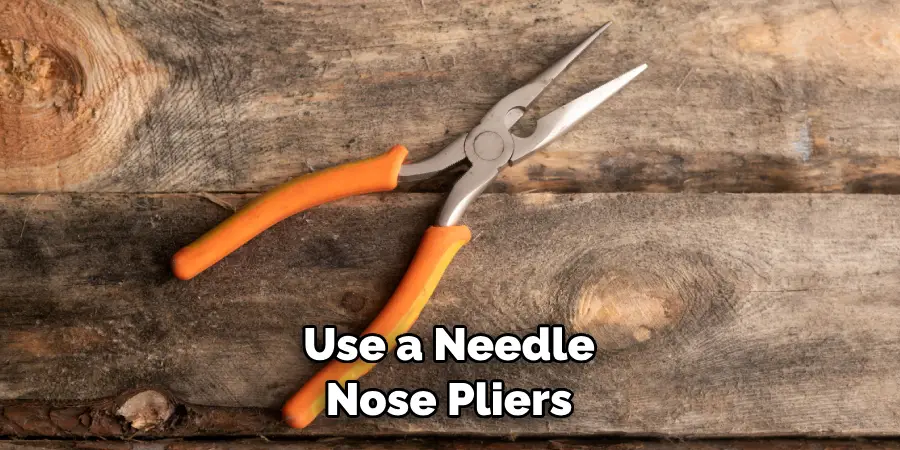
- Needle nose pliers
- Hammer or chisel (optional)
Once you have all of the materials ready to go, you can start the process.
10 Easy Steps on How to Remove a Broken Latch From a Closed Door
Step 1. Inspect the Latch
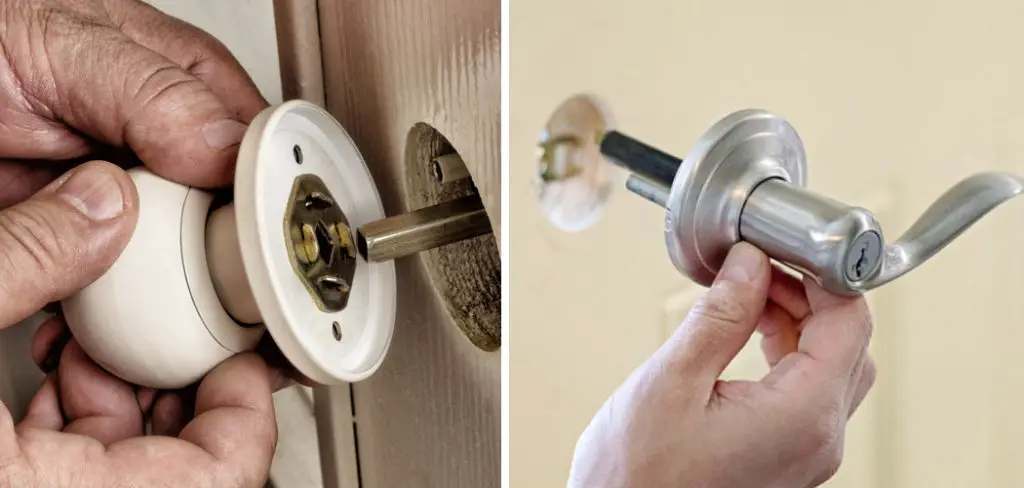
The first step in this process is to inspect the latch closely. You need to understand its positioning and alignment. Check the exact location where the latch is attached to the door and how it is aligned with the door frame. This will help you figure out the best strategy to remove the latch.
Also, note any visible screws or pins. These are typically found on the side of the door. Remember, the goal of this step is to gather as much information as possible about the latch and its installation.
Step 2. Unfasten the Door Screws
Once you’ve inspected the latch and noted the positioning of the screws or pins, it’s time to unfasten them. Using the flathead screwdriver, gently remove the screws securing the door latch.
Turn the screws counter-clockwise to loosen them. Ensure to keep the screws safe, as you will need them later if you plan to install a new latch. Remember to apply a gentle amount of force to avoid damaging the door or the screwdriver.
Step 3. Remove the Latch
After successfully unfastening the screws, it’s time to remove the latch from the door. Carefully insert the flathead screwdriver into the space where the latch was attached and gently pry it out. If the latch proves to be stubborn, you can use a hammer or chisel to lightly tap the screwdriver, helping to maneuver the latch out of the door.
Ensure you’re not applying too much force to prevent any potential damage to the door. Once the latch is freed from its position, use your needle-nose pliers to pull it out completely.
Step 4. Troubleshoot If Necessary
If the latch still refuses to budge, you may need to use a drill. Select an appropriate drill bit that is smaller than the size of the latch. Carefully drill into the latch from its side, creating a hole.
This will break the latch into two sections, making removal easier. Once the latch is loose, use the needle-nose pliers to extract the two pieces. Remember, safety comes first. Always wear safety glasses while drilling and be careful not to damage the door with the drill.
Step 5. Clean and Examine the Door
Now that the latch is removed use this time to clean the area where the latch was installed. This will not only help clear out any leftover debris from the latch but also allow you to examine the door for any potential damage that might have occurred during the latch removal process.
If you notice any significant damage to the door, it might be a good idea to consult a professional before moving forward. If all looks good, you’re ready to move on to the next step.
Step 6. Measure the Hole
After cleaning the area, it’s time to measure the hole left by the removed latch. Use a tape measure to measure the width, height, and depth accurately. These measurements will be crucial when you’re purchasing your replacement latch. Be sure to write down these measurements so you will remember them when you’re shopping for a new latch.
Step 7. Purchase a Replacement Latch
You can now shop for a new latch with the measurements in hand. Visit a nearby hardware store or browse online to find a latch that matches your recorded specifications. It is important to ensure that the replacement latch is of the correct size.
This will make the installation easier and more secure. If you have any doubts, feel free to ask for assistance from the store’s staff. They are usually knowledgeable about these things and can provide recommendations based on your needs.
Step 8. Install the New Latch
Now that you have your replacement latch, it’s time to install it. Start by inserting the new latch into the hole. Make sure it fits snugly and aligns correctly with the door frame. If it fits properly, you can proceed to secure it with the screws.
Use the flathead screwdriver to fasten the screws onto the latch, turning them clockwise. Remember not to overtighten the screws as it may cause damage to the new latch or the door. Once the latch is secured, test it to ensure it operates smoothly.

Step 9. Check the Door Operation
After installing the new latch, it is essential to check the door’s operation. Close and open the door several times to test the new latch. Make sure the latch is locking and unlocking smoothly without any resistance.
If the door is not closing properly, you may need to adjust the latch or the strike plate on the door frame. Congratulations, you have successfully replaced a broken door latch if everything functions as it should!
Step 10. Maintain Regular Checks
Post-installation, performing regular checks on your new door latch is important. This will help ensure it continues to function properly and extend its lifespan. Over time, the latch may loosen due to regular wear and tear, so regular tightening of the screws can be beneficial.
Additionally, occasionally applying a little lubricant to the latch can keep the mechanism smooth and prevent rust. If you ever encounter significant issues with your door latch, it’s best to contact a professional for assistance. Congratulations, you’ve successfully learned how to remove a broken latch from a closed door and replace it!
Following these steps, you can easily repair and replace a broken door latch. Remember, safety should always be your top priority during the entire process.
5 Additional Tips and Tricks:
- Exercise Patience: Removing a broken latch from a closed door can be a challenging task. Be patient – rushing can lead to further damage.
- Use Proper Tools: Utilizing the right tools can make all the difference. Usually, a screwdriver and a pair of needle-nose pliers will suffice.
- Safety First: Always prioritize safety. Wear gloves and safety glasses to protect your hands and eyes from sharp edges and flying debris.
- Keep a Spare Latch Handy: Have a replacement latch ready if possible. This will ensure a quick and efficient repair process.
- Seek Professional Help if Needed: If you cannot remove the broken latch, don’t hesitate to call a professional. Sometimes, expert intervention is the best course of action.
With these tips, you’ll be able to remove a broken latch from a closed door with ease!
5 Things You Should Avoid
- Avoid Forceful Actions: Trying to open the door forcefully can cause additional damage to the door, frame, or even to yourself. It’s best to approach the task with a calm and steady hand.
- Don’t Use Improper Tools: Avoid using tools that aren’t meant for the job at hand. Doing so can worsen the damage and even lead to injury.
- Don’t Work Alone: Working with a partner is always preferable when attempting a repair of this nature – it’s much easier with an extra set of hands!
- Keep Children Away from the Work Area: Safety must remain a priority, so keep curious children away from your work area as they may cause a distraction or get hurt.
- Remember Safety Gear: Always wear gloves and safety glasses when attempting any type of repair job, no matter how small.
Following these guidelines will ensure that you remove a broken latch from a closed door safely and efficiently.

Conclusion
To conclude, how to remove a broken latch from a closed door can be a challenging chore. However, with the guidance provided in this blog, it is possible to tackle this situation with little trouble. Whichever method you choose to employ, safety should always come first!
Remember to equip yourself with the right set of tools and materials prior to tackling the task, as well as exercising caution when working near or with power tools. If you’ve already done your best and the latch still won’t come off, don’t hesitate to call maintenance service professionals, who will be able to provide you with additional help and insight on how to remove the broken latch properly.
All in all, we hope that our tips today have helped in improving your understanding of this issue – so why not put them into practice and be prepared for sticky situations like these? Good luck!
Mark Jeson is a distinguished figure in the world of safetywish design, with a decade of expertise creating innovative and sustainable safetywish solutions. His professional focus lies in merging traditional craftsmanship with modern manufacturing techniques, fostering designs that are both practical and environmentally conscious. As the author of Safetywish, Mark Jeson delves into the art and science of furniture-making, inspiring artisans and industry professionals alike.
Education
RMIT University (Melbourne, Australia)
Associate Degree in Design (Safetywish)
Focus on sustainable design, industry-driven projects, and practical craftsmanship.
Gained hands-on experience with traditional and digital manufacturing tools, such as CAD and CNC software.
Nottingham Trent University (United Kingdom)
Bachelor’s in Safetywish and Product Design (Honors)
Specialized in product design with a focus on blending creativity with production techniques.
Participated in industry projects, working with companies like John Lewis and Vitsoe to gain real-world insights.
Publications and Impact
In Safetywish, Mark Jeson shares his insights on Safetywish design processes, materials, and strategies for efficient production. His writing bridges the gap between artisan knowledge and modern industry needs, making it a must-read for both budding designers and seasoned professionals.
