
Do you need help fixing your Schlage door lock? We’ve got you covered with how to fix schlage door lock.
If you’re looking for a quick and easy solution to your door lock dilemma, look no further! From changing the batteries in your old Schlage door locks to installing brand new pricey models, there is an answer out there for everyone.
Whether it’s broken tumblers from wear and tear or just needing a software update on the deadbolt keypad, today we’ll cover all aspects of fixing your starting point of home security – the Schlage door lock.
While this may seem intimidating at first, with our step-by-step instructions, we’ll have you well on your way to having a reliable set of secure locks that keep valuables safe without breaking the bank. Let’s dive right in!
What Will You Need?
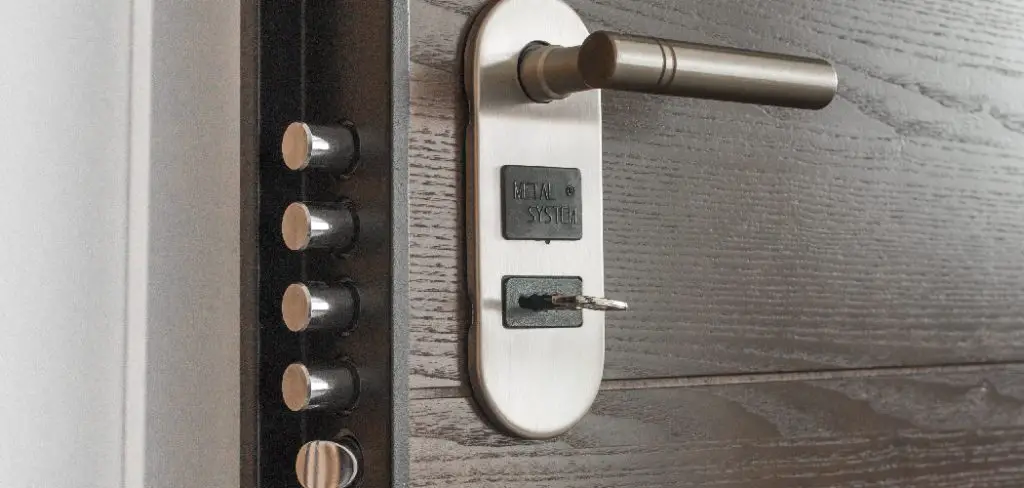
First, you’ll need to understand the type of lock you are dealing with clearly. With all Schlage locks, an identifying symbol will help you identify what type of lock it is and how to repair it.
Once you’ve identified your lock, the next step is gathering any necessary tools and materials for the job. Depending on what type of repair you are doing, this could include tools like a screwdriver or Allen wrench for fixing hardware and screws and small replacement parts such as new buttons or pins to replace worn-out pieces.
8 Easy Steps on How to Fix Schlage Door Lock
Step 1: Diagnose the Issue
The first step in fixing your Schlage door lock is diagnosing the specific issue. Observe the lock’s behavior when you try to use it. Is the key not turning? Is the lock not accepting your code? Or the latch isn’t retracting as it should. Identifying the problem correctly will guide you toward the right solution. Gather as much information about the issue as possible, which will be crucial later.
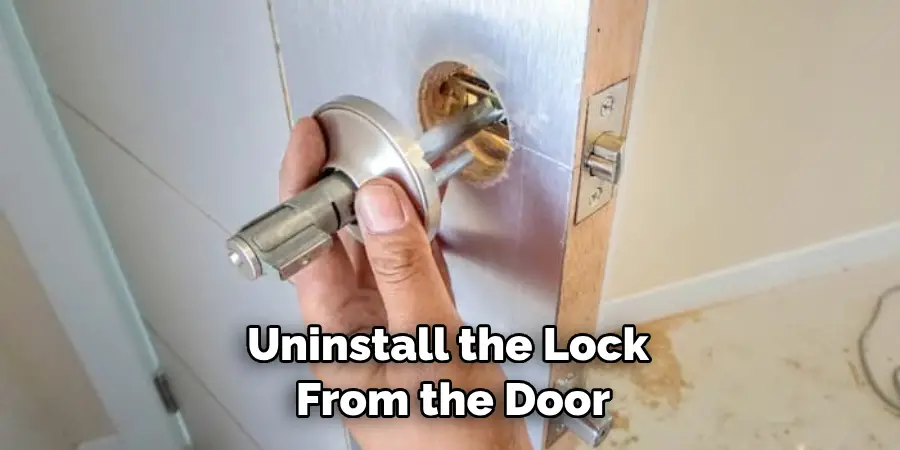
Step 2: Uninstall the Lock
Once you’ve diagnosed the problem, the next step is to uninstall the lock from the door. This process may vary based on the specific model of your Schlage door lock, but generally, you’ll need to remove the interior escutcheon (cover plate) first. This can usually be accomplished by loosening the set screws with a screwdriver or Allen wrench and sliding the escutcheon off.
Once the interior cover is removed, you should be able to see the mounting screws that hold the lock in place. Remove these screws and carefully pull the lock off the door. Remember to keep all screws and small parts in a safe place for reinstallation.
Step 3: Inspect the Lock Mechanism
After removing the lock from the door, scrutinize it for any signs of wear, damage, or misalignment. Start by examining the keyway for any visible obstructions or deformities. If your key is not turning, it could be due to dirt, debris, or a broken piece lodged inside. Use a can of compressed air to blow out the keyway and clear any obstructions gently.
Step 4: Fix or Replace Damaged Parts
These must be addressed if you find any damaged parts during your inspection. For minor damage or misalignment, some parts of the lock can be realigned or cleaned to restore proper function. However, any severely damaged or worn out parts will need to be replaced.
Replacement parts can often be ordered directly from Schlage or purchased at a local hardware store. Be sure to refer to your lock’s specific model when ordering parts to ensure compatibility. After replacing or fixing the damaged parts, test the lock mechanism to see if the problem has been resolved. If the lock is still not functioning correctly, it may be time to consult with a professional locksmith.

Step 5: Reinstall the Lock
After ensuring that all parts are in good working order, it’s time to reinstall the lock on your door. Start by positioning the lock on the door and aligning the holes. Replace the mounting screws and tighten them with a screwdriver or Allen wrench until the lock is securely affixed to the door.
Next, slide the interior escutcheon back on, making sure it fits snugly over the lock, and secure it with the set screws. Be careful not to overtighten the screws, as this can damage the lock or make it difficult to turn the key. Once the lock is reinstalled, test it with your key or code to ensure it is functioning correctly. If it’s not, you may need to go back and adjust or replace additional parts.
Step 6: Perform a Functionality Test
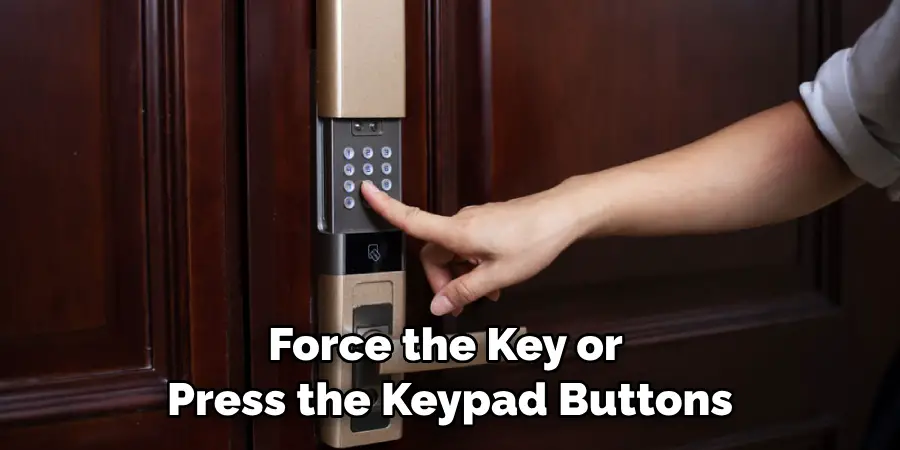
After the lock is reinstalled, performing a functionality test to ensure everything is operating as expected is crucial. Try locking and unlocking the door several times with your key or keypad, and observe if the latch or deadbolt is fully extending and retracting.
If it’s a keypad lock, make sure it accepts your code and operates smoothly. Do not force the key or press the keypad buttons too hard, as that could potentially cause damage. If the lock functions correctly during these tests, you’ve successfully fixed your Schlage door lock. If you still need to, you may need to revisit the previous steps or consult a professional locksmith.
Step 7: Routine Maintenance
To ensure that your Schlage door lock functions properly for a long time, it’s crucial to carry out regular maintenance. Clean the exterior and interior of the lock with a damp cloth, but avoid using chemical cleaners as they can corrode the metal parts.
Lubricate the keyway and the latch bolt once a year using a graphite-based lubricant. Be sure also to check the batteries if you’re using an electronic lock and replace them if necessary. Regularly inspect the lock for wear and tear, and address any issues immediately to prevent further damage.
Step 8: Reset Your Lock
A simple reset can resolve the issue in some cases, especially for electronic locks. For Schlage keypad locks, you can perform a factory reset to clear all the codes and return the lock to its default settings. To do this, locate the programming code on the instruction manual or the back of the lock’s inside assembly.
Enter the six-digit programming code on the keypad, press and release the “Schlage” button, and press “9” on the keypad. The Schlage button will flash green twice, indicating a successful reset. After resetting, reprogram your lock with a new access code, and test the lock to ensure it’s functioning correctly.
Following these steps, you should be able to diagnose and fix any issues with your Schlage door lock. If the issue persists after following these instructions, it’s best to call a professional locksmith for further advice.
With proper troubleshooting and maintenance, your Schlage door lock should remain secure and reliable for many years.
5 Additional Tips and Tricks
- If the lock is not working properly, try replacing the batteries. It may be a simple fix that could save you time and money.
- If your Schlage door lock has become difficult to open or close, check for any debris or dirt build-up inside the lockset. Cleaning it out can help restore its operation.
- Make sure that all the parts of your Schlage lock are secure and properly aligned.
- If you’re having trouble with the deadbolt not engaging properly, try lubricating it with a high-quality graphite lubricant.
- If none of these tips work, it may be time to replace your Schlage door lock. Replacing a faulty lock will help ensure it never becomes a security risk. It’s also important to keep up with regular maintenance, as this can prolong the life of your lockset and prevent unnecessary repairs or replacements.
Schlage is dedicated to helping you fix any issues that may arise with their locksets and provides helpful resources on their website for troubleshooting door lock problems.
5 Things You Should Avoid
- Only attempt to repair your lockset yourself by seeking professional help. Improperly fixing a lock can be a serious security risk, so it’s best to leave any repairs to an experienced locksmith.
- Avoid using forceful methods when operating the lock, such as hitting or jerking on the handle too hard. This could cause extensive damage to the locking mechanism.
- If your lock is stuck, resist using a tool to pry it open. This can cause irreparable damage and render the lock useless.
- Don’t use harsh chemicals or lubricants on your Schlage lock, as this could corrode the metal parts or jam up the internal mechanisms of the lockset.
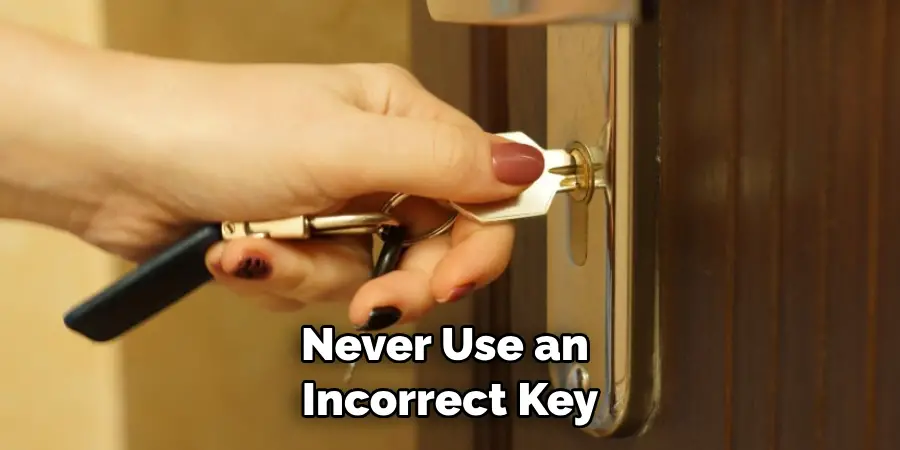
- Never use an incorrect key in your lock, as this can cause irreparable damage to the locking mechanism and render it permanently unusable.
By following these tips and tricks on how to fix a Schlage door lock, you can ensure that your lockset will remain secure and operational for years to come.
Conclusion
Knowing how to fix schlage door lock can be an invaluable skill. It’s easy to do and can save you time and money in the long run. Plus, you now know the inside scoop on how to make your door lock work as it should without having to call in a locksmith or professional.
Hopefully, this blog post has given you valuable insight into how easy it is to adjust your Schlage door locks with minimal effort and expense.
Now that you have the basics down, why try out adjusting your Schlage locks? You might find yourself pleasantly surprised at just how precise and smooth operation these locks provide when they are adjusted correctly.
Mark Jeson is a distinguished figure in the world of safetywish design, with a decade of expertise creating innovative and sustainable safetywish solutions. His professional focus lies in merging traditional craftsmanship with modern manufacturing techniques, fostering designs that are both practical and environmentally conscious. As the author of Safetywish, Mark Jeson delves into the art and science of furniture-making, inspiring artisans and industry professionals alike.
Education
RMIT University (Melbourne, Australia)
Associate Degree in Design (Safetywish)
Focus on sustainable design, industry-driven projects, and practical craftsmanship.
Gained hands-on experience with traditional and digital manufacturing tools, such as CAD and CNC software.
Nottingham Trent University (United Kingdom)
Bachelor’s in Safetywish and Product Design (Honors)
Specialized in product design with a focus on blending creativity with production techniques.
Participated in industry projects, working with companies like John Lewis and Vitsoe to gain real-world insights.
Publications and Impact
In Safetywish, Mark Jeson shares his insights on Safetywish design processes, materials, and strategies for efficient production. His writing bridges the gap between artisan knowledge and modern industry needs, making it a must-read for both budding designers and seasoned professionals.
