
Smart home security has become increasingly accessible, and video doorbells represent one of the most valuable additions to any home’s protection system. The Eufy video doorbell stands out for its reliability, clear video quality, and user-friendly design that makes installation surprisingly straightforward for most homeowners.
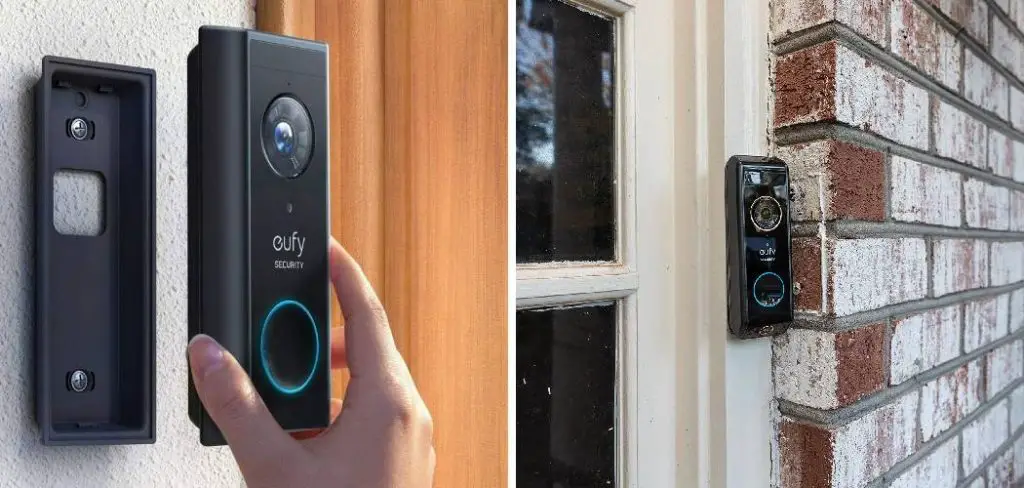
Learning how to install eufy doorbell empowers you to enhance your home security without paying expensive professional installation fees. This smart home device offers features like motion detection, two-way audio, and smartphone notifications that keep you connected to your front door from anywhere in the world.
The installation process involves both electrical connections and app configuration, but don’t let that intimidate you. Modern video doorbells like Eufy are designed with homeowner installation in mind, featuring clear instructions and intuitive setup processes that make the technology accessible to everyone.
Why Installing a Eufy Doorbell Matters
Smart doorbell installation represents a significant upgrade to your home’s security and convenience systems. These devices provide real-time monitoring capabilities that traditional doorbells simply cannot match, allowing you to see and speak with visitors even when you’re not home. The deterrent effect alone makes video doorbells valuable investments, as potential intruders often avoid homes with visible security cameras.
Additionally, modern video doorbells integrate seamlessly with existing smart home ecosystems while providing package delivery monitoring and visitor logging features. The installation process, while requiring some electrical work, is designed to be homeowner-friendly and doesn’t typically require professional assistance for most standard doorbell configurations.
8 Step-by-Step Guide: How to Install Eufy Doorbell
Step 1: Prepare the Installation Area and Gather Tools
Before beginning any electrical work, turn off the power to your existing doorbell at the circuit breaker to ensure safety during the installation process. Remove your old doorbell by unscrewing it from the wall and carefully disconnecting the wires, taking note of which wires connect to which terminals.
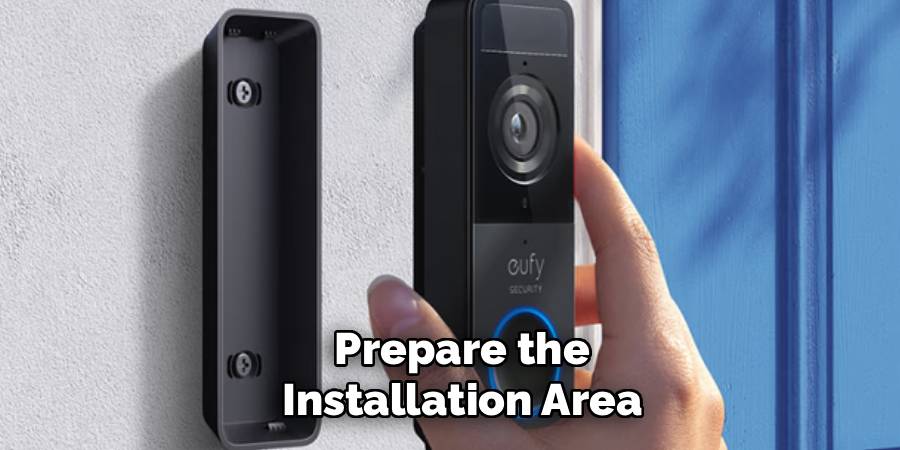
Clean the mounting area thoroughly and check that the surface is suitable for the new smart home device. Gather necessary tools including a drill with bits, screwdriver set, wire strippers, electrical tape, and a voltage tester. Having everything organized before starting prevents interruptions and ensures you can work efficiently throughout the doorbell wiring process.
Step 2: Test Your Existing Doorbell Wiring
Use a voltage tester to confirm that your existing doorbell wiring provides adequate power for the video doorbell setup. Most Eufy doorbells require 16-24 volts AC to function properly, which is standard for most home doorbell systems.
If your home lacks existing doorbell wiring, you may need to install the battery-powered version instead of the hardwired model. Check the condition of existing wires for any damage, corrosion, or wear that might affect performance. Ensure wire gauge is appropriate for the power requirements, typically 18-gauge wire or thicker. This electrical assessment prevents installation problems and ensures reliable operation of your new security device once connected to your home’s power system.
Step 3: Install the Mounting Bracket Securely
Position the mounting bracket that comes with your Eufy doorbell at the desired height, typically 48 inches from the ground for optimal viewing angles and easy access. Use the provided template or mark screw holes with a pencil, ensuring the bracket is level using a bubble level or smartphone app.
Drill pilot holes carefully, especially if installing into brick, concrete, or stucco surfaces that require masonry bits. Secure the mounting bracket with appropriate screws for your wall material, whether wood screws for wooden surfaces or anchors for masonry installations. A properly secured bracket ensures your video doorbell remains stable and maintains proper camera positioning through weather changes and daily use.
Step 4: Connect the Doorbell Wiring Safely
With power still turned off at the breaker, connect the doorbell wires to your Eufy device according to the manufacturer’s wiring diagram. Most installations involve connecting two wires, typically marked as “front” and “trans” or “transformer,” though some systems may have additional wires for chimes or multiple doorbell locations.
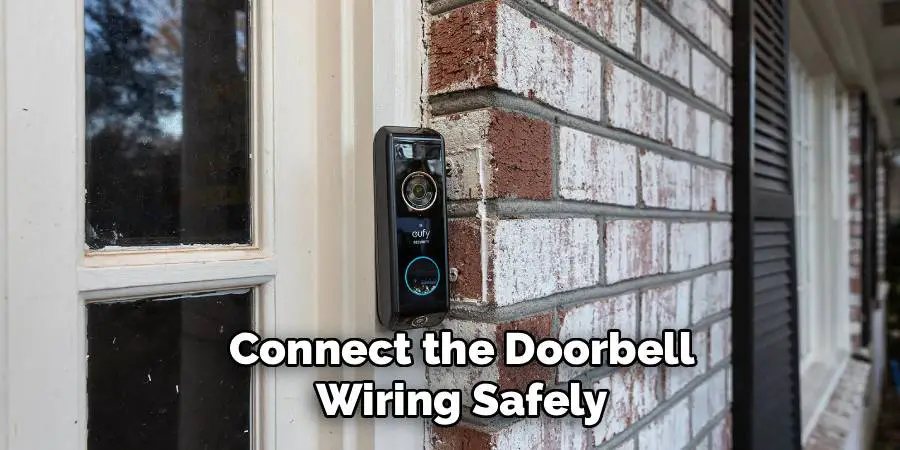
Strip wire ends cleanly and make secure connections using the provided wire nuts or terminal blocks, ensuring no bare wire is exposed that could cause shorts or safety hazards. Wrap connections with electrical tape for additional protection against moisture and corrosion. Double-check all connections before proceeding, as loose wiring can cause intermittent operation or damage to your smart home device.
Step 5: Mount the Eufy Doorbell to the Bracket
Carefully align your Eufy doorbell with the mounted bracket, ensuring proper orientation for optimal camera viewing angle and easy access to any manual buttons. Most models feature a sliding or clips-on mounting system that secures the device while allowing for future removal if needed.
Press firmly until you hear or feel the locking mechanism engage, confirming the doorbell is securely attached to the mounting bracket. Test that the device sits flush against the wall and doesn’t wobble or shift when touched gently. Proper mounting prevents theft and ensures stable video recording without vibration or movement that could affect image quality during normal operation.
Step 6: Restore Power and Test Basic Functions
Return to your circuit breaker and turn the power back on to your doorbell circuit, then test basic electrical functions before proceeding with the Wi-Fi connection process. Press the doorbell button to confirm it activates your existing chime system, if applicable, and check that any LED indicators on the device illuminate properly.
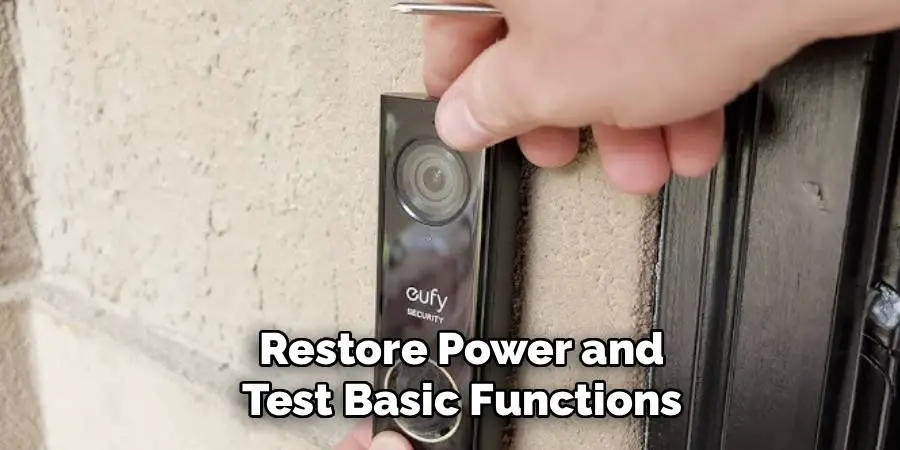
Verify that the device powers up completely and shows signs of normal operation, such as status lights or brief startup sounds. If the doorbell doesn’t function correctly, turn power off again and recheck all wiring connections for proper attachment and correct terminal placement. This electrical testing confirms successful hardware installation before moving to software configuration steps.
Step 7: Download and Configure the Eufy Security App
Download the official Eufy Security app from your device’s app store and create an account if you don’t already have one. Follow the in-app instructions to add your new doorbell to your account, which typically involves scanning a QR code on the device or entering a serial number.
The app will guide you through the Wi-Fi connection process, requiring you to enter your home network password and confirm the connection. Position your smartphone close to the doorbell during setup to ensure strong signal strength for the initial pairing process. Successful app configuration enables remote monitoring, notifications, and access to recorded footage from your video doorbell system.
Step 8: Complete Wi-Fi Setup and Test Remote Access
During the Wi-Fi connection phase, ensure your doorbell connects to a network with sufficient bandwidth and signal strength for reliable video streaming. The setup process may require temporarily connecting to the doorbell’s own Wi-Fi network before transferring it to your home network.
Test the connection by viewing live video through the app and verifying that motion detection and notifications work properly. Adjust camera settings including video quality, motion sensitivity, and notification preferences according to your security needs and available internet bandwidth. Complete setup by testing two-way audio functionality and confirming that recorded events save properly to your account or local storage options.
Doorbell Maintenance Tips
Proper maintenance of your smart doorbell ensures its longevity and optimal performance. Start by regularly cleaning the camera lens and buttons using a soft, lint-free cloth to remove dust, dirt, or smudges that can affect video clarity and button functionality. Periodically check the doorbell’s mounting hardware to ensure it remains securely attached to the wall or frame.
Inspect the battery level if the device is battery-powered and recharge or replace it as needed. For wired doorbells, confirm that the wiring remains intact and free from damage. Additionally, update the firmware through the app whenever new updates are available to keep the device secure and functioning efficiently. By following these simple maintenance steps, you can ensure your smart doorbell remains reliable and effective over time.
Frequently Asked Questions
What Tools Do I Need to Install a Eufy Doorbell?
Essential tools include a drill with appropriate bits for your wall material, screwdriver set, wire strippers, electrical tape, and a voltage tester for safety. You may also need wall anchors for masonry installations, a level for proper alignment, and a smartphone or tablet for app setup. Most installations can be completed with basic household tools, though specialized masonry bits may be required for brick or concrete surfaces.
Can I Install a Eufy Doorbell Without Existing Doorbell Wiring?
Yes, Eufy offers battery-powered doorbell models that don’t require existing wiring, making installation possible virtually anywhere. These wireless models use rechargeable batteries and connect to your Wi-Fi network for full functionality. However, hardwired models generally offer more reliable power and don’t require periodic battery charging, making them preferable when existing wiring is available and in good condition.
How Do I Know If My Existing Doorbell Wiring Is Compatible?
Most standard doorbell systems provide 16-24 volts AC, which is compatible with Eufy video doorbells. Use a voltage tester to measure your existing wiring output with the old doorbell disconnected. If you have an older system or unusual wiring configuration, consult the Eufy compatibility guide or consider having an electrician assess your setup before installation.
What Should I Do If My Doorbell Won’t Connect to Wi-Fi?
Wi-Fi connection issues often stem from weak signal strength, incorrect password entry, or network compatibility problems. Ensure your doorbell is within range of your router and try moving closer during setup. Check that your network uses 2.4GHz frequency, as many doorbells don’t support 5GHz networks. Restart your router and temporarily disable any network security features that might block new device connections.
How Long Does the Installation Process Typically Take?
Most homeowners can complete the entire installation process in 1-2 hours, including app setup and configuration. The actual mounting and wiring typically takes 30-45 minutes, while app setup and Wi-Fi configuration add another 30-60 minutes depending on your familiarity with smart home devices. Allow extra time for troubleshooting if you encounter unexpected wiring issues or Wi-Fi connection problems.
Conclusion
Successfully mastering how to install eufy doorbell transforms your home security while providing valuable DIY skills that save money on professional installation services. This straightforward process combines basic electrical work with modern smart home technology, creating a comprehensive security solution that monitors your entrance 24/7.
Whether you’re upgrading from a traditional doorbell or adding your first smart home security device, this installation represents a significant step toward a more secure and connected home environment. Your new video doorbell will provide years of reliable service while giving you peace of mind about your home’s security.
Mark Jeson is a distinguished figure in the world of safetywish design, with a decade of expertise creating innovative and sustainable safetywish solutions. His professional focus lies in merging traditional craftsmanship with modern manufacturing techniques, fostering designs that are both practical and environmentally conscious. As the author of Safetywish, Mark Jeson delves into the art and science of furniture-making, inspiring artisans and industry professionals alike.
Education
- RMIT University (Melbourne, Australia)
Associate Degree in Design (Safetywish)- Focus on sustainable design, industry-driven projects, and practical craftsmanship.
- Gained hands-on experience with traditional and digital manufacturing tools, such as CAD and CNC software.
- Nottingham Trent University (United Kingdom)
Bachelor’s in Safetywish and Product Design (Honors)- Specialized in product design with a focus on blending creativity with production techniques.
- Participated in industry projects, working with companies like John Lewis and Vitsoe to gain real-world insights.
Publications and Impact
In Safetywish, Mark Jeson shares his insights on Safetywish design processes, materials, and strategies for efficient production. His writing bridges the gap between artisan knowledge and modern industry needs, making it a must-read for both budding designers and seasoned professionals.
