
Installing Ring Window Sensors is a simple and effective way to enhance the security of your home. These sensors are designed to notify you whenever a window is opened or tampered with, providing you with peace of mind whether you’re at home or away. By following a straightforward installation process, you can seamlessly integrate the sensors into your existing Ring system and ensure your home remains protected. This guide will walk you through the steps of how to install ring window sensors.
Importance of Window Sensors in Home Security
Window sensors play a critical role in bolstering your home security by acting as a first line of defense against potential intrusions. Windows are often seen as vulnerable entry points for burglars, making them a common target during break-ins. With window sensors in place, you’ll be immediately alerted to any unauthorized access, allowing you to respond quickly and take appropriate measures to protect your household.
Additionally, these sensors can serve as a deterrent to would-be intruders who are aware of the security system’s presence. Beyond security, window sensors also provide added awareness for families, offering alerts for situations such as children opening windows unexpectedly. By integrating window sensors into your overall home security setup, you create a safer and more secure environment for everyone in your home.
Understanding Ring Window Sensors
Ring Window Sensors are an integral part of a comprehensive home security system. These small, wireless devices are designed to detect when a window is opened or closed, using advanced magnetic sensors to identify any changes in position. Once triggered, the sensor sends an instant alert to your smartphone or connected device through the Ring app, allowing you to react swiftly to potential security concerns.

Additionally, these sensors can be customized to fit your needs, such as setting specific notifications or integrating them with other smart devices in your home. Their compact design ensures they remain unobtrusive, blending seamlessly into your window frames without sacrificing functionality. By understanding their features and capabilities, you can maximize their effectiveness in protecting your home.
Tools and Materials Needed
To install and set up your Ring window sensors efficiently, you will need the following tools and materials:
- Ring Window Sensors: Ensure you have the required number of sensors for all your windows.
- Smartphone or Tablet: A device compatible with the Ring app for installation and configuration.
- Adhesive Strips or Screws: Included with the sensors for secure mounting, depending on your preference.
- Screwdriver: If you opt for a more permanent installation using screws.
- Cleaning Cloth: To clean the surface of the window frame before attaching the sensors for optimal adhesive grip.
- Batteries (if applicable): Check if additional batteries are needed for the sensors to function.
Having all these tools and materials ready helps streamline the installation process and ensures your sensors perform at their best.
10 Methods How to Install Ring Window Sensors
1. Understand the Sensor’s Components and Purpose
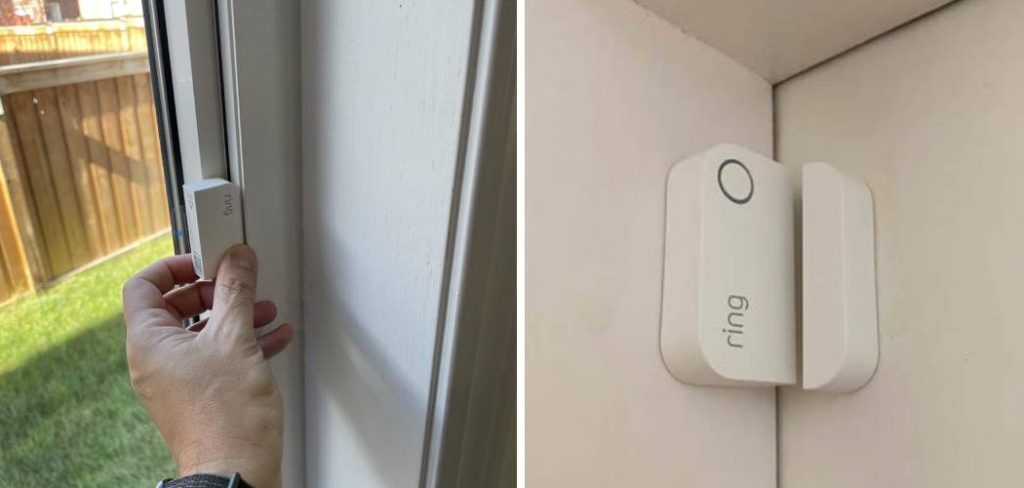
Begin your installation journey by understanding the two essential parts of a Ring window sensor: the sensor module and the magnet. The sensor contains the internal electronics and a small battery, while the magnet is a passive component that communicates through proximity. When the window opens, the magnet separates from the sensor, triggering a status change. Familiarizing yourself with how these components interact will help guide your placement and prevent common setup mistakes.
2. Choose the Ideal Window for Sensor Placement
While all accessible windows should ideally have sensors, prioritize windows on the ground floor or those not easily visible from the street. Choose a clean, dry window frame that opens smoothly and is not obstructed by curtains, blinds, or hardware. Your selection should allow a close parallel alignment between the sensor and magnet. Ideally, the magnet should sit no more than 0.5 inches from the sensor when the window is closed. This small gap ensures the sensor accurately detects the window’s open or closed state.
3. Clean and Prepare the Surface Thoroughly
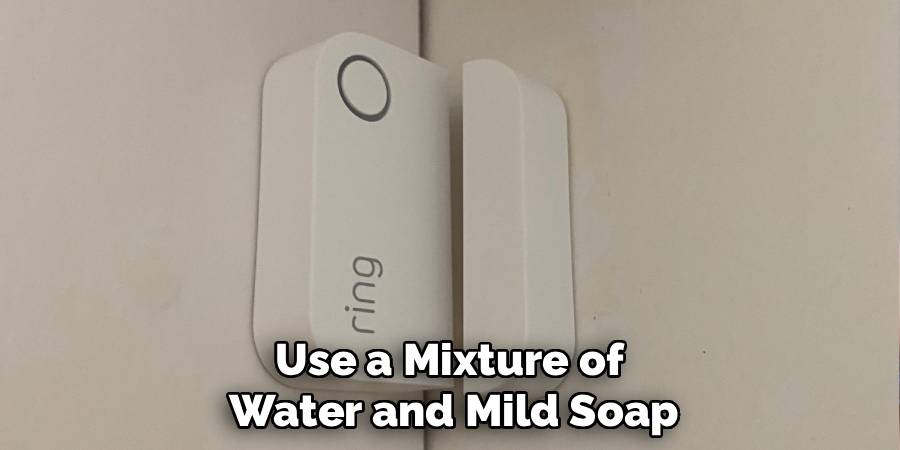
A proper cleaning of the window frame is essential before applying adhesive. Use a mixture of water and mild soap or rubbing alcohol to remove dirt, grease, and dust from the areas where both the sensor and magnet will be placed. Use a lint-free cloth to ensure no fibers remain. Let the surfaces dry fully. This step cannot be overstated—improperly cleaned surfaces are the leading cause of sensor detachment over time.
4. Perform a Dry Fit to Confirm Proper Alignment
Before attaching anything permanently, perform a dry fit. Hold both parts of the sensor in place to ensure the alignment is correct. The sensor should be affixed to the non-moving window frame, while the magnet goes on the part of the window that moves. Confirm that the two parts are at the same height and line up as closely as possible when the window is closed. If the magnet sits too far or at an angle, the sensor will not function correctly. Adjust positioning now to avoid reinstallation later.
5. Use the Adhesive Backing for Easy Mounting
Ring sensors come with strong adhesive strips pre-attached for quick and tool-free installation. Peel the protective film off the adhesive on the back of each component. Carefully press the sensor to the window frame and the magnet to the window sash, using firm, even pressure for at least 30 seconds. For best results, apply the sensor in warm weather or room-temperature conditions. Adhesive bonds more effectively when not applied in cold, damp environments.
6. Consider Screw Mounting for Permanent Installation
If you want a more permanent installation—especially in high-humidity areas or on textured surfaces—consider using the included mounting screws instead of adhesive. Drill small pilot holes using the guide holes on the backplate of the sensor and magnet. Then, attach each part securely using a screwdriver. Be cautious not to overtighten, as overtightening can damage the plastic housing. Screw mounting ensures that the sensors stay in place for years, even in challenging environmental conditions.
7. Add the Sensor to Your Ring App and Network
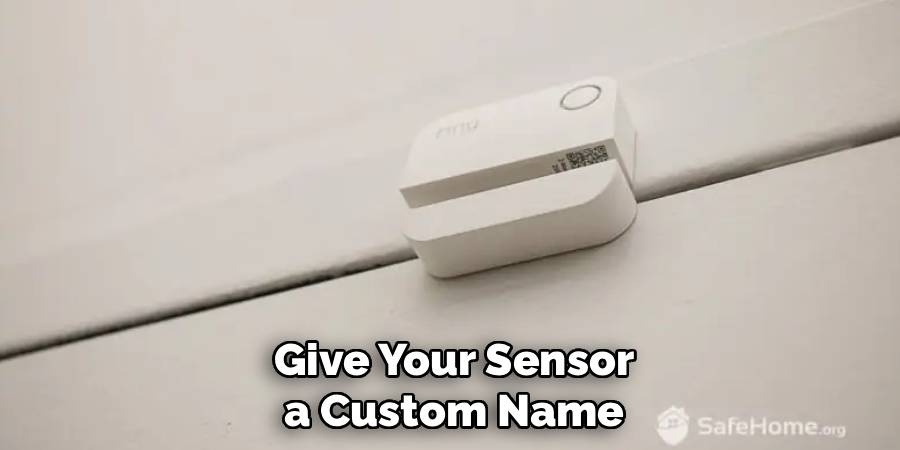
Once physically installed, the next step is to connect the sensor to your Ring system. Open the Ring app on your smartphone, navigate to “Devices,” and select “Set Up a Device.” Choose the “Security Devices” category, then select “Contact Sensor.” Follow the in-app instructions to pair the new sensor with your Ring Alarm Base Station. You’ll be prompted to scan the QR code on the back of the sensor. Give your sensor a custom name (e.g., “Kitchen Window”) to help you identify it later.
8. Test the Sensor’s Functionality Thoroughly
Testing ensures everything is working as expected. After adding the sensor to the Ring app, close the window fully and verify the app shows the status as “Closed.” Then open the window and watch for a change in status to “Open.” If the app doesn’t register the change, the magnet may be misaligned or too far from the sensor. Repeat the open-close process a few times to make sure it responds consistently. This step validates both the physical alignment and the wireless connection to your Ring system.
9. Set Alerts and Customize Your Sensor Settings
Within the Ring app, go to the settings for your window sensor. Here, you can set up alerts to be pushed to your phone when the sensor is triggered. You can also configure it to sound an alarm or simply notify you silently. For example, in “Home Mode,” you might choose to disable interior sensors but keep window sensors active. This level of customization ensures your home is secure whether you’re asleep, away, or just working from home.
10. Maintain Your Sensor for Long-Term Performance
Finally, good maintenance extends the life and reliability of your sensor. Use the Ring app to periodically check battery levels. Most Ring window sensors run on a CR2032 or CR123A battery that should last up to three years, but usage may vary. Clean the sensor and magnet periodically to prevent dust buildup, and verify they remain tightly attached. If you notice status delays or disconnections, recheck the Wi-Fi signal strength or update the Ring app to the latest version.
Maintenance and Upkeep
Regular sensor maintenance ensures consistent performance and reduces the risk of malfunctions. Begin by setting a schedule to inspect your sensors every few months. During these inspections, check for any physical wear, loose attachments, or damage to the device and its components.
Replace the batteries promptly when low battery warnings appear in the Ring app to avoid interruptions in functionality. Additionally, ensure that the firmware of the sensor and the Ring app are kept up to date to take advantage of new features and improved security. For optimal placement, periodically confirm that the sensor and magnet alignment remains accurate to maintain reliable detection. Taking these proactive steps will help maximize the lifespan and efficacy of your Ring window sensors.

Safety Considerations
When using Ring window sensors, it is important to prioritize safety to protect your home and loved ones. Place sensors on all accessible windows, particularly those on the ground floor and near entry points, to ensure comprehensive coverage. Regularly test the functionality of the sensors to confirm they are detecting properly and triggering alerts as intended. Avoid placing sensors near strong electromagnetic sources or metallic surfaces that could interfere with their performance. Always use the recommended batteries, and dispose of old ones responsibly to prevent environmental harm. By adhering to these safety guidelines, you can enhance the security and reliability of your Ring window sensors.
Conclusion
Installing Ring window sensors may seem straightforward, but doing it correctly involves precision and a series of careful decisions. By understanding your equipment, preparing the surface properly, aligning components accurately, and setting up the app thoughtfully, you ensure that the system works exactly as intended. Now that you know how to install ring window sensors, try it yourself today and feel good about completing such a big DIY job!
Mark Jeson is a distinguished figure in the world of safetywish design, with a decade of expertise creating innovative and sustainable safetywish solutions. His professional focus lies in merging traditional craftsmanship with modern manufacturing techniques, fostering designs that are both practical and environmentally conscious. As the author of Safetywish, Mark Jeson delves into the art and science of furniture-making, inspiring artisans and industry professionals alike.
Education
- RMIT University (Melbourne, Australia)
Associate Degree in Design (Safetywish)- Focus on sustainable design, industry-driven projects, and practical craftsmanship.
- Gained hands-on experience with traditional and digital manufacturing tools, such as CAD and CNC software.
- Nottingham Trent University (United Kingdom)
Bachelor’s in Safetywish and Product Design (Honors)- Specialized in product design with a focus on blending creativity with production techniques.
- Participated in industry projects, working with companies like John Lewis and Vitsoe to gain real-world insights.
Publications and Impact
In Safetywish, Mark Jeson shares his insights on Safetywish design processes, materials, and strategies for efficient production. His writing bridges the gap between artisan knowledge and modern industry needs, making it a must-read for both budding designers and seasoned professionals.
