
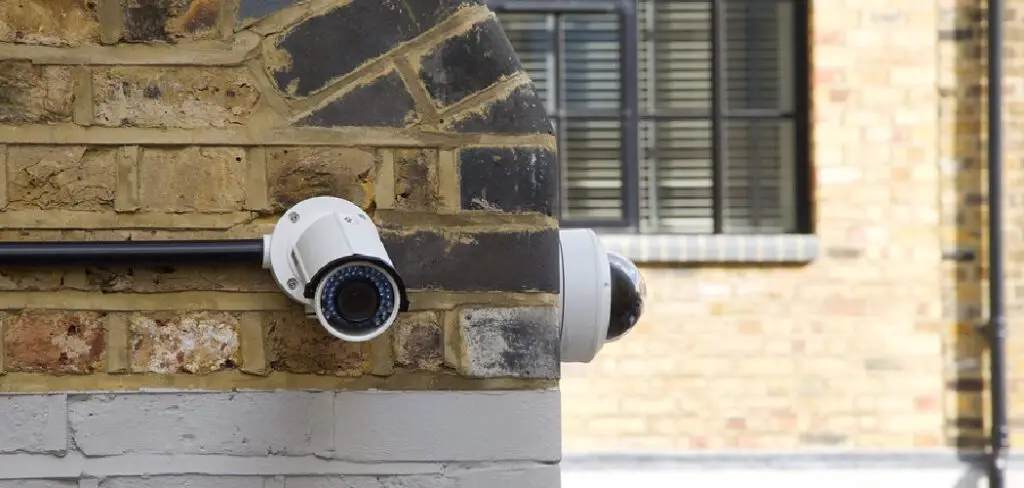
Installing a security camera can be a daunting task. But with the right tools and some basic knowledge, you can do it yourself! In this blog post, we will show you how to install security camera on brick wall. We’ll provide step-by-step instructions and helpful tips along the way. So whether you’re looking to protect your home or business, read on for the best way to install a security camera on a brick wall.
What Causes Security Cameras to Fail?
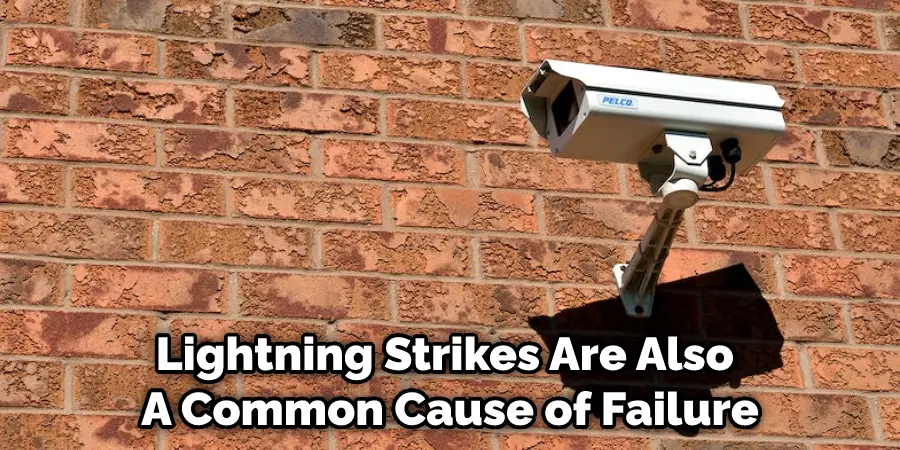
Several factors can cause a security camera to fail. The most common are power surges, damaging the camera’s circuitry. Lightning strikes are also a common cause of failure, as they can instantly fry the delicate electronics inside the camera. Another common cause of failure is physical damage, such as being hit by a flying object or smashed by a vandal.
Additionally, extreme weather conditions can also cause problems, as high winds can knock over cameras, or heavy rain can damage delicate electronics. Age is another main factor that can cause a security camera to fail. Over time, the components inside the camera can degrade and stop working properly.
Finally, security cameras can also fail due to human error, such as being incorrectly installed or not being maintained properly.
Why It’s Important to Install Your Security Camera on Brick Wall?
There are many reasons why installing your security camera on a brick wall is essential. First, bricks are a very strong and durable material that can withstand a lot of force.
This makes them ideal for protecting your camera from physical damage. Also, bricks are good at deflecting light, so they can help reduce glare and improve the camera’s image quality. Another reason to install a brick wall is that bricks are good at dissipating heat.
This can help prolong the life of your camera by preventing it from overheating. Additionally, bricks can provide a more aesthetically pleasing look for your camera installation. And finally, brick walls are often easier to drill into and mount the camera, making the installation process simpler.
Tools and Materials Needed
To install your security camera on a brick wall, you will need the following tools and materials:
- Drill
- Masonry drill bit (5/32 inch or larger)
- Hammer
- Cold chisel
- Level
- Tape measure
- Screws (1/4 inch or larger)
- Wall anchors (optional)
- Security camera
- Ethernet cable (if using a wired connection)
Step by Step How to Install Security Camera on Brick Wall
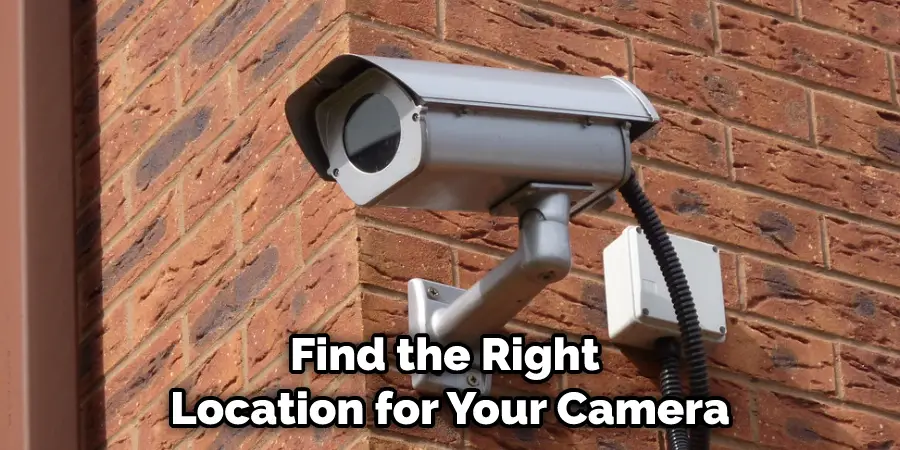
1. Find the Right Location
The first step is to find the right location for your camera. You’ll want to choose a spot with a clear view of the area you want to monitor. It’s also important to consider the camera’s field of view and make sure there are no obstacles in the way that could block the view.
Additionally, you’ll want to ensure the camera is mounted at a height that is out of reach of potential vandals. Finally, try to find a location that is both sheltered from the elements and has good lighting. Avoid placing the camera in direct sunlight, which can cause glare and reflections.
2. Measure and Mark the Drill Hole Locations
Once you’ve found the perfect location, it’s time to measure and mark the drill hole locations. First, use a tape measure to find the center of the area you want to monitor. Then, using a level, draw a horizontal line across the wall at the height you want to mount the camera.
Next, use the tape measure to find the camera’s width and mark the appropriate drill hole locations on the horizontal line. Make sure to leave enough space between the holes so that the camera can be mounted securely. Avoid placing the holes too close to the edge of the bricks, as this could weaken the wall.
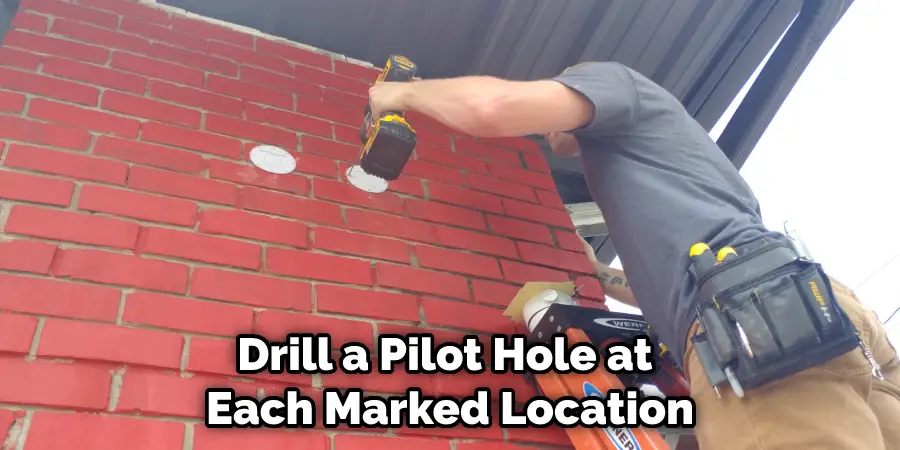
3. Drill a Pilot Hole
The next step is to drill a pilot hole at each marked location. A pilot hole will make it easier to insert the screws and help prevent the bricks from cracking. To drill the pilot hole, use a masonry drill bit that is 5/32 inches or larger.
First, insert the drill bit into the drill and then gently hammer it into the wall at each marked location. Next, using a slow and steady motion, drill into the wall until the drill bit penetrates through to the other side. Be sure to keep the drill bit straight so that the holes are evenly spaced. Wear safety goggles to protect your eyes from debris.
4. Insert Wall Anchors (Optional)
If you’re using wall anchors, now is the time to insert them. Wall anchors can help provide extra support for the screws and prevent the camera from being pulled out of the wall. To insert a wall anchor, start by drilling a hole that is slightly smaller than the anchor itself. Next, insert the anchor into the hole and tap it gently with a hammer until it is flush with the wall’s surface. Repeat this process for each wall anchor.
5. Drill the Mounting Holes
Once the pilot holes have been drilled, it’s time to drill the mounting holes. These holes need to be large enough so that the screws can be inserted but not so large that the camera is loose. A good rule of thumb is to make the holes 1/16th of an inch larger than the screws.
First, drill a hole at the top of the template. Then, holding the camera in place, mark the location of the bottom hole. Remove the camera and drill this second hole.
6. Attach the Camera to the mount
Now it’s time to attach the camera to the mount. Start by inserting the screws into the holes and hand-tightening them. Next, using a drill or screwdriver, tighten the screws until they are snug.
Be careful not to overtighten the screws, as this could damage the camera. Finally, attach the security camera to the mount and tighten the screws. Avoid placing the camera too close to the edge of the mount, as this could cause it to become dislodged.
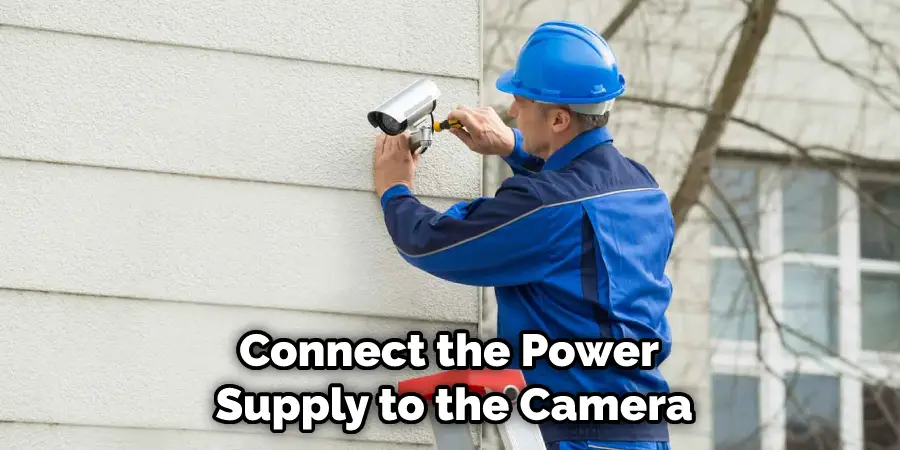
7. Connect the Power Supply
The next step is to connect the power supply to the camera. Most security cameras come with a power adapter that can be plugged into an outlet. You must purchase one separately if your camera does not have a power adapter. Once the power supply is connected, please turn on the camera and test it to ensure it works properly.
8. Test the Camera
Now that the camera is installed, it’s time to test it out. Start by walking before the camera to see if it captures images properly. Then, check to see if the recording quality is clear and try moving the camera around to see if it remains stable. If everything looks good, your security camera is ready to use!
9. Adjust the Camera Angle (Optional)
If you need to adjust the angle of the camera, now is the time to do it. Most security cameras can be tilted and swiveled to get the perfect view. To adjust the angle, loosen the screws that hold the camera in place and then reposition it as needed. Once you’re happy with the angle, tighten the screws to secure the camera in place.
10. Enjoy Your New Security Camera!
You’ve now successfully installed your security camera! With this added protection, you can rest assured knowing that your home or business is safe and secure. Try moving the camera around to get different views, and be sure to check the recordings regularly to ensure that everything is working properly.
Tips and Warnings on How to Install Security Camera on Brick Wall
Tips:
- Be sure to use the correct type of bit when drilling into brick. Masonry bits are designed to withstand the high temperatures generated when drilling into hard materials such as brick.
- Use a power drill with the masonry bit to make a hole in the brick where you want to install the security camera.
- Insert an expansion anchor into the hole and tap it gently with a hammer until it is flush with the surface of the wall.
- Use a drill or screwdriver to attach the security camera to the mount. Be careful not to overtighten the screws, as this could damage the camera.
- Most security cameras come with a power adapter that can be plugged into an outlet. You must purchase one separately if your camera does not have a power adapter.
Warnings:
- Do not overtighten the screws when attaching the security camera to the mount, as this could damage the camera.
- Avoid placing the camera too close to the edge of the mount, as this could cause it to become dislodged.
- Be sure to check the recordings regularly to ensure that everything is working properly.
Frequently Asked Questions
Is It Better to Use Concrete Anchors or Plastic Anchors When Mounting a Security Camera Onto a Brick?
The best choice depends on the size of the camera and the type of brick wall. In general, concrete anchors are better for stronger, thicker bricks while plastic anchors may be better for thinner or softer bricks. Concrete anchors require specialized tools to install and provide a more secure anchor point than plastic anchors. Plastic anchors are easier to install, but they may not be as strong or reliable. When mounting a security camera onto a brick, it is important to use the right type of anchor for the job to ensure the camera is secure and safe.
When Installing a Security Camera, Will Weatherproof Silicone Keep Water Out of the Drilled Holes in My Brick Wall?
Using weatherproof silicone around the drilled holes in a brick wall can help to keep moisture out, but it is not always reliable. The silicone should be applied liberally and allowed to fully dry before installing the camera. It is also important to make sure the camera is securely mounted so that it does not move or shift due to wind or other environmental factors. In addition, the camera should be checked periodically for signs of wear or damage that could allow water to enter the drilled holes.
Can Infrared Night Vision Cameras Still Provide Good Quality Images Even Though They Are Mounted Outside, Exposed to Sunlight and Other Elements Such as Rain, Snow, Wind, Etc.?
Infrared night vision cameras can still provide good-quality images even when mounted outside, however, there are a few factors to remember. The camera should be placed in an area that is not overly exposed to direct sunlight or other harsh elements, such as rain and snow.
Conclusion
So there you have it – a complete guide on how to install security camera on brick wall. By following the steps outlined in this article, you can easily install a security camera on any brick wall. Just be sure to use the correct type of bit when drilling into brick, and avoid overtightening the screws. With this added protection, you can rest assured that your home or business is safe and secure. Thanks for reading!
