
Installing a Vivint window sensor is an important step in enhancing the security of your home. These sensors are designed to detect the opening and closing of windows, providing real-time alerts and integrating seamlessly with your Vivint smart home system. This guide will walk you through the straightforward process of of how to install vivint window sensor, ensuring optimal functionality and peace of mind.

What is a Vivint Window Sensor?
A Vivint window sensor is a compact, wireless device designed to enhance home security by monitoring the status of your windows. These sensors detect when a window is opened or closed and immediately send alerts to your Vivint Smart Hub or mobile app, keeping you informed in real time. They are an integral part of the Vivint smart home ecosystem and work in conjunction with other security devices such as cameras, motion sensors, and door sensors. Easy to install and highly reliable, Vivint window sensors offer an added layer of protection, ensuring your home and loved ones remain safe.
Importance of Window Sensors in Home Security
Window sensors play a crucial role in maintaining the safety and security of your home. They act as a first line of defense by detecting unauthorized entry through windows, which are often vulnerable points of access for intruders. By triggering instant alerts to your smart home system or security provider, these sensors ensure prompt responses to potential threats.
Additionally, window sensors provide peace of mind, particularly when you’re away from home, as they allow you to monitor your property remotely. Their integration with smart home systems also enables enhanced automation, such as arming your security system when a window is left open. Overall, window sensors not only deter potential intruders but also empower homeowners with greater control over their security.
Tools and Materials Needed
To install and set up window sensors effectively, you will need a few essential tools and materials. These include:
- Window sensors (choose the type suitable for your system, such as wired or wireless options).
- Adhesive strips or mounting screws (depending on the sensor’s installation method).
- Screwdriver (if using screws for mounting).
- Measuring tape (to ensure precise placement of the sensors).
- Level (to properly align the sensors for optimal functionality).
- Smartphone or tablet (to configure and pair the sensors with your smart home or security system).
- User manual or installation guide (provided with the sensors for step-by-step assistance).
Having these tools and materials ready will streamline the installation process and ensure your window sensors function as intended.
10 Methods How to Install Vivint Window Sensor
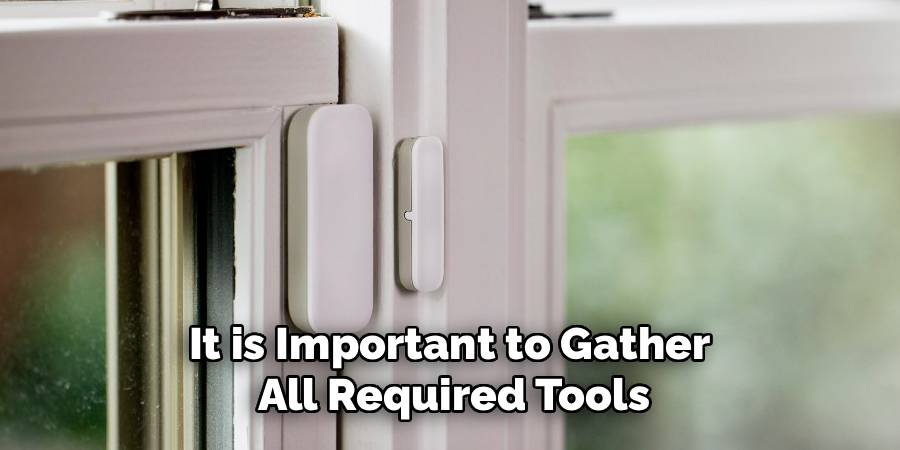
1. Gathering the Necessary Tools and Components
Before beginning installation, it is important to gather all required tools and components. The Vivint window sensor kit typically includes the sensor itself, a corresponding magnet, double-sided adhesive tape, screws (optional), and batteries if not pre-installed. You will also need basic tools such as a screwdriver, a level or measuring tape for alignment, and cleaning supplies like rubbing alcohol and a cloth. Having everything ready ensures a smooth installation process without interruptions.
2. Selecting the Proper Location for Sensor Placement
Choosing the right location on the window frame and sash is critical for sensor functionality. The Vivint window sensor consists of two parts: the sensor and the magnet. The sensor should be mounted on the fixed frame of the window, and the magnet on the movable sash. Ensure the two parts align closely—typically within half an inch—to maintain an uninterrupted magnetic connection when the window is closed. Avoid areas exposed to excessive sunlight, moisture, or vibrations, as these can affect sensor performance.
3. Preparing the Surface for Secure Attachment
A clean and dry surface is essential to achieve strong adhesion if you use the included double-sided tape. Clean both the sensor and magnet mounting surfaces with rubbing alcohol and a lint-free cloth to remove dirt, oils, or residues. Allow the surfaces to dry completely before applying tape or screws. Proper surface preparation enhances the longevity of the adhesive bond, preventing the sensor or magnet from loosening over time due to environmental factors.
4. Mounting the Sensor and Magnet Using Adhesive Tape
Vivint sensors typically come with strong double-sided adhesive tape for easy, drill-free installation. Peel off the protective backing from the tape and press the sensor firmly onto the fixed window frame at the marked location. Similarly, attach the magnet to the movable sash, ensuring it aligns perfectly with the sensor. Hold each piece in place for at least 30 seconds to maximize adhesion. This method is ideal for renters or those who prefer not to drill into window frames.
5. Using Screws for a More Permanent Installation
For a more secure and durable installation, especially on wooden or sturdy metal window frames, use screws provided in the Vivint kit. Mark the drill points carefully on the frame and sash, ensuring alignment between the sensor and magnet. Drill pilot holes to prevent splitting the material, then attach the sensor and magnet with screws. This method provides a robust mounting solution resistant to environmental conditions and tampering but requires careful handling to avoid damaging window structures.

6. Installing Batteries and Powering the Sensor
Most Vivint window sensors are battery-powered and come with pre-installed batteries, but it is essential to verify battery status during installation. Open the battery compartment, insert the batteries observing correct polarity, and close the compartment securely. Fresh batteries ensure optimal sensor performance and communication reliability. After installation, check battery levels periodically through the Vivint app to avoid unexpected sensor failures.
7. Pairing the Sensor with the Vivint Smart Home System
Once the sensor is physically installed, it must be paired with your Vivint security panel or hub to communicate status updates. Using the Vivint app or security panel interface, initiate the sensor pairing process by following on-screen instructions. Usually, this involves putting the system into “add device” mode and triggering the sensor by opening and closing the window or pressing a designated button on the sensor. Successful pairing will be confirmed by the system, ensuring the sensor is integrated and ready to monitor your window.

8. Testing Sensor Functionality After Installation
After installation and pairing, it is crucial to test the sensor’s operation to confirm it detects window openings and closings correctly. Open the window and observe the system status via the Vivint app or control panel; the sensor should report an “open” state immediately. Close the window and verify it switches back to “closed.” Test several times to ensure consistent performance. This step helps detect installation errors, misalignment, or communication issues that could compromise security.
9. Calibrating Sensor Settings for Optimal Performance
Some Vivint systems allow calibration or adjustment of sensor settings such as alert sensitivity or notifications through the app. Review these settings to customize how the sensor behaves according to your preferences. For example, you may want to receive immediate alerts when a window opens or only during armed system modes. Proper calibration prevents false alarms from minor vibrations or environmental factors and tailors the system to your security needs.
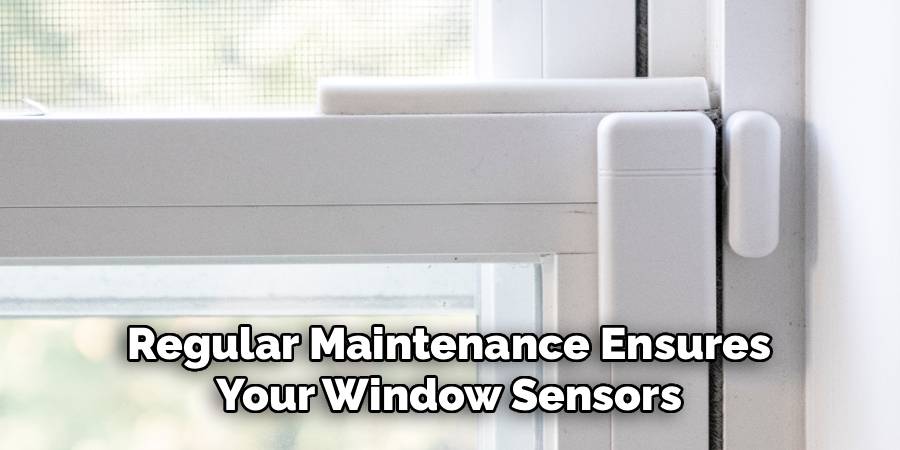
10. Maintaining and Troubleshooting Sensors Post-Installation
Proper maintenance extends the life and reliability of your Vivint window sensors. Periodically inspect the sensors for physical damage, adhesive condition, and battery levels. Clean sensor surfaces gently with a dry cloth to remove dust and debris. If a sensor fails to report accurately, recheck alignment and battery status or re-pair the device with the system. Consult Vivint support or a professional technician for persistent issues. Regular maintenance ensures your window sensors continue to protect your property effectively.
Maintenance and Upkeep
To keep your Vivint window sensors in optimal condition, it is essential to establish a regular maintenance routine. Start by scheduling periodic checks to assess the physical state of the sensors, ensuring there is no visible wear or damage to the devices. Inspect the adhesive backing and replace it if it shows signs of weakening to prevent the sensors from becoming misaligned. Additionally, monitor the battery levels and replace batteries promptly when low power is detected, as this can impact performance. Clean the sensors carefully using a soft, dry cloth to remove dirt or dust that could interfere with normal operation.
For continued reliability, test the sensors periodically by opening and closing the windows to confirm that alerts or notifications are functioning appropriately. If a problem arises that cannot be resolved through basic troubleshooting, consider recalibrating the sensors or reconnecting them to the Vivint system. For complex issues or malfunctions, it’s best to consult Vivint’s customer support or seek assistance from a certified technician. Proper maintenance and prompt action will ensure that your Vivint window sensors remain a dependable part of your home security system.
Conclusion
Installing Vivint window sensors requires thoughtful preparation, precise mounting, and careful integration with your smart home security system. From selecting the correct location and preparing surfaces to pairing the sensor and calibrating settings, each method described above contributes to a reliable and efficient installation. Thanks for reading our blog post on how to install vivint window sensor! We hope you found it helpful and informative.
Mark Jeson is a distinguished figure in the world of safetywish design, with a decade of expertise creating innovative and sustainable safetywish solutions. His professional focus lies in merging traditional craftsmanship with modern manufacturing techniques, fostering designs that are both practical and environmentally conscious. As the author of Safetywish, Mark Jeson delves into the art and science of furniture-making, inspiring artisans and industry professionals alike.
Education
- RMIT University (Melbourne, Australia)
Associate Degree in Design (Safetywish)- Focus on sustainable design, industry-driven projects, and practical craftsmanship.
- Gained hands-on experience with traditional and digital manufacturing tools, such as CAD and CNC software.
- Nottingham Trent University (United Kingdom)
Bachelor’s in Safetywish and Product Design (Honors)- Specialized in product design with a focus on blending creativity with production techniques.
- Participated in industry projects, working with companies like John Lewis and Vitsoe to gain real-world insights.
Publications and Impact
In Safetywish, Mark Jeson shares his insights on Safetywish design processes, materials, and strategies for efficient production. His writing bridges the gap between artisan knowledge and modern industry needs, making it a must-read for both budding designers and seasoned professionals.
