
Do you want to understand how to lock a gate from both sides? It’s easy and convenient with the right tools.
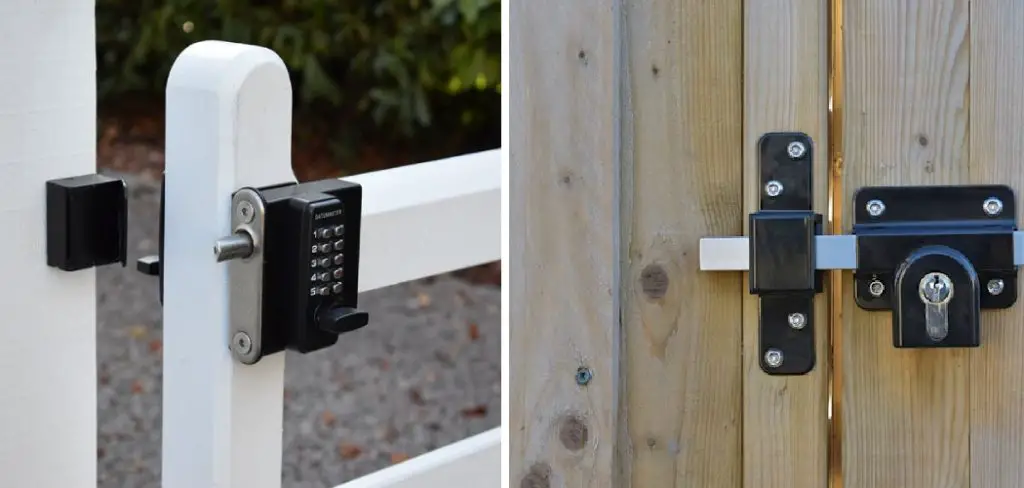
If you’re looking to lock a gate from both sides, there are several strategies you can use. The most common option is using a deadbolt that works with the turn of a key or electronic code. This type of lock is ideal for any situation where you need to control access from both sides of your gate.
In this blog post, we will discuss some of the best methods for locking a gate from both sides so that you can have peace of mind. We’ll share the different types of locks available and go over the advantages and disadvantages of each option – giving you all need to know before making an informed decision about which type will be best for your needs.
What Will You Need?
Before we discuss locking a gate from both sides, let’s go over the basic items you’ll need.
- A deadbolt or other security device
- Screwdriver and drill
- Bolts/nuts/screws depending on your choice of lock
- Paintbrush (optional)
- Sandpaper (optional)
Once you’ve gathered all the necessary materials, it’s time to install your lock.
10 Easy Steps on How to Lock a Gate From Both Sides
Step 1. Installing a Deadbolt Lock
Installing a deadbolt is the most common method for locking a gate from both sides. To start, measure the size of the space you need to fill with your security device and make note of any unevenness in the surrounding area.
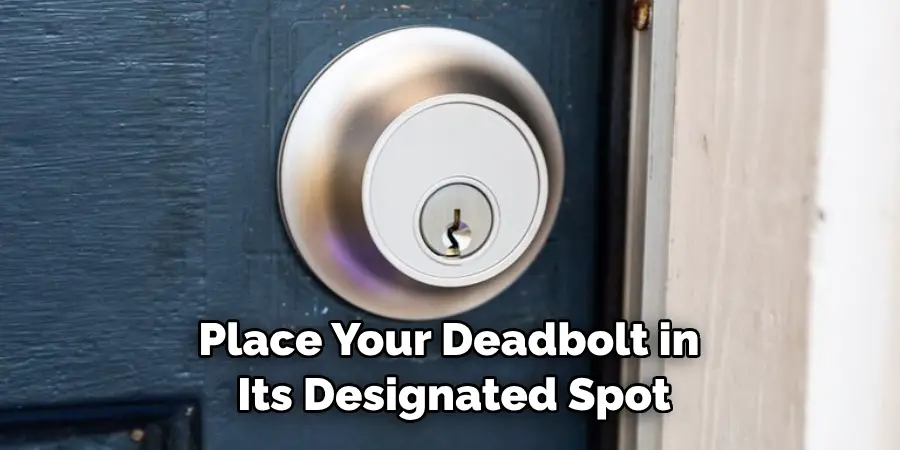
Next, place your deadbolt in its designated spot and determine if it will fit properly, given any irregularities. If needed, sand down the edges of the lock or nearby surface so that the deadbolt easily slides into place.
Step 2. Drilling the Holes
After ensuring that the deadbolt fits snugly in its spot, the next step in learning to lock a gate from both sides is to drill the necessary holes. Mark the points where the screws will go into the gate, ensuring they align with the holes on the deadbolt.
Then, using your drill, create the holes in the gate. Make sure to drill them deep enough for the screws to fit securely, but be careful not to drill through the entire gate. Once the holes are drilled, do a quick test by aligning the deadbolt with the holes to ensure they match up correctly.
Step 3. Fixing the Deadbolt
The third step in our process involves attaching the deadbolt to the gate. Take your screws and fit them into the holes you’ve drilled. Hold the deadbolt in place, ensuring it’s aligned correctly, and then fasten the screws into the gate using your screwdriver. Make sure the screws are tight, and the lock is secure.
Step 4. Installing the Bolt
The fourth step is installing the bolt. This part of the lock slides into the gate frame to secure it. First, mark the spot on the gate frame where the bolt will enter when the gate is closed. This mark needs to align perfectly with the deadbolt when the gate is in the closed position.
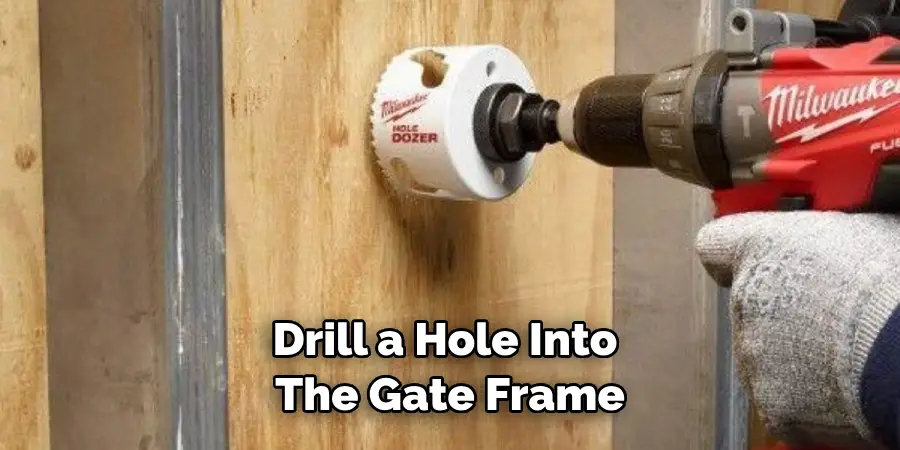
Once you’ve marked the spot, drill a hole into the gate frame. This hole must be big enough for the bolt to slide into but not so large that the bolt sits loosely. After drilling the hole, close the gate, turn the key, or enter the electronic code to check if the bolt aligns with the hole and slides in smoothly.
Step 5. Double Check The Lock
The fifth and crucial step is to double-check the installation. Ensure that the deadbolt is securely attached, the bolt slides in and out smoothly when the key or code is used, and the gate opens and closes without any hindrances.
Also, confirm that the bolt fully extends into the hole in the gate frame for maximum security. If there are any issues, you may need to adjust the lock, bolt, or hole in the frame until everything functions properly.
Step 6. Applying Finishing Touches
With the proper functioning of the lock confirmed, now is the time for some finishing touches. This step is optional but recommended for aesthetic purposes and to ensure the longevity of the lock.
If you want your lock to blend with your gate, you can paint it the same color as the gate. Before you start painting, ensure the lock and the surrounding area are clean. You should then apply a primer, let it dry, then apply the paint. Make sure the paint does not get into the keyhole or bolt hole.
Step 7. Maintenance and Upkeep
After installing the lock and ensuring that it works correctly, the next important step is to conduct regular maintenance and upkeep. This is crucial to maintain the functionality and longevity of your lock.

Clean the lock regularly to keep it free of dust and debris. Lubricate the lock mechanism periodically to ensure smooth operation. Also, check the screws from time to time to make sure they’re still tight. If your lock is exposed to harsh weather conditions, consider using a lock cover to protect it from the elements.
Step 8. Review Security
Once you have successfully locked your gate from both sides, take a moment to evaluate the overall security of your property. Consider whether any additional security measures could be implemented. This could include installing motion-sensor lights, a security camera or an alarm system.
Step 9. Lock the Gate
Now that you have done all the necessary steps and reviewed your property’s overall security, it’s time to lock your gate. Simply turn the key or input the electronic code to engage the lock. Make sure to lock your gate every time you leave or arrive. Additionally, check that the gate is locked before you go to bed and when you leave for extended periods.
Step 10. Practice Regular Operation
The last step is to familiarize everyone who needs access with how to operate the lock. Ensure each member of your household or team understands how to use the lock properly to ensure the gate is always secured. Practicing regular operation will also help identify any issues with the lock over time, allowing for timely maintenance or replacement.
By following these ten easy steps, you can confidently lock your gate from both sides. Proper installation and regular lock maintenance will ensure your property is safe and secure.
5 Additional Tips and Tricks
- Change the code regularly if you’re using a keypad code as your lock. This will ensure no one else can guess or access the gate without permission.
- Consider adding a heavy-duty lock if you need extra security. These locks are designed to withstand extreme weather and tampering attempts for maximum protection.
- If you have an automated gate, use the manual override key to open and close the gate when needed. This will ensure that the motor doesn’t wear down and can save energy in the long run.
- If your gate is exposed to harsh weather, consider using a lock cover or guard for extra protection and to keep the mechanism from rusting over time.
- Keep a spare key on hand if you ever lose yours or need to give someone access quickly. Make sure to store it securely and away from the lock itself for added security.
These tips and tricks will help you keep your gate locked from both sides for years! You can enjoy a secure and safe property with the right installation and regular maintenance.
5 Things You Should Avoid
- Remember to change the keypad code regularly for added security.
- Avoid using a regular lock if you need extra protection. Heavy-duty locks are designed to withstand extreme weather and tampering attempts for maximum security.
- Only use the automated gate after first engaging the manual override key. This will save energy and help prevent wear and tear on the motor.
- Remember to use a lock cover or guard if you’re keeping your gate outdoors, especially in areas exposed to harsh weather conditions.
- Make sure not to store your spare key too close to the lock itself. It should be stored securely and away from the lock for added security.
By avoiding these common mistakes, you can securely and safely lock your gate from both sides! You can enjoy a secure property for years with the right installation and regular maintenance.
Conclusion
Finally, it’s important to remember that keeping a gate between two distinct areas secure is an essential part of property maintenance and security. There are many ways to do so, but learning how to lock a gate from both sides is one of the most effective solutions.
Whether with a latch or a padlock, the key ensures it is done securely and properly. With the right tools and knowledge, anyone can properly secure their property boundaries without too much fuss.
Hopefully, the article helped provide the tools and knowledge necessary to secure property boundaries. It’s important to remember that security and safety should always be prioritized, so follow these steps when locking a gate from both sides.
Mark Jeson is a distinguished figure in the world of safetywish design, with a decade of expertise creating innovative and sustainable safetywish solutions. His professional focus lies in merging traditional craftsmanship with modern manufacturing techniques, fostering designs that are both practical and environmentally conscious. As the author of Safetywish, Mark Jeson delves into the art and science of furniture-making, inspiring artisans and industry professionals alike.
Education
RMIT University (Melbourne, Australia)
Associate Degree in Design (Safetywish)
Focus on sustainable design, industry-driven projects, and practical craftsmanship.
Gained hands-on experience with traditional and digital manufacturing tools, such as CAD and CNC software.
Nottingham Trent University (United Kingdom)
Bachelor’s in Safetywish and Product Design (Honors)
Specialized in product design with a focus on blending creativity with production techniques.
Participated in industry projects, working with companies like John Lewis and Vitsoe to gain real-world insights.
Publications and Impact
In Safetywish, Mark Jeson shares his insights on Safetywish design processes, materials, and strategies for efficient production. His writing bridges the gap between artisan knowledge and modern industry needs, making it a must-read for both budding designers and seasoned professionals.
