
Are you tired of having to go to the hardware store every time you lose a key? Making a mold of your keys can save time and money in the long run.
How to make a mold of a key can be a handy skill for replicating a key in case you need a spare or lose the original. This process involves using simple materials to form an accurate and functional replica of your key. Whether for emergencies or convenience, making a key mold requires precision and proper technique to ensure the duplicate works effectively.

With the right tools and a clear understanding of the steps, anyone can learn how to make a mold and cast a duplicate key safely and efficiently. Let’s dive into the process of making a key mold and casting a duplicate key.
What Are the Benefits of Making a Key Mold and Casting a Duplicate Key?
Making a key mold and casting a duplicate key has several benefits that make it useful for both emergencies and everyday use. Some of the main advantages include:
- Cost-effective: Making a key mold and casting a duplicate key is much cheaper than going to a locksmith or buying an expensive new key from the dealer.
- Convenience: By having a spare key made, you can avoid getting locked out of your home, office, or car. You can also share spare keys with trusted family members or friends for added convenience.
- Emergency Situations: If you lose your only set of keys or they get stolen, having a duplicate key ready can save you time and stress in a potentially urgent situation.
- Customization: Duplicate keys can be customized to fit your specific needs. For example, you can have different types of keys made for different locks, such as a master key for all your doors or a separate key for your mailbox.
- Backup Plan: Having spare keys can serve as a backup plan in case your original keys get damaged or worn out over time. This way, you won’t have to go through the hassle of getting new keys made when the old ones stop working properly.
What Will You Need?
- Key Cutting Machine: In order to duplicate keys, you will need a key cutting machine. These can be found at most hardware stores or locksmiths.
- Blank Keys: You will also need blank keys that are compatible with your locks. Make sure to check the type and size of your original key before purchasing blanks.
- Key Duplicator: A key duplicator is a tool used to copy the grooves and cuts of an original key onto a blank key. This ensures that the duplicate key will work in the same lock as the original one.
- Lubricant: It is important to lubricate both the original and duplicate keys before using them in a lock. This helps to reduce friction and wear on the keys, making them last longer.
- Key Gauge: A key gauge is a tool that helps determine the correct size of a blank key for a specific lock. This ensures that the duplicate key will fit properly in the lock.
10 Easy Steps on How to Make a Mold of a Key
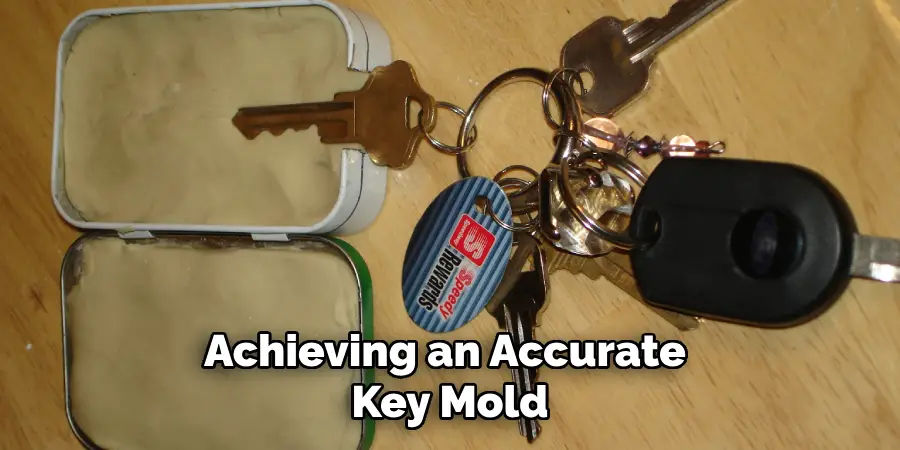
Step 1: Choose the Right Mold Material
Selecting the appropriate mold material is crucial for achieving an accurate key mold. Common options include silicon putty, clay, or a two-part epoxy resin. Silicone putty is often preferred due to its flexibility and ease of use, while epoxy resin provides a more durable option. Consider the detail and strength required for the mold before making your choice. Ensure that the material is safe to handle and suitable for capturing fine details.
Step 2: Prepare the Molding Material
Before pressing the key into the mold material, it’s essential to properly prepare it. For silicone putty or clay, knead the material thoroughly to remove air bubbles and achieve a uniform texture. If using a two-part resin, carefully follow the mixing instructions to ensure the correct consistency. Lay the material on a clean, flat surface, or place it in a shallow container that’s large enough to fully accommodate the key.
Step 3: Apply a Release Agent
A release agent is crucial in ensuring that the key does not stick to the molding material during the casting process. This substance creates a thin barrier between the key and the mold, allowing for easy removal once the mold has set. Depending on the type of molding material you are working with, you can use commercial mold release sprays, petroleum jelly, or even a light coating of cooking oil as a release agent.
Be sure to apply it evenly across the entire surface of the key, paying close attention to intricate details and crevices, as these areas are more prone to sticking. Additionally, make sure to use just enough release agent to cover the key without leaving excess buildup, as too much product can interfere with the molding process and result in imperfections.
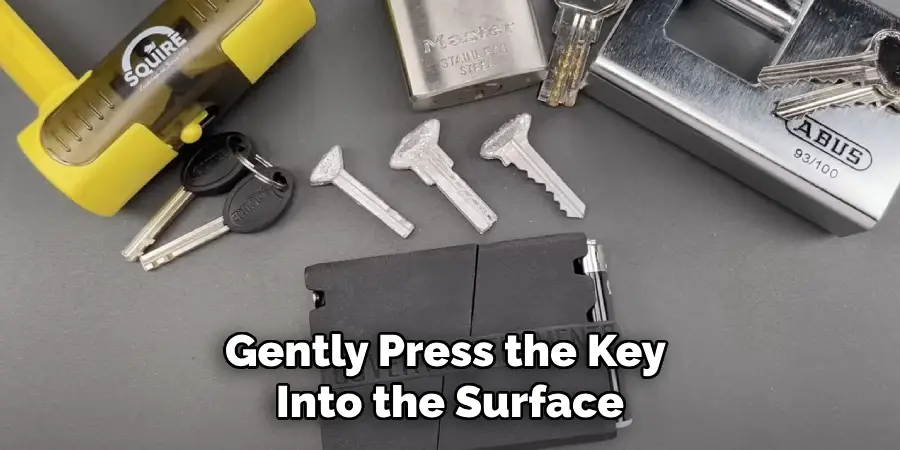
Step 4: Press the Key into the Molding Material
Gently press the key into the surface of the molding material, ensuring even pressure across the entire key. This step is crucial to capturing all the fine details of the key’s shape and features. Make sure the key is pressed deep enough to create a clear and defined impression, but avoid pushing it in too forcefully, as this could distort the mold.
Once the key is properly embedded, allow the molding material to set as per the product’s instructions, ensuring the impression remains undisturbed during the curing process.
Step 5: Allow the Mold to Set
During the curing process, it’s essential to keep the mold in a stable environment. Avoid moving or disturbing the mold as this could compromise the precision of the key impression. Check the recommended setting time provided by the molding material’s manufacturer, as it can vary depending on the product. For best results, ensure that the area remains at a consistent temperature and free from excessive moisture. Once the mold has fully set, it will be ready for use in the next stage of replication.
Step 6: Remove the Key
Carefully remove the key from the mold by gently wiggling it free. Take your time to ensure the mold remains intact and does not tear or crack during the process. If the key feels stuck, avoid applying excessive force, as this could damage the precision of the mold. Using a small tool or soft utensil to ease the key out can help in maintaining the mold’s integrity. Once the key has been successfully removed, inspect the mold for any imperfections or distortions. A clean, accurate mold is crucial for creating an effective replica.
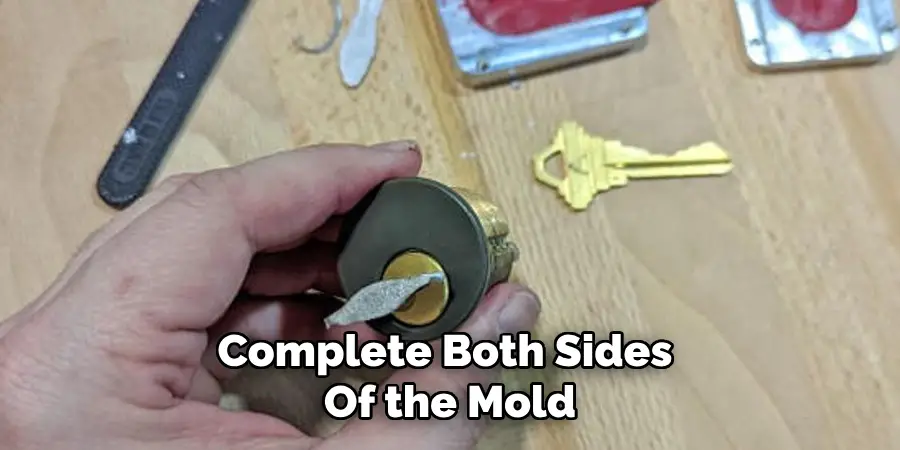
Step 7: Complete Both Sides of the Mold
To complete both sides of the mold, ensure that the first side is fully cured and properly set before proceeding. Carefully align the second mold half to the first, ensuring that the key fits snugly in the designated cavity. Apply your chosen molding material evenly across the exposed surface of the key, making sure to fill in all gaps and maintain uniform thickness.
Gently press the second mold frame into place, ensuring there are no air bubbles or misalignments. Allow sufficient time for the second half to cure, following the manufacturer’s instructions. Once fully set, separate the two halves cautiously, checking for accuracy and detail.
Step 8: Inspect the Mold
Carefully examine both halves of the mold to ensure they capture all the intricate details of the key. Look for any imperfections, such as air bubbles, cracks, or missing sections, which could compromise the mold’s accuracy. If any issues are identified, consider remaking the mold to achieve the desired precision. Additionally, confirm that the two halves align seamlessly when joined together, as proper alignment is crucial for the next steps.
Step 9: Test with a Casting Method
To ensure the mold functions correctly, perform a test using a suitable casting material, such as resin, plaster, or metal, depending on your project requirements. Carefully pour or inject the chosen material into the mold, ensuring that it fills all the crevices and details without introducing air bubbles.
Allow the casting material to cure fully based on the manufacturer’s instructions. Once cured, carefully separate the mold halves and remove the casting. Examine the final result for accuracy, surface detail, and any imperfections.
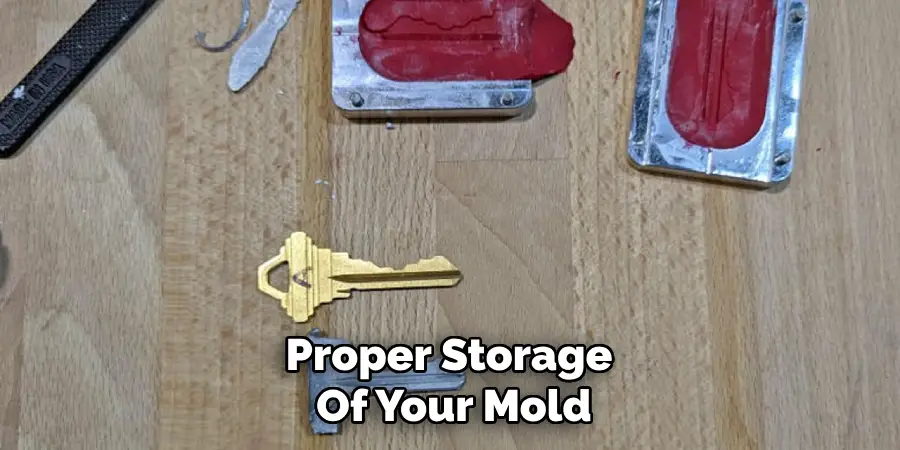
Step 10: Store the Mold Properly
Proper storage of your mold is essential to maintain its integrity and extend its lifespan. After cleaning the mold thoroughly to remove any remaining casting material or debris, ensure it is completely dry before storage to prevent mold or mildew growth.
Store the mold in a cool, dry place away from direct sunlight or heat sources, as extreme temperatures can cause warping or degradation. It is often helpful to use a protective covering, such as a plastic bag or container, to shield the mold from dust and physical damage. Regularly inspect stored molds for signs of wear to ensure they remain in usable condition for future projects.
By following these steps, you can properly store and maintain your molds for long-lasting use.
Conclusion
How to make a mold of a key is a precise process that requires attention to detail and the right materials.
By selecting a suitable molding material, preparing the key properly, and carefully creating and curing the mold, you can replicate the shape of a key effectively. Remember to handle the process with caution, as molds must be accurate to ensure functionality, and always store your molds properly to maintain their integrity.
With these steps, you can successfully create a reliable mold of a key for various applications.
Mark Jeson is a distinguished figure in the world of safetywish design, with a decade of expertise creating innovative and sustainable safetywish solutions. His professional focus lies in merging traditional craftsmanship with modern manufacturing techniques, fostering designs that are both practical and environmentally conscious. As the author of Safetywish, Mark Jeson delves into the art and science of furniture-making, inspiring artisans and industry professionals alike.
Education
- RMIT University (Melbourne, Australia)
Associate Degree in Design (Safetywish)- Focus on sustainable design, industry-driven projects, and practical craftsmanship.
- Gained hands-on experience with traditional and digital manufacturing tools, such as CAD and CNC software.
- Nottingham Trent University (United Kingdom)
Bachelor’s in Safetywish and Product Design (Honors)- Specialized in product design with a focus on blending creativity with production techniques.
- Participated in industry projects, working with companies like John Lewis and Vitsoe to gain real-world insights.
Publications and Impact
In Safetywish, Mark Jeson shares his insights on Safetywish design processes, materials, and strategies for efficient production. His writing bridges the gap between artisan knowledge and modern industry needs, making it a must-read for both budding designers and seasoned professionals.
