
Setting the time on your Guardian alarm system is important in ensuring that your home security system remains effective. Knowing how to set the time can help you stay informed about the current status of your alarms and their notifications and enable you to take advantage of any automation settings or special features that require accurate time information.
Nowadays, almost any home can be made even safer with the help of a home security system. Guardian Alarm Systems are among the most reliable options for providing your house or business with increased protection from potential intruders and other risks.
Part of what makes these systems so powerful is their ability to set alarms at specific times – but to do this, you need to know how to set the correct time on your Guardian Alarm System. In this blog post, You will learn in detail how to set time on guardian alarm system.
Step by Step Processes for How to Set Time on Guardian Alarm System
Step 1: Inspect Your Guardian Alarm System
Before setting the time on your Guardian Alarm System, inspect and ensure all its components are in working order. Ensure everything is plugged in correctly and there are no visible signs of damage.
Step 2: Locate Your User Manual
Once you have inspected your Guardian Alarm System, locate your user manual. If you do not have one, you can access it online. Carefully read the instructions to understand how your system works and what settings are available.
Open up the panel on your Guardian Alarm System and locate the time setting functions. Depending on your model, this may be a physical button or a menu option on a digital display.
Step 3: Set the Time

Once you have located the time setting function, enter the current time in your system by entering the correct numerical values or using arrow keys to select the desired time on a digital interface. Make sure that your Guardian Alarm System is accurately displaying the correct time. You can check this by comparing your system to an external clock or watch.
Step 4: Set Date and Year
Once you have set the time, you may include the date and year in your Guardian Alarm System’s settings. This will be beneficial for keeping track of events such as emergencies or false alarms.
If you live in a region that uses Daylight Saving Time, adjust your Guardian Alarm System accordingly. This will ensure that the time displayed is always accurate and up-to-date with local standards.
Step 5: Check for Updates
Before completing this process, check for any available firmware and software updates. This will help keep your Guardian Alarm System operating smoothly. Once all settings have been entered, test the system by arming and disarming it a few times. This will ensure that everything is working properly.
Step 6: Save Your Changes
Once you have tested the system, save all changes and close out any open menus. Once this is complete, your Guardian Alarm System should be set to the correct time.
These steps should ensure that your Guardian Alarm System always displays the correct time. However, if you encounter any issues or have further questions, consult your user manual or contact one of our customer service representatives. They will be happy to assist you in setting up your Guardian Alarm System properly.
Safety Tips for How to Set Time on Guardian Alarm System
- Ensure you are familiar with the alarm system and how it works before setting time on your Guardian Alarm System.
- Before making any changes, ensure that all alarm system components have been activated and powered on.
- When setting the time, ensure it is set to the correct local or regional time zone.
- Ensure that all settings for the alarm system are correct before setting the time on your device.
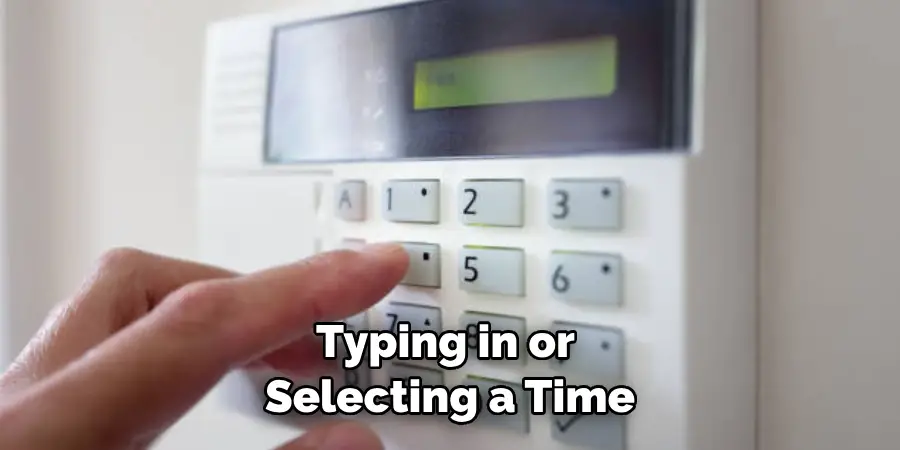
- When typing in or selecting a time, use only numbers, not letters.
- If there is an option for 12 12-hour or 24-hour clock format, make sure to select the one that best matches your requirements.
- Double-check the time set on the alarm system before closing out of the settings.
It is important to pay attention to these safety tips when setting time on your Guardian Alarm System, as incorrect times can result in false alarms or a delayed response from your security provider.
What is the Process for Setting Time on the Guardian Alarm System?
Setting the time on your Guardian Alarm System is a straightforward process. Firstly, access the system settings from the control panel. Then, locate and select the time settings option. Here, you can enter or select a specific date and time according to your current location. You may also be able to choose between 12-hour or 24-hour clock formats depending on what the manufacturer supplies options.
Once you have set the time, save your settings and log out of the system. This will ensure that the changes are applied to your alarm system and that the time is set for it to work properly. It is recommended to check and adjust the time periodically in case of any errors or miscalculations.
By following these steps, you can easily and accurately set the time on your Guardian Alarm System. This will ensure that the alarm system is working correctly and is receiving accurate information about the current date and time.
What Other Features Are Available on the Guardian Alarm System?
The Guardian Alarm System is designed to provide comprehensive security for your home or business. It features customizable alarm settings, allowing you to set multiple alarms within a single system. This allows you to easily customize the security of different areas in your home or business and helps ensure that all areas are properly protected.
Additionally, the Guardian Alarm System has an option for 24/7 monitoring services to ensure that your security needs are always met. The system also offers a range of other features, such as motion detectors, smoke and heat sensors, panic buttons, and more. With the Guardian Alarm System, you can rest assured that your property is protected from unwanted intruders.
How Do You Change Settings in the Future if Needed?
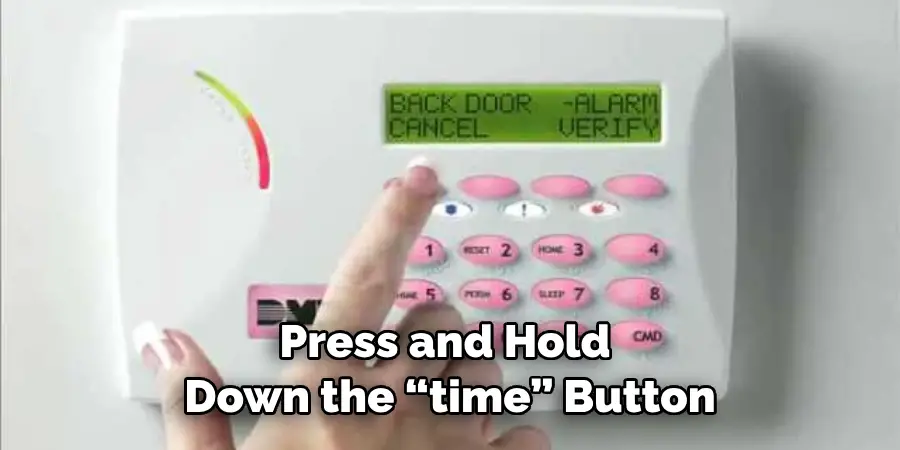
If you need to change your Guardian Alarm System settings in the future, the process is quite simple. All you have to do is press and hold down the “Time” button on the control panel. This will bring up a menu that allows you to adjust your time and date settings. You can also use this menu to change other settings, such as the alarm sound, or to add additional users.
Once you’ve made all the necessary changes, simply press and hold down the “Time” button again to exit from the menu. This will save your settings and ensure all further changes are applied correctly.
To ensure your Guardian Alarm System is always up-to-date, you should regularly check the time and date settings. This will help prevent any false alarms due to incorrect time settings.
Are There Any Special Instructions for Setting Time on Different Types of Systems?
Yes, different Guardian alarm systems have special instructions for setting the time. For example, if you have a GSM alarm system, then you will need to use the code 07# to set the time and date, whereas a PSTN/landline-based alarm system requires you to enter *99 and then follow specific instructions.
You can find your particular model’s instructions in the user manual. It’s important to follow these instructions accurately to ensure your system works correctly and with the correct time setting.
Each Guardian alarm system also allows you to enable or disable Daylight Saving Time (DST). This ensures that if you observe DST, the clock will automatically adjust when it changes during spring and autumn.
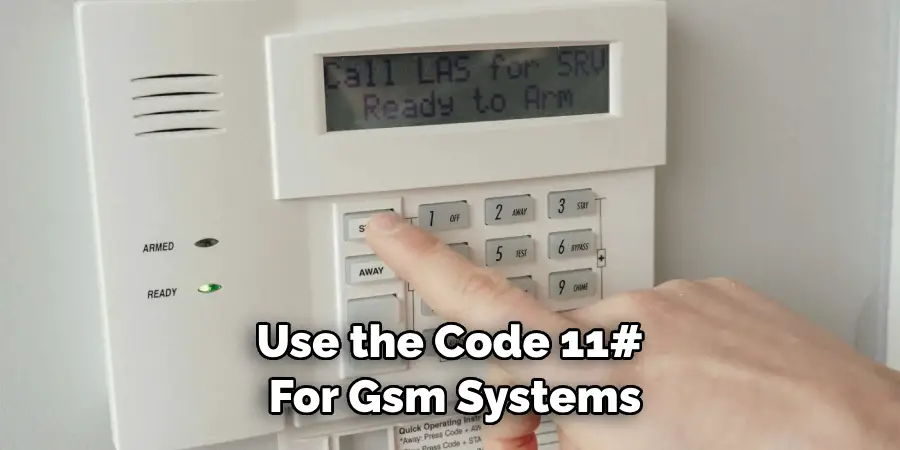
To do this, use the code 11# for GSM systems and *66 for PSTN/landline-based alarms. If you ever need to update your system’s time or make any other changes concerning DST settings, then you can easily do so with these codes. Doing this will ensure your alarm system always works at its best and keeps you secure.
What Should You Do if You Make a Mistake When Attempting to Set the Time?
If you mistakenly enter the wrong settings while attempting to set or adjust the time on your Guardian alarm system, then don’t worry. You can easily reset your system back to its defaults by entering code 20# for GSM systems and *55 for PSTN/landline-based alarms. This will allow you to start over with the default settings to enter the correct time and date without any issues.
It’s also important to remember that if you have a GSM system and incorrectly set the clock, it can cause communication problems between your alarm and the monitoring station. To prevent this from happening, always double-check all of your inputs before entering the code so you don’t run into any potential issues.
Conclusion
In conclusion, setting the time on a Guardian alarm system is simple. All it requires is the user to access the main menu settings, select “Time Settings” or “Date & Time,” and then enter the current time and date into the appropriate fields.
This quick process should ensure that your security system is functioning properly with accurate timing. Setting up an alarm system is important to creating a secure home. I hope this article has been beneficial for learning how to set time on guardian alarm system. Make Sure the preventive measures are followed chronologically.
Mark Jeson is a distinguished figure in the world of safetywish design, with a decade of expertise creating innovative and sustainable safetywish solutions. His professional focus lies in merging traditional craftsmanship with modern manufacturing techniques, fostering designs that are both practical and environmentally conscious. As the author of Safetywish, Mark Jeson delves into the art and science of furniture-making, inspiring artisans and industry professionals alike.
Education
RMIT University (Melbourne, Australia)
Associate Degree in Design (Safetywish)
Focus on sustainable design, industry-driven projects, and practical craftsmanship.
Gained hands-on experience with traditional and digital manufacturing tools, such as CAD and CNC software.
Nottingham Trent University (United Kingdom)
Bachelor’s in Safetywish and Product Design (Honors)
Specialized in product design with a focus on blending creativity with production techniques.
Participated in industry projects, working with companies like John Lewis and Vitsoe to gain real-world insights.
Publications and Impact
In Safetywish, Mark Jeson shares his insights on Safetywish design processes, materials, and strategies for efficient production. His writing bridges the gap between artisan knowledge and modern industry needs, making it a must-read for both budding designers and seasoned professionals.
