
Are you tired of fumbling with your keys whenever you need to unlock your Nissan? Do you want to learn how to open your Nissan key fob for battery replacement or cleaning?
Losing access to your car key fob can be a frustrating experience, especially when it’s due to a simple issue like a dead battery. Knowing how to open a Nissan key fob allows car owners to replace the battery easily, saving both time and the cost of professional assistance. In this guide, we will walk you through the step-by-step process to access your Nissan key fob’s internals, enabling you to maintain uninterrupted access to your vehicle.
With just a few tools and these straightforward instructions, you’ll be ready to tackle this small but crucial maintenance task.
What Will You Need?
To open a Nissan key fob, you’ll need the following items:
- A small flathead screwdriver or plastic prying tool
- A replacement battery (CR2025)
Once you have these items ready, you can begin opening your Nissan key fob.
10 Easy Steps on How to Open a Nissan Key Fob
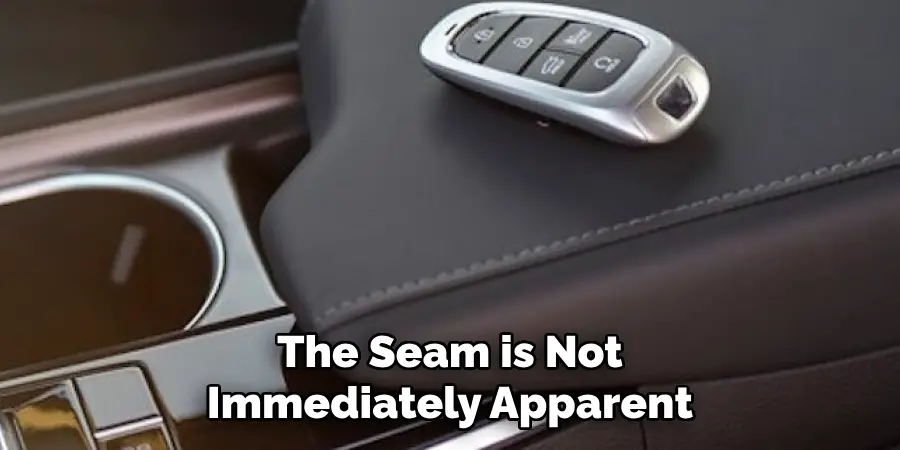
Step 1. Locate the Seam:
The first step in opening your Nissan key fob is to locate the seam that runs along the edge of the fob. This seam is the division line where the two halves of the key fob casing meet, typically found along the side or the middle of the fob. It is essential to identify this seam accurately, as proper alignment is crucial for the next step. Carefully inspect your key fob under good lighting; you might find it helpful to use a magnifying glass if the seam is not immediately apparent.
Step 2. Insert the Tool:
After identifying the seam, the next step is to insert your tool into it. Use a small flathead screwdriver or a plastic prying tool for this task. Carefully position your tool at the seam and gently begin to apply pressure. The goal is not to force the key fob open but to gradually work the tool along the seam, allowing the casing to start separating. Patience is key in this step, as excessive force can damage the casing or internal components. Continue working along the seam until the two halves of the key fob start to come apart, but ensure that you are exerting pressure evenly.
Step 3. Separate the Halves:
Once you’ve sufficiently pried along the seam, the two halves of the key fob should start becoming loose. At this point, carefully use your fingers to gently pull the fob apart, starting from the area where the tool created an opening. Proceed slowly and steadily to avoid snapping or damaging any plastic clips holding the fob together. If you encounter resistance, double-check for any remaining areas along the seam that may need extra attention. Avoid pulling too hard, as it can damage the internal components, such as the circuit board or button contacts. Once separated, place the halves gently on a clean, flat surface.
Step 4. Remove the Old Battery:
With the two halves of the key fob separated, you should now have access to the internal components. Locate the old battery, usually positioned on one side of the fob. Typically, it’s held in place by a small clip or bracket. Push the old battery from its holder using your fingers or the plastic prying tool. Take care not to touch any other delicate components to prevent accidental damage or misalignment.

Step 5. Insert the New Battery:
Now that the old battery is removed, inserting the new CR2025 battery is time. Make sure to handle the new battery with clean hands or gloves to avoid transferring oils or dirt onto it. Align the positive side (usually marked with a “+”) of the battery with the positive contact in the fob’s battery compartment. Gently slide the new battery into its holder, ensuring it securely clicks into place under the battery clips or bracket.
Ensure that the new battery sits flat and is correctly aligned with the contacts, as improper installation can prevent the key fob from functioning correctly. Once inserted, double-check that everything is seated appropriately.
Step 6. Reassemble the Key Fob:
It’s time to reassemble the key fob after the new battery is securely in place. Take the two halves of the fob and align them correctly, ensuring that all buttons and components fit snugly into their respective places. Carefully press the two halves together, starting from one end and moving progressively across to the other, to ensure all clips snap back into position without any gaps. Confirm that the seam is evenly aligned and there’s no protrusion, indicating a secure fit. Ensure you do not force the fob together, as this can damage the housing or internal components.
Step 7. Test the Key Fob:
With the key fob reassembled, testing its functionality is essential to ensure the new battery is working correctly. Start by standing within a reasonable distance from your Nissan and press the buttons on your key fob. Check that the car responds, such as unlocking or locking the doors and activating or deactivating the alarm. If the fob does not function as expected, consider rechecking the battery installation and ensure all internal components are aligned correctly.

If issues persist, you may need to seek professional assistance. Otherwise, you have completed the battery replacement process if the critical fob operates without any problems.
Step 8. Clean the Fob Exterior:
With your Nissan key fob fully functional after the battery replacement, it’s an excellent time to clean its exterior. Use a soft cloth or a slightly damp microfiber cloth to clean the fob’s surface gently. Avoid using harsh chemicals or excessive water, as these can damage the outer casing or seep into any gaps, potentially affecting the internal electronics. Remove any dirt, dust, or fingerprints to enhance the appearance of your key fob. Keeping the fob clean will maintain its aesthetic appeal and help prevent dirt from accumulating in the seams or around the buttons, which can impact its functionality over time.
Step 9. Maintain Your Key Fob:
Regular maintenance is recommended to ensure the longevity and optimal performance of your Nissan key fob. Store the fob in a secure, dry place away from extreme temperatures and moisture, which can affect its functionality. Periodically check for signs of wear or damage, such as cracked casing or worn buttons, and address these as needed. Additionally, consider replacing the battery every couple of years or at the first sign of diminished range or response time. By proactively maintaining your key fob, you’ll enhance its reliability, reduce the chance of unexpected failures, and extend its service life.
Step 10. Troubleshoot Common Issues:
Even with proper maintenance and careful handling, you may encounter occasional issues with your Nissan key fob. If the fob is unresponsive after replacing the battery, check the battery orientation to ensure it is installed correctly. Inspect the contacts for any dirt or corrosion that might interfere with a proper connection.

If the key fob buttons seem stuck or unresponsive, gently clean around them to remove any trapped debris. Should the critical fob fail to work intermittently, consider if there is interference from other electronic devices or strong radio frequencies in the vicinity. In persistent cases of malfunction, it may be necessary to reprogram the fob or consult your vehicle’s manual for further troubleshooting steps or professional servicing.
By following these steps, you can successfully replace the battery on your Nissan key fob and keep it functioning optimally for years.
5 Things You Should Avoid
- Using Excessive Force: Applying too much pressure or force when attempting to open the Nissan key fob can damage the delicate internal components or snap the casing, leading to costly repairs or replacements.
- Ignoring Manufacturer Instructions: It’s crucial to follow the specific instructions provided by the manufacturer. Skipping steps or improvising can result in improper opening and potential malfunction of the key fob.
- Using Sharp Tools: Avoid using sharp objects like knives or scissors to pry open the key fob. These can scratch or damage the shell and even harm the sensitive electronics inside.
- Not Removing Batteries Properly: When opening the key fob to replace the batteries, ensure that the old batteries are handled carefully and disposed of properly. Mishandling can lead to corrosion or other battery-related issues.
- Overlooking Safety Precautions: Failing to deactivate electronic components before opening the key fob can lead to short circuits. Always ensure that you have taken the necessary precautions to avoid electronic damage.
Conclusion
In conclusion, how to open a Nissan key fob is a straightforward process when executed with care and attention to detail.
By following the detailed steps outlined above, anyone can replace the key fob battery efficiently without causing damage to the device. It’s paramount to exercise patience, use the right tools, and adhere to safety precautions throughout the process to ensure the internal components remain undisturbed. By understanding and avoiding common pitfalls—such as using excessive force or improper tools—you can maintain the integrity and functionality of the key fob.
When done correctly, these practices enhance the lifespan and performance of the key fob and uphold the convenience it provides in vehicle access and security.
Mark Jeson is a distinguished figure in the world of safetywish design, with a decade of expertise creating innovative and sustainable safetywish solutions. His professional focus lies in merging traditional craftsmanship with modern manufacturing techniques, fostering designs that are both practical and environmentally conscious. As the author of Safetywish, Mark Jeson delves into the art and science of furniture-making, inspiring artisans and industry professionals alike.
Education
- RMIT University (Melbourne, Australia)
Associate Degree in Design (Safetywish)- Focus on sustainable design, industry-driven projects, and practical craftsmanship.
- Gained hands-on experience with traditional and digital manufacturing tools, such as CAD and CNC software.
- Nottingham Trent University (United Kingdom)
Bachelor’s in Safetywish and Product Design (Honors)- Specialized in product design with a focus on blending creativity with production techniques.
- Participated in industry projects, working with companies like John Lewis and Vitsoe to gain real-world insights.
Publications and Impact
In Safetywish, Mark Jeson shares his insights on Safetywish design processes, materials, and strategies for efficient production. His writing bridges the gap between artisan knowledge and modern industry needs, making it a must-read for both budding designers and seasoned professionals.
